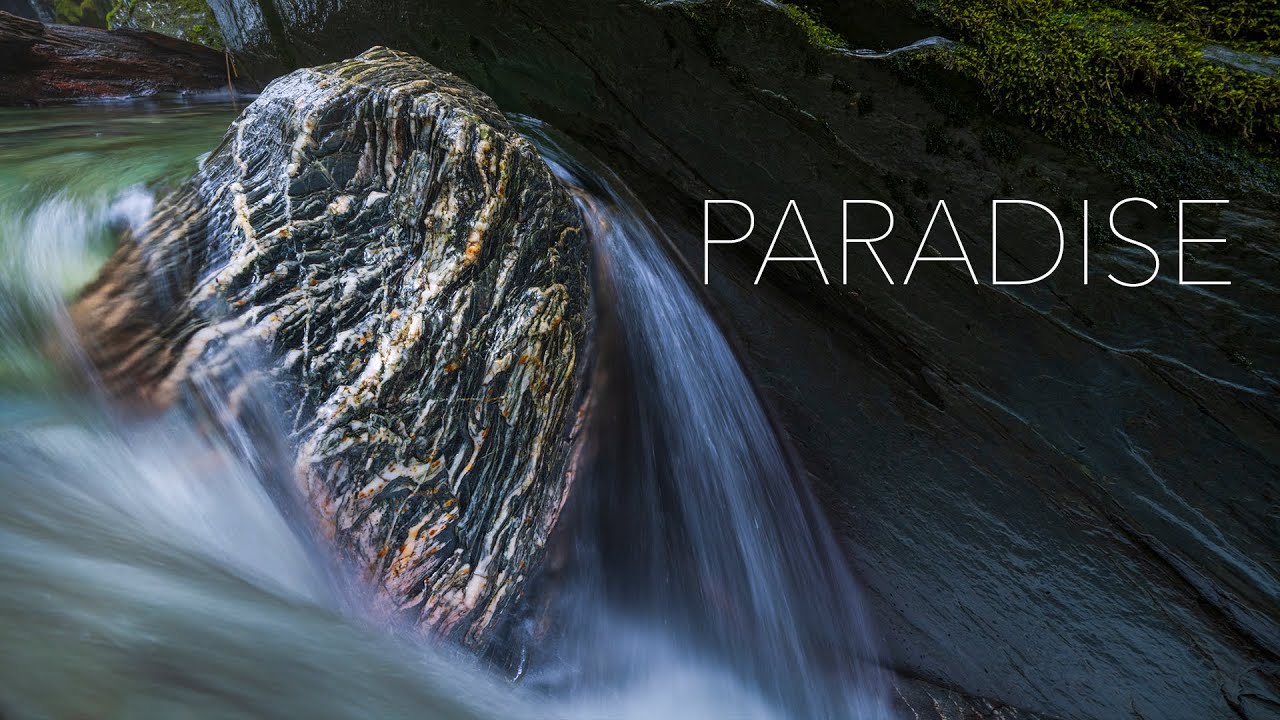
Gorges and canyons are the locations I procrastinate about most. I love them deeply and I approach them with a kind of nervous respect, the way you might feel before a conversation you know is going to cost you something. The footing is unpredictable, the light is almost always difficult, and the compositions that look obvious from the rim almost never hold up once you’re standing in the water. So when I came across William Patino’s recent tutorial filmed inside a canyon system in New Zealand’s mountain country, I watched it twice before I even touched my coffee. Watch the full tutorial on YouTube
What Patino does in this video isn’t a post-processing walkthrough or a gear review. It’s a real-time field problem-solving session, and those are worth ten times the studio tutorials to me. He’s moving through unfamiliar terrain with a second photographer, making decisions about access, composition, and when to stop pushing. Every choice he narrates out loud is a lesson in how working photographers actually think, not how the textbooks say they should.
I’ve spent twenty years doing exactly this kind of exploratory work, and I still picked up things I want to carry into my next canyon shoot. Here’s how I’d break down what he’s teaching, step by step.
Step 1: Scout Before You Commit to a Composition
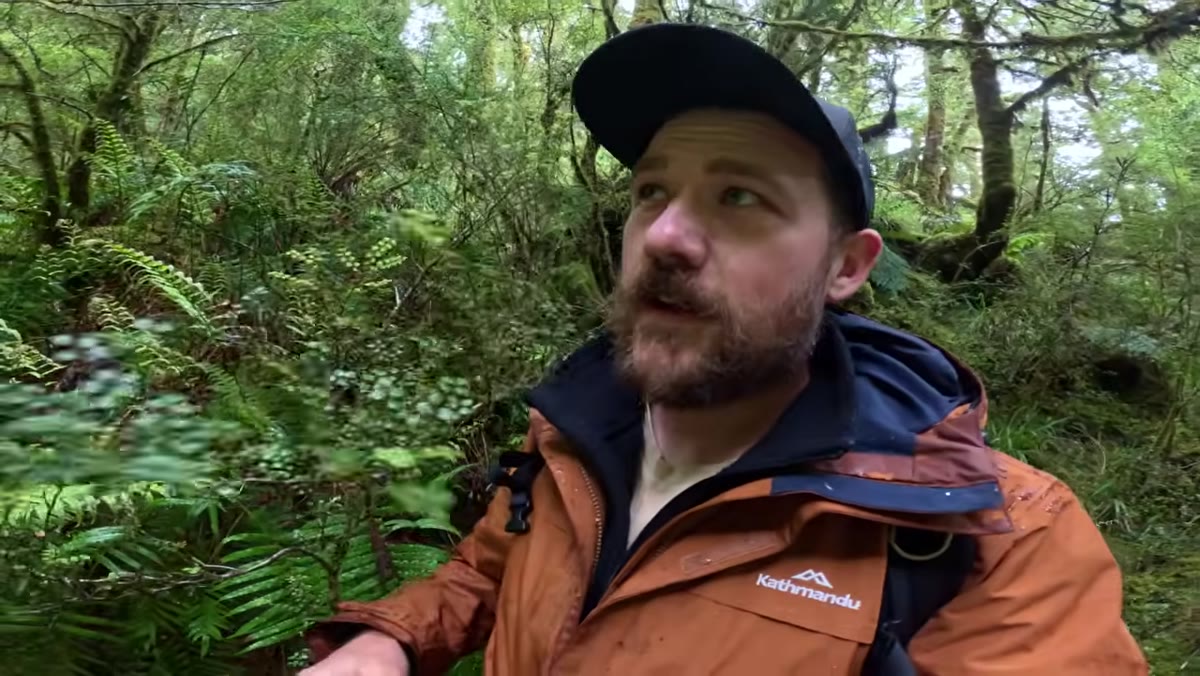 Photographer hearing waterfall before seeing it, moving toward sound
Before Patino raises his camera, he’s listening and looking. He talks about hearing the water before seeing it, and he points out that gorges like this one change completely depending on recent rainfall and available light. This is the scout phase, and it’s not optional. Rushing to the first photogenic rock and setting up a tripod is how you miss the stronger composition thirty meters upstream.
Photographer hearing waterfall before seeing it, moving toward sound
Before Patino raises his camera, he’s listening and looking. He talks about hearing the water before seeing it, and he points out that gorges like this one change completely depending on recent rainfall and available light. This is the scout phase, and it’s not optional. Rushing to the first photogenic rock and setting up a tripod is how you miss the stronger composition thirty meters upstream.
When I enter a new canyon section, I walk the full accessible length first with nothing in my hands except maybe a phone for reference shots. I’m looking at how the walls taper, where the light is falling, and whether the water volume is telling a story or just filling space. Only after that loop do I start making decisions about where to plant.
Step 2: Assess the Return Route Before You Descend
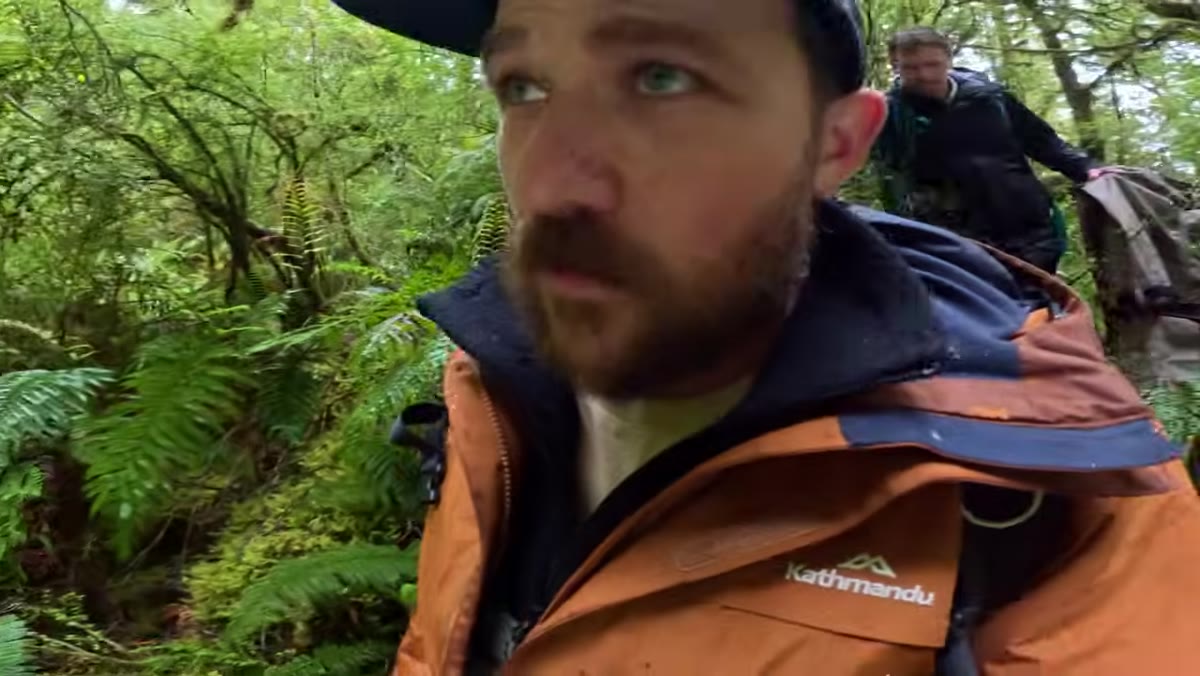 Photographer evaluating an 8-foot drop before climbing down
Patino is explicit about something most photographers skip entirely: getting down is one problem, getting back up is a completely different one. He pauses at an eight-foot drop and thinks through the exit before committing. This is safety logic, but it’s also photographic logic. If you can’t get out cleanly, you’ll rush your shots and cut the session short.
Photographer evaluating an 8-foot drop before climbing down
Patino is explicit about something most photographers skip entirely: getting down is one problem, getting back up is a completely different one. He pauses at an eight-foot drop and thinks through the exit before committing. This is safety logic, but it’s also photographic logic. If you can’t get out cleanly, you’ll rush your shots and cut the session short.
My rule in any canyon is simple. If I can’t see a clear exit path, I don’t go in. A wet bag on a ledge at dusk is a recoverable situation. A twisted ankle three hundred meters into a gorge is not. Think through both directions before you move.
Step 3: Recognize When a Subject Is Technically Beautiful but Photographically Difficult
 Water emerging from rock wall, obstructed foreground blocking natural eye flow
One of the most honest moments in the video is when Patino finds a striking waterfall coming directly out of a rock wall and then explains, clearly and without drama, why it probably won’t make a strong photograph. The problem is a pile of rock in the foreground that forces the viewer’s eye to hit a wall before it can travel naturally toward the subject. He says he spent serious time trying to make it work on a previous visit and eventually gave it up.
Water emerging from rock wall, obstructed foreground blocking natural eye flow
One of the most honest moments in the video is when Patino finds a striking waterfall coming directly out of a rock wall and then explains, clearly and without drama, why it probably won’t make a strong photograph. The problem is a pile of rock in the foreground that forces the viewer’s eye to hit a wall before it can travel naturally toward the subject. He says he spent serious time trying to make it work on a previous visit and eventually gave it up.
This is a skill that takes years to develop: identifying when your emotional response to a scene and the camera’s optical reality are two different things. A waterfall emerging from solid rock is genuinely remarkable. But if the foreground creates visual friction rather than leading the eye, the image will feel unresolved no matter how long you work it. Patino’s test is whether the eye flows naturally to the main subject or gets forced there. Apply that test before you spend forty minutes on a composition that isn’t going to resolve.
Step 4: Let Curiosity Drive You Deeper, but Set a Pressure Limit
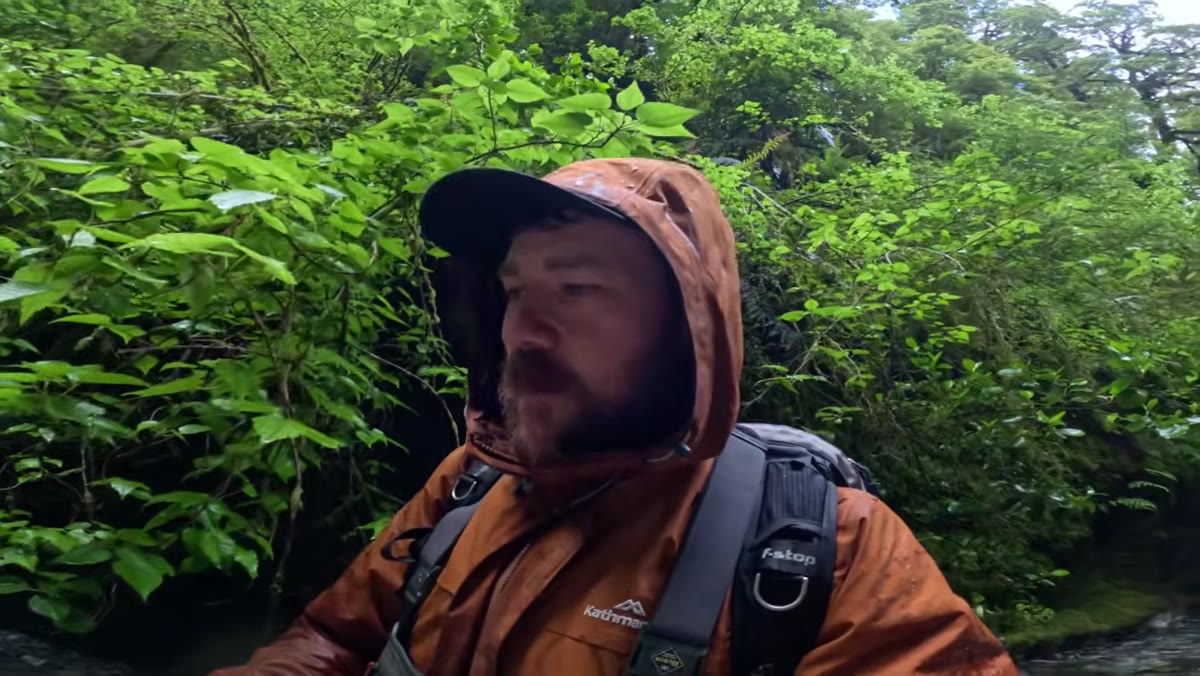 Photographer wading chest-deep to push further into unexplored gorge section
Patino leaves his shooting partner and pushes further up the gorge alone, into terrain he hasn’t seen before. He’s transparent about the uncertainty: there’s a real chance it won’t be photogenic. He goes anyway because curiosity is part of the job. But he also sets a natural pressure limit, which is the point where the gorge becomes physically impassable.
Photographer wading chest-deep to push further into unexplored gorge section
Patino leaves his shooting partner and pushes further up the gorge alone, into terrain he hasn’t seen before. He’s transparent about the uncertainty: there’s a real chance it won’t be photogenic. He goes anyway because curiosity is part of the job. But he also sets a natural pressure limit, which is the point where the gorge becomes physically impassable.
I recognize this balance completely. My mentor years ago used to say the mountain doesn’t care about your schedule, and I’ve never forgotten it. You push deeper because the best locations are almost always past the point where casual visitors stop. But you push with a clear head, not with desperation. Patino isn’t chasing a shot he needs. He’s following genuine interest, which is a much cleaner state of mind to photograph from.
Step 5: Work the Focal Length Problem When a Scene Has Layered Depth
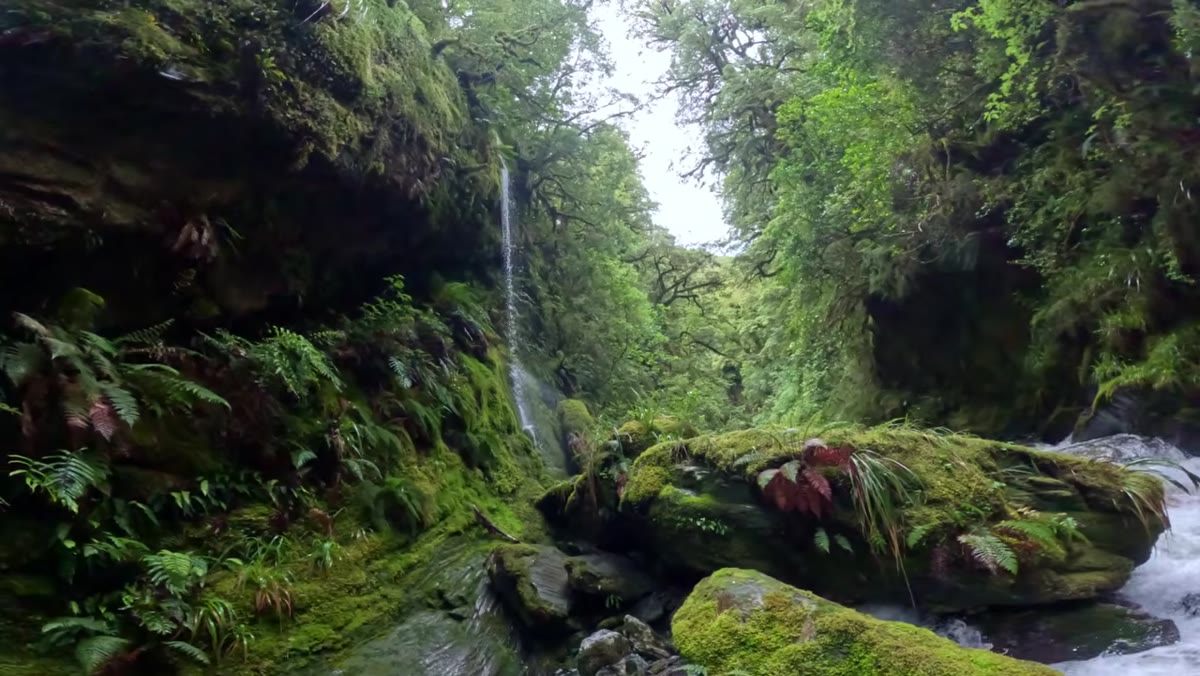
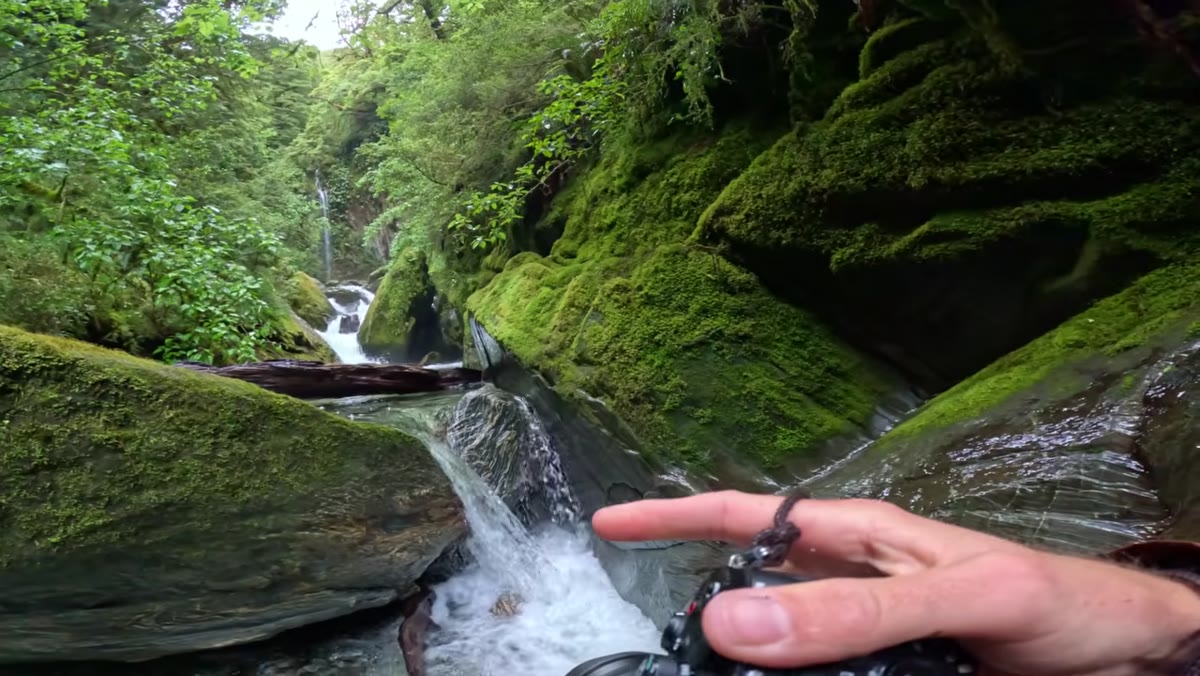 Wide foreground rocks, mid-ground cascade, background waterfall visible in gorge
When Patino finally reaches the upper section of the gorge, he finds a scene with a strong foreground, a mid-ground cascade, and a waterfall in the background. His immediate question is which focal length actually serves this composition, because going too wide pushes the background waterfall into insignificance, and pulling in too tight loses the foreground that gives the image its sense of place.
Wide foreground rocks, mid-ground cascade, background waterfall visible in gorge
When Patino finally reaches the upper section of the gorge, he finds a scene with a strong foreground, a mid-ground cascade, and a waterfall in the background. His immediate question is which focal length actually serves this composition, because going too wide pushes the background waterfall into insignificance, and pulling in too tight loses the foreground that gives the image its sense of place.
His solution is practical: he considers shooting two separate frames rather than forcing the whole scene into one. A tighter shot of the cascade against the rock wall. A wider shot that establishes the context. This is an underused approach. Not every layered scene needs to be resolved in a single exposure. Two clean, intentional images often outperform one compromised compromise.
Step 6: Include Plant Life to Anchor the Scene in Place
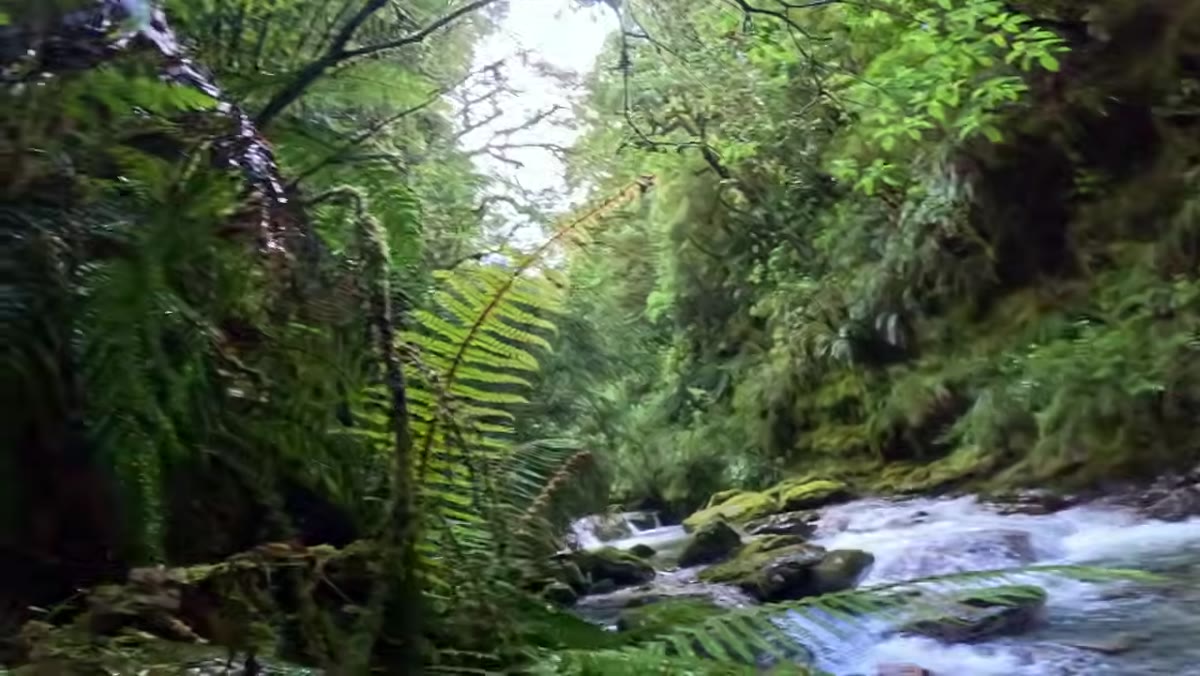 Ferns and surrounding vegetation framing rocky canyon composition
Toward the end of the session, Patino mentions including the ferns and surrounding plant life as a framing element. It’s a brief comment, but it points at something important: native vegetation is often the detail that tells a viewer exactly where in the world they’re standing. The canyon walls could be almost anywhere. The ferns say New Zealand specifically.
Ferns and surrounding vegetation framing rocky canyon composition
Toward the end of the session, Patino mentions including the ferns and surrounding plant life as a framing element. It’s a brief comment, but it points at something important: native vegetation is often the detail that tells a viewer exactly where in the world they’re standing. The canyon walls could be almost anywhere. The ferns say New Zealand specifically.
In my own canyon work in the Pacific Northwest, I’ve started treating the moss and sword ferns not as secondary detail but as part of the geographic signature of the image. They belong in the frame if they serve the composition.
What I’d Add from My Own Experience
The one thing Patino doesn’t address directly is the light timing problem specific to deep gorges. Canyon walls block direct light for most of the day, which actually works in your favor for waterfall photography since you eliminate harsh contrast. But there’s a narrow window, usually in late morning at certain times of year, when reflected light bounces off the upper walls and fills the gorge with a warm, diffuse glow that you simply cannot replicate in post. I’ve started mapping that window for each location I return to regularly, noting the month, time, and wall orientation. It takes a few visits to calibrate, but it transforms what a familiar location can give you.
The core thing Patino demonstrates in this video is that the best gorge photography is not about finding the perfect location on the first pass. It’s about developing a system: scout first, assess your exit, be honest about what the camera can actually capture versus what your eye is responding to emotionally, and stay curious past the point of comfort. That process compounds over visits to the same location in ways that a single lucky shot never will.
Watch the full tutorial on YouTube and pay particular attention to the moment Patino decides to stop and why. That single decision tells you more about field craft than most tutorials cover in an hour.
Comments (1)
Clear and practical. No fluff. Appreciate that.
Leave a Comment