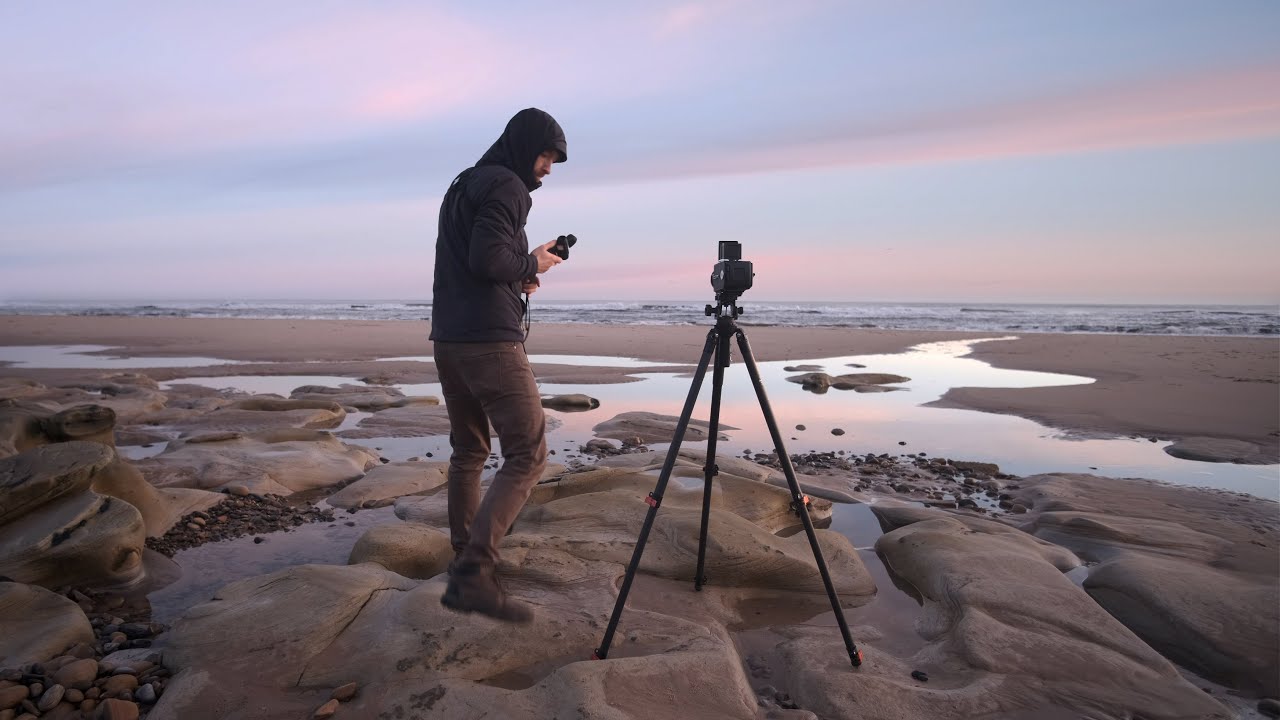
There’s a particular kind of rut that doesn’t announce itself loudly. It creeps in slowly, disguised as bad weather or a busy schedule or the sense that there’s nothing worth photographing nearby. I’ve been in it more times than I care to admit. After two decades of shooting landscapes full-time, I still have stretches where I make every excuse to stay home rather than go out and face a blank viewfinder. The antidote, more often than not, isn’t a new location or a new piece of gear. It’s changing how you look.
That’s exactly what Thomas Heaton works through in this field session, where he loads a roll of Kodak Portra 160 into his Hasselblad 501CM and heads out to a coastal location on a day that’s equal parts glorious sunshine and incoming storm. Watch the full tutorial on YouTube. What unfolds isn’t a highlight reel of perfect conditions. It’s something more honest and more useful: a working photographer rediscovering his own momentum in an ordinary place, with a crowd around him and rain on the way.
I still shoot film occasionally, and for exactly the reason Heaton demonstrates here. When you have 12 frames on a roll of medium format, you don’t spray and pray. You stand in front of a subject for ten minutes before you raise the camera. That discipline is worth studying regardless of whether you shoot film or digital.
Step 1: Load the Film Mindfully and Set Your Intention
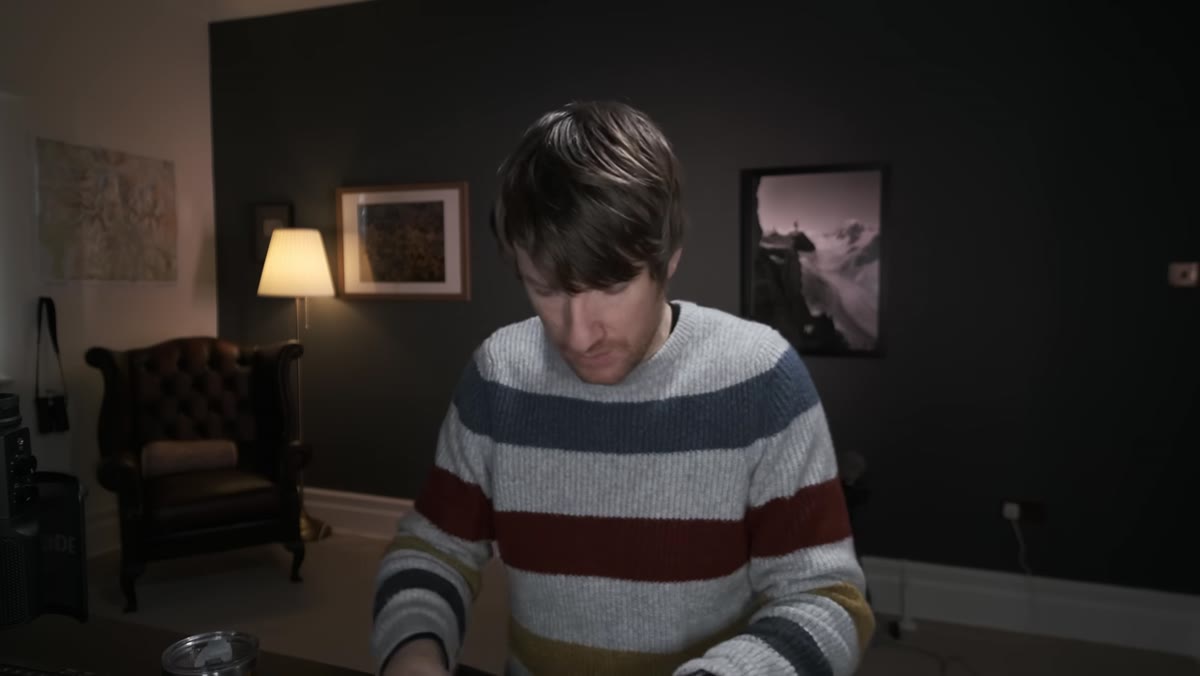 Thomas loading Portra 160 into the Hasselblad 501CM
Heaton loads his Portra 160 while talking to the camera, and he’s the first to acknowledge this is a bad idea. Film loading on a medium format back requires full attention. But the act itself carries a lesson: the process of preparing your camera forces you into a deliberate mindset before you’ve even stepped outside.
Before any shoot, whether you’re loading film or formatting a memory card, set a concrete intention. Not “I want to get some nice shots.” Something specific: “I’m going to photograph the relationship between human objects and the natural environment today.” That kind of framing narrows your vision in a productive way. It tells your eye what to look for.
Step 2: Get to the Location and Walk Before You Shoot
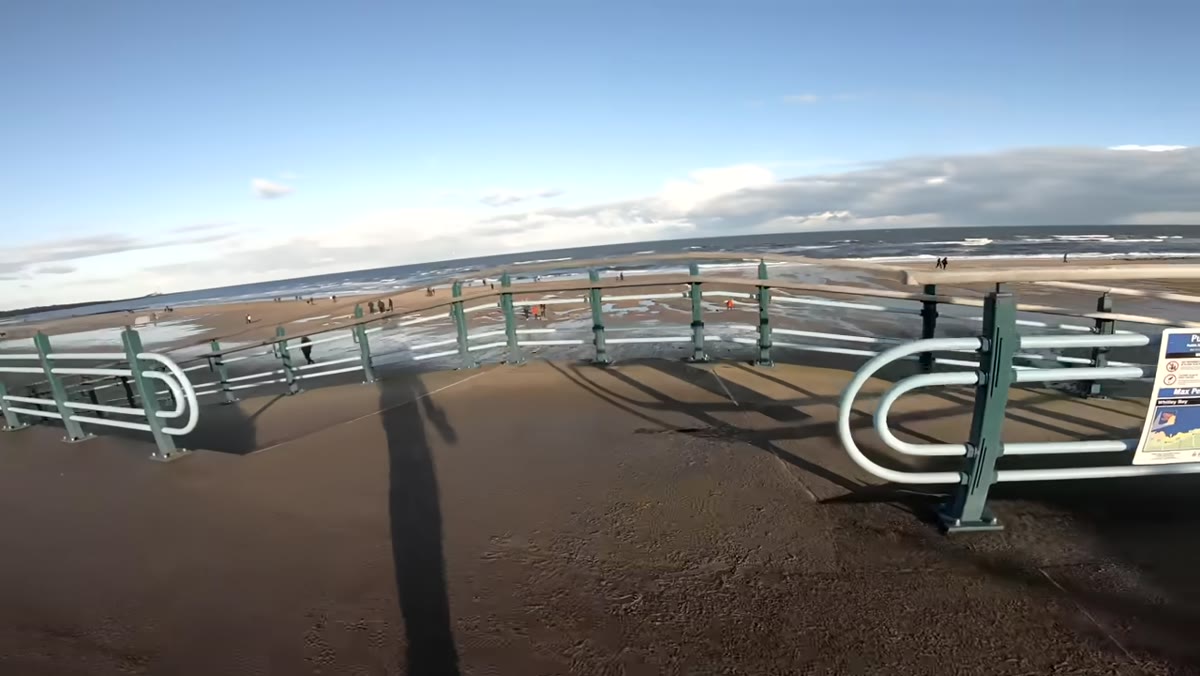 Coastal scene with bright light and storm clouds building on the horizon
When Heaton arrives at the coast, he doesn’t immediately raise the camera. He walks. The light is strong, the horizon is threatening, and there are people everywhere. His instinct is to move through the space and observe rather than to plant a tripod and start firing.
This is one of the most underrated habits in landscape photography. Give yourself a minimum of 15 to 20 minutes of walking before you commit to a composition. The first thing that catches your eye is rarely the best subject. It’s usually just the loudest one. Deeper, quieter subjects reveal themselves to people who keep moving.
Step 3: Look for Found Objects That Tell a Story
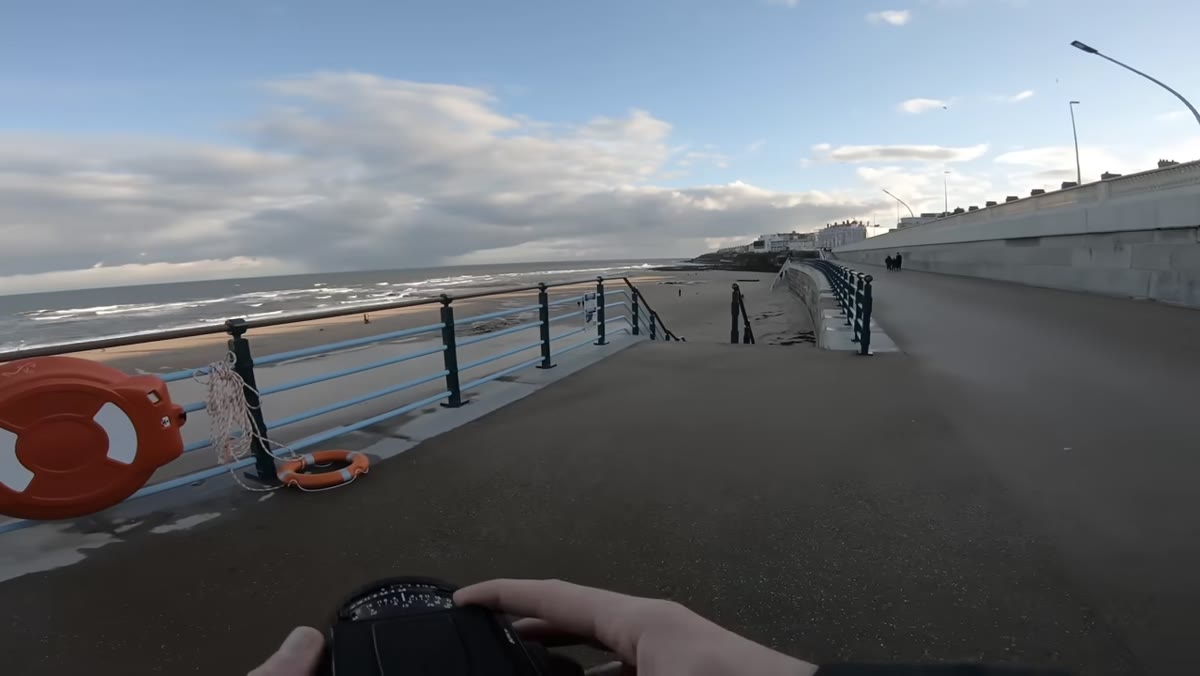 Life ring tangled and wrapped around a coastal railing
The subject Heaton finds isn’t a dramatic cliff or a sweeping vista. It’s a life ring that has been pulled from its case and tangled around a metal railing. Ordinary. Overlooked by everyone else on the promenade. But it stopped him because it suggested a narrative. Something had happened here. The object had been disturbed.
Train yourself to ask one question about every potential subject: “Does this have a story?” A pristine, undisturbed scene can be beautiful, but a scene with a hint of human presence, wear, or tension gives the viewer something to think about. That life ring works as a subject because it raises a quiet question in the mind of the person looking at the image.
Step 4: Wait for the Light to Catch Up to the Subject
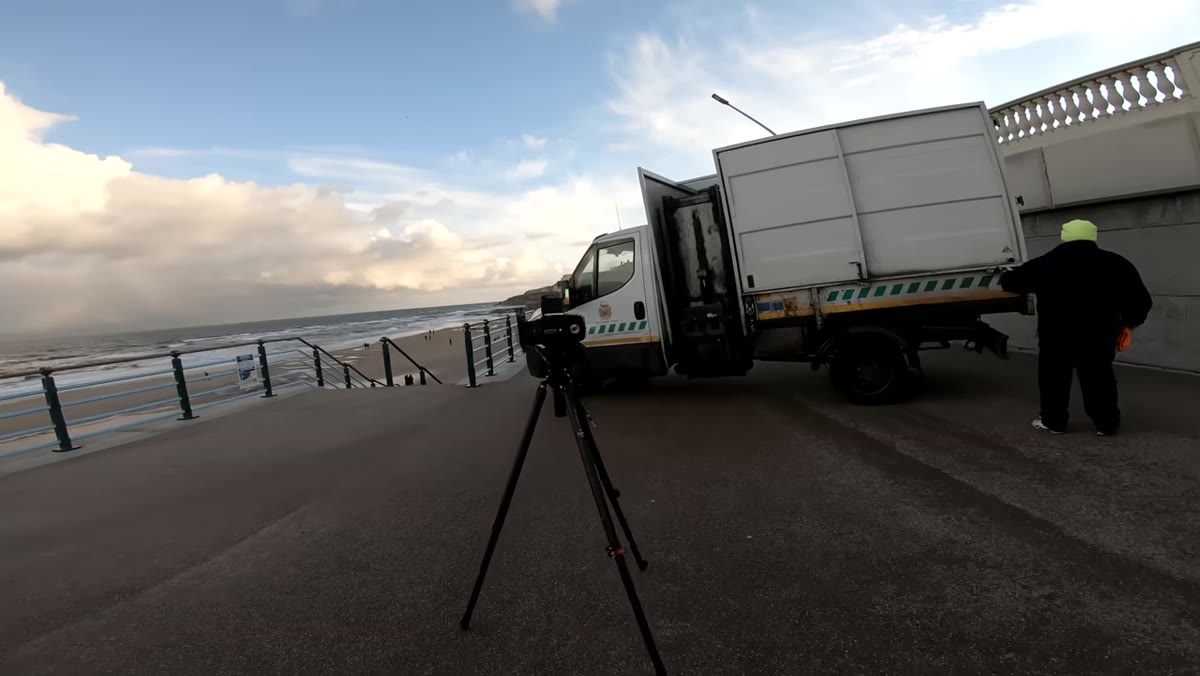 Storm clouds developing behind the life ring as the scene brightens
Here’s the part that separates patient photographers from restless ones. Heaton identifies the life ring as his subject roughly an hour before he actually makes the photograph. He spends that hour walking, looking for other options, and then returns when the storm clouds have positioned themselves directly behind the railing.
A mentor of mine once told me that the mountain doesn’t care about your schedule, and he was right. I’ve stood in one spot for two hours waiting for clouds to do what I needed them to do. Sometimes they do. Sometimes they don’t. But the willingness to wait is what earns you the frame that looks like luck.
Step 5: Use a Graduated Filter to Balance Dramatic Sky and Foreground
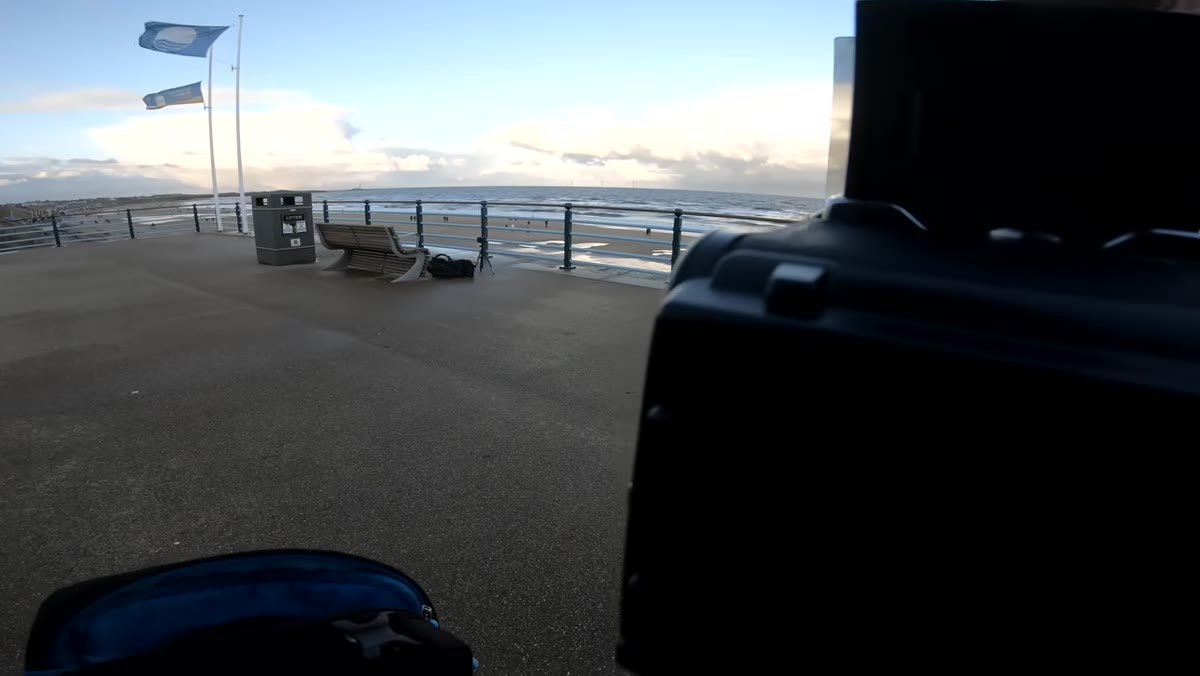 Two-stop soft-edge graduated filter being placed in front of the lens
With the composition framed, Heaton drops in a two-stop soft-edge graduated neutral density filter. The goal is to hold detail in the storm clouds without underexposing the foreground subject. A hard-edge grad would create a visible line across the life ring, so the soft transition is the right call here.
On medium format film, you have no ability to recover highlights in post the way you might in Lightroom with a RAW file. The filter decision is permanent. Start one stop lighter than you think you need when working with film, and bracket your exposures. With digital, a two-stop soft grad is still a sensible starting point for this kind of scene. Meter for the sky, apply the filter, and check that your foreground isn’t falling into unflattering shadow.
Step 6: Accept the Conditions and Adapt When the Storm Arrives
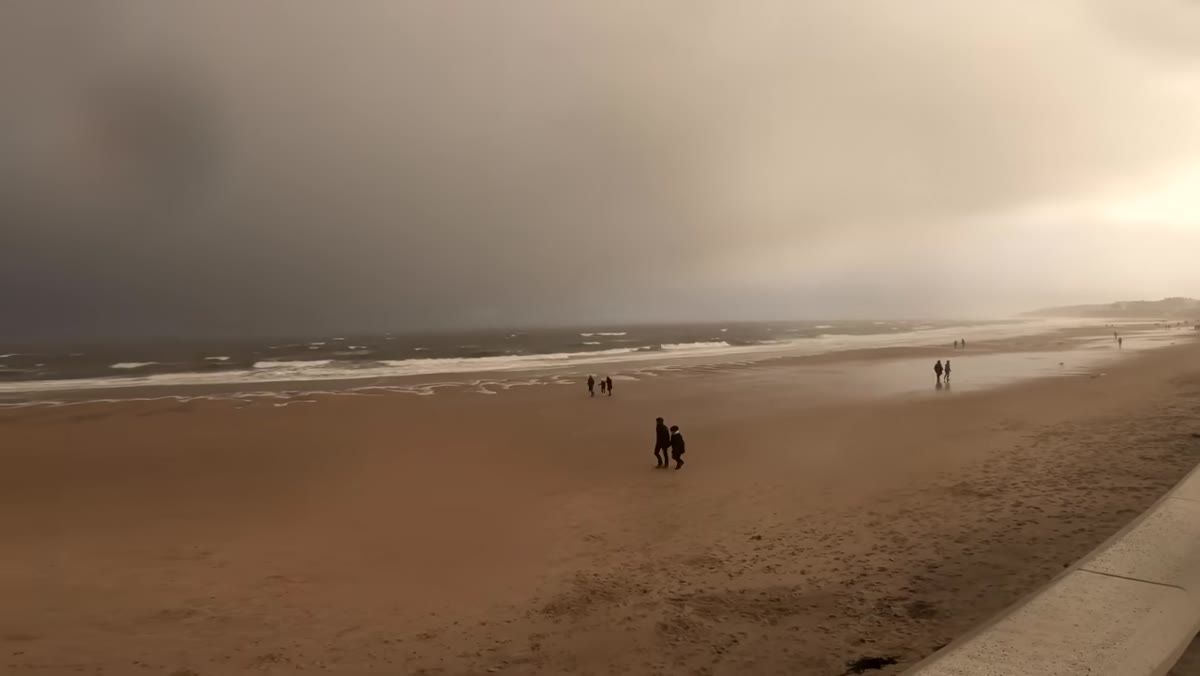 Heaton retreating indoors as heavy rain rolls in off the coast
The storm clouds that made the photograph also ended the session. Within minutes of getting the shot, Heaton is soaked and heading indoors. He adapts without drama: he’ll return the following morning to finish the roll.
This is the practical reality of landscape photography. Conditions change. Plans dissolve. The session you planned for two hours might give you one good frame in forty minutes. Treat that frame as a success. Know when the light is gone and the weather has turned, and leave with what you have rather than grinding for diminishing returns. The film, the light, and your own energy are all finite resources.
What I’d Add from My Own Experience
Heaton shoots alone here, which is his usual style, and he mentions feeling self-conscious when crowds are around. I have that same instinct, though I’ve learned over time that most people genuinely don’t care what you’re doing with a camera on a tripod. The ones who do stop are usually curious in a good way. The solution I’ve found is to work slowly and deliberately enough that you project quiet confidence. When you look like you know what you’re doing, people leave you alone to do it.
One other thing worth noting: Heaton’s choice of Portra 160 on a bright coastal day is deliberate. Portra 160 renders greens and blues with a particular warmth and retains highlight detail in ways that faster emulsions don’t. If you’re experimenting with color film for outdoor work, it’s a reliable starting point. The low ISO forces you to work in good light, which is its own kind of discipline.
The single most important takeaway from this session is that motivation isn’t a prerequisite for going out. It’s often the result of going out. Heaton was stuck before he loaded that roll of film. He wasn’t stuck after. The act of picking up the camera and moving through a real landscape, even a familiar or crowded one, is what generates the feeling that makes you want to keep going.
Watch the full tutorial on YouTube and pay close attention to the pacing. The long silences, the waiting, the rain at the end. That’s what working in the field actually looks like.
Comments
Leave a Comment