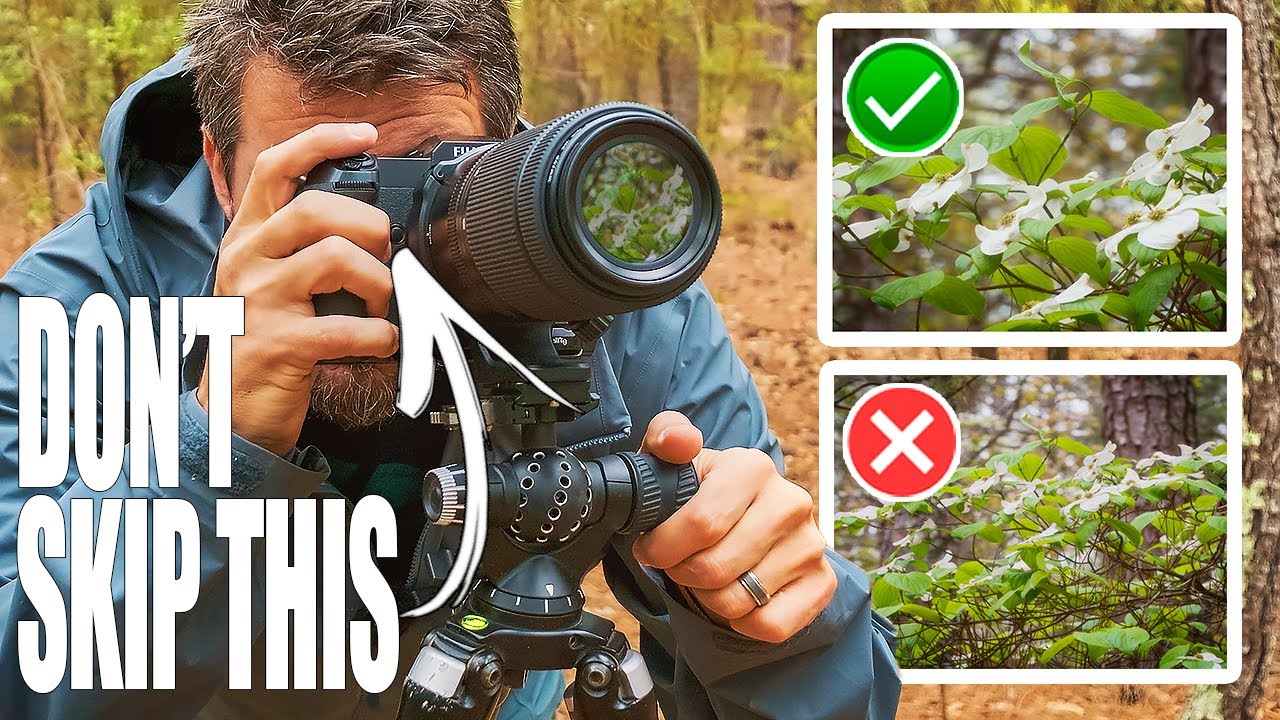
There’s a particular kind of humbling that happens when you’ve been shooting landscapes for two decades and a tutorial still makes you stop and rethink your defaults. I’ve logged thousands of pre-dawn mornings, stood in enough freezing rivers to qualify for some kind of aquatic endurance record, and I still catch myself bypassing camera features I’ve labeled as “not for serious work.” That instinct, it turns out, can quietly cost you shots. Watch the full tutorial on YouTube before or after reading this breakdown. Either way, it’s worth your hour.
In this Mark Denney tutorial, he takes the concept somewhere I didn’t expect: into a completely ordinary, chaotic forest in North Carolina, hunting for dogwood trees instead of canyon walls or alpine lakes. That choice is deliberate and instructive. The skills he demonstrates don’t need dramatic scenery to prove their value. They need exactly the kind of messy, dense, visually busy environment most of us shoot near home far more often than we shoot in national parks.
What follows is a step-by-step breakdown of the techniques from the video, reframed around what I’ve learned applying similar ideas in the ponderosa pine forests and high desert scrub outside Bend. The settings are real. The problems they solve are real. Take notes.
Step 1: Reframe Your Location Before You Touch Your Camera
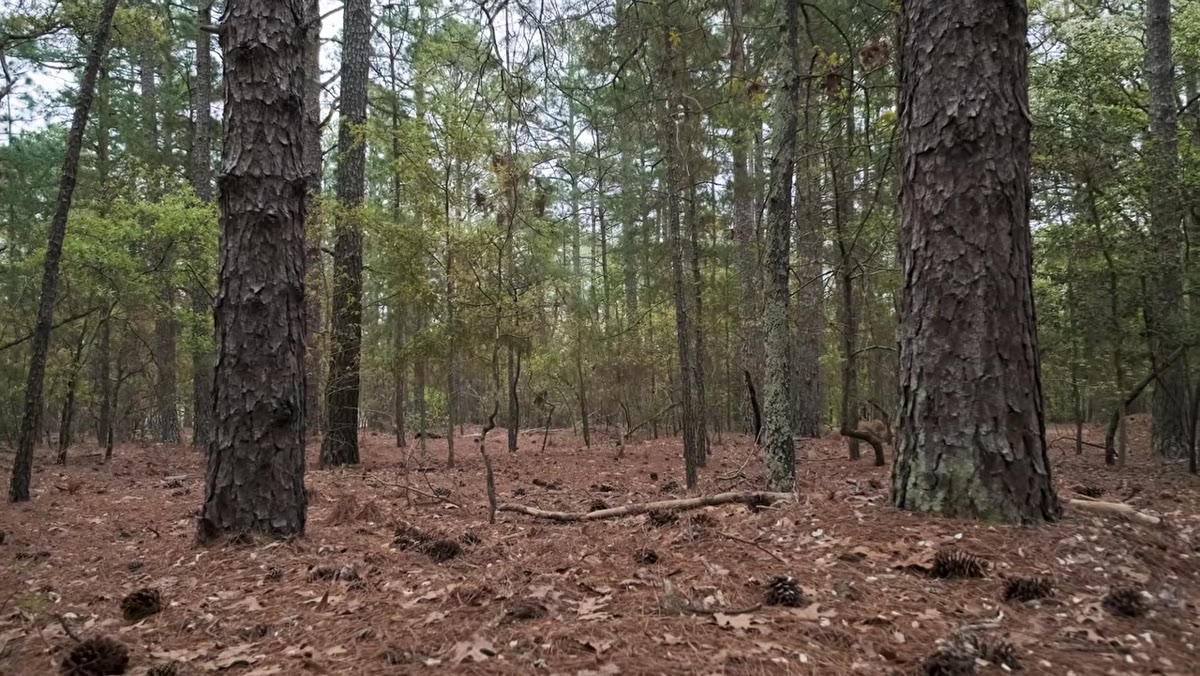 Mark walking through dense chaotic forest looking for subjects
Before any camera feature matters, Denney makes a point that seasoned photographers often skip past: your mindset about a location shapes what you see. Shooting familiar ground, the same patch of woods you’ve visited thirty times, dulls your eye. You stop noticing. The fix isn’t finding a new location. It’s manufacturing a reason to look differently. Denney gives himself a specific target, dogwood blossoms, and that single constraint forces him to scan the forest with fresh attention.
I keep a similar trick in my back pocket. When I’m shooting somewhere I know too well, I pick one compositional rule and follow it obsessively for the first thirty minutes. Only shoot through something. Only shoot downward. Only look for circles. The constraint is artificial, but it breaks the autopilot. Come to your location with a specific visual question and your camera settings will start serving that intention rather than running on muscle memory.
Step 2: Use Space and Background Separation to Organize Chaos
 Mark identifying open space around a dogwood tree as a potential subject
Denney identifies two tools for working in visually complex forests: finding open space around your subject, and locating a cleaner background behind it. Neither requires a clearing fifty yards wide. Even a slight thinning of the canopy behind your subject, a gap that lets the background fall slightly out of focus or shift to a neutral tone, is enough to create separation.
In practice, this means walking around your subject before you plant your tripod. Crouch, shift laterally, look at what’s happening three to five feet behind the main element. A dogwood bloom against a dark shadow reads completely differently than the same bloom against a tangle of competing branches. You’re not composing the foreground yet. You’re auditing the background first. Get that clean, then worry about everything else.
Step 3: Look for Natural Framing Within the Scene
 Mark positioning near overhanging branches to frame the dogwood composition
Once Denney settles on his subject, he looks for the scene’s own architecture to contain the frame. Overhanging branches, flanking trees, a dip in the terrain. This is older than photography, the same reason Renaissance painters used archways, but it works especially hard in forest environments where edges are soft and undefined.
The practical move here is to work your position vertically as well as horizontally. Something that reads as a cluttered mess from eye level might reveal a clean natural frame if you drop to knee height or raise the camera above your head for a test shot. I carry a small ground pod for exactly this reason. The framing is already there in the landscape. Your job is to find the angle where it reveals itself.
Step 4: Engage 35mm Crop Mode to Change Your Focal Relationship
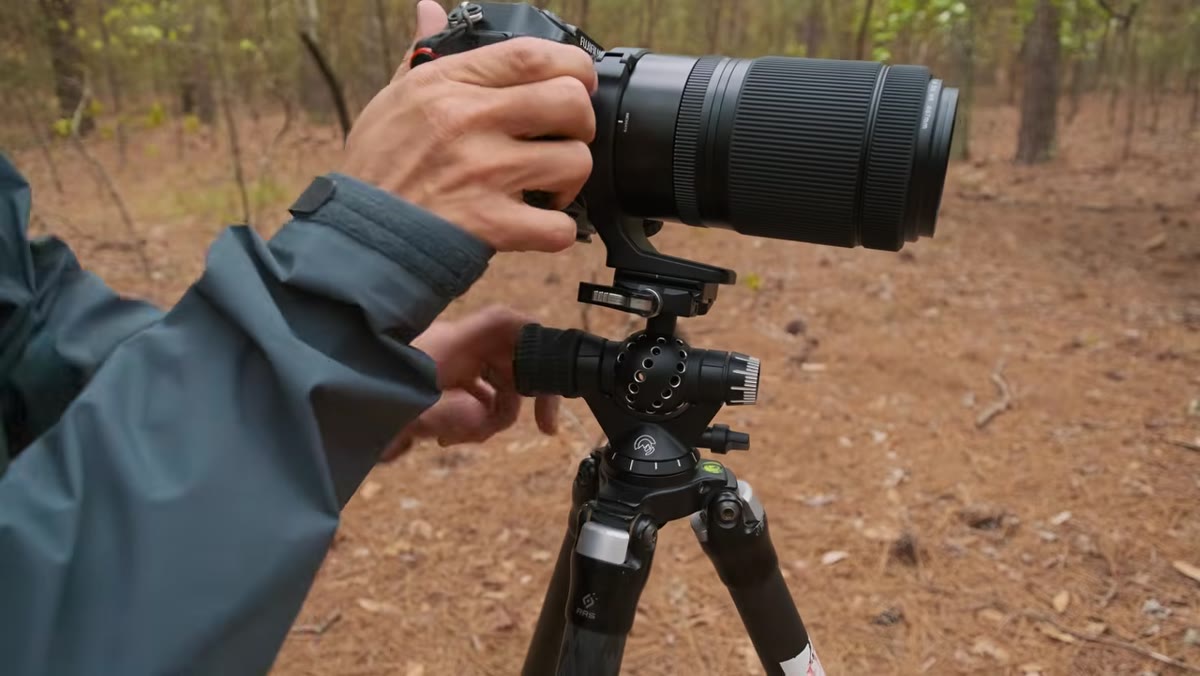 Camera menu showing 35mm crop mode being selected on a full-frame body
This is where the tutorial earns its title. Denney demonstrates using the 35mm crop mode available on many full-frame mirrorless and DSLR bodies. On a full-frame sensor, activating this mode crops the image to use only the center portion of the sensor, effectively simulating the field of view of an APS-C camera. The immediate effect is a tighter angle of view without physically swapping lenses.
For forest work, this matters more than it sounds. When you’re working in confined spaces, tight between trees, you often can’t back up enough to get the framing you want with a wide lens, and you don’t want to switch to a longer focal length because you lose the spatial relationship between foreground and background. The crop mode lets you tighten the composition without moving your feet or changing your depth of field math. Check your camera’s menu under image size or shooting options. The mode is often labeled “APS-C” or “S35.” You will lose megapixels, so make sure your output needs don’t require the full resolution before committing.
Step 5: Let the Composition Breathe Before You Shoot
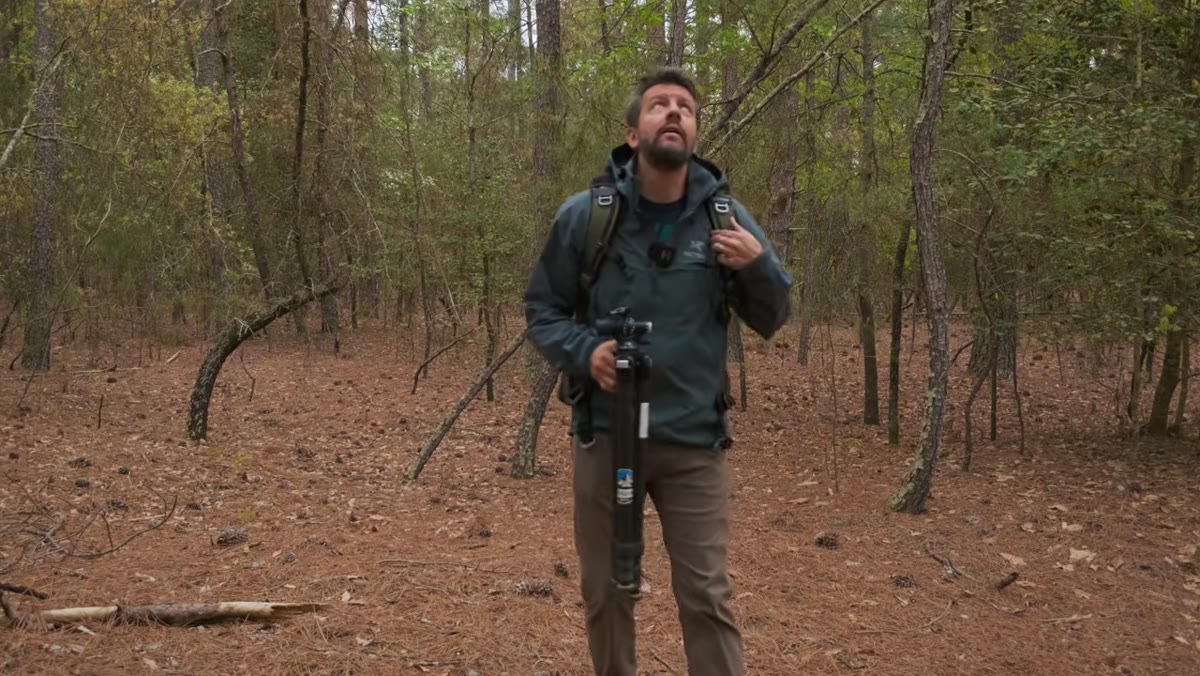 Mark pausing and studying the scene before setting up his tripod
Denney’s pacing throughout this sequence is deliberately unhurried. He finds a subject, studies it, walks around it, adjusts, and studies again before the tripod ever comes out. This is not inefficiency. It is the actual work. The shot you imagine when you first see a subject is almost never the best version of it.
Spend at least three minutes with a subject before you lock in your position. I use the time to check light direction, identify distracting elements at the frame edges, and decide whether the scene actually has a photograph in it or whether I’m forcing one because I drove forty minutes to get there. The sunk cost of the drive should never make the compositional decision.
What Twenty Years Adds to This Advice
The techniques Denney covers are sound, but there’s something underneath them worth naming. Working in ordinary locations builds a different kind of skill than chasing iconic destinations. Grand scenery is forgiving. It practically composes itself. But a scrubby local forest teaches you to see structure where structure is reluctant to appear. I still shoot film occasionally, a few rolls a year on a medium format body, because the cost per frame forces exactly the kind of deliberate evaluation Denney is modeling here. You cannot spray and pray at $1.50 a frame. That discipline, transferred back to digital, is what separates a working image from a lucky one.
The single thing I’d add: revisit the same ordinary location four times before you decide it has nothing left to offer. What’s visually empty in flat summer light becomes something else entirely in November fog or the ten minutes after a rain shower. The location isn’t finished with you. You just haven’t seen it in the right condition yet.
The core takeaway from this tutorial is simpler than any individual camera setting: the features you skip because they seem like workarounds are often exactly the tools that unlock difficult scenes. The 35mm crop mode, the deliberate background audit, the patient search for natural framing. None of them require expensive gear or an exotic location. They require attention and a willingness to slow down.
Watch the full tutorial on YouTube and pay particular attention to how Denney moves through the forest before he shoots. The camera technique is useful. The visual thinking behind it is the real lesson.
Comments
Leave a Comment