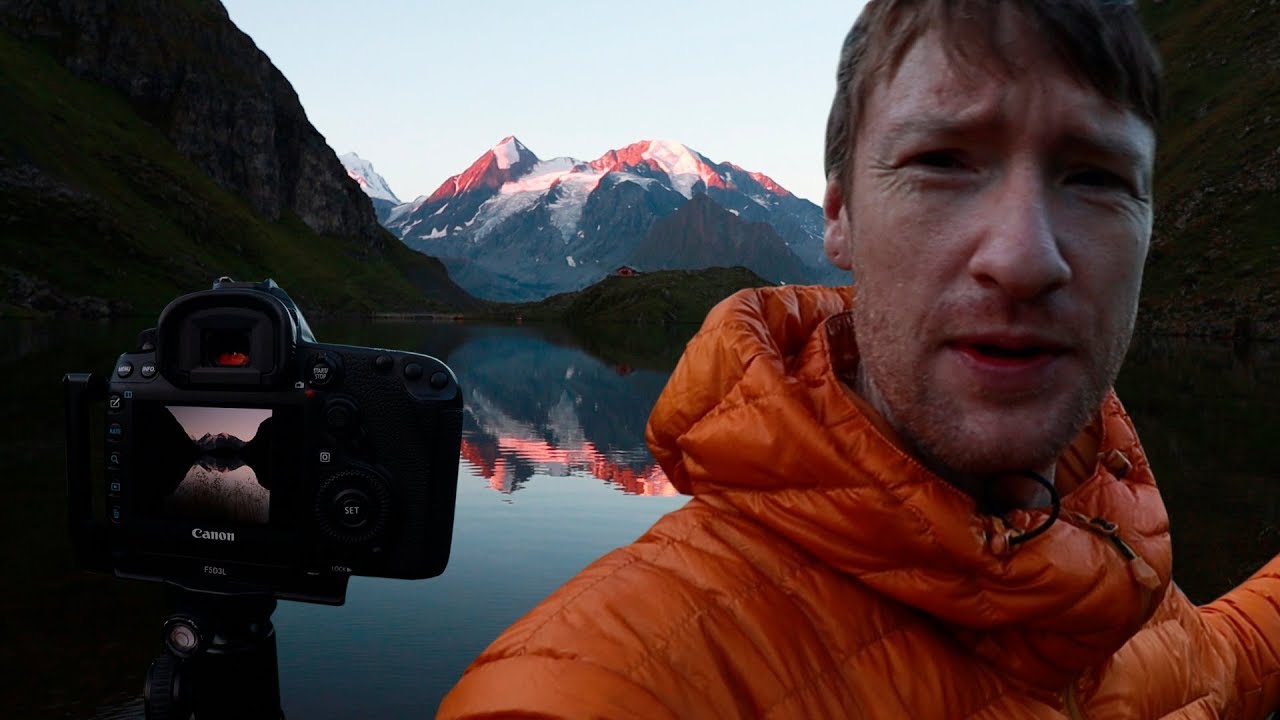
There’s a question I get at nearly every workshop I run out here in the Oregon high desert: “How do you know when the light is going to be good?” My honest answer is that you often don’t. What you do know is that if you keep showing up with intention, the light rewards you eventually. That’s the core lesson buried inside Thomas Heaton’s Swiss Alps photography tutorial, and it’s one that resonates deeply with how I’ve spent the last two decades working in the field. Watch the full tutorial on YouTube
In this Thomas Heaton tutorial, Heaton guides a workshop group through several days of high-alpine photography in Switzerland, moving between mountain huts, glaciers, and lakeside compositions at Lac La Vie. What looks on the surface like a travel vlog is actually a quiet masterclass in field craft: how to resist repeating yourself, how to read unfamiliar terrain, how to keep shooting creatively when your body is beaten and your sleep is short. The light, as Heaton notes with some surprise, was extraordinary on every single outing, regardless of conditions. Stormy or pristine, the group found images worth making. That doesn’t happen by accident.
The problem this kind of tutorial solves for me specifically is the complacency trap. After twenty years, I know my home locations intimately. I know where the sun hits in October and where the shadows pool in June. That familiarity can make you lazy. Watching Heaton navigate unfamiliar alpine terrain, making compositional decisions under pressure, on tired legs, with a group depending on him, reminded me why getting uncomfortable is part of staying sharp.
Step 1: Arrive With a Plan, But Hold It Loosely
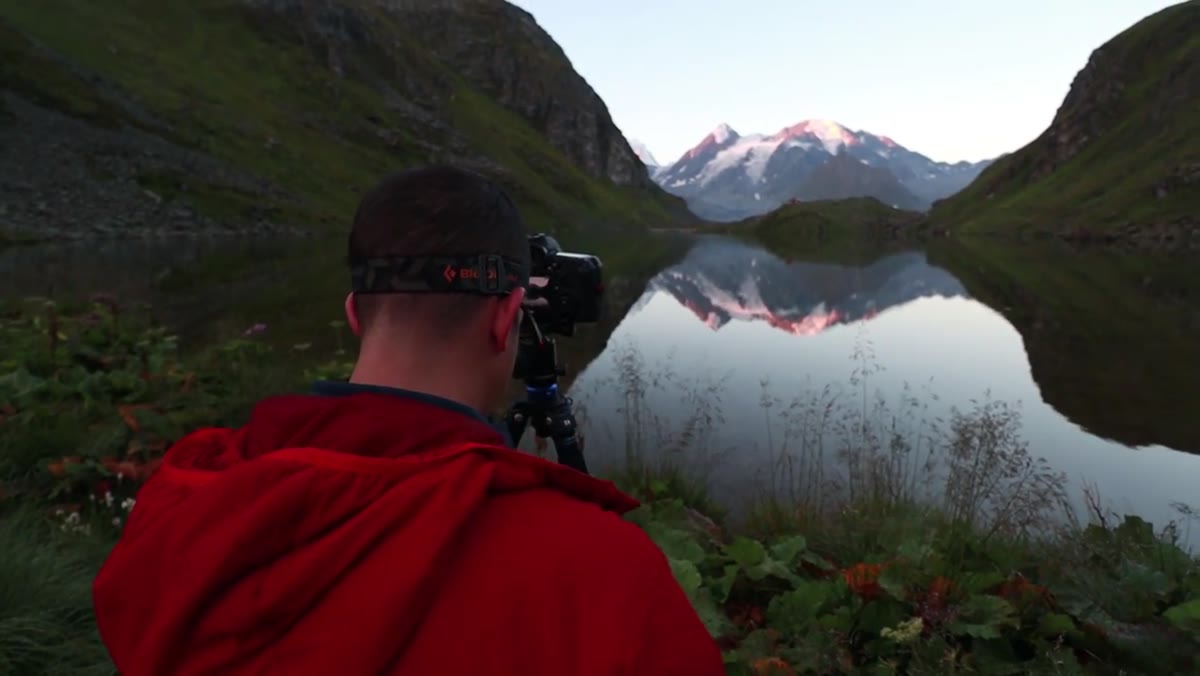 Heaton filming at lakeside at golden hour, camera already framed up
Heaton opens at the lake with his camera already positioned and composed before he starts talking to the viewer. That sequencing matters. He didn’t arrive and then figure out what to shoot. He arrived, assessed, and committed to a setup, even while acknowledging he wasn’t fully certain the image would work. This is how productive field sessions run. Before you set your bag down, take five minutes to walk the scene without your camera and identify two or three potential compositions. Then choose one and build your shot before the light peaks.
Step 2: Resist the Shot You Already Have
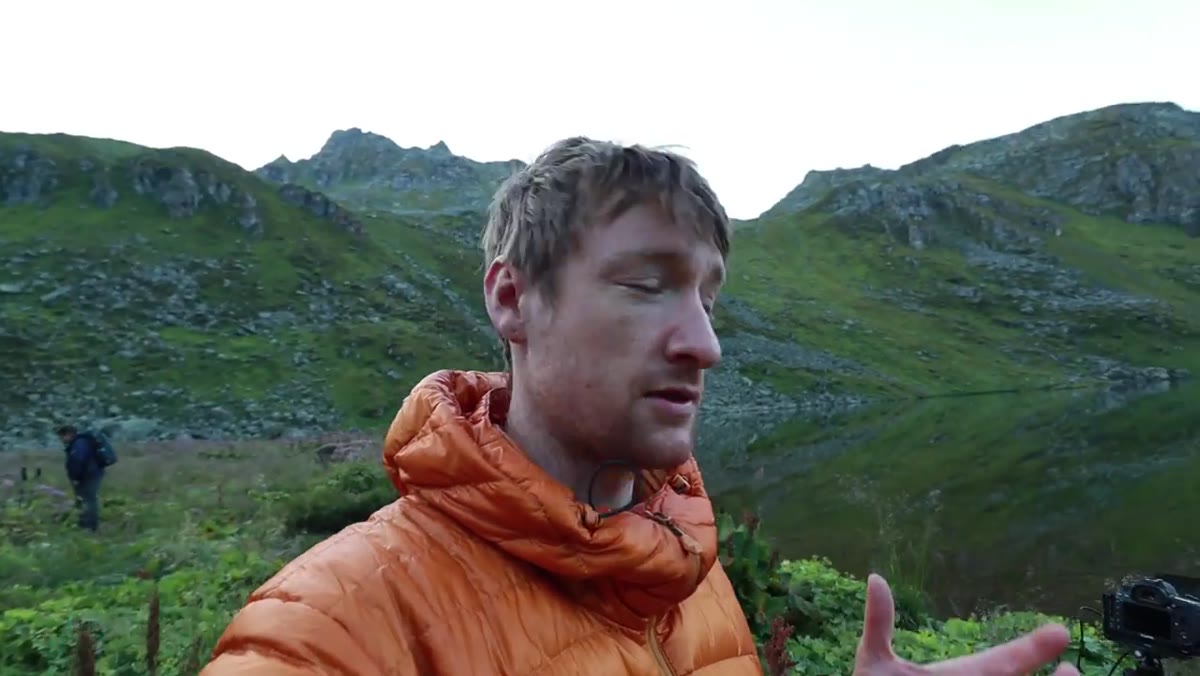 Heaton discussing his decision to avoid the classic reflection shot
Heaton makes a deliberate choice not to recreate the clean reflection image he captured at the same location the previous year. Instead, he introduces tall foreground grasses, close enough to require careful focus stacking, to add a new visual layer. This is a discipline worth practicing consciously. If you return to a location you’ve shot before, give yourself a rule: the image you made last time is off the table. Force yourself to find a different anchor, a different foreground element, a different crop ratio. Heaton goes square here, which shifts the compositional weight entirely and gives the grasses equal presence with the mountain ridge behind them.
Step 3: Use Extreme Foreground to Create Depth
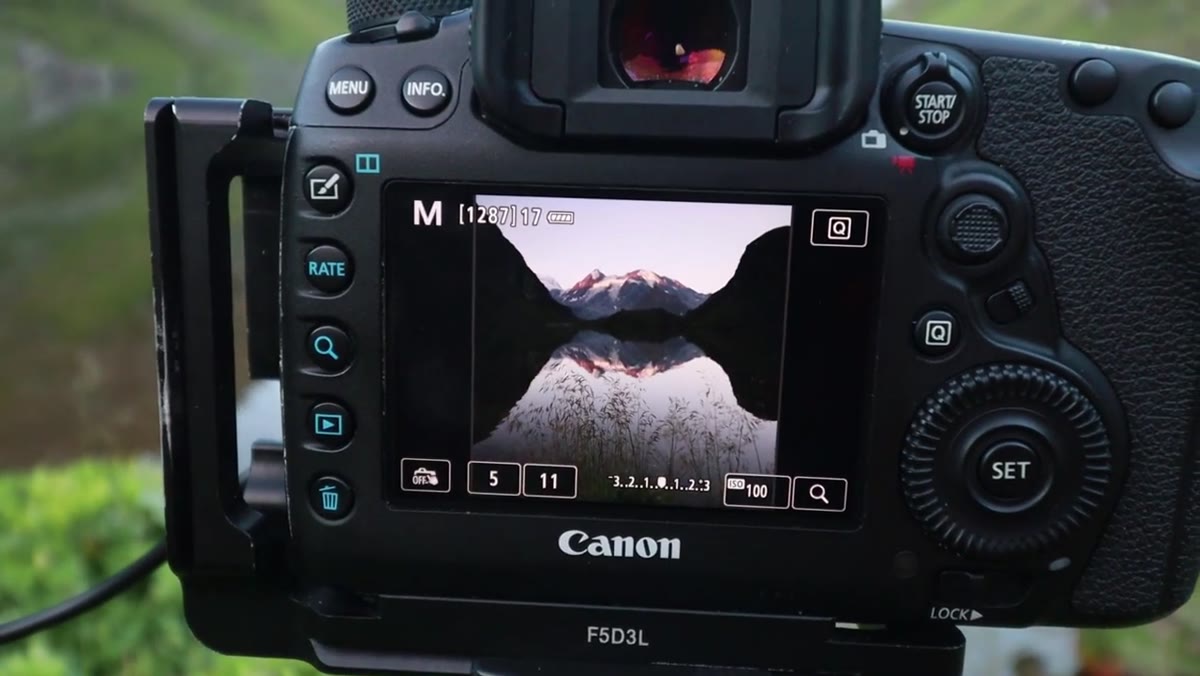 Camera framed with tall grasses approximately one foot from the lens
When Heaton describes his foreground grasses sitting roughly a foot from his lens, he’s working with a technique that fundamentally changes how a viewer moves through an image. Objects that close to the glass, when combined with a subject miles in the distance, create a sensation of depth that a clean midground composition simply can’t match. To pull this off, you’ll need a small aperture (f/11 to f/16 depending on your format), focus stacking if your near element is truly within inches of the lens, and a tripod that lets you fine-tune your field of view without bumping the composition. The instability of tall grass in wind adds another variable. Shoot a higher number of frames than you think you need.
Step 4: Keep Moving Between Locations to Build a Broader Edit
 Map overview showing the multi-day route between mountain huts and glacier
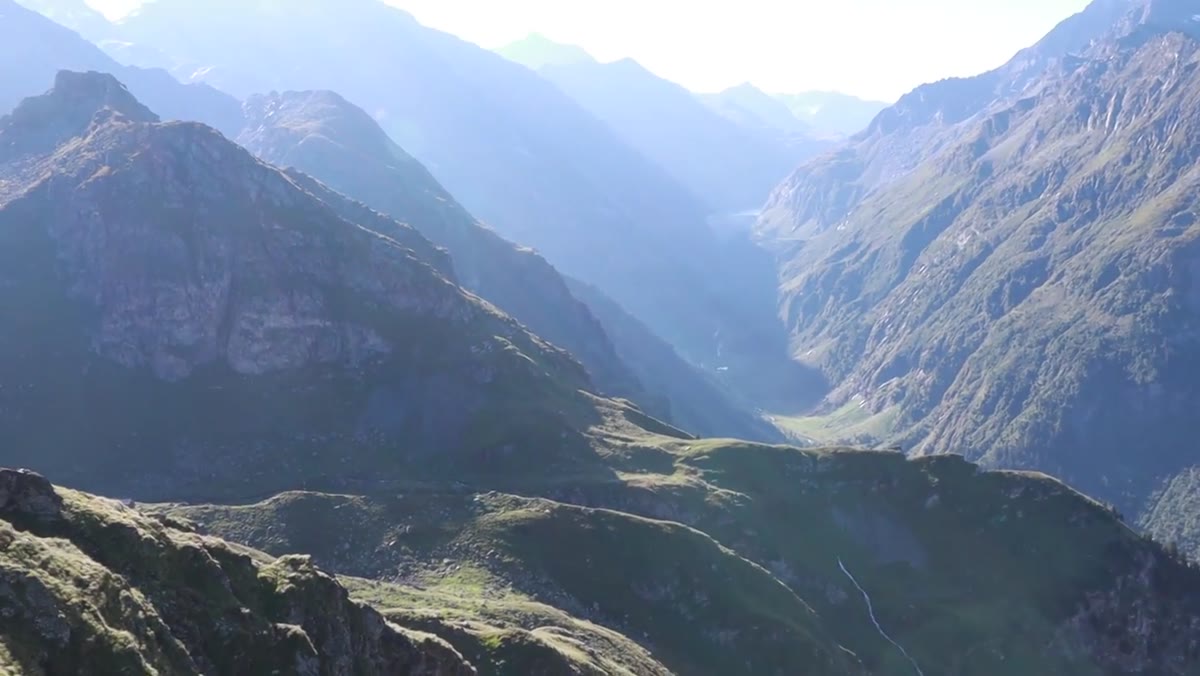
One of the structural decisions Heaton made for this workshop was routing the group through multiple distinct environments over several days, from above the treeline to glacier terrain to lakeside. This isn’t just good logistics for a workshop leader. It’s a model for how to build a shoot with variety. When I plan a multi-day trip, I map out at least three significantly different landscape types within the region: elevation change, water proximity, and vegetation density are my usual variables. A single location, shot across one day, tends to produce a tight cluster of similar images. Moving through terrain produces an edit with range.
Step 5: Treat Physical Hardship as Part of the Creative Process
 Group trekking through alpine terrain in the final stretch of the hike
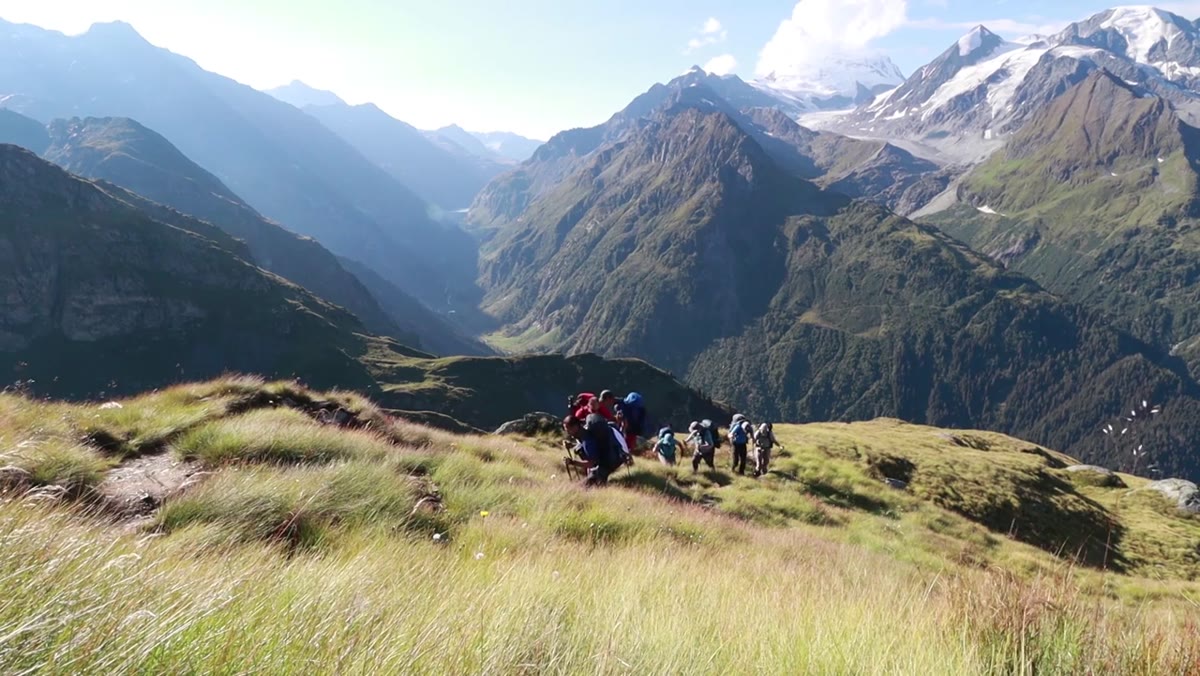
By the final section of the tutorial, Heaton is candid about the group’s exhaustion: physical wear, sleep deprivation from early morning wakeups, and the psychological weight of the end being close but not yet reached. What he describes next is something I’ve felt on every serious mountain shoot. The fatigue strips away the overthinking. You stop deliberating and start reacting. Some of my strongest frames have come from the last hour of a long day, when I’m too tired to second-guess my instincts. Don’t treat exhaustion as an obstacle to creativity. Treat it as a filter that removes your hesitation.
Step 6: Respect the Mountain’s Unpredictability
 Heaton identifying fresh rockfall that wiped out the trail overnight
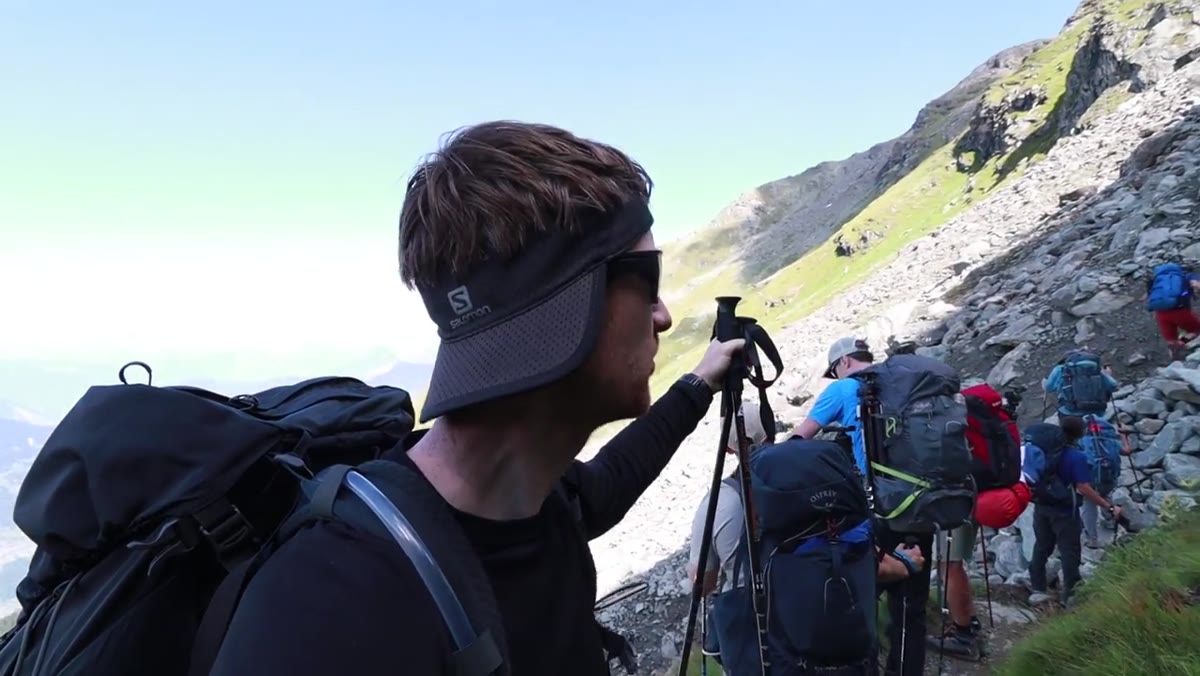
Heaton pauses the group at a section of trail where a significant rockfall, triggered by snowmelt, has completely obliterated the path since his previous visit. He calls it “spicy” but handles it methodically: assess the terrain, move carefully, accept that even familiar routes change. For photographers in mountain or coastal environments, this is a practical reminder to treat every location as if you’ve never been there before. Check conditions before you leave. Know your exit routes. Carry more water than you think you need. The shot isn’t worth a twisted ankle three miles from the trailhead.
What I’d Add From Twenty Years in the Field
Heaton wraps the tutorial with an honest reflection on what the group gained beyond photography: physical endurance, shared experience, and the particular bond that forms when people suffer comfortably together toward something they love. I’ve seen this in every workshop I’ve run. The best learning doesn’t happen during the composition lecture. It happens on the walk out, when someone asks a quiet question about why a shot didn’t work and the conversation goes somewhere real.
My one addition to everything Heaton covers here is this: journal the location before you pack out. Not your images. The light. The smell of the air. What the grass sounded like in the wind. What you felt in the moment before you pressed the shutter. A mentor told me early in my career that the mountain doesn’t care about your schedule. What he meant was that emotional memory, not technical recall, is what brings an image to life when you’re back home at the editing desk. The field notes I wrote at 5am in a sleeping bag in the Cascades have shaped more of my work than any post-processing tutorial I’ve ever watched.
The single most important lesson in this tutorial is also the simplest: show up every day with intention, and the light will meet you. Not always as you expected. Sometimes better. Watch Heaton prove it across three days of Swiss alpine terrain here: Watch the full tutorial on YouTube
Comments
Leave a Comment