I’ve spent two decades chasing light across high desert, alpine tundra, and volcanic coastline. Portraits aren’t my primary work. But light is, and lately I’ve been asking myself a harder version of a question I thought I’d already answered: not just when to shoot, but how differently I should be working when the same location shifts from golden to blue. I kept defaulting to golden hour out of habit, packing up before blue hour ever fully arrived. That felt like leaving money on the table.
That’s what drew me to this tutorial. Watch the full tutorial on YouTube — it’s behind-the-scenes footage from a Tony & Chelsea Northrup outdoor portrait workshop held in New York City’s Meatpacking District, and it covers a lot of ground fast: graffiti walls, softboxes, a 600mm lens at blue hour, and the specific decisions that change between those two windows of light. As a landscape shooter who occasionally leads workshops myself, I found the gear logic and location sequencing genuinely useful.
Why Location Order Is Actually a Lighting Decision
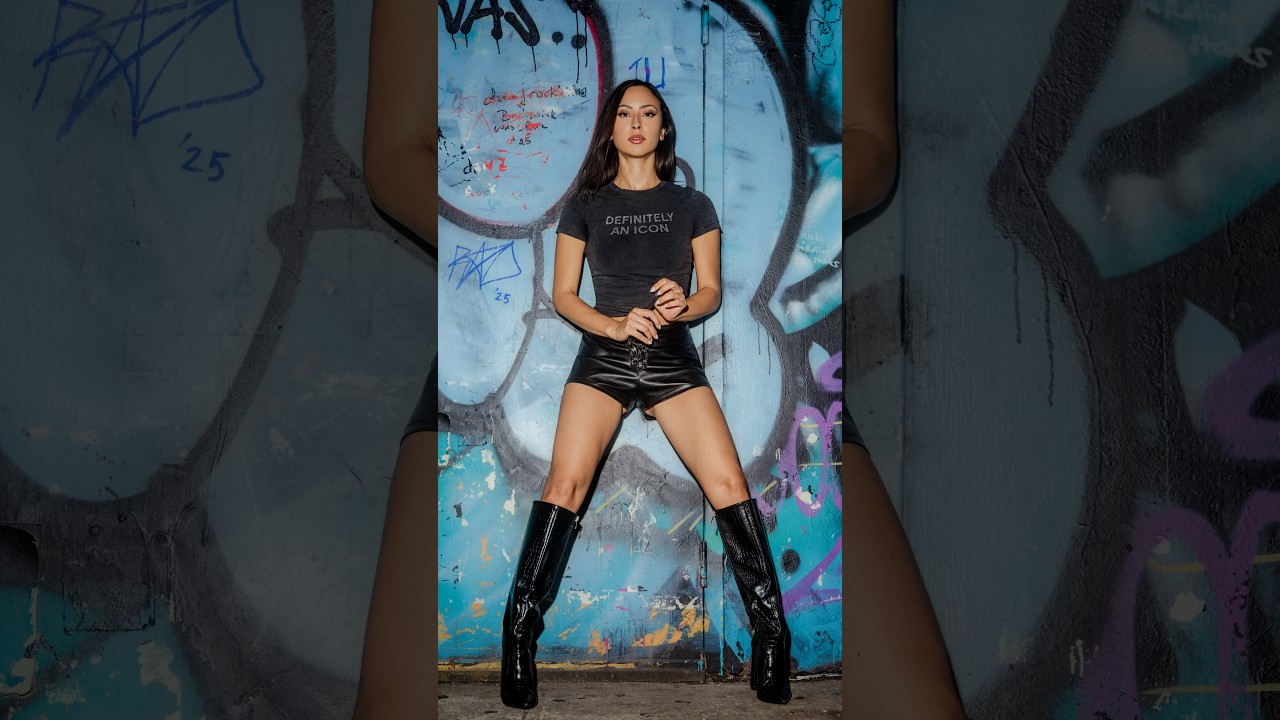
The workshop moved through three distinct locations: a graffiti wall, the Hudson River waterfront at golden hour, and the Meatpacking District after dark at blue hour. That sequence isn’t arbitrary. They started at the graffiti wall while the light was still too harsh for flattering natural portraits, using one handheld flash and a five-foot softbox to manufacture the light they needed. The wall gave them graphic color and texture without depending on ambient conditions. When the sun dropped low and golden, they moved to the open waterfront where that warm directional light could do the heavy lifting. Then, as the sky transitioned to blue, they pulled out the Canon RF 600mm f/4 to compress the city lights into creamy bokeh behind the subject.
The lesson here isn’t about any single piece of gear. It’s about matching your location to the quality of light available at that specific moment in the evening. I’ve walked past gorgeous walls and murals at golden hour thinking “that’s a midday spot.” It’s not. It’s a flash spot, which means it’s any time spot if you’re willing to carry the light with you.
Working a Graffiti Wall with Flash: The Setup That Buys You Flexibility
At the graffiti wall, the team used a single handheld flash paired with a five-foot softbox. A softbox that size does something meaningful: it creates a light source large enough relative to the subject to produce soft, wrapping shadows that don’t fight the busy background. One common mistake with flash near colorful walls is using a hard, small source that creates competing shadow lines. The large softbox prevents that by spilling light gently across the subject’s face without creating a second aggressive graphic element in the frame.
Handheld here matters too. Mounting a softbox that size on a stand in a busy urban environment is a liability, both logistically and creatively. Handheld keeps you mobile and lets an assistant adjust the angle shot by shot, which you can’t do quickly with a stand on uneven pavement. Kash, shooting on a Sony 50-150mm f/2, would have had a subject rendered clean against the wall while that soft flash filled shadows the ambient street light couldn’t reach.
The Hudson River at Golden Hour: Letting the Light Lead
When they moved to the Hudson waterfront, the flash stayed in the bag. Golden hour light from the west over water is directional, warm, and inherently flattering. You don’t fight it. You position your subject relative to it. The Northrups were working with that low raking light as their key source, the open sky and water as natural fill. No artificial light needed. This is the cleaner, simpler part of the evening to shoot, which is probably why most photographers pack up after it.
The skill being demonstrated here isn’t technical, it’s restraint. Knowing when to put the gear down and let the conditions work is something I’ve had to actively practice. A mentor of mine used to say the mountain doesn’t care about your schedule, and I’ve carried that through every pre-dawn hike I’ve done since. The light doesn’t conform to your setup. You conform to it.
Blue Hour and the 600mm: Compression as the Tool
This is the part I found most instructive. At blue hour, the Northrups brought out the Canon RF 600mm f/4. That focal length at f/4 in the Meatpacking District does one specific thing: it turns city lights at distance into large, overlapping circles of bokeh that effectively become the background. The subject is sharp. Everything behind them dissolves into warm colored orbs against the cool blue ambient sky.
The exposure balance at blue hour is more forgiving than most photographers expect. The sky holds enough luminance to register as a natural-looking background without going full black, and the city lights add color that golden hour simply can’t replicate. The challenge is subject brightness. At this focal length, you’re likely standing a significant distance from your subject, which makes any flash impractical. A reflector won’t reach. You’re relying on nearby ambient sources, streetlights, lit storefronts, or a small battery-powered LED panel positioned close, to keep the subject’s face readable.
Where I’d Push This Further in My Own Work
For landscape work with a human element, my one extension to this approach would be scouting with blue hour as the primary target rather than the bonus. I’ve found that blue hour in mountain environments has the same sky quality they’re using here in the city, but without the artificial light infrastructure to illuminate a subject. That gap forces you to solve the lighting problem in advance, which usually means a small LED panel, a willing assistant, or positioning your subject against reflective rock or snow that bounces whatever ambient light exists. The technique scales. The gear demands change.
The core insight from this tutorial holds across all of it: golden hour and blue hour are not interchangeable. They each demand a different approach, different locations, and different tools. Treating them as one continuous “magic hour” means you’re probably underusing half of it.
Watch the full tutorial on YouTube to see the actual footage and the visual difference between the golden and blue hour shots side by side. That comparison alone is worth the time.
Comments
Leave a Comment