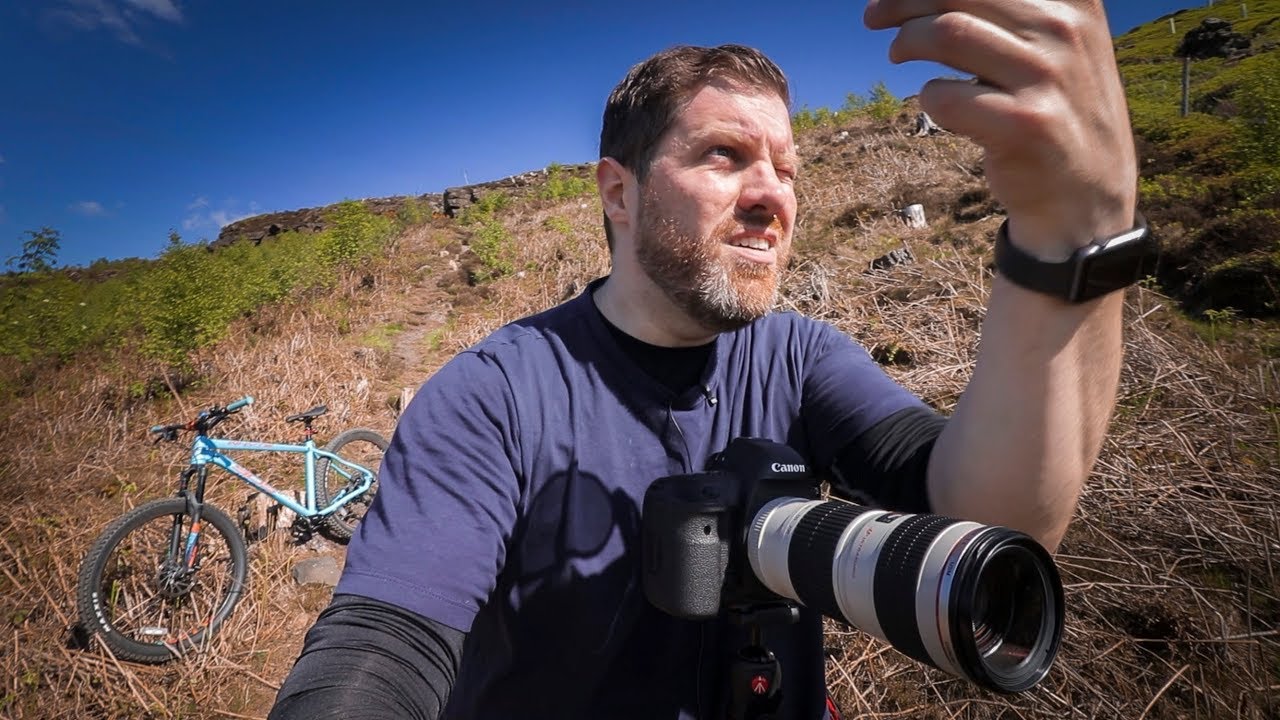
I’ve spent twenty years loading up a truck before dawn, driving to locations, and hauling a full kit to a single spot. The car has always been the unspoken center of my workflow. Tripod, multiple lenses, filter system, backup body, snacks for a long wait. I rarely question it. But every so often a video comes along that makes me stop and rethink a habit I didn’t even know I had.
In this First Man Photography tutorial, Watch the full tutorial on YouTube, the creator takes his mountain bike out into the North Yorkshire countryside instead of driving to a spot. The premise sounds almost trivially simple. But the implications for how you pack, what you shoot, and how you think about composition in imperfect light are genuinely worth unpacking. I watched it twice and came away with a few ideas I’m already folding into my own practice out here in the high desert of Oregon.
The broader problem he’s solving is one I recognize immediately: we over-rely on the car, which means we over-rely on the same access points. The bike forces a different relationship with the land, and with the gear you carry into it.
Step 1: Commit to a Minimal Kit Before You Leave the House
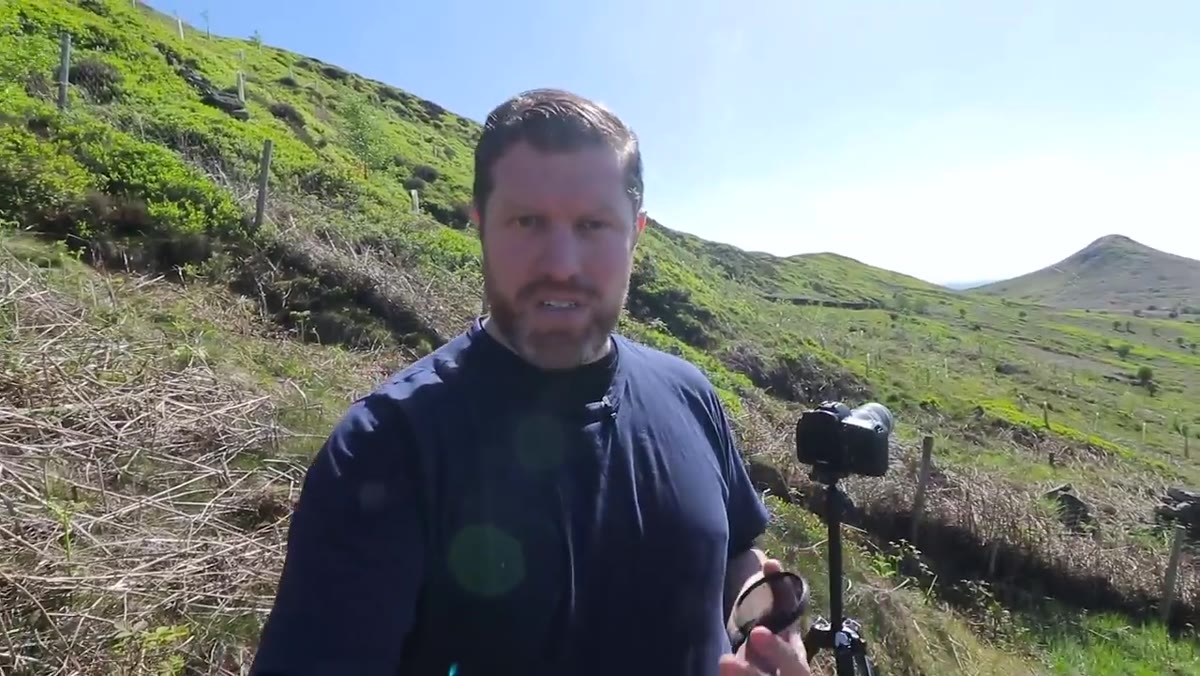 Photographer listing lenses and filters left behind at home
The first real decision happens before you clip into the pedals. Riding a bike means you’re carrying everything on your back or in a frame bag, and weight is not abstract anymore. In this tutorial, the photographer deliberately left his 24-70mm lens at home along with most of his filter system. What he brought was stripped down to a telephoto zoom and a single 77mm circular polarizer.
I’ve done enough backcountry hiking to understand this trade-off intuitively, but applying it to a bike ride in accessible countryside is a different kind of discipline. You’re not being forced to go light by altitude or terrain. You’re choosing to. That choice shapes every creative decision that follows, which is actually a useful constraint. Think carefully about which one lens covers the most of what you’re likely to encounter, and leave the rest.
Step 2: Accept the Light You Have and Plan Around It
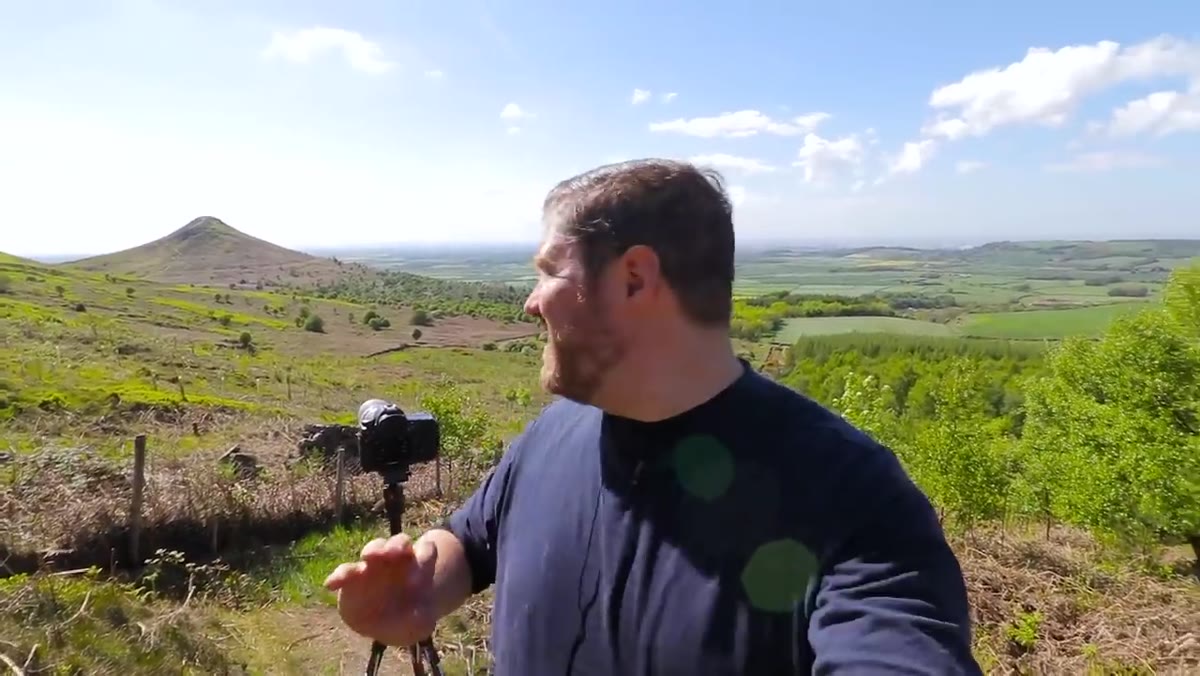 Wide countryside scene under high midday spring sun
The shoot begins around half past two in the afternoon, deep into a spring day with the sun sitting high and hard in the sky. This is not golden hour. It is not blue hour. It is exactly the kind of light most landscape photographers either wait out or drive home from. The tutorial doesn’t apologize for this. Instead, it treats the harsh midday contrast as a specific creative condition to work with rather than a problem to avoid.
The decision made here is important: high-contrast midday light maps well onto black and white photography. Harsh shadows and blown-out highlights that would flatten or muddy a color image become graphic, structural elements in monochrome. If you’re going to be out on a bike in the middle of the day, you might as well plan ahead and set your creative intention to black and white from the start. I’ve found the same thing holds in the flat scrublands east of Bend in summer. Midday color is often a mess. Midday black and white can be severe and beautiful.
Step 3: Let the Bike Take You to Unexpected Compositions
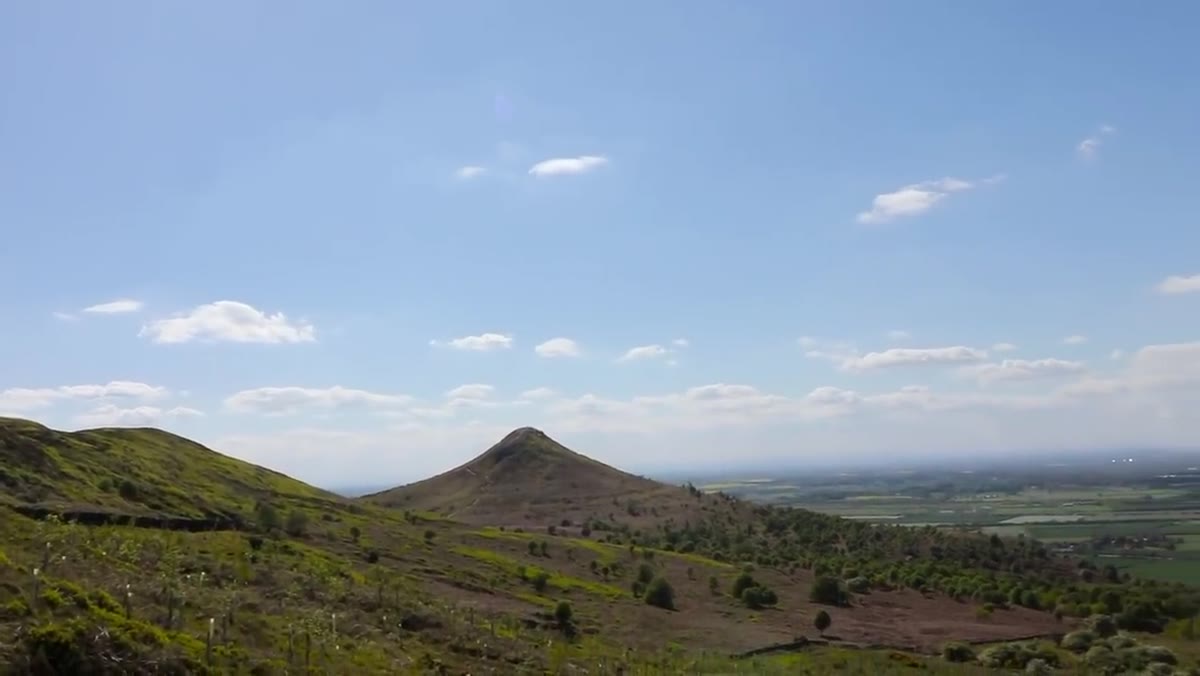
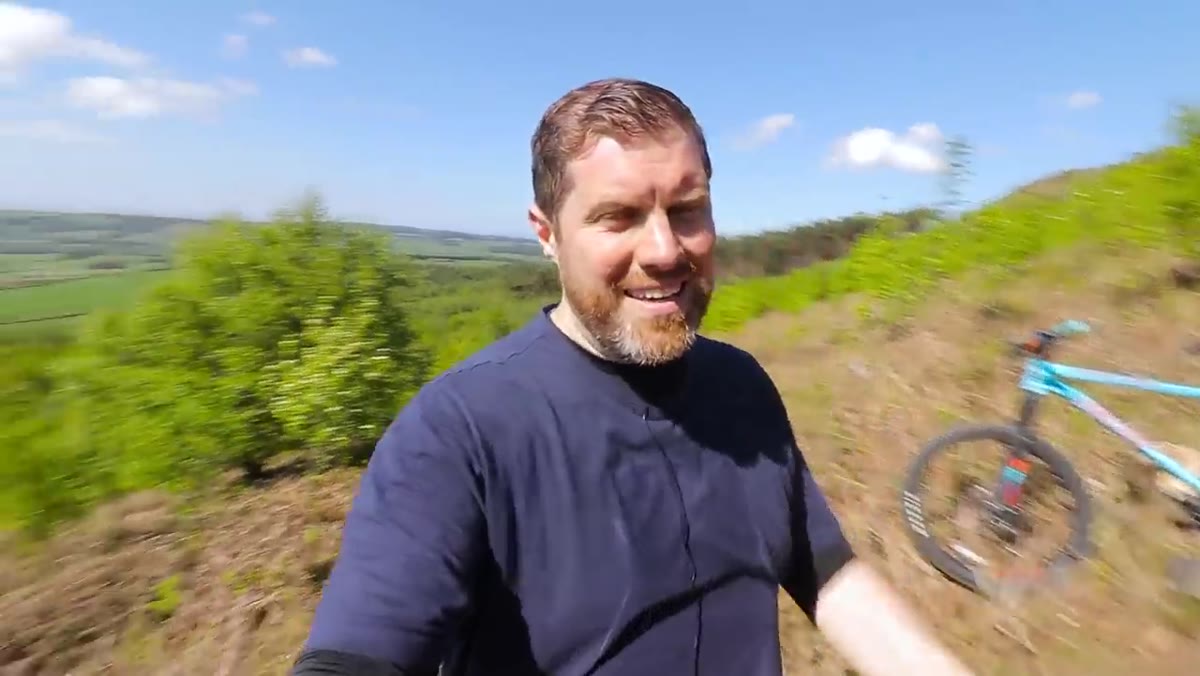 View from slightly wrong trail revealing Roseberry Topping in background
One of the more quietly interesting moments in the video comes when the photographer takes a wrong turn on the trail and ends up looking at Roseberry Topping from an angle he hadn’t planned for. Rather than backtracking immediately, he stops and reads what the landscape is offering. The unplanned vantage point shows the hill from a fresh perspective with the tree-scattered field in the foreground creating a layered composition he might never have found from the road.
The bike enables this kind of serendipity in a way that driving doesn’t. You’re moving at a pace where you can actually see. I’ve had the same experience hiking, and my mentor once told me that the mountain doesn’t care about your schedule. The bike version of that lesson is: the trail doesn’t care about your shot list. Stay open.
Step 4: Use the Rule of Thirds to Lock In Your Horizon Placement
 Camera viewfinder showing horizon placed at lower third with clouds filling upper frame
With the composition roughly identified, the tutorial moves into the specifics of framing. Using a 70-200mm lens, the photographer zooms in to tighten the relationship between the distinctive peak of Roseberry Topping and the clouds sitting just above the horizon. The key framing move is placing the horizon line at the lower rule-of-thirds boundary, which gives the upper two-thirds of the frame to the sky and cloud structure.
This is a technique that rewards restraint. The instinct with a dramatic peak is to center it or push it higher in the frame. Keeping it low and letting the cloud mass dominate creates tension and scale. The mountain reads as smaller and more monumental at the same time. Try it with your telephoto and you’ll see it immediately.
Step 5: Add a Circular Polarizer to Build Sky Contrast
 Circular polarizer being attached to lens in the field
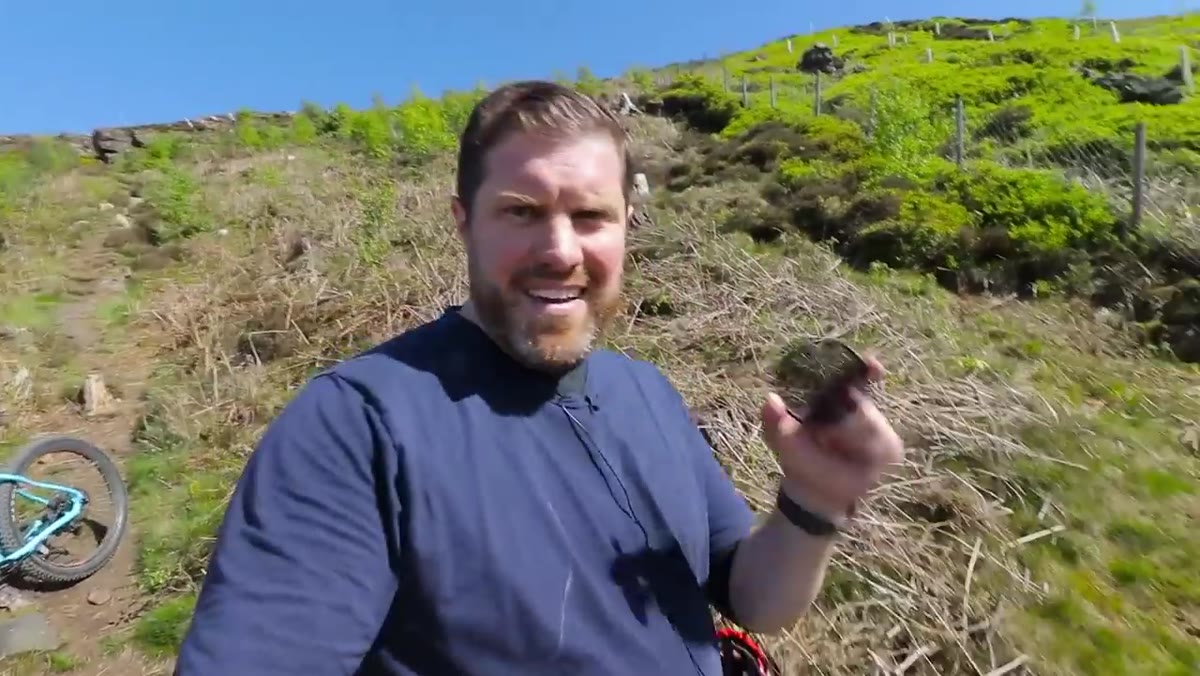
Even with a stripped-down kit, the photographer carried one filter: a circular polarizer. In the field, he explains why. A polarizer deepens the blue saturation of the sky, increases overall contrast between the sky and clouds, and cuts through some of the haze sitting over the landscape. In a black and white image, that increased contrast is the difference between a flat gray sky and one with real drama and separation.
The caveat he notes is that his polarizer didn’t perfectly match the lens he was using, because he had to leave the right-sized one behind to save weight. This is a real-world compromise and worth planning for before you go. If you’re consolidating to one lens for a bike shoot, make sure the single filter you carry actually fits it.
The Oregon Extension: When Constraints Clarify Your Vision
Twenty years of carrying every piece of gear I own to every shoot taught me something that this tutorial reinforced from a different angle. The shoots where I’ve edited my kit down, whether by choice or by necessity, are often the shoots where I come home with the clearest, most committed images. Not always the most technically perfect. But the most intentional.
There’s something about knowing you don’t have a backup lens that makes you look harder through the one you brought. The same thing happens when I occasionally load a roll of film. You stop firing speculatively. You start seeing before you shoot.
The bike does the same thing to your photography that film does to your shutter finger. It makes the whole process more considered, because every choice costs something.
The single most important takeaway from this tutorial is that suboptimal conditions are not reasons to stay home. Midday light, a stripped kit, an unplanned route: these are parameters, not problems. Work within them and you’ll often find compositions and creative directions you’d never have reached from the car with a full bag and a golden-hour alarm.
Watch the full tutorial on YouTube and pay particular attention to how casually the photographer adapts when things don’t go to plan. That adaptability is the real skill on display.
Comments
Leave a Comment