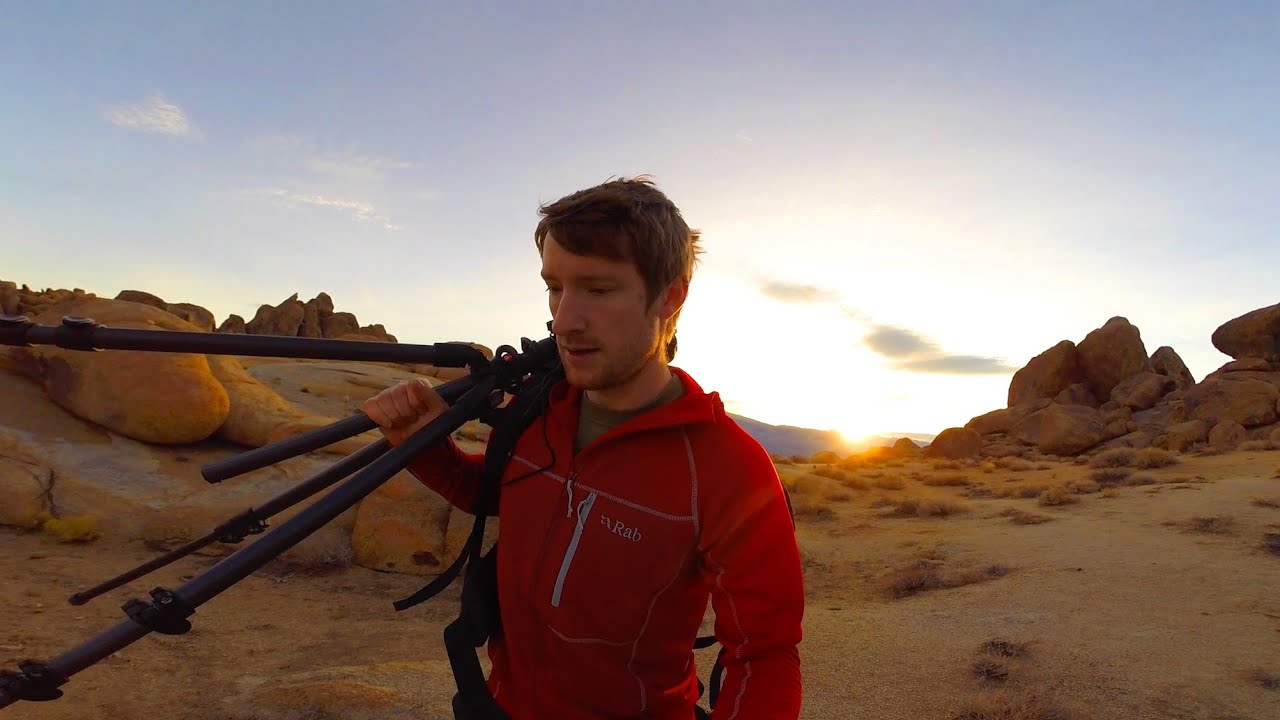
There’s a particular kind of location that looks so spectacular it becomes its own trap. Too much to photograph, no obvious composition, and a clock ticking toward first light. I’ve stood in places like that more times than I can count, usually with my hat pulled low and a thermos getting cold in my pack, wondering why I can’t just pick something. The Alabama Hills outside Lone Pine, California is exactly that kind of place. Ancient boulders the size of houses scattered across the desert floor, with the Eastern Sierra Nevada rising behind them like a painted backdrop. It looks easy until you’re standing in the dark at 5am surrounded by a thousand possible frames.
In this Thomas Heaton tutorial, he works through a real sunrise session in the Alabama Hills, and what makes it worth studying isn’t just the location. It’s how he manages uncertainty, commits to a primary shot, and still comes away with usable work when the light doesn’t cooperate exactly as planned. Watch the full tutorial on YouTube before or after reading this breakdown, and you’ll get something from both.
Step 1: Arrive Early Enough to Scout in the Dark
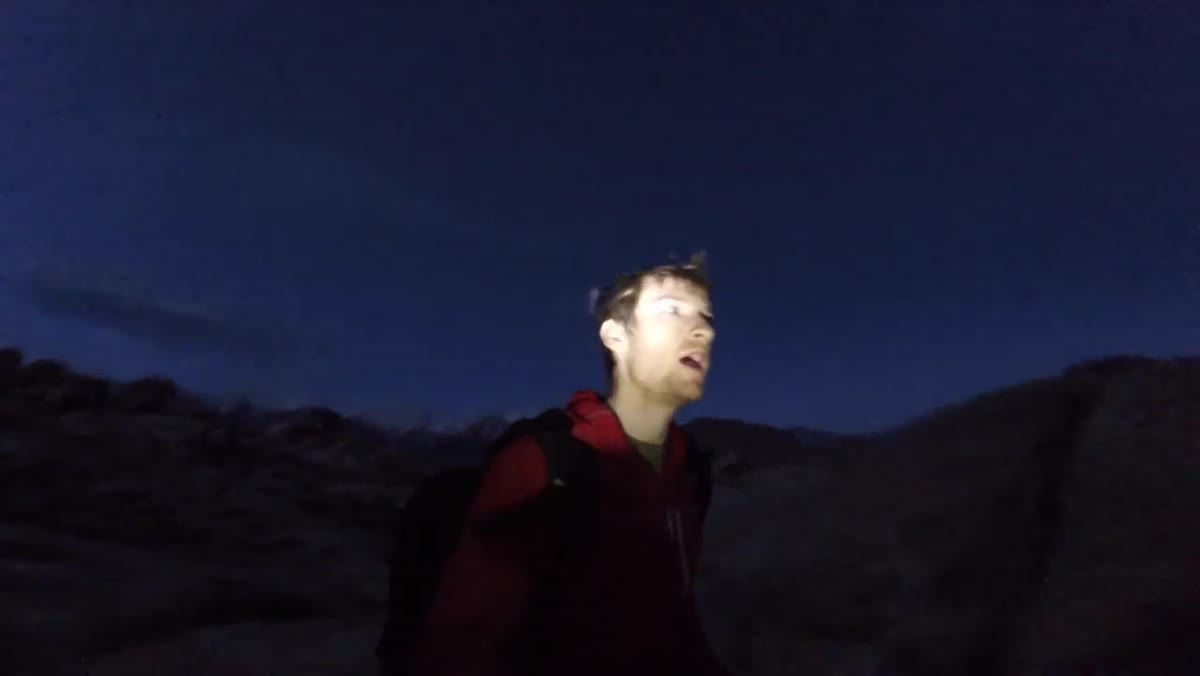 Heaton standing among large boulders in pre-dawn darkness
Heaton arrives at the Alabama Hills well before first light, and the darkness is clearly part of the plan, not an inconvenience. He uses that pre-dawn window to physically move through the boulder field, feeling out the spatial relationships between the rocks in the foreground and the mountain ridgeline behind. You cannot do this effectively if you show up at golden hour already scrambling. Give yourself a minimum of 30 to 45 minutes before expected sunrise, enough time to reject two or three compositions before you commit to one.
In terrain like this, bring a headlamp with a red-light mode so you’re not blowing out your night vision while you work. Walk the scene first, then set up your tripod.
Step 2: Visualize One Primary Shot Before You Do Anything Else
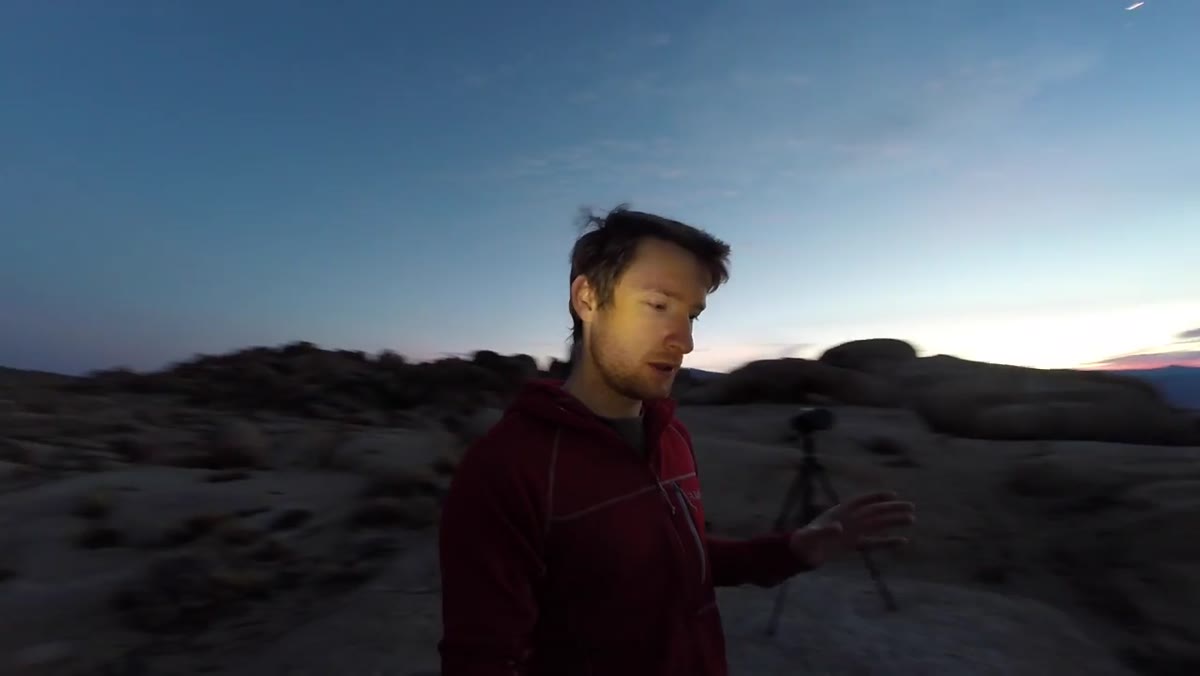 Heaton speaking to camera about targeting a single image
This is the most transferable advice in the whole video, and the one most photographers ignore. Heaton is explicit: come to a sunrise shoot with one pre-visualized image in your head. Not a mood, not a general area, not a “see what the light does.” One specific frame. For him it’s the Sierra peaks catching the first red-pink light of morning, with textured boulders anchoring the foreground on roughly the lower third of the frame.
My old mentor used to say the mountain doesn’t care about your schedule, and he was right. But you can care about yours. Having a target shot means you know exactly where to be and when. Everything else that morning becomes a bonus.
Step 3: Read the Light Honestly and Adapt Your Plan
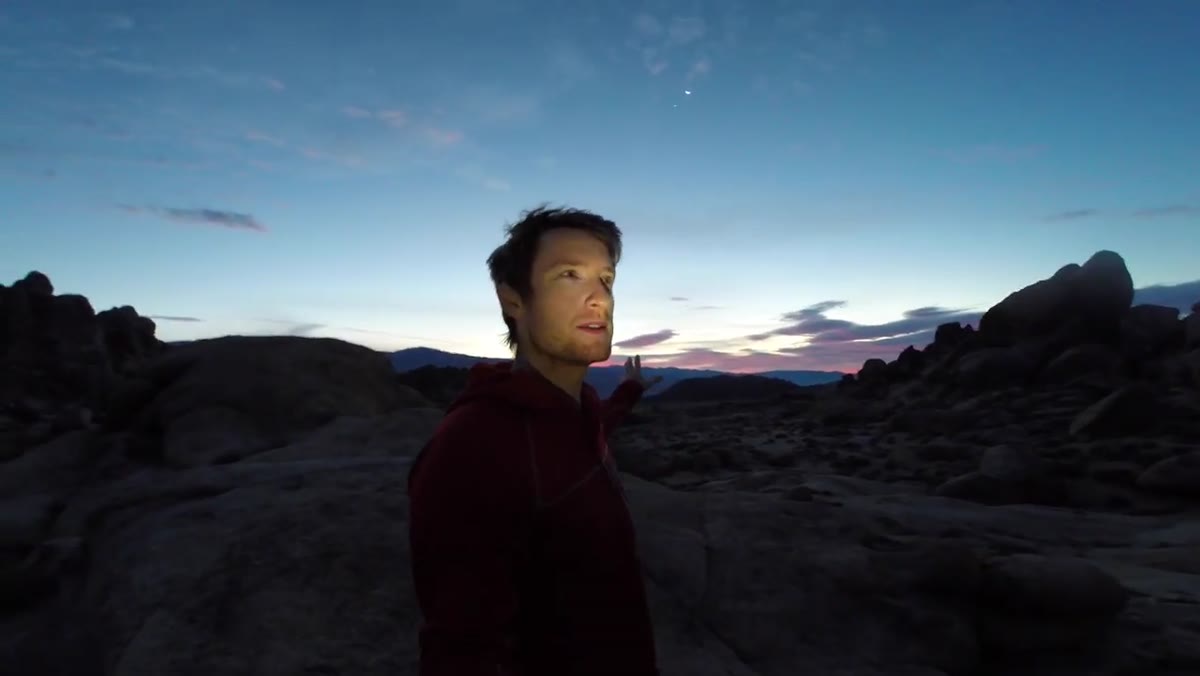 Red pre-dawn sky visible behind Heaton, clouds massing to the east
Heaton spots a problem early. The sky behind him glows warm and red, which would normally be a good sign. But to the east, a bank of cloud is sitting right where the first direct sunlight needs to break through to illuminate the peaks. He acknowledges the concern out loud rather than pretending the shot will materialize anyway.
This is real field discipline. Watch your light source, not just your subject. If cloud is blocking the angle you need, don’t wait in denial until the moment passes. Note the problem early, keep shooting, and start mentally building your fallback. Heaton decides that if the dramatic alpine light doesn’t happen, he’ll expose for a balanced sky-to-foreground ratio and still walk away with a clean panorama.
Step 4: Set Up Your Tripod Level Before Anything Else for a Panoramic
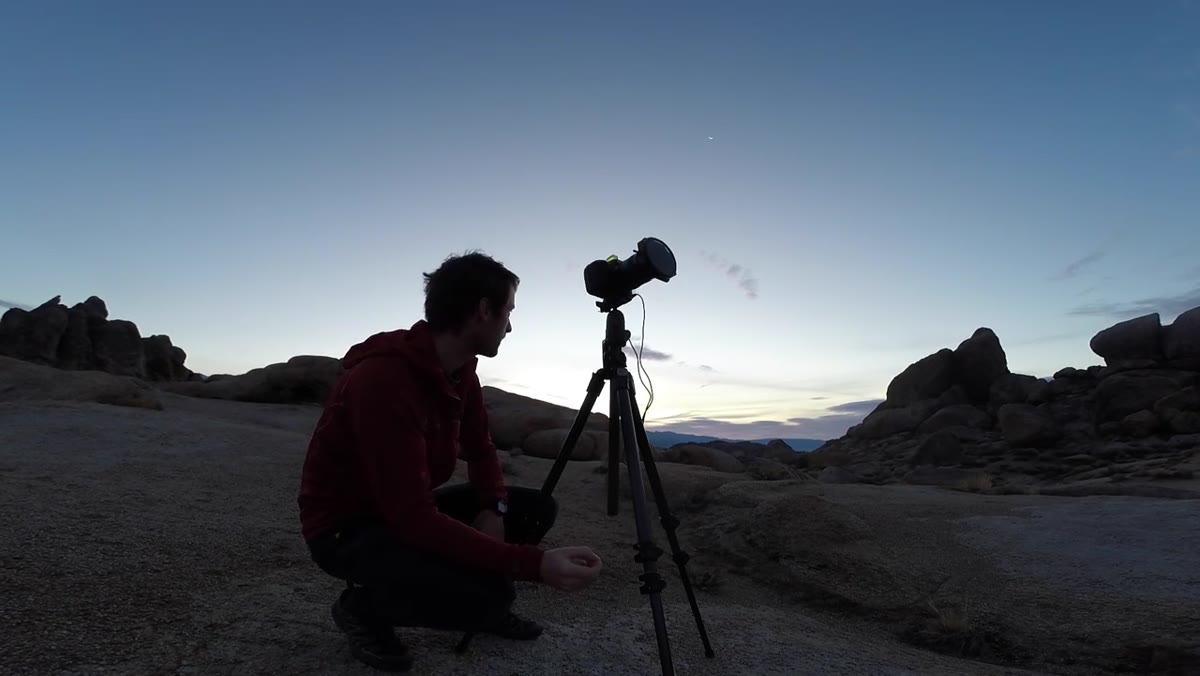 Close-up of tripod head spirit level being adjusted
Heaton is planning to stitch a multi-frame panorama, and he’s firm about this: a level tripod is non-negotiable. If the camera isn’t rotating on a true horizontal plane, the stitching software has to compensate for a tilted arc, which means heavy cropping and you can lose up to half of your final image area.
Take your time with the spirit level. Get the bubble centered before you even think about composition. Heaton uses a ballhead, and he locks the pan axis only, allowing the camera to swing left to right on a perfectly flat plane. He also mentions that while a nodal rail (a piece of hardware that positions the rotation point directly under the lens) can improve stitching accuracy, he’s found that a properly leveled tripod gets the job done in Photoshop or Lightroom’s panorama merge without visible artifacts in most conditions.
Step 5: Keep Your Filter Setup Simple When Shooting Panoramics
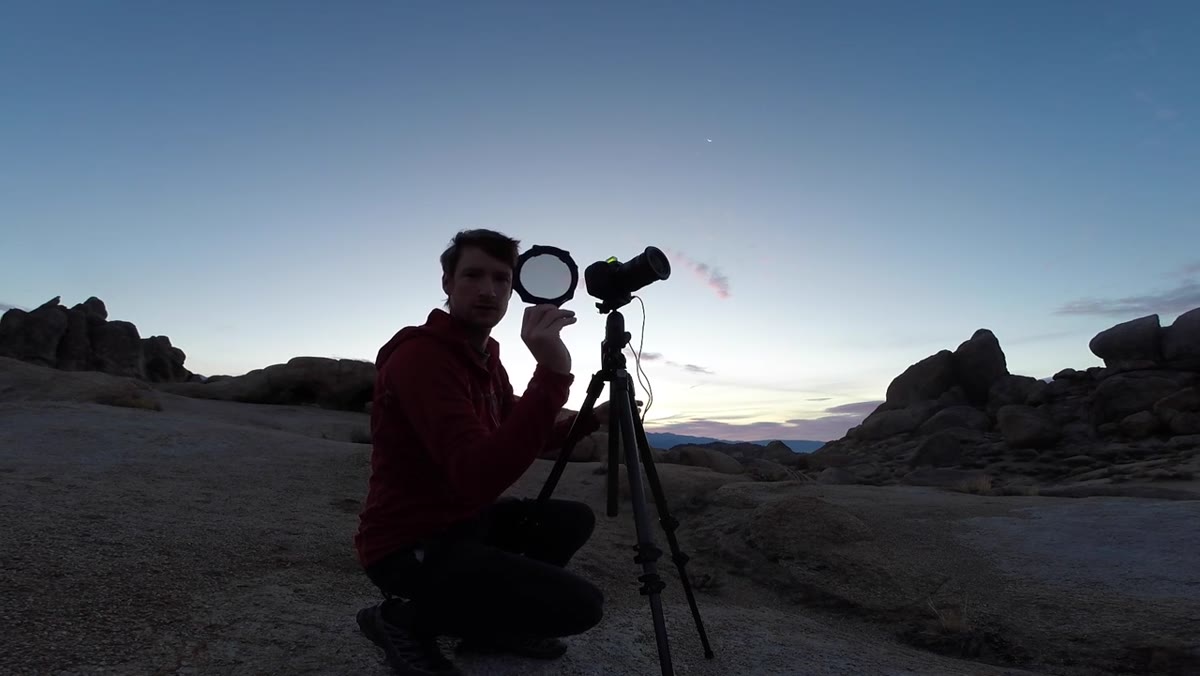 Heaton adjusting a polarizing filter on his lens
For this shoot Heaton uses only a circular polarizer, deliberately leaving his ND graduated filter in the bag. The reason is practical: when you drag a hard or soft grad across multiple frames in a panoramic sequence, the transition line rarely sits in the same place across each shot. The result is a dark band or inconsistent sky tone that’s difficult to correct in post. A polarizer rotates on a fixed axis and affects the whole frame evenly, so it doesn’t create the same stitching problem.
The trade-off is that you’re relying on the dynamic range of your sensor and post-processing to handle the sky-to-ground balance. Shoot in RAW, expose to protect highlights, and recover shadow detail in Lightroom or your processor of choice. If the sky is genuinely blown, bracket your exposures and blend manually in post rather than fighting a misaligned grad transition.
Step 6: Secure Your Primary Shot First, Then Explore
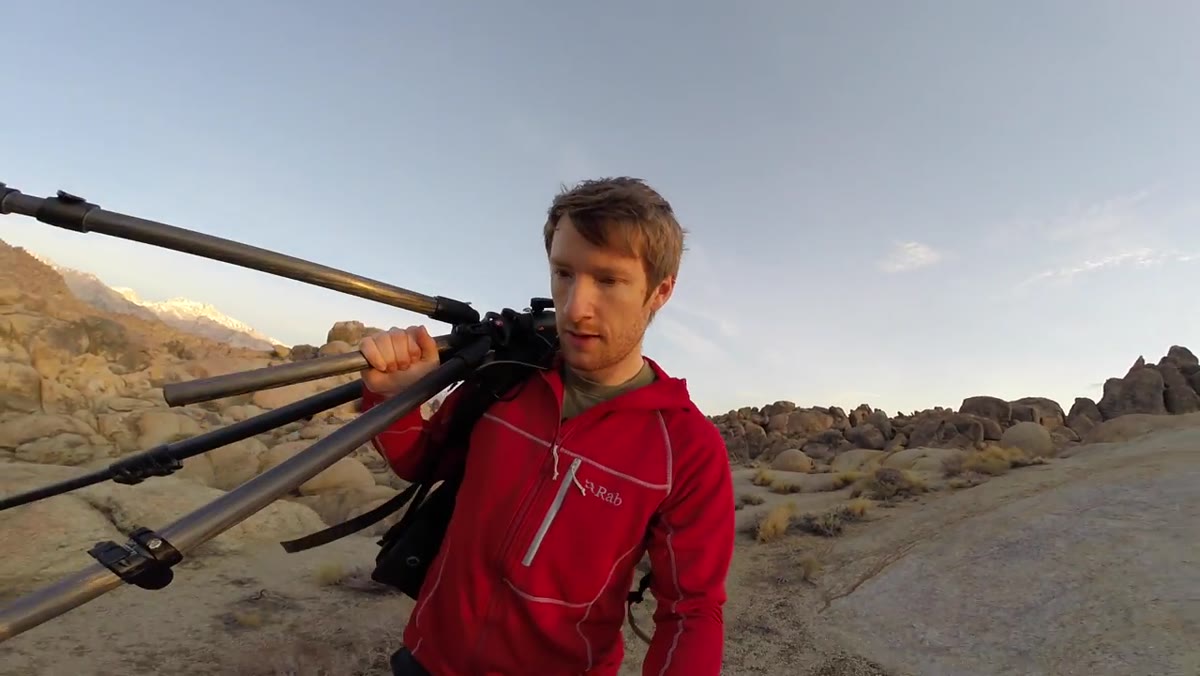 Heaton reviewing the completed panoramic on camera screen
Once the panorama is done, Heaton’s whole energy shifts. He talks about the rest of the morning as free time, and you can hear the difference. No pressure, no clock, just a photographer wandering a remarkable landscape looking for interesting frames. He spots a pair of boulders that would make a strong natural frame and heads toward them with clear enjoyment.
This sequencing matters. Nail the shot you planned, then treat everything else as play. You make better creative decisions without the weight of the primary goal still hanging over you.
What I’d Add: Shoot a Test Panorama the Night Before If You Can
I’ve started doing this on trips where stitching is part of the plan. If I arrive the evening before a sunrise shoot, I’ll put the camera on the tripod at the chosen location and run through a quick panoramic sequence in low light. It’s not a usable set of frames, but it tells me immediately whether my leveling is off, whether my overlap between frames is sufficient (25 to 35 percent overlap per frame is a reliable target), and whether there are compositional problems I need to solve before I’m watching the sky change color at 5am. The Alabama Hills rewards this kind of preparation. So does any location where the foreground is complex and the light window is short.
The single most important thing Heaton demonstrates in this tutorial isn’t a camera setting or a software trick. It’s the decision to show up with a clear intention and the flexibility to execute around imperfect conditions. The light he wanted didn’t fully arrive. He came home with a strong panorama anyway. That’s the real skill.
Watch the full tutorial on YouTube to see how Heaton reads the location and works through the shoot in real time.
Comments
Leave a Comment