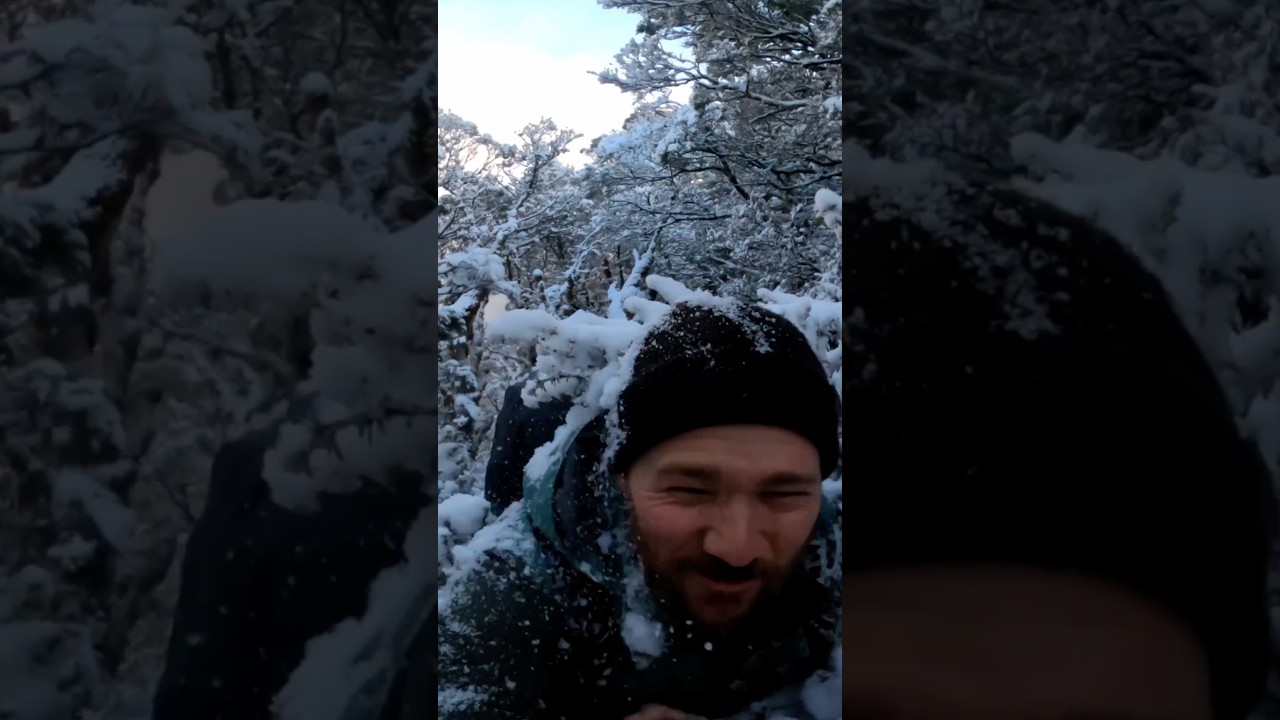
There’s a version of landscape photography that looks like rushing. You see the light breaking and you sprint, you fumble with your tripod, you fire off a hundred frames hoping something sticks. I spent a few years doing it that way. Then a mentor told me the mountain doesn’t care about your schedule, and I’ve been trying to internalize that ever since. What William Patino captures in this short but dense piece of field footage from New Zealand’s South Island is exactly that shift in approach - from reactive scrambling to deliberate presence, even when a snowstorm is bearing down on you.
Watch the full tutorial on YouTube
In this William Patino tutorial, shot during a major snowstorm approaching the South Island, you see what preparation actually looks like in motion. Not a checklist on a desk, but decisions made in the field - when to climb, when to stop, when the light on a ridge or ice on a forest branch is worth more than reaching your planned location. The clip is short, but every second is doing work. Here’s how to apply what he’s demonstrating.
Step 1: Monitor Weather as a Creative Tool, Not an Obstacle
 Hiker ascending into stormy mountain terrain
Most photographers cancel shoots when they see “storm” in the forecast. Patino does the opposite. A major snowstorm approaching the South Island is not a reason to stay home - it’s the reason to go. Heavy weather systems create the kind of dramatic, unpredictable light that clear skies simply cannot. The moment before a storm, and occasionally the breaks within one, produce low-angled light that skims across terrain in ways that make mountains look almost surreal.
Practically, this means checking weather apps that give you more than a simple forecast. I use a combination of a standard weather app and a satellite imagery tool to track cloud movement. What you’re watching for is the transition zone - the edge of a system where clearing and incoming weather overlap. That’s where the magic tends to live.
Step 2: Keep Moving, But Stay Alert to What’s Around You
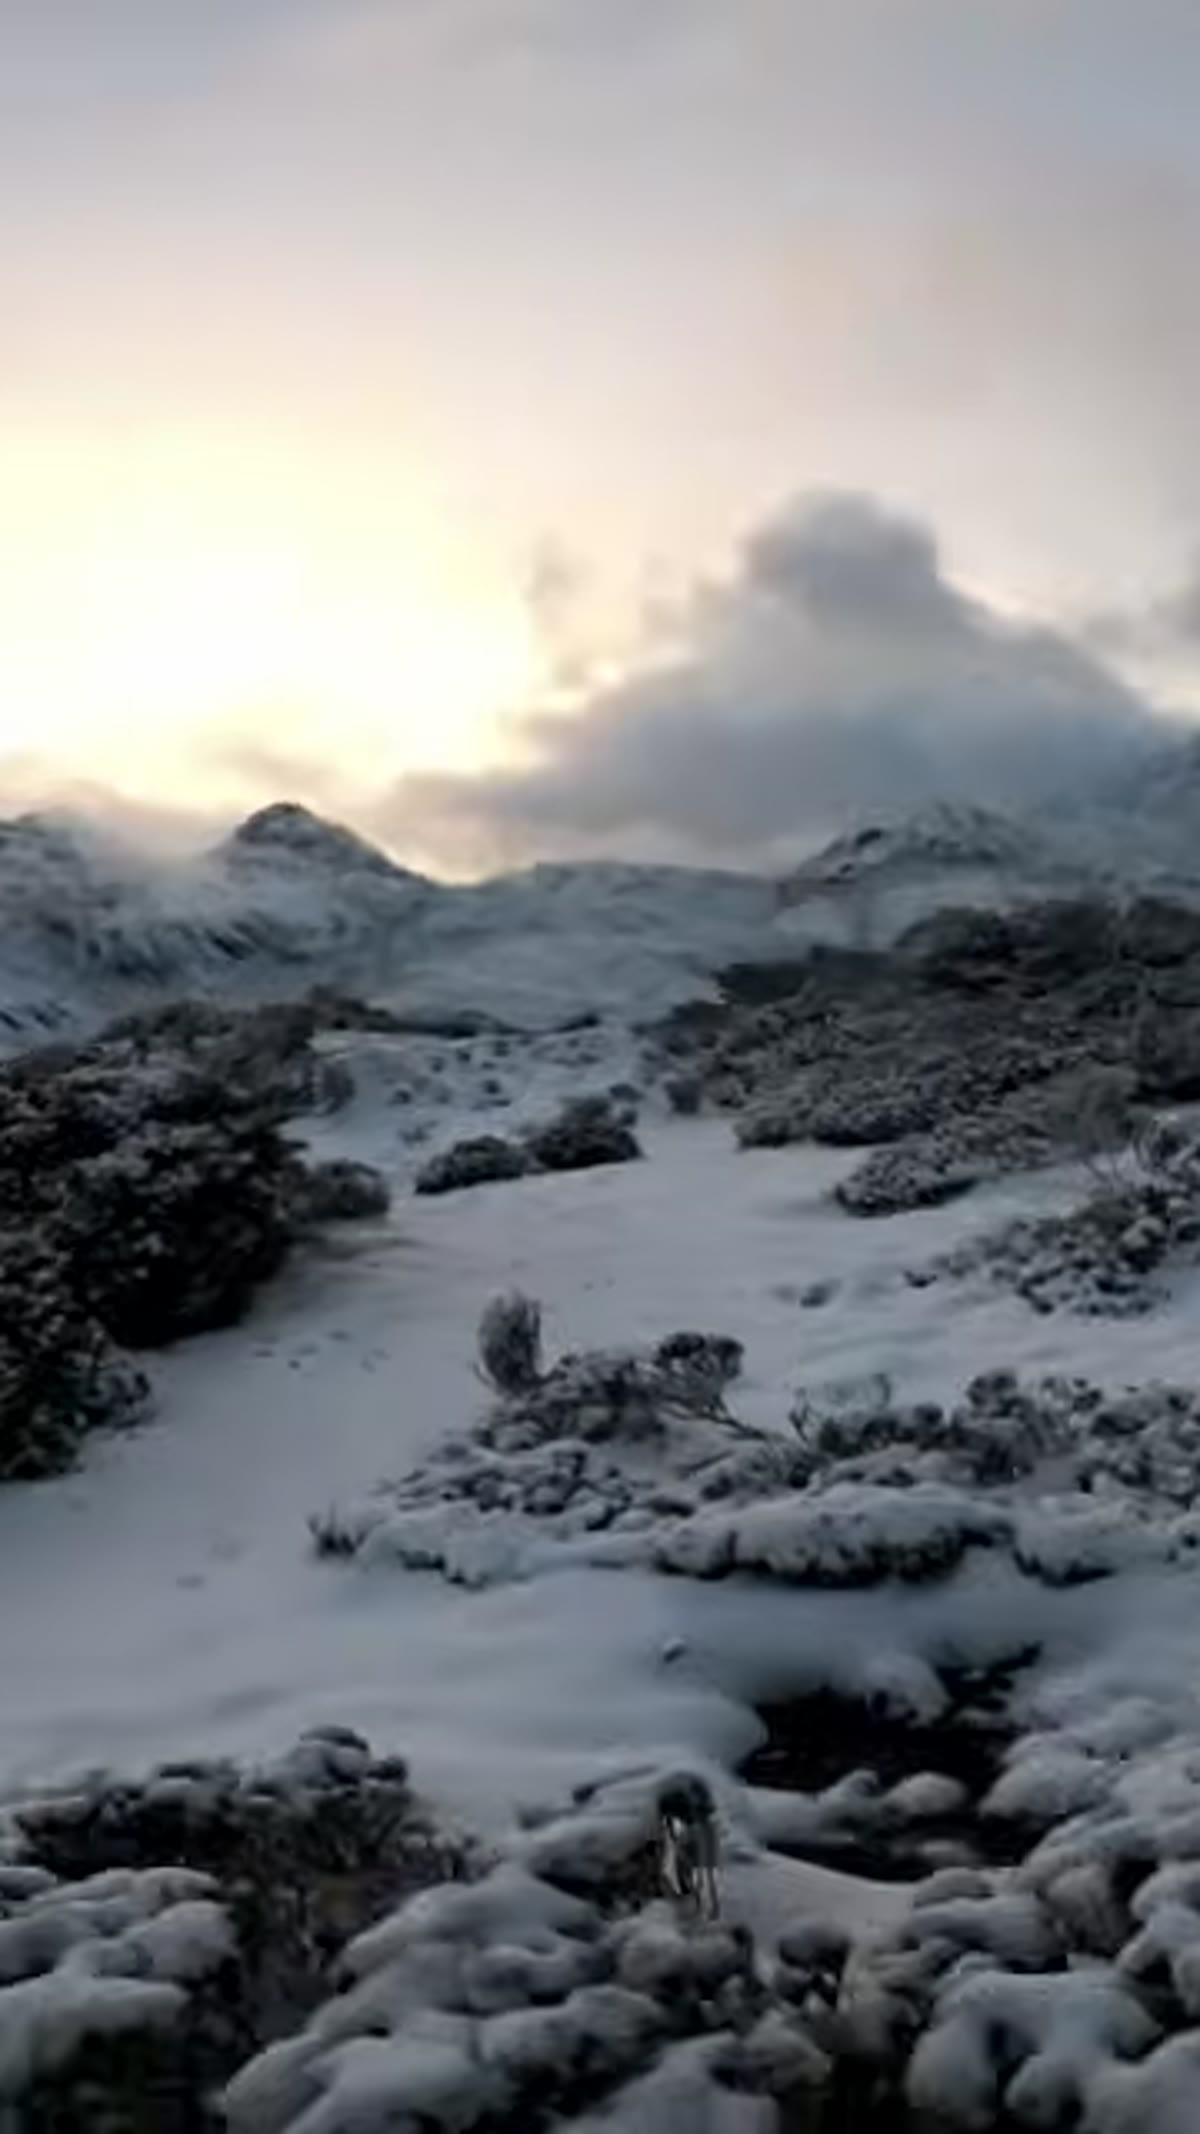 Mountain peaks lit by dramatic sidelight during storm approach
Patino is climbing toward fresh snow when the light hits the peaks, and his instinct isn’t to stop and set up immediately - it’s to note it, absorb it, and keep moving with that image in mind. This is an important distinction. You want to catalog what you’re seeing as you travel, not necessarily react to every beautiful thing with your camera immediately. Sometimes the best version of a shot is fifty meters further up the trail, where the foreground clears and the composition tightens.
That said, you should be shooting in your mind constantly while you walk. Ask yourself: where is the light landing? What is it revealing? What would I need in the foreground to anchor a shot of those peaks? By the time you find your position, you’ve already done half the compositional work.
Step 3: Read How Light Falls on Water and Elevation Changes
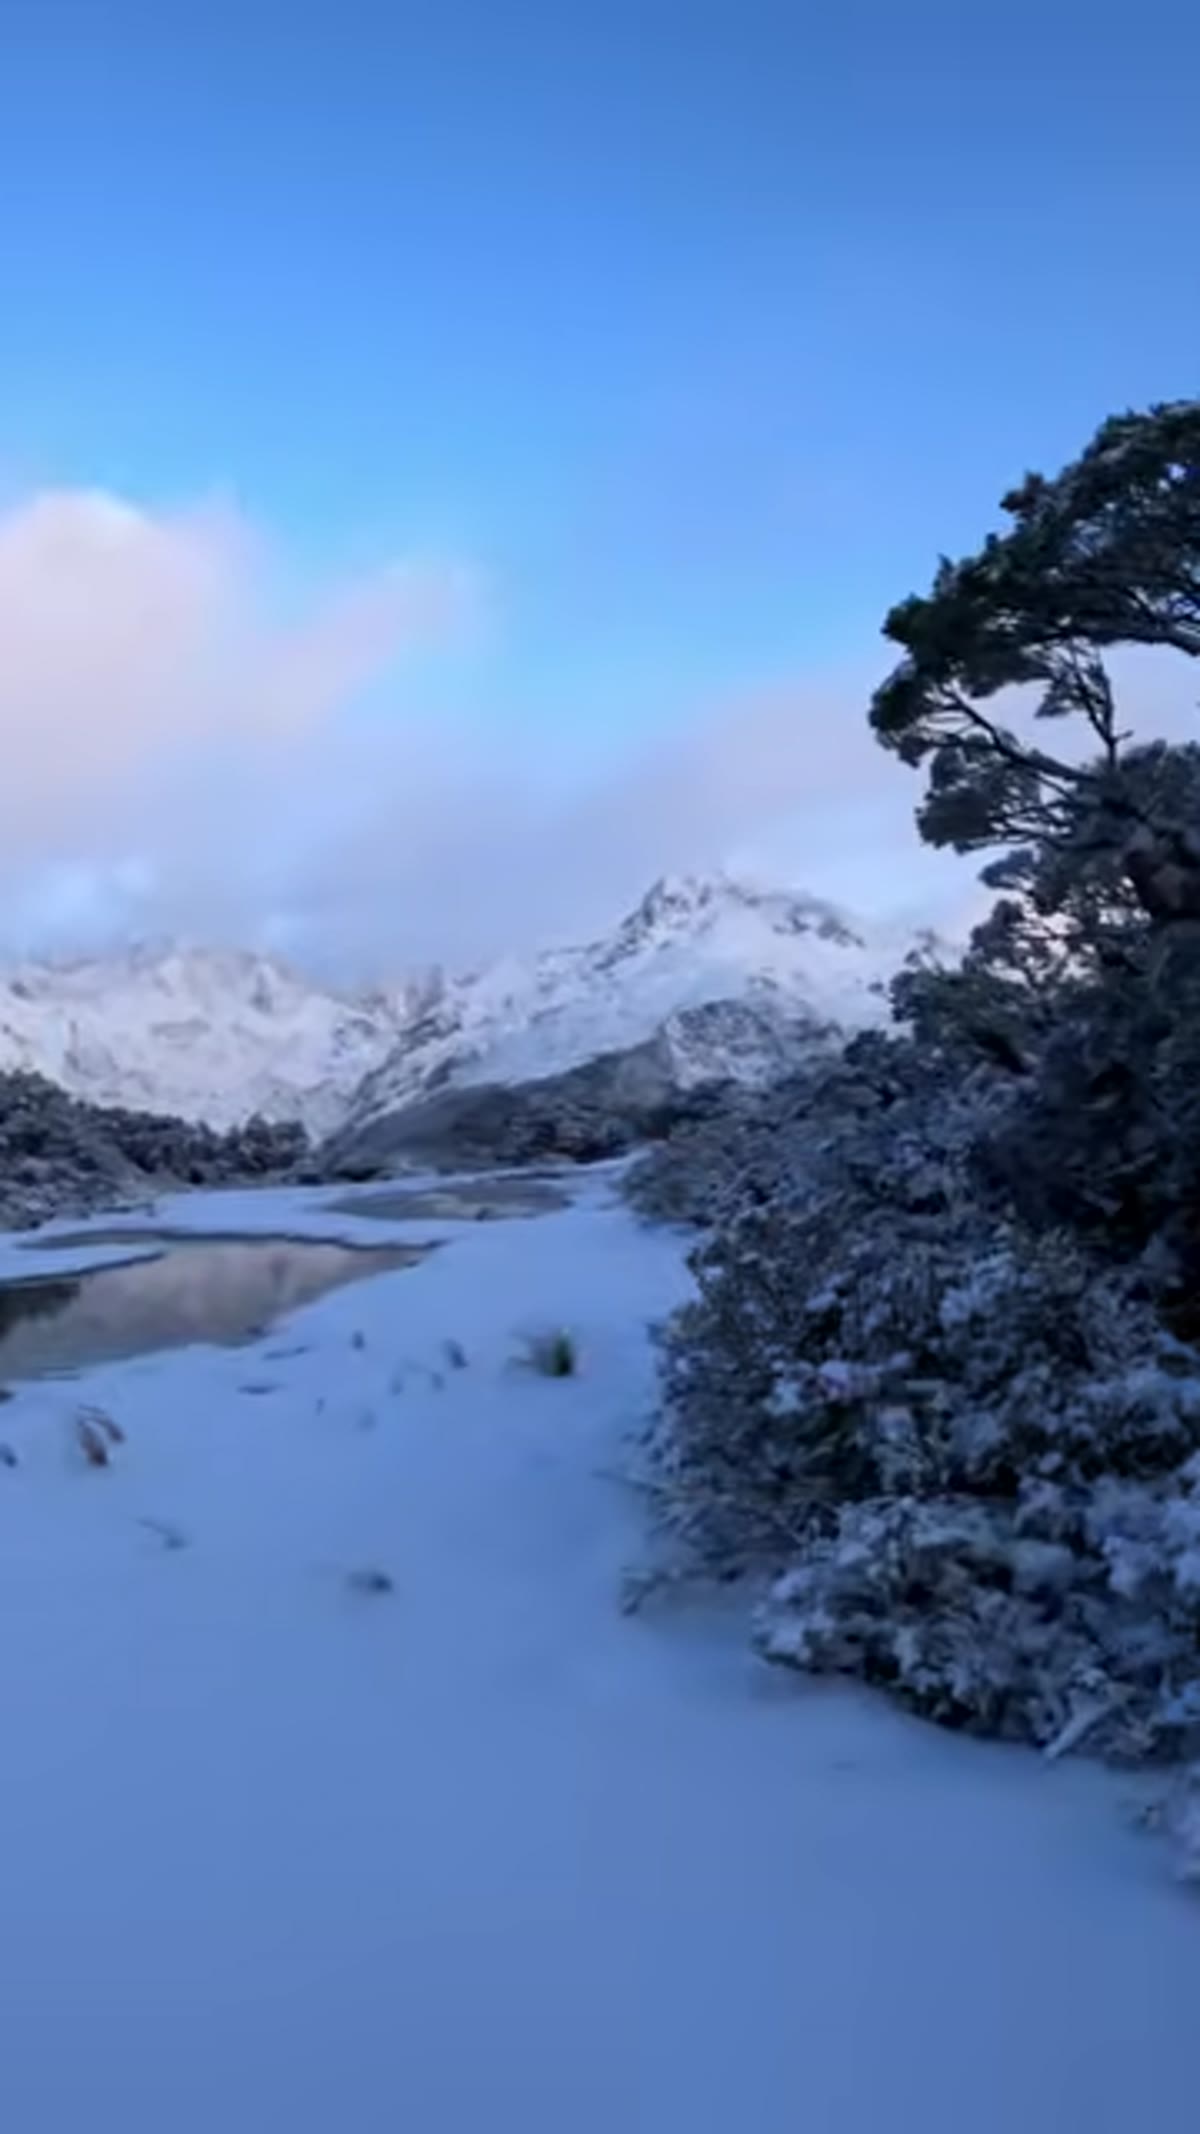 Alpenglow or storm light reflecting across mountain lakes
Mountain lakes behave differently from ocean or river water. They’re often still, especially early in a storm, and they act as mirrors for whatever drama is happening above them. Patino notes how the light plays across the lakes below the peaks - and that’s a compositional cue, not just an aesthetic observation. When you have reflective water in your scene, your exposure calculation changes. The sky and its reflection are competing for dynamic range, and you may need to bracket or use a graduated ND filter to hold detail in both.
Look for the angle that puts the reflected light at roughly the same visual weight as the mountain above it. Too much sky kills the scale. Too much water and you lose the story. The peaks need to dominate, with the lake as supporting evidence of the light.
Step 4: Resist the Urge to Rush When the Scenery Overwhelms You
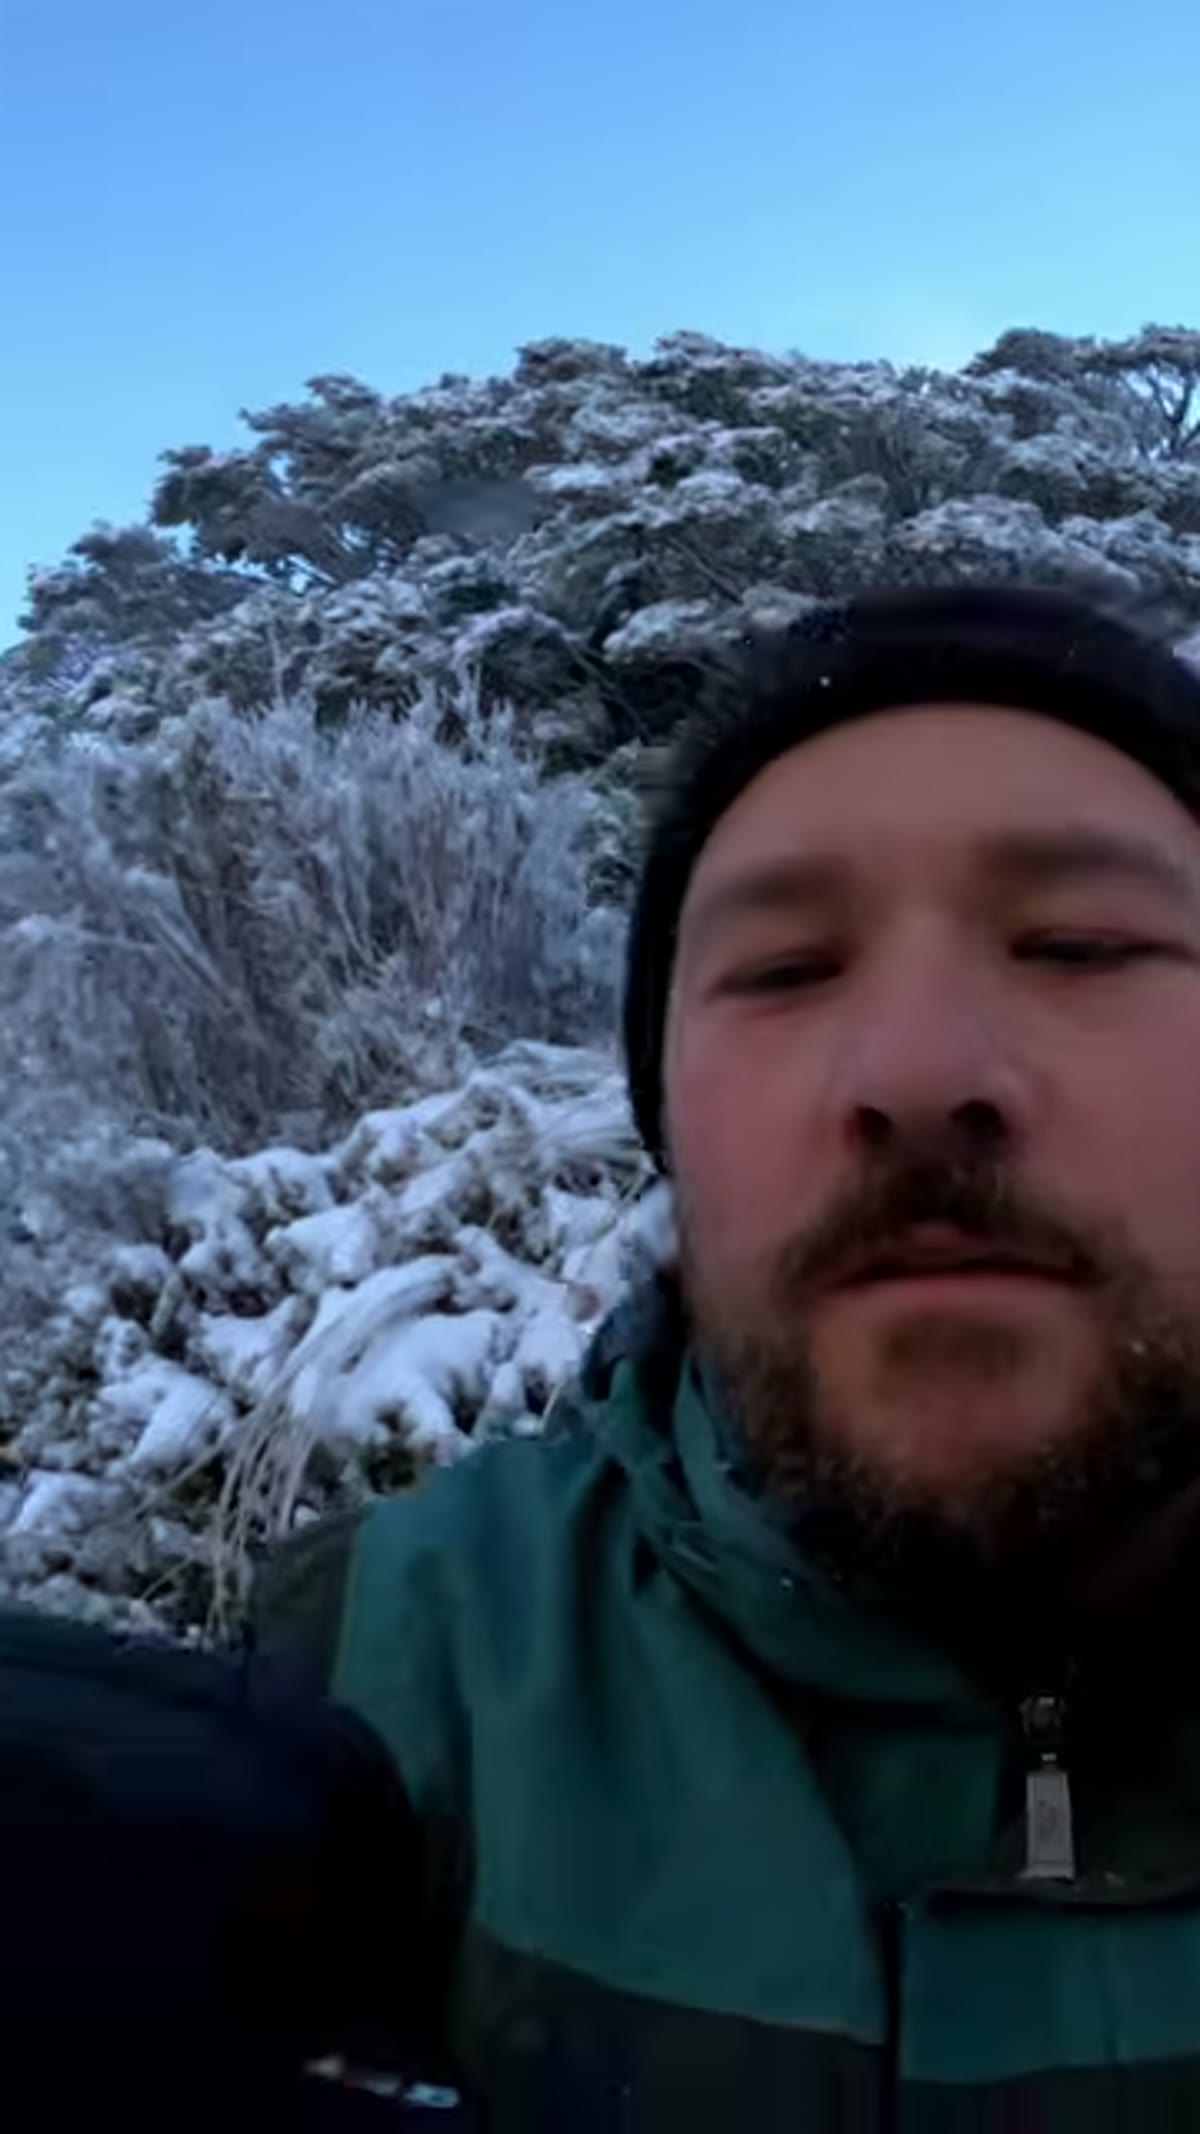 Wide landscape view, photographer pausing amid extraordinary scenery
This is the step most photographers skip entirely. When a scene is extraordinary, the reflex is to start firing frames immediately. Patino is explicit here: when the scenery is this good, slowing down matters most. Take a breath. Walk the perimeter of the scene. Look at it vertically and horizontally. Put your eye to the viewfinder before you mount on the tripod and walk through three or four different framings.
I’ve shot in enough overwhelming conditions to know that my first instinct on framing is usually not my best one. The shot I almost walked past because it seemed too simple is often the one that sells. Give yourself five minutes of looking before you commit to a position.
Step 5: Enter Secondary Environments - Forests, Gullies, and Sheltered Zones
 Photographer entering a snow-covered forest with icicles visible
After working the open terrain, Patino moves into the forest. This is a deliberate choice and one worth paying attention to. Forests during and after snowfall offer a completely different visual register - tighter, more intimate, with ice formations and hanging snow that only last for a short window. Icicles, frost-covered branches, and snow-weighted boughs are inherently temporary. They’ll be gone in a few hours.
Inside a forest during a storm, your exposure needs to adjust significantly. You’re working with much lower light, high contrast between snow and dark bark, and often a longer depth of field requirement if you want the ice in the foreground and the snow-laden canopy both sharp. Start around f/8, check your histogram, and don’t be afraid to push ISO. Clean noise at ISO 800 beats a blurry shot at ISO 100.
Step 6: Let Falling Snow Simplify and Clarify Your Compositions
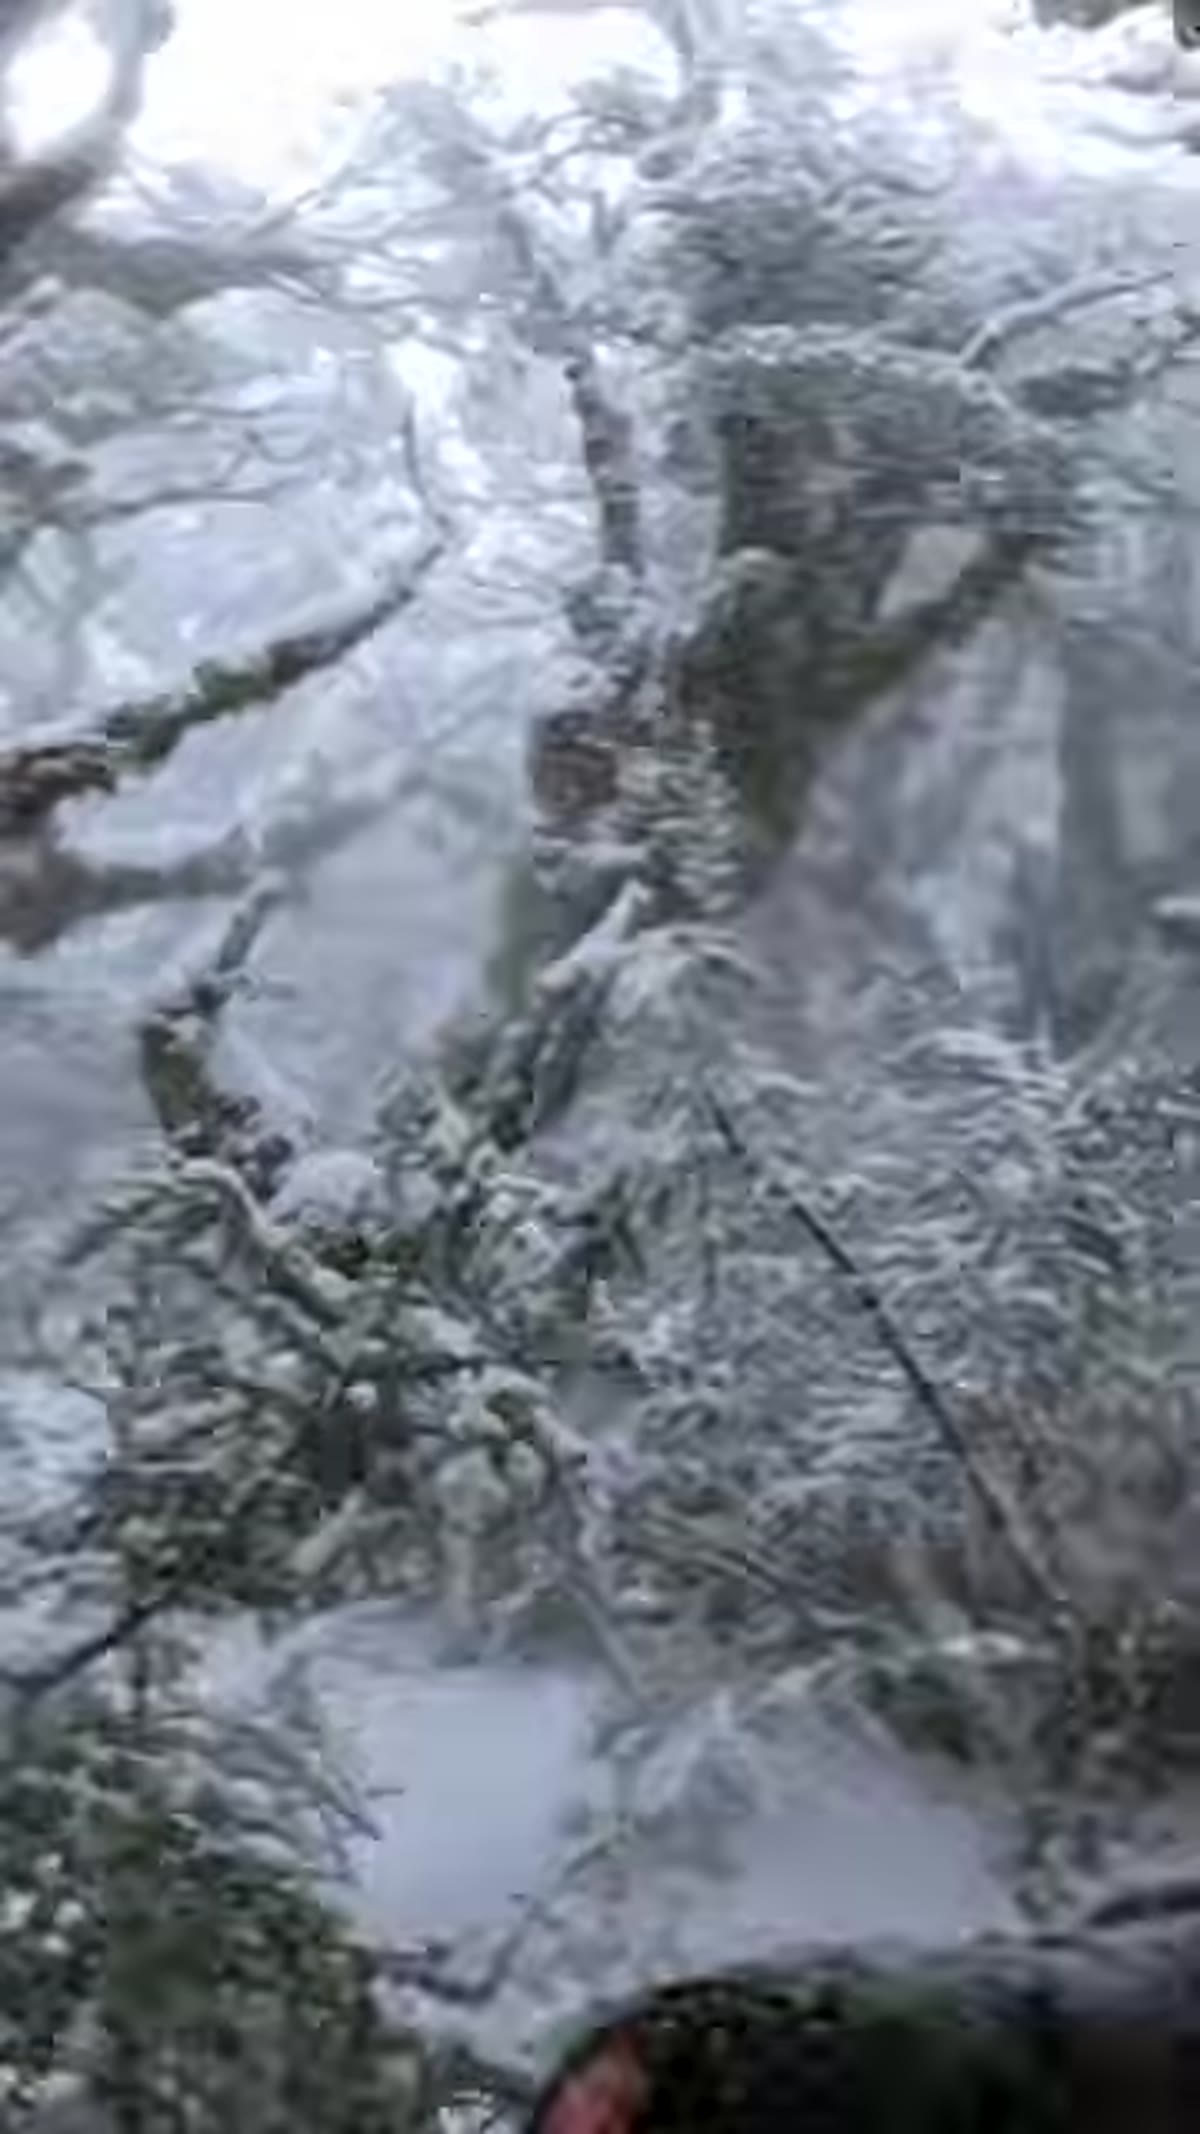 Snow beginning to fall, peaks softening into cleaner background
Patino makes a point that landing snow cleans a landscape. This is one of the more counterintuitive observations in the video and it’s completely accurate. Fresh snowfall covers the messy middle ground - the muddy patches, the scrubby low vegetation, the uneven terrain that fights your composition. What remains is form: the shape of peaks, the curve of valleys, the silhouette of trees. Snow is essentially nature’s simplification tool.
When snow is actively falling, shoot toward lighter backgrounds where you can see individual flakes against the sky or the pale hillside. Stop down a little - f/9 or f/10 - to keep more of the falling snow in focus. Use a fast enough shutter to freeze individual flakes if you want that crisp winter texture, or slow it down intentionally to let them streak if atmosphere is the goal.
What I’d Add from Twenty Years in the Field
I’ve never shot New Zealand’s South Island, but I’ve stood in enough Pacific Northwest storms and Oregon high desert winters to recognize what Patino is teaching here. The biggest thing I’d layer onto this is: make peace with the drive home empty. Not every storm delivers. I once sat in fog for two days at a location six hours from home. I came back with one usable frame. That frame became my best-selling print.
Weather photography asks you to show up without guarantees, and that’s actually the skill being developed - not just the ability to read light, but the willingness to be present for uncertain outcomes. The technical stuff is learnable in an afternoon. The patience is the work of years.
The single most important idea in this tutorial is that preparation and presence are not opposites. You prepare obsessively so that when you’re in the field, you can slow down and actually see what’s in front of you. Watch Patino navigate a storm system in real time and you’ll understand what that looks like in practice.
Watch the full tutorial on YouTube - and check the description for a link to the full-length version, which is well worth your time.
Comments
Leave a Comment