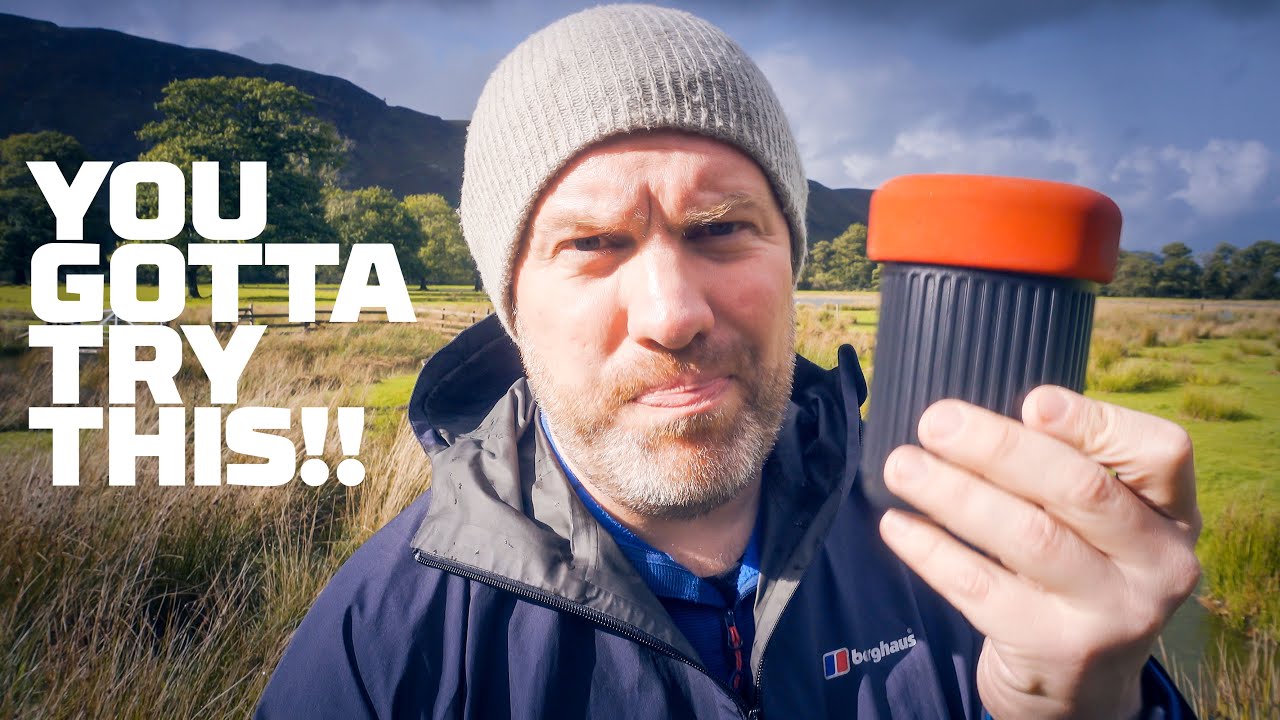
There’s a particular kind of frustration I know well. You’ve driven to a location, the light is doing something extraordinary, and something completely outside your control is blocking you from the shot you planned. Flooding, a locked gate, a path swallowed by mud. My mentor used to say “the mountain doesn’t care about your schedule,” and after twenty years of waking up at 4am and hauling gear into the dark, I’ve found that to be true more times than I’d like to count. What separates a productive shoot from a wasted one usually comes down to whether you have a mental framework you can fall back on when everything goes sideways.
That’s why I keep returning to this video from Adam at First Man Photography. Watch the full tutorial on YouTube — it’s one of those tutorials that’s honest about the chaos of fieldwork while still delivering something genuinely useful. Adam is cut off from his planned location by flooding, running on limited time before a four-day workshop, missing a key lens he left in the van. And yet the principle he shares from that messy situation is one of the cleanest framing ideas I’ve come across: when conditions are manic and nothing is going to plan, bring your thinking back to one question. What do you want inside the frame, and what do you want out of it?
That sounds obvious. It isn’t. Here’s how it breaks down in practice.
Step 1: Accept What You Cannot Reach and Scout What You Can
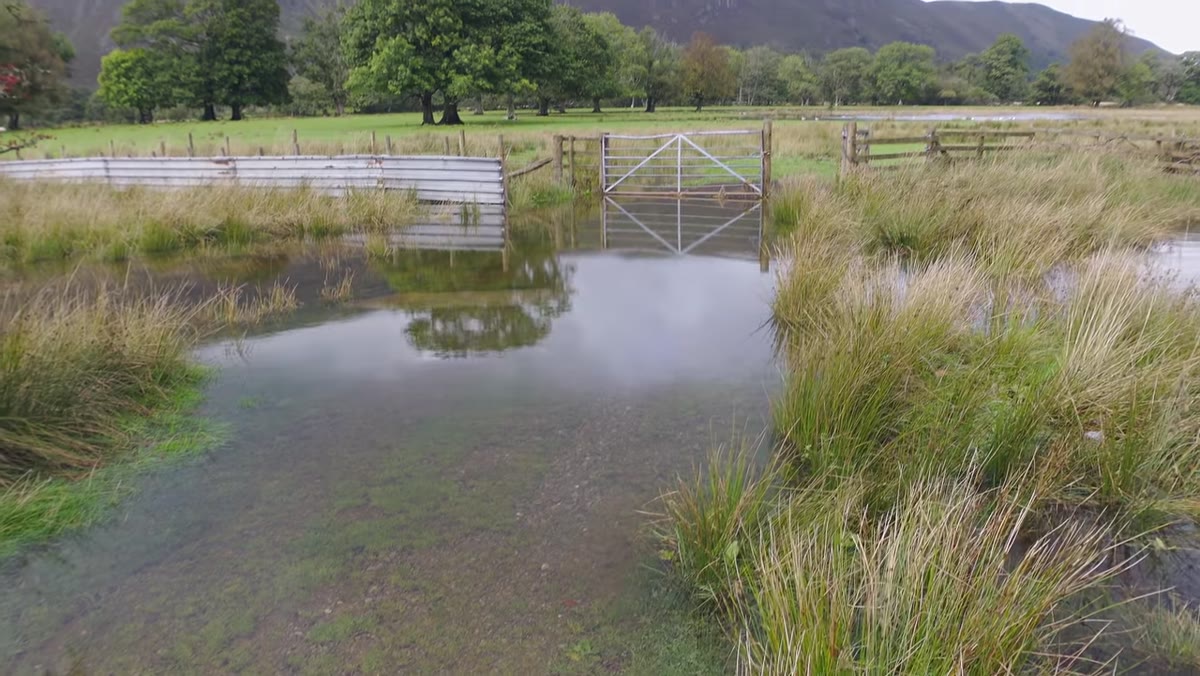 Flooded path blocking access to planned lakeside location
Before any creative decisions get made, you need an honest read of your actual shooting position. Adam wanted to be at the lakeside. He ended up significantly further back, separated by flooding. Instead of abandoning the shoot, he identified what he could get to and started evaluating that position on its own terms. Walk the edges of where you can safely go. Note what’s in your sightline, what the background looks like, where the light is falling. Your original plan is gone. What does this new position actually offer?
This step sounds like common sense, but most photographers spend the first ten minutes of a compromised shoot mourning the shot they didn’t get. That time is better spent reading the actual scene in front of you.
Step 2: Identify the One Element Worth Building Around
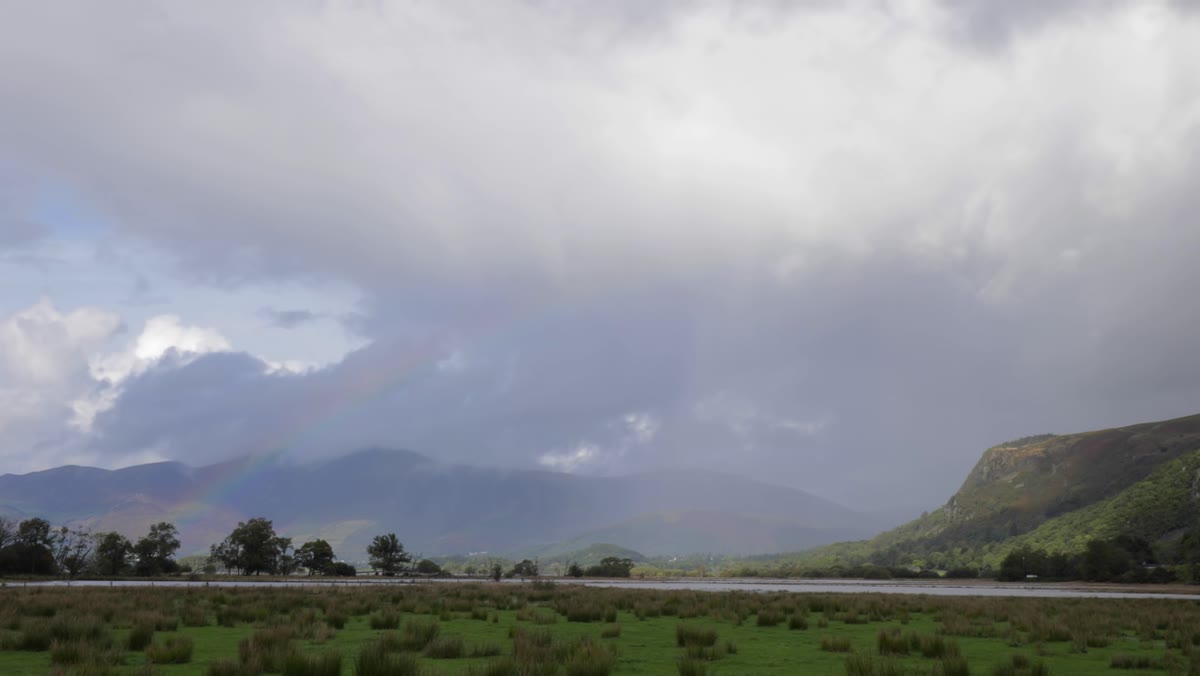
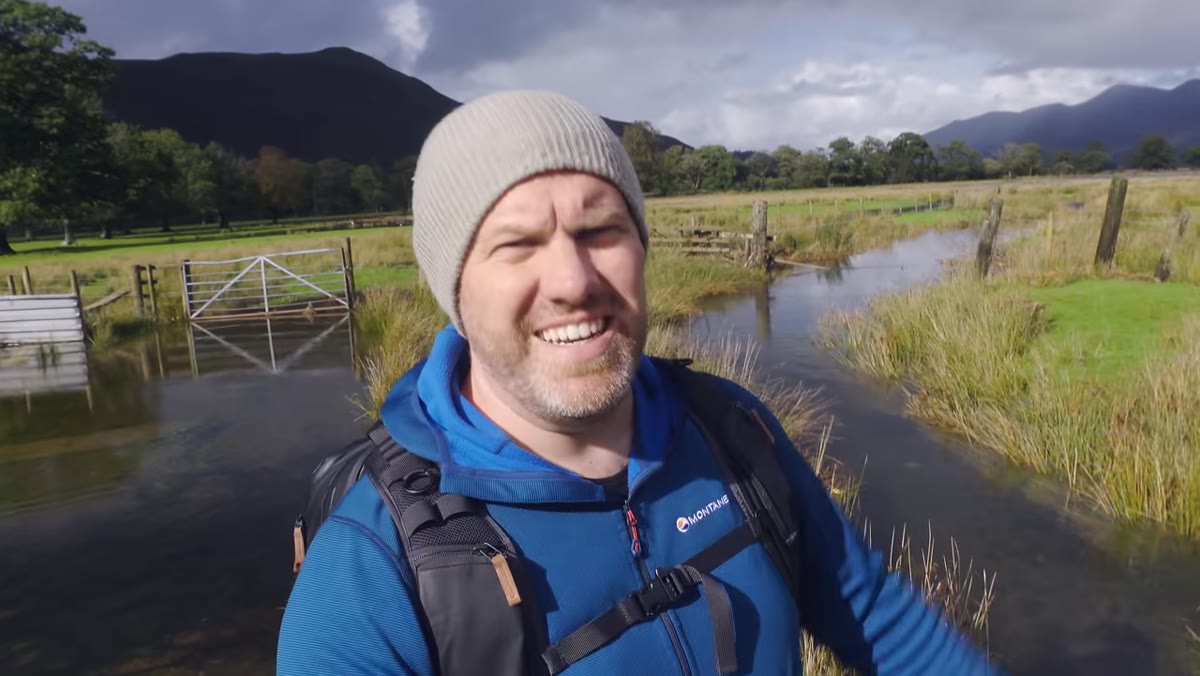 Rainbow appearing over the lake in dramatic changing light
In changing conditions, something is usually happening that’s worth photographing. Adam had rainbows appearing and disappearing as rain and sun alternated. The mistake is to try to capture everything. Instead, pick the single strongest element and treat it as your anchor. For Adam it was the rainbow. For you it might be a shaft of light on a hillside, a reflection in standing water, or the way clouds are moving across a ridge. Name it. That element becomes the subject your frame is built around, and everything else in the frame is either supporting it or getting cut.
I do this instinctively now, but early on I had to make myself say it out loud at the trailhead. “The subject today is the fog layer in the valley.” Once you’ve said it, every composition decision has a reference point.
Step 3: Decide Deliberately What the Frame Excludes
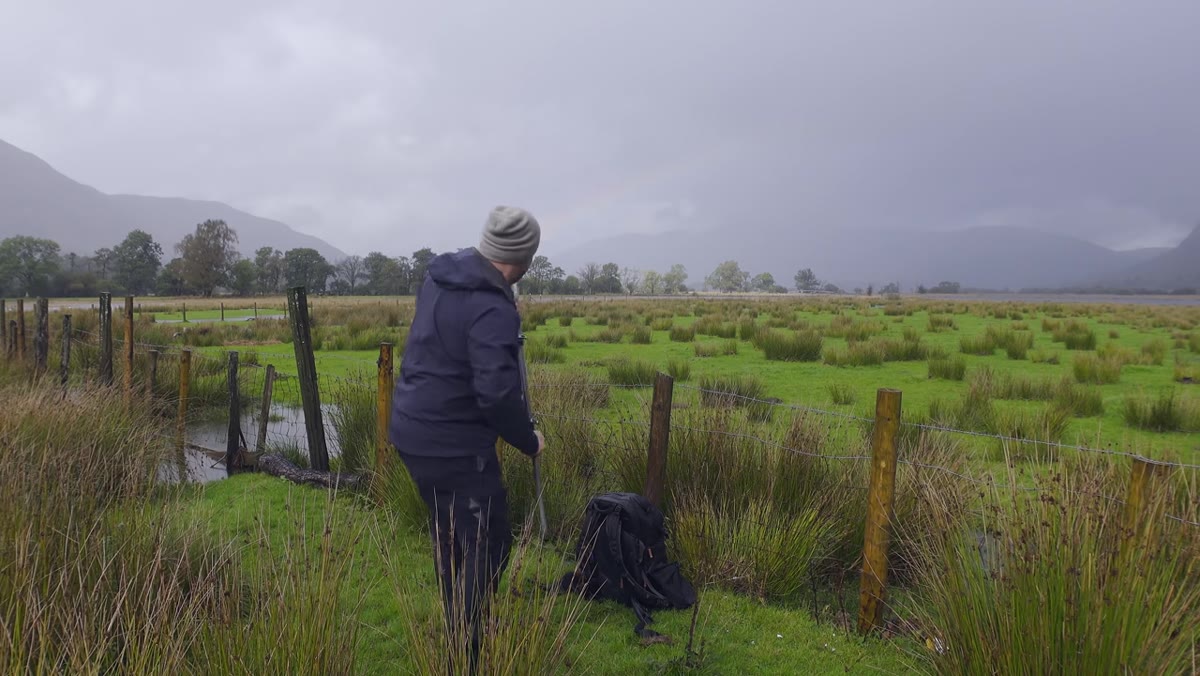
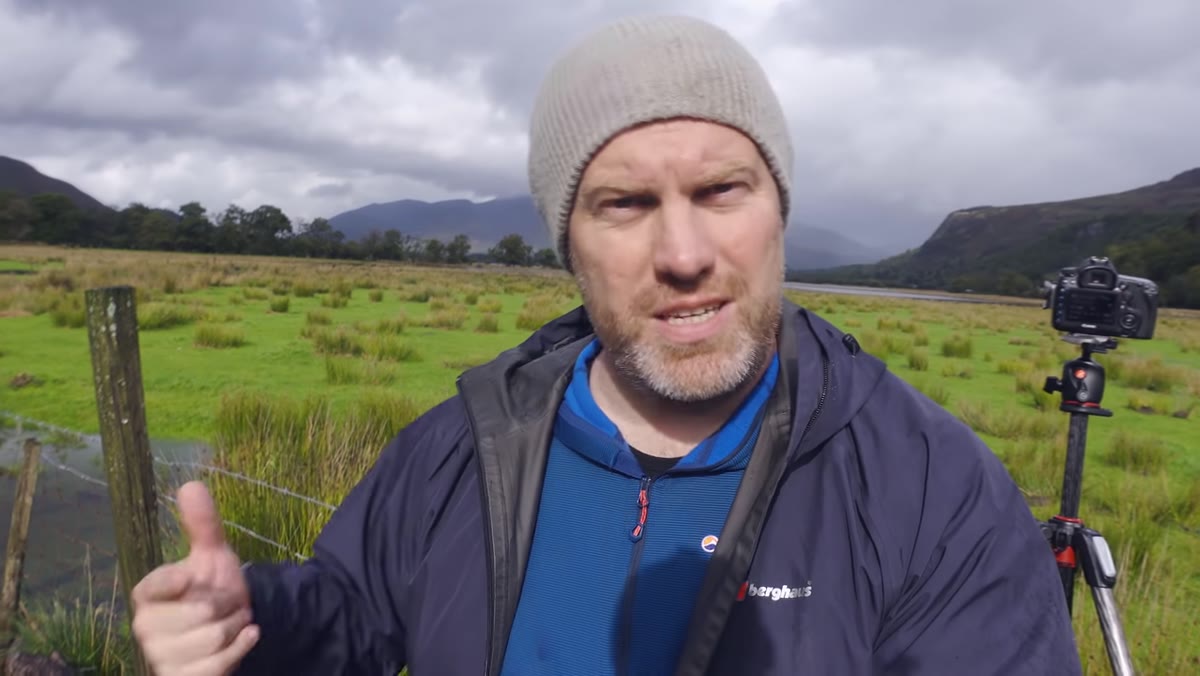 Adam working the composition despite being further back than planned
This is the core of Adam’s advice, and it’s where most photographers leave significant work on the table. Inclusion is easy. We point the camera at the thing we like. Exclusion is the harder skill. Standing further back from the lake than planned, Adam had to think carefully about what was sneaking into the edges of his frame that didn’t belong. Foreground clutter, a fence line, uninteresting flat water with no light on it. The frame isn’t just about what you want to show. It’s equally about what you’re willing to cut.
Work the edges of your viewfinder the same way you work the center. Tilt, shift your position by a few feet, change your height. Every one of those adjustments is about controlling what makes it in and what gets left out.
Step 4: Adjust Your Focal Length to Match the New Reality
 Adam noting he left his 24-70mm lens in the van
Adam was honest about a mistake: he left his 24-70mm behind because he expected to be shooting close to the lake with either a wide or a telephoto. Shooting from a greater distance, the 24-70 would have been the right tool to compress the scene slightly and pull the rainbow into a tighter relationship with the landscape. The lesson isn’t “bring every lens.” It’s that your planned focal length was built around your planned position. When the position changes, reconsider the glass.
If you’re locked into what you have, work with it by changing where you stand. A wide lens used close to a foreground element can create a sense of depth that pulls the viewer toward the distant subject. A longer lens used from further back will compress the scene and simplify the background. Neither is wrong. But the choice has to be deliberate.
Step 5: Keep Shooting Through the Uncertainty
 Adam continuing to work the scene after missing the first rainbow
Adam missed the first rainbow. He kept working the scene because the conditions were still producing. This is less a technique than a discipline, but it’s worth naming. In chaotic light, the instinct to lower the camera and wait for something more certain is a real liability. Conditions that are “not quite right” are often one cloud shift away from extraordinary. Stay behind the viewfinder. Keep refining the frame. The shot you want may appear for thirty seconds.
What Twenty Years in the Field Adds to This
I’d extend Adam’s framing principle into something I think about before I even leave the car: the difference between a planned shot and an earned shot. Most of my best-selling prints came from locations where nothing went to plan. I once drove six hours to a spot only to sit in fog for two days and come home with one image. That image now outsells everything else in my catalog. The fog forced me to work a single small composition until it was right, because I had nothing else to show for the trip.
The lesson Adam is really teaching isn’t just about framing. It’s about staying creative under pressure. When conditions strip away the shot you wanted, you’re left with the question of whether you actually know how to see. Having a simple, repeatable question to ask yourself in those moments, what do I want in, what do I want out, keeps your eye working when your plan has already fallen apart.
The single most important thing I took from this tutorial is that deliberate exclusion is a skill that needs as much practice as deliberate inclusion. Next time you’re out, spend five minutes working a composition by asking only what you can remove from the frame rather than what you can add. The results will surprise you.
Watch the full tutorial on YouTube and watch how Adam works through a genuinely difficult situation with good thinking and practical honesty.
Comments
Leave a Comment