The first time I walked into a cathedral grove of old-growth Douglas fir with a camera, I thought I knew what I was doing. Twenty minutes later I had a memory card full of blown highlights, muddy shadows, and a general sense that the forest had humbled me completely. I drove home from that shoot outside Bend without a single usable frame.
That was a long time ago. But the forest hasn’t gotten easier. It has just stopped surprising me.
What the Forest Is Actually Doing to Your Light
The fundamental problem with shooting in dense woodland isn’t artistic. It’s physical. On a bright midday, the dynamic range between a sunlit gap in the canopy and the shadow beneath a root ball can exceed 14 stops. Most modern mirrorless sensors handle around 12 to 14 stops under ideal conditions, and never at their best when you’re rushing. The forest isn’t a single scene. It’s fifty micro-scenes stitched together by your eye, which adapts constantly. Your sensor doesn’t adapt. It makes one commitment per frame.
This is why forest photographs so often look either overexposed and washed out, or murky and underexposed. You exposed for what your eye saw. Your camera recorded something else entirely.
The light also moves faster than you expect. A forest floor lit by soft, overcast diffusion at 7am can be slashed with hard shafts of direct sun by 8:15. The window is narrow and unforgiving. Fog makes this better, which is why serious forest photographers have complicated feelings about fog. It’s the great equalizer.
The Settings That Actually Work
I shoot manual almost exclusively in forests, which lets me lock down my exposure rather than chasing changes in the scene. My typical forest starting point on an overcast morning is ISO 800, f/8, and 1/60s. From there I adjust by reading the histogram, not the LCD preview. The preview lies in ways the histogram doesn’t.
For lenses, I reach for a 24-70mm f/2.8 the majority of the time. Wider than 24mm and you start getting distortion that makes vertical trees look like they’re falling inward. Longer than 70mm compresses depth in a way that flattens the layering that makes forests feel dimensional. The 35mm and 50mm focal lengths within that zoom range are where I spend most of my time.
I always shoot RAW, and I bracket two stops up and two stops down on any composition where I see a bright gap in the canopy. This isn’t HDR photography. It’s insurance. Half the time I never need the bracket. The other half I’m grateful I took it.
Tripod use in forests is non-negotiable for me below 1/30s. I use a carbon fiber travel tripod, which keeps weight down for longer carries. Anything over a mile of trail, ounces become opinions.
Reading the Forest Before You Shoot It
I arrive before I need to. In a forest context, that means walking the location without a camera first if I can manage it. I’m looking for natural frames: gaps between trunks, moss-covered foreground elements, the direction of any shafts of light. I pay attention to which way the canopy opens and where the sun will be in thirty minutes.
This sounds obvious until you’re standing in the dark at 5am realizing you set up in the wrong spot and the light is developing thirty meters to your left. I’ve done this more times than I’d like to admit, usually in the Pacific Northwest where the forest is dense enough that your orientation goes sideways fast.
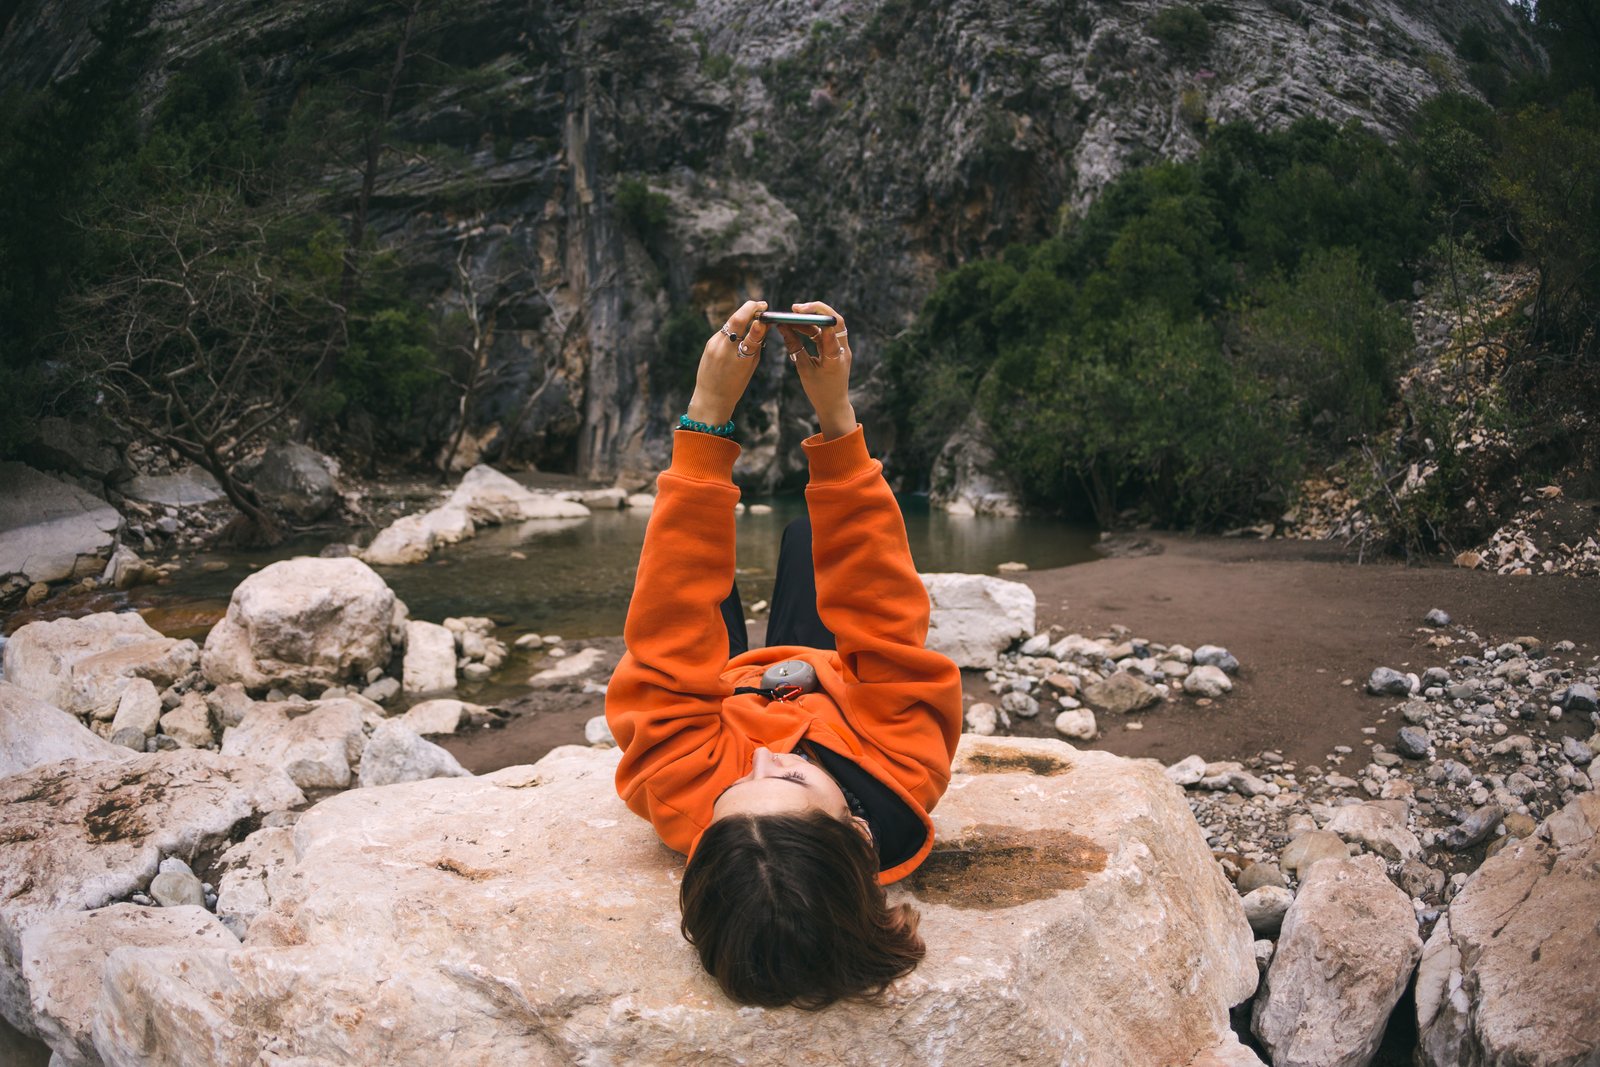
One habit I’ve built over the years: I take a phone snapshot of my composition before I make any serious exposures. It sounds counterintuitive but it helps me see the scene flat, the way the camera does, before I’ve committed to it emotionally. I catch horizon tilts, distracting background elements, and cluttered foregrounds that my eye glazes over.
Fog, Rain, and the Conditions Most Photographers Avoid
Overcast and light rain are the two best forest conditions, and most photographers hate being out in them. Rain saturates color. It darkens bark to near-black and makes the greens of moss and fern almost radioactively vivid. Overcast sky becomes a giant softbox. The dynamic range problem largely solves itself.
I once drove six hours to a stretch of old-growth coast redwoods in Northern California, slept in my truck, and woke up to two full days of dense coastal fog. I couldn’t see more than about fifteen meters into the trees. I almost turned around on day one. On day two I stayed anyway, worked slowly, and made one image of a single redwood trunk emerging from white with a carpet of sorrel at its base. That photograph has outsold everything else in my catalog from that year combined.
The forest will not adjust to your schedule. I learned that lesson from a mentor early in my career, and it’s never stopped being true. What looks like a ruined trip is sometimes the forest showing you what it actually looks like, instead of what you hoped it would.
Protecting Your Gear Without Overthinking It
Moisture management matters in forest environments. I use a simple rain cover for my body and lens, the kind that costs about $15 and lives permanently in my bag. I keep a lens cloth in my chest pocket, not my bag, because reaching into a bag with wet hands causes more problems than it solves. Silica gel packets in the bag liner are cheap insurance against the slow humidity damage that ruins electronics quietly over time.
I also check my filters. Polarizing filters cut glare from wet leaves and can bring out color and contrast in ways that surprise you, but they cost you about one and a half to two stops of light. In low forest light, that matters. I use a circular polarizer at around 77mm diameter for most of my work and rotate it slowly rather than locking it at maximum effect.
Forests are demanding subjects. They reward stillness, patience, and willingness to work conditions that look wrong on paper. The photographers who make memorable forest images are almost always the ones who stayed longer, arrived earlier, and learned to trust the scene in front of them instead of the scene they planned to find.
Comments
Leave a Comment