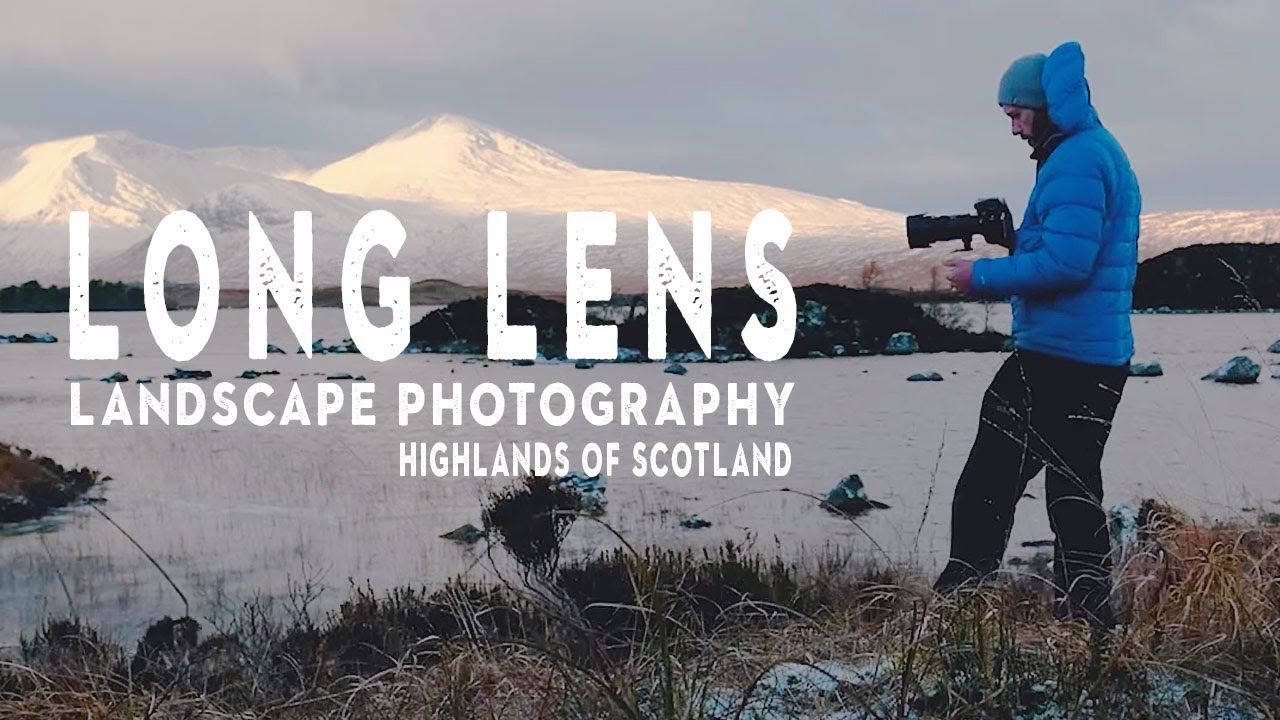
There’s a trap I fell into early in my career, and I see it every time I lead a workshop: you arrive at a sweeping location, slap on a wide-angle lens because that’s what landscape photographers do, and then wonder why the resulting images feel flat and generic. The mountain was there. The light was there. Something got lost in translation. The fix, more often than not, isn’t a different location. It’s a different lens choice paired with a more disciplined eye for what’s actually in front of you.
In this Nigel Danson tutorial filmed during a road trip through the Scottish Highlands toward Glencoe and the Isle of Skye, Danson demonstrates something deceptively simple: stopping at the side of the road with intention, reading the scene honestly, and choosing tools that serve that specific scene rather than habit. Watch the full tutorial on YouTube and you’ll see a photographer who could be rushing to his destination instead choosing to actually photograph along the way. That mindset shift alone is worth the watch. But let’s break down the mechanics of what he’s actually doing.
Step 1: Stop Before You’re “There”
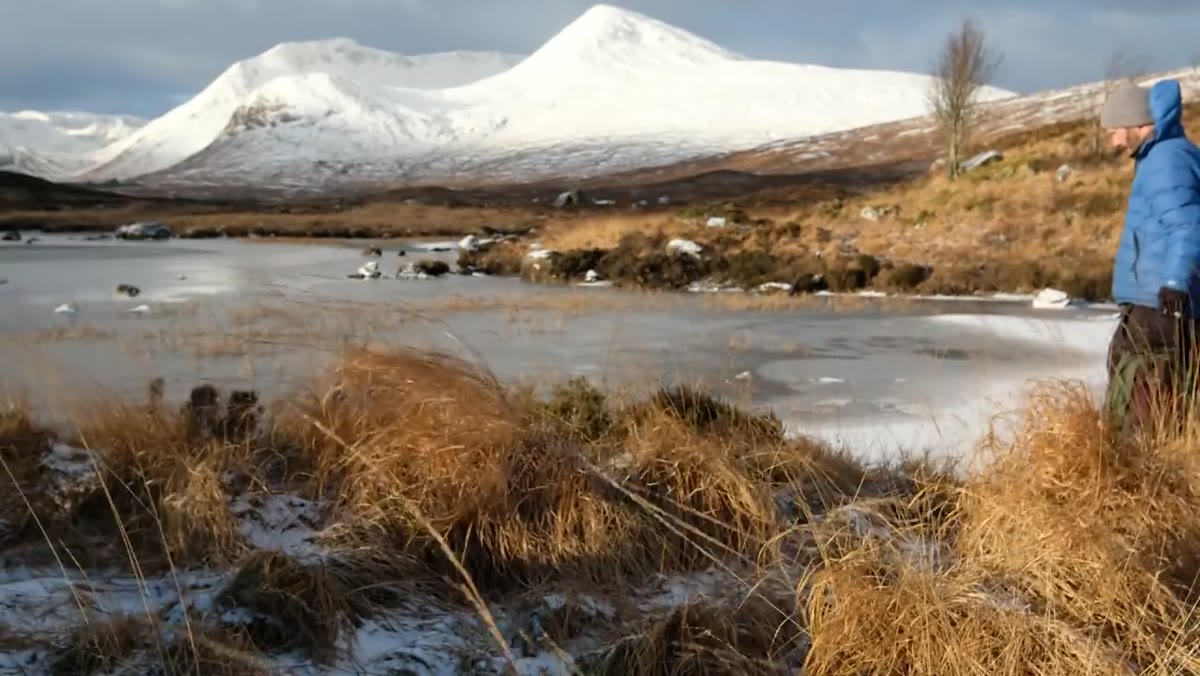
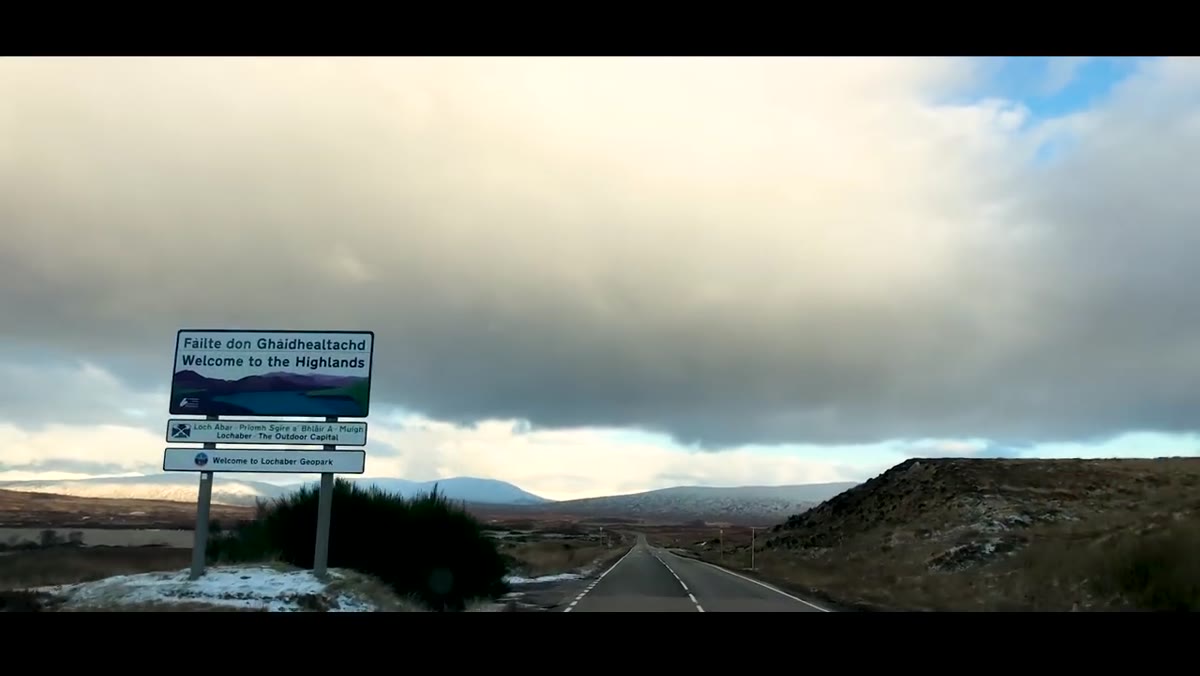 Photographer paused roadside with Scottish mountain behind him
The first move Danson makes isn’t photographic at all. He pulls over before reaching his primary destination and simply looks. He’s en route to Glencoe and then Skye, but the conditions along the way are too strong to drive past. Frozen light, dramatic clouds, mountain ridgelines catching the sun. This kind of visual alertness is a discipline, not luck.
Get into the habit of treating the drive as part of the shoot. Keep your bag accessible, not buried in the boot. If the light does something interesting, give yourself permission to stop. The best frame of a trip is often not the one you planned.
Step 2: Reach for the Telephoto First
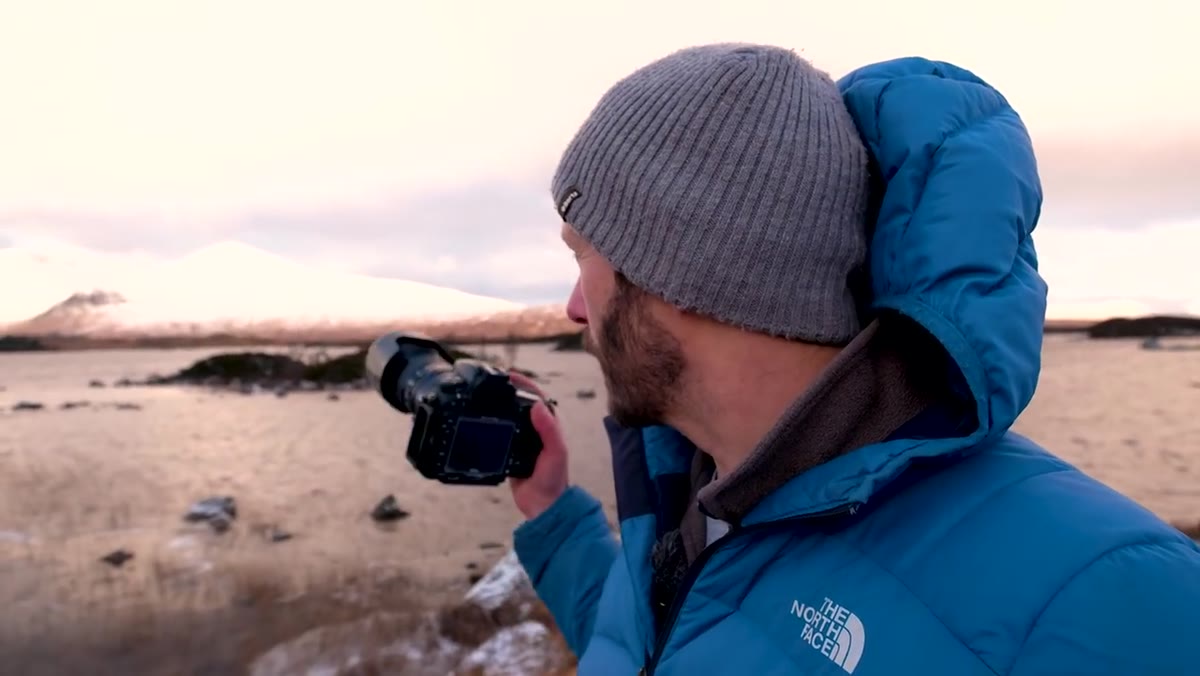 Telephoto lens mounted on camera, aimed at mountain detail
When Danson steps out at his first stop, he reaches for a 70-200mm lens rather than a wide-angle. This is a deliberate compositional choice. The mountains are distant. A wide-angle would miniaturize them and fill the frame with unremarkable foreground. The telephoto compresses the scene, isolates specific ridgelines and texture, and gives the mountain the visual weight it actually commands in real life.
If you own a 70-200mm but mostly leave it at home on landscape shoots, start bringing it. Mount it, walk the scene, and find the frame within the frame. Look for where the light is defining an edge, a shadow, a ridge. Then zoom in on that. The technique requires patience because you’re hunting for a smaller, more specific picture, but when you find it, the result is often more powerful than any wide panorama.
Step 3: Expose for the Highlights
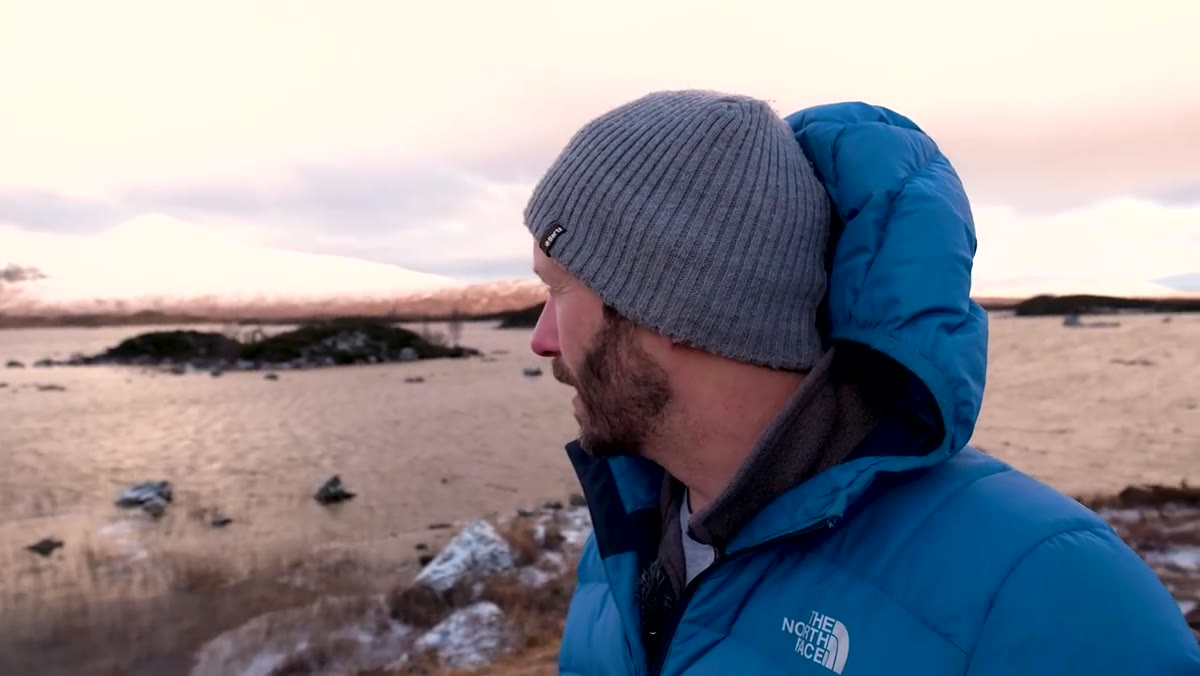 Camera screen showing mountain exposure with sky detail retained
With the telephoto framed on the mountain, Danson makes a point of exposing for the highlights. He’s not centering the histogram or relying on evaluative metering. He’s consciously pulling exposure down to protect the brightest parts of the sky and lit mountain faces, accepting that shadows will go dark. This creates contrast, drama, and a sense of atmosphere that a “correct” exposure often kills.
In practice: set your camera to show highlight warnings or use your histogram actively. If the bright areas are clipping, dial down exposure compensation until they’re just contained. A fast shutter speed, Danson mentions 1/3000th of a second in these conditions, does double duty here, controlling exposure while also freezing any movement in grass or cloud edges.
Step 4: Find a Natural Leading Line
 Frozen lake with crack in ice leading toward distant mountain
At the next stop, Danson finds a frozen lake. He doesn’t photograph it because it’s pretty. He photographs it because there’s a crack running through the ice that points directly toward the mountain in the background. That crack is a leading line, and it does the compositional work of pulling a viewer’s eye from the foreground into the scene.
Don’t manufacture leading lines in post. Train yourself to see them in the field: rivers, fences, breaks in snow or ice, shorelines, shadows, even furrows in a field. When a natural line exists that points toward your subject, position your tripod so the line originates near a lower corner of the frame. That’s the classic composition, and it works because it mirrors how we visually navigate a real space.
Step 5: Use a Tripod and Drop to Your Lowest ISO
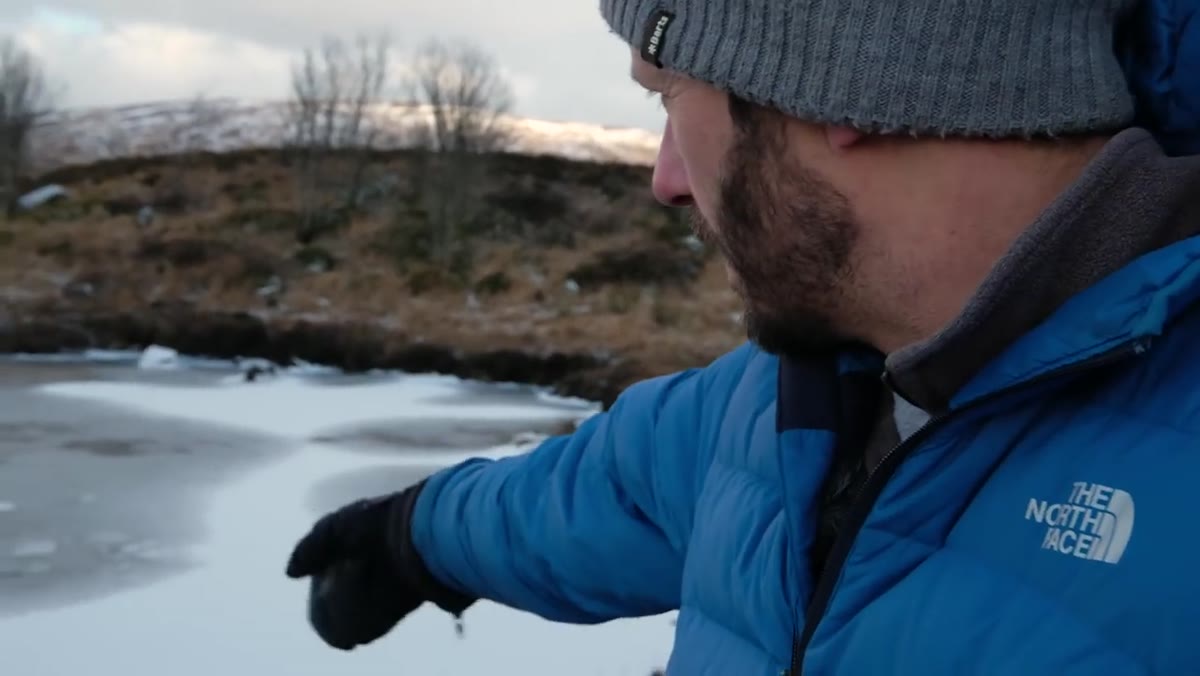 Tripod set low near frozen lake with camera mounted
With a compelling composition found, Danson sets up his tripod and drops to his camera’s base ISO, which on most modern mirrorless and DSLR systems is ISO 64 or 100. With the camera stable and ISO low, he’s capturing maximum dynamic range and cleanest shadow detail. The tripod also forces a slower, more considered approach: you stop hunting and start refining.
A compact travel tripod is worth investing in if weight and pack space are limiting you. Any tripod that won’t hold steady in wind will cost you more than it saves. Set it low when the foreground element, in this case the ice and its reflection, is close to the ground. Get the camera down to the level of what interests you.
Step 6: Let the Reflection Do the Work
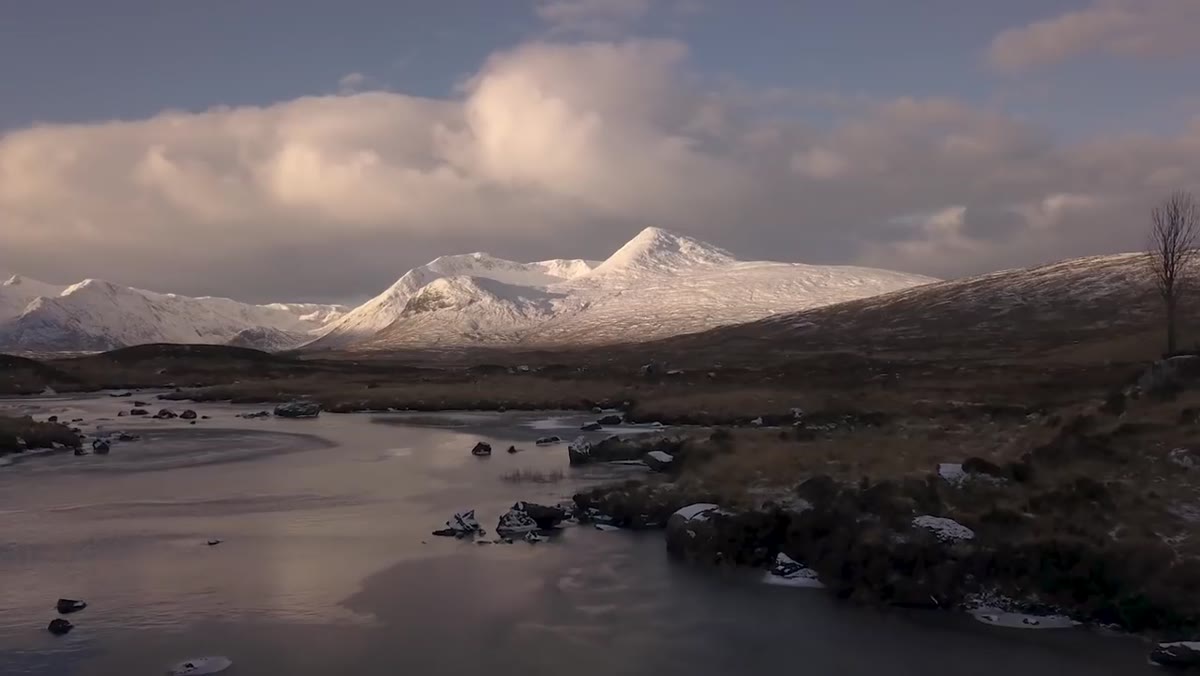 Mountain reflecting in break of ice on frozen lake surface
At the frozen lake, the crack in the ice holds a reflection of the mountain above it. Danson frames this so the reflection reads as a continuation of the leading line. The mountain appears both above and below, giving the image a symmetry that rewards a longer look.
If you’re shooting near still water, whether a lake, a tidal pool, or a flooded meadow, find the angle where the reflection contributes something compositionally rather than just doubling the scene. Move laterally or change your height until the reflected element aligns with a leading line or balances a strong foreground.
What I’d Add from Twenty Years in the Field
There’s one thing the tutorial touches on implicitly that I’d make explicit: Danson mentions he deliberately didn’t research many of the locations beforehand. That’s not carelessness. That’s a practiced resistance to the pressure of arriving somewhere with a predetermined image in mind.
I’ve done both. I’ve done the deep research, the GPS-marked locations, the Golden Hour app open on my phone. And I’ve done what Danson does here, driven into unfamiliar country and asked the landscape what it wants to show me rather than demanding it match my expectations. My mentor used to say the mountain doesn’t care about your schedule. That cut deep the first time. What he meant was: stop negotiating with the scene and start listening to it. The telephoto lens is actually a tool for listening. It forces you to look harder and longer at a smaller piece of the world until something true emerges.
The single most transferable lesson from this tutorial is the sequence: stop, choose the right focal length for the actual subject (not for the genre), and expose for the highlights. Everything else, the tripod, the leading line, the low ISO, is in service of that disciplined seeing. The technique is simple. The habit takes years to build.
Watch the full tutorial on YouTube to see Danson work through these decisions in real time, in genuinely freezing conditions, which adds a layer of authenticity no studio tutorial can replicate.
Comments
Leave a Comment