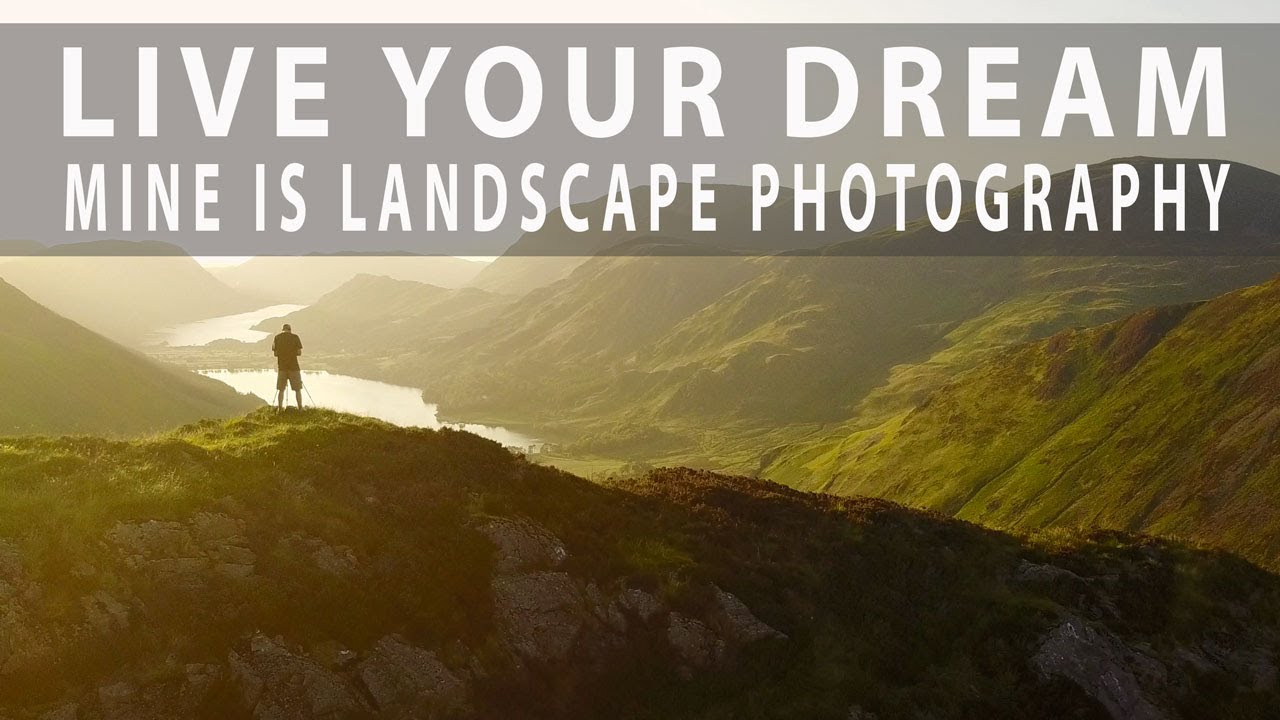
There’s a version of this hobby that requires a van full of filters, three camera bodies, and a spreadsheet of golden hour times. I’ve lived that version. I’ve also driven through the night to catch a specific light on a specific ridge, only to find fog so thick I couldn’t see my hand in front of my face. The fog stayed for two days. I came home with one usable frame — which ended up being my best-selling print to date. What I keep learning, trip after trip, is that the photographers who make meaningful images in the field aren’t always the ones with the heaviest packs. They’re the ones who’ve learned to work with what they have and read the light as it changes around them.
That’s why this particular tutorial from Nigel Danson stopped me mid-scroll. In this Nigel Danson tutorial, he takes his son on an overnight wild camp in the Lake District, hauls a single mirrorless body with one lens, and still manages to work the scene with real compositional intention. No filter kit. No second camera. Just attention and patience. For anyone who’s ever talked themselves out of a shoot because they didn’t have the “right” gear in their bag, this one hits.
What follows is a breakdown of the practical techniques Nigel demonstrates, translated into steps you can apply the next time you’re in the field with a light pack and a changing sky.
Step 1: Choose a Single Focal Length and Commit to It
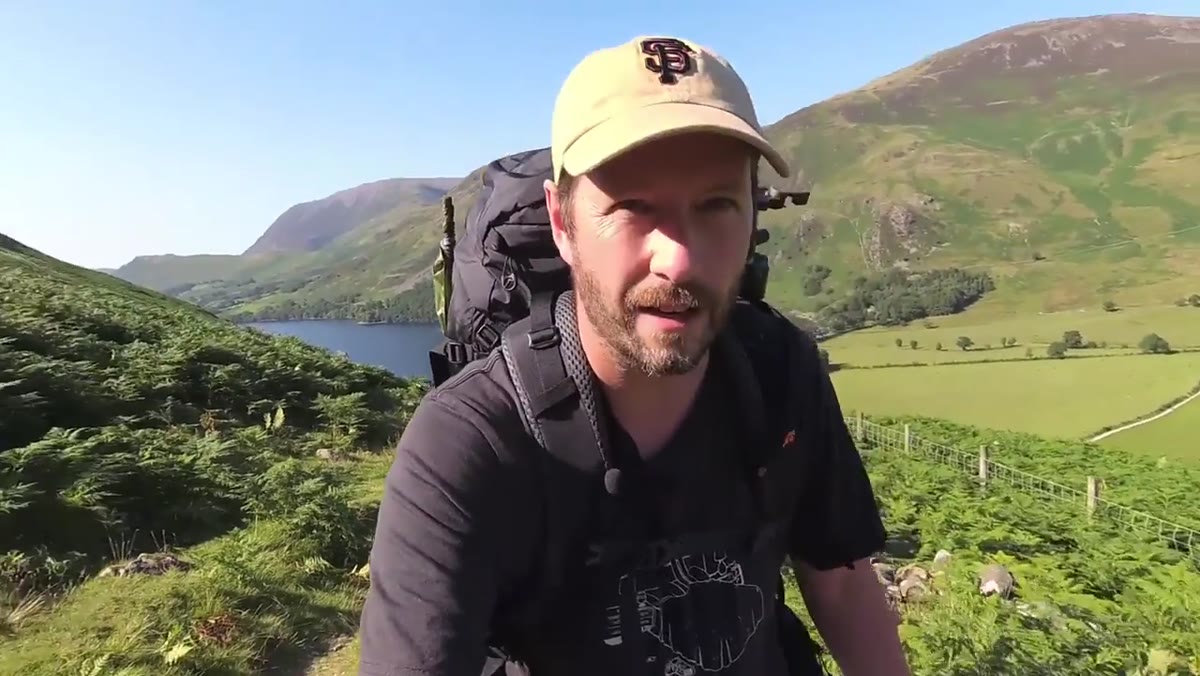 Nigel holding Fuji XT2 with 35mm lens attached
Nigel shoots the entire trip on a Fuji XT2 with a 35mm lens - roughly a 50mm equivalent on the crop sensor body. He acknowledges straight away that this isn’t the obvious choice for landscape work, where wide angles tend to dominate. But committing to one focal length forces a different kind of discipline. You stop hunting for the perfect angle and start working the scene more carefully.
For me, this mirrors a practice I return to occasionally: shooting a full day on a 50mm equivalent to break lazy habits. When you can’t zoom, you move. You look harder. You find compositions that a zoom would let you skip past. If you’re planning a hike where weight matters, pick one lens that covers the middle ground and trust it completely.
Step 2: Scout for Natural Leading Lines Before Setting Up the Tripod
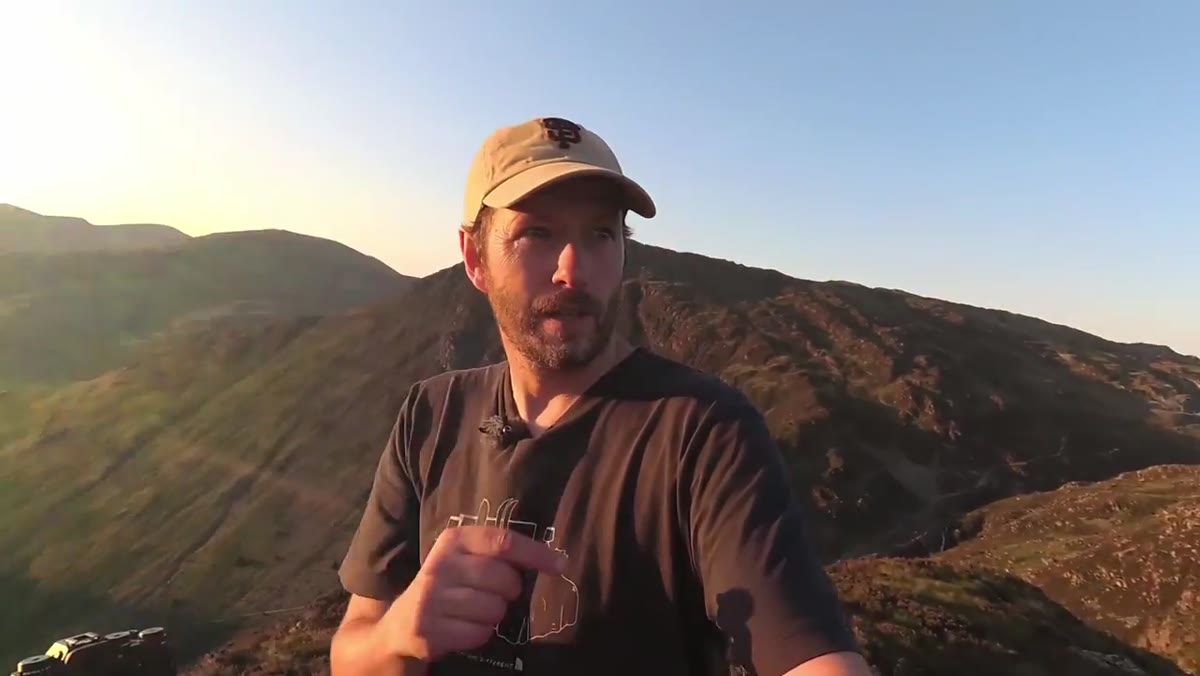 River winding toward two lakes in soft evening light
Before Nigel touches his tripod, he identifies a river running from the foreground toward two lakes in the middle distance. He reads this immediately as a leading line - a compositional anchor that will draw the eye through the frame from bottom to top. He notes that the 35mm focal length is “just about right” to include the river entry point and both lakes without feeling cramped.
The habit worth stealing here is the sequence: scout first, set up second. Walk to the edge of the scene, find the element that does the most compositional work, then position your tripod around it. In my workshops, the most common error I see is people planting the tripod first and then trying to find a composition from wherever they’re standing. Flip the order.
Step 3: Read the Light Direction and Wait for the Right Moment
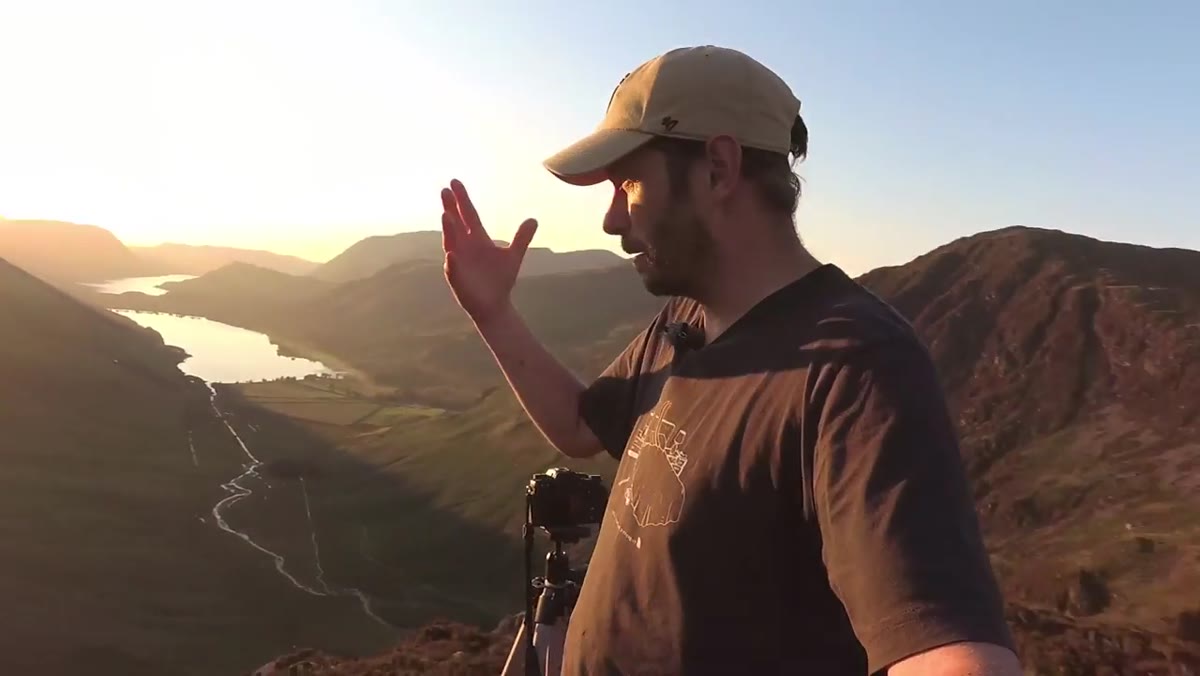 Sunlight about to drop behind distant mountain ridge
Nigel spots that the sun is about to dip behind the hill, and rather than shooting immediately, he waits. He anticipates that as the sun drops, it will cast directional rays across the lake and cast tree shadows that will add depth to the lower portion of the frame. He also notes the undulation in the surrounding mountains - contours that low-angle light will accentuate dramatically compared to how they’d look under flat midday sun.
This is the part of landscape photography that no gear can substitute for. Low light doesn’t just look warmer. It adds dimension. Shadows create depth cues. The same mountain that looks two-dimensional at noon becomes a layered, textured subject at dusk. If you’re on a tight timeline at a location, identify where the sun is heading and frame your shot around where the light will be in twenty minutes, not where it is right now.
Step 4: Expose for the Highlights and Plan to Blend
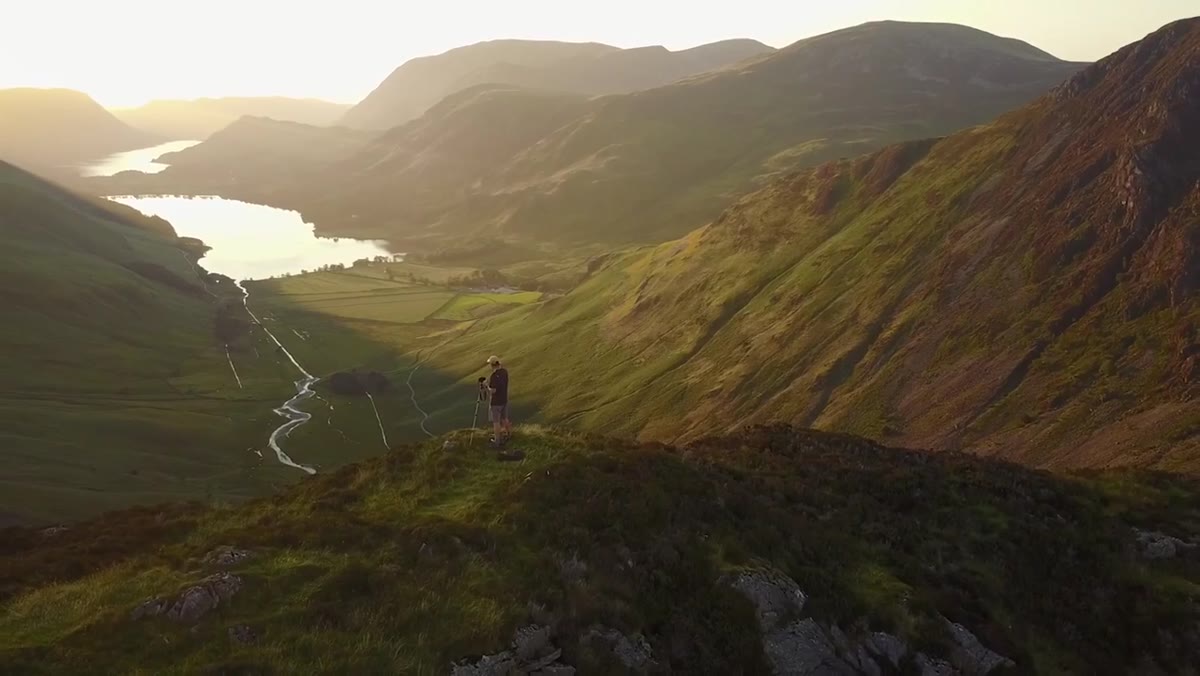 Camera on tripod, sun casting rays across meadow and lake
With the sky now delivering crepuscular rays across the meadow and a tree reflection visible in the lake surface, Nigel faces a high-contrast scene without any graduated ND filters. His solution is to take two exposures: one exposed for the sky to protect highlight detail, and one exposed for the shadowed foreground. He plans to blend them in Photoshop, though he also takes a single-frame shot to see how far he can push it in post.
When you’re hiking without filters, this is the correct approach. Expose to the right on your sky frame until the highlights are just shy of blown, then bracket down into the shadows. Two frames, clearly separated by two to three stops, give you workable data in both zones. The blend doesn’t have to be complex - a simple luminosity mask or even a graduated layer mask in Photoshop will do the job cleanly most of the time.
Step 5: Use a Panoramic Stitch to Extend a Short Focal Length
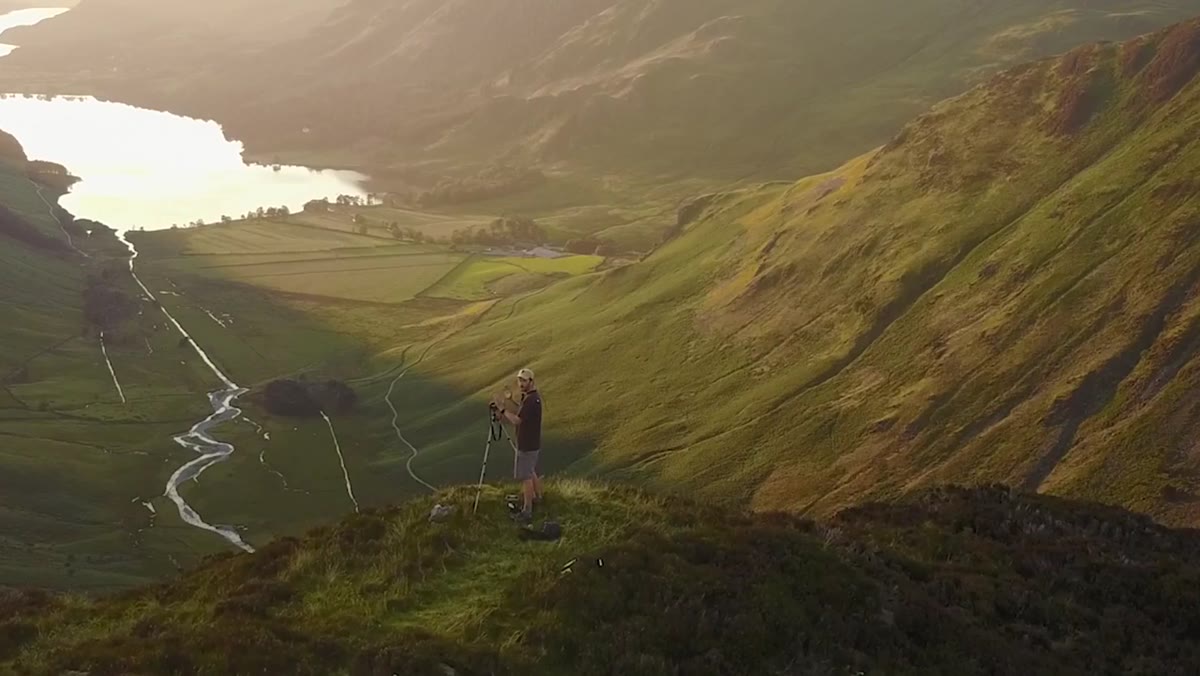 Nigel adjusting tripod head to begin panoramic sequence
Because he’s working with a 35mm lens rather than a wide angle, Nigel uses a multi-frame panoramic approach to capture the full breadth of the scene. He clarifies that the final crop won’t necessarily be a wide panoramic ratio - it may end up close to a standard aspect ratio - but stitching several frames together gives him more resolution and a slightly wider effective field of view than a single frame would allow.
This is a technique I use regularly, even when I do have a wide lens available, because the additional resolution gives you more to work with in print. Overlap each frame by about thirty percent, keep your tripod level, and lock your exposure settings manually before you start. Consistency across frames is what makes the stitch clean.
A Field Note from Twenty Years of Overnights
The thing Nigel’s video captures that most tutorials skip is the unglamorous reality of field photography: you hike in, you set up camp, you wait. My mentor once told me “the mountain doesn’t care about your schedule,” and I’ve found that to be true at every level of this craft. The discipline Nigel shows - hiking light, reading the scene before touching the camera, waiting for the precise moment the sun clears a ridgeline - isn’t a beginner move. It’s what twenty years of doing this actually looks like.
If you’re newer to overnight shoots, the single most useful thing you can do is get to your location earlier than you think you need to. Not ten minutes early. An hour early. Walk the scene. Find the river. Find the ridgeline. Let the light show you where to stand before you commit to a frame.
The takeaway from this tutorial is simple but easy to forget: the constraints you shoot under are not obstacles to the image. They are the image. One lens. No filters. Changing light. Work with it, not around it.
Watch the full tutorial on YouTube and watch how Nigel moves through the scene. The camera technique is teachable. The patience behind it takes longer - but it’s worth every slow hour on a cold hillside.
Comments
Leave a Comment