There’s a particular kind of morning I know well. You’ve checked the forecast three times. You’ve got your location scouted, your tripod in the car, your alarm set for an hour that most people would consider an act of personal punishment. Then you arrive and the light is flat, the atmosphere is gone, and you’re standing on a pier watching ordinary daylight settle over an ordinary scene. Most photographers pack up and drive home. The better lesson, one I’ve had to learn more than once in twenty years of doing this, is to look at what you actually have instead of mourning what you don’t.
That’s exactly the situation Thomas Heaton works through in this tutorial, and it’s worth studying carefully. Watch the full tutorial on YouTube before or after reading this, because seeing the actual images alongside his process will sharpen everything below. The core problem he’s solving is one I run into constantly: fog lifted before he could shoot, the scene lost its magic, but he had a bag of tools and a willingness to make the best image possible with the conditions at hand. Four images came out of that session. All of them work.
The specific tools here are mist filters, a technique most photographers own but rarely reach for. What Heaton does with them on a coastal scene is a precise and repeatable approach, and it translates well beyond the English coastline he’s standing on.
Step 1: Accept the Conditions and Reframe Your Intent
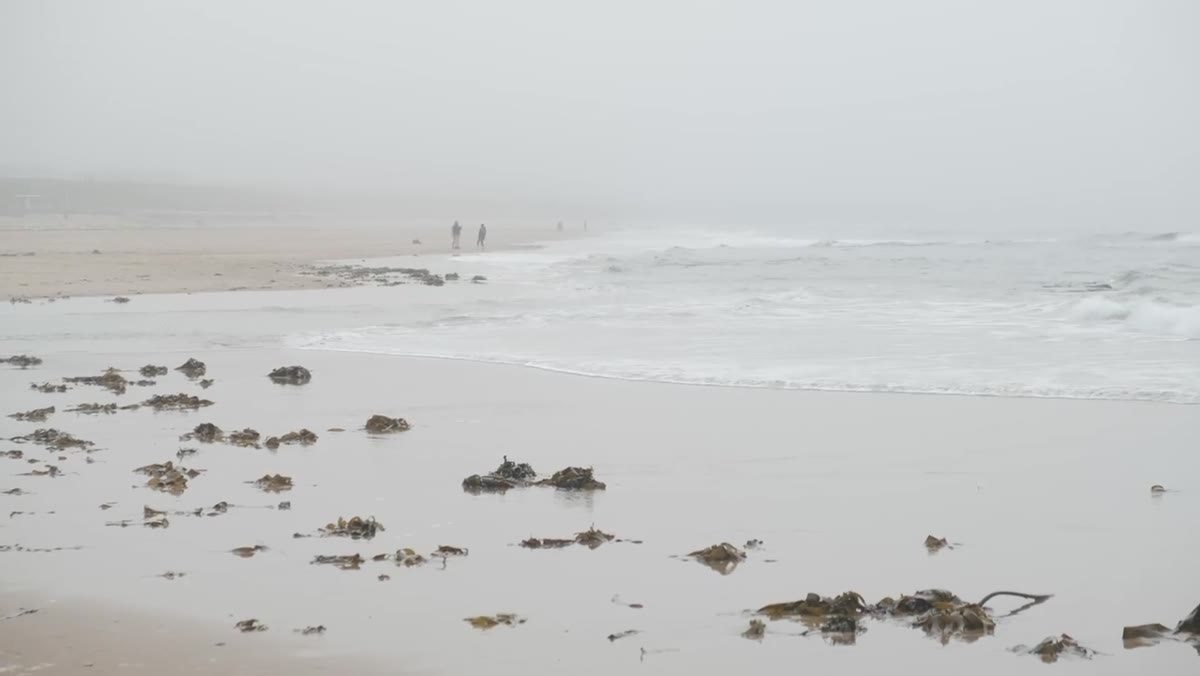 Foggy coastal conditions the photographer initially hoped to shoot
Before you touch a filter or change a setting, the first step is mental. Heaton arrived hoping for fog and found clear air. Rather than abandoning the shoot, he shifted his goal from capturing atmosphere that existed in the world to creating it with the tools in his bag. This is not a compromise. It’s a different assignment, and treating it that way changes how you move through the location.
When conditions don’t deliver, I ask myself one question: what is still here that’s worth isolating? A life ring. A curve of wet sand. The geometric edge of a pier. These are the raw materials. The filter comes later. The seeing comes first.
Step 2: Pull Out Your Mist Filters and Treat Them Like Graduated NDs
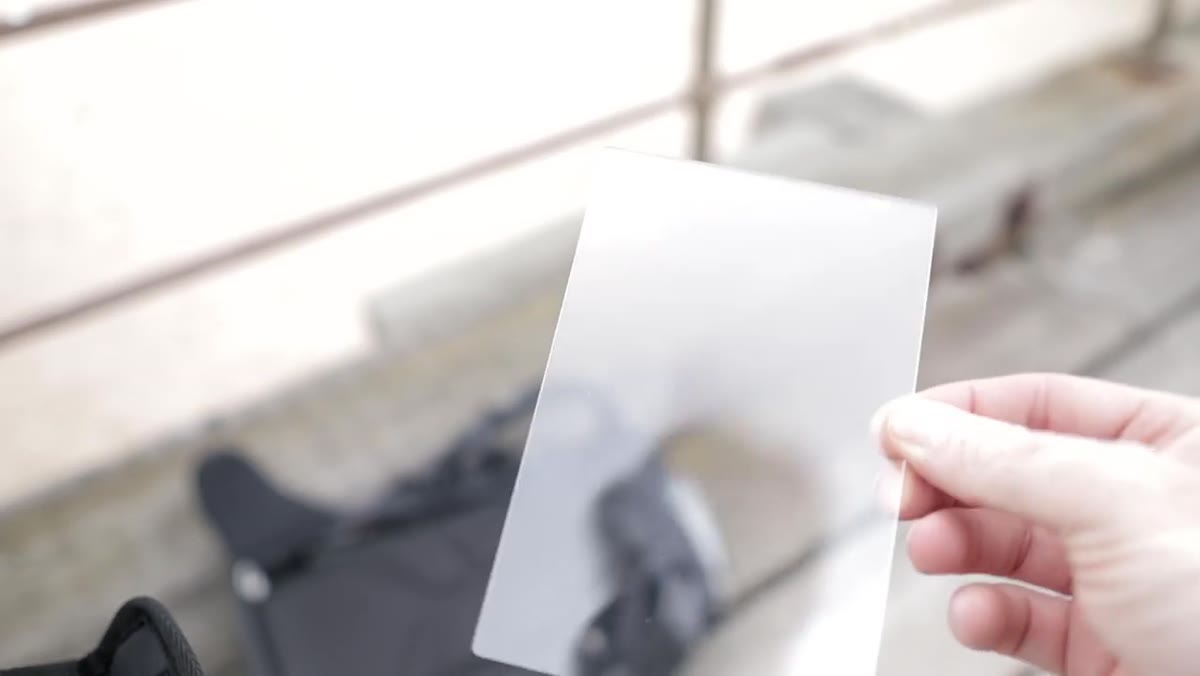 Mist filters held up and shown to camera before use
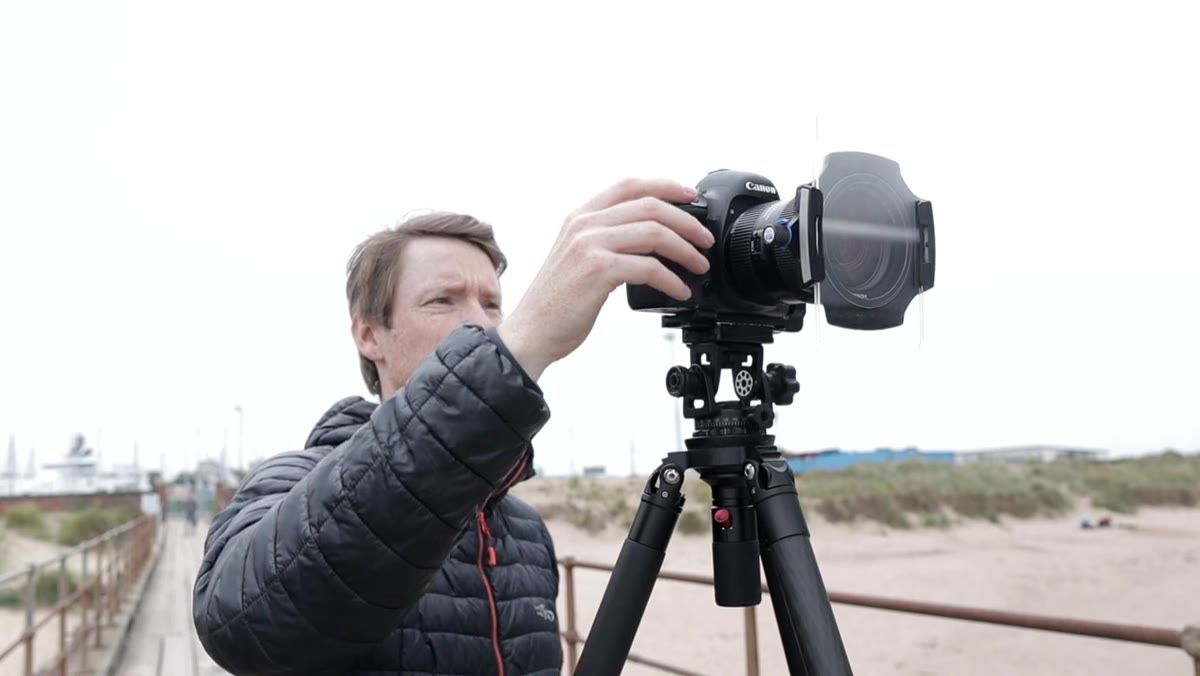
Heaton mentions that his mist filters had been sitting unused for years. I think that’s more common than people admit. They come in the kit bag, they feel a bit gimmicky, and they get bypassed for more familiar glass. His approach here is to treat them functionally, the same way you’d use a graduated neutral density filter. He positions them by pulling the filter down in the holder to control where the diffusion falls in the frame.
The key insight is that you’re not trying to fake fog across the entire image. You want to grade it, heavier in one region and fading out in another, which mimics how real atmospheric haze actually behaves. If you blast the whole frame with diffusion, it reads as a filter. If you grade it, it reads as weather.
Step 3: Set Aperture and Focus for Maximum Intentional Separation
 Camera settings shown, focus placed on the red life ring
Heaton shoots this sequence at f/5.6, which is a deliberate choice. He focuses on a sharp foreground subject, in his case the red life ring on the pier, so that anything rendered in detail is crisp and readable, while anything beyond the mist filter falls into soft, luminous ambiguity. This is the optical and physical diffusion working together.
Don’t let the filter do all the work. If you stop down to f/16 out of habit, you’ll fight the filter’s softness with diffraction and end up with something that looks muddy rather than atmospheric. Open up, focus deliberately, and let the background breathe.
Step 4: Wait and Watch for Elements Moving Into the Frame
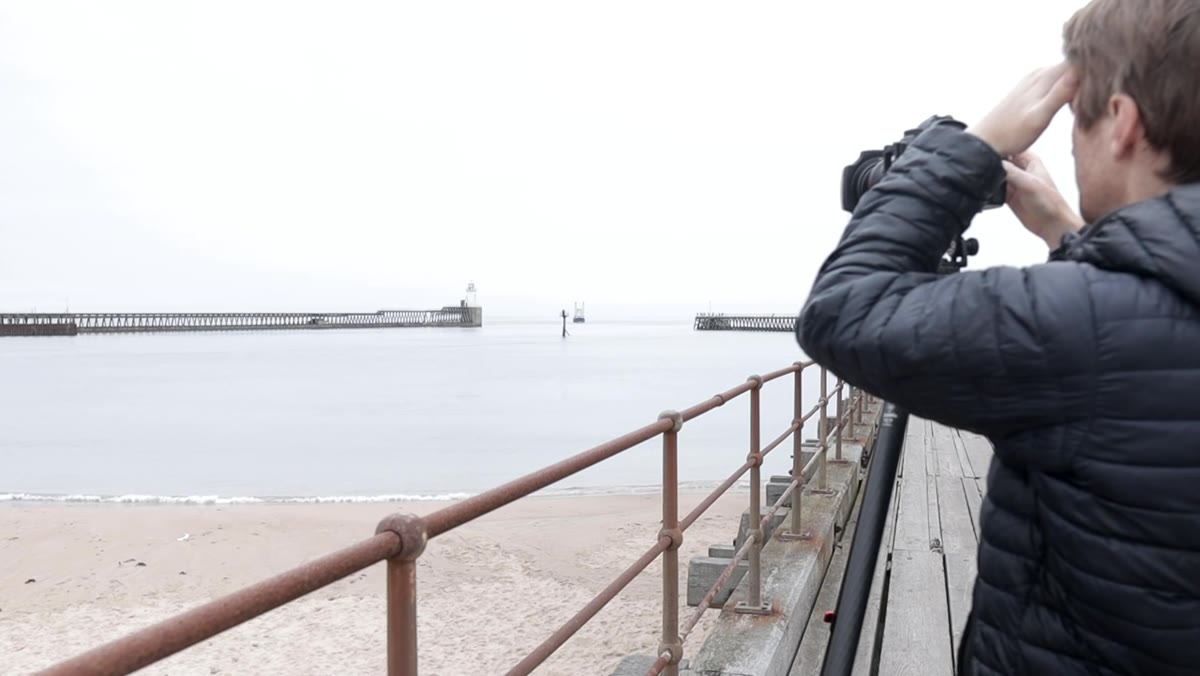 Ship visible in background moving between pier end and groyne
This is the step that separates patient photographers from reactive ones. While he’s working through the composition, Heaton notices a ship coming into port in the background. He zooms to 70mm and waits for the vessel to move into a specific gap between the end of the pier and a groyne to the right. The ship becomes a secondary subject, an unexpected layer of interest inside an already minimal composition.
I’ve driven six hours to shoot locations and spent two days waiting for a single frame. The lesson I keep relearning is that once you’re set up and committed, the scene keeps offering you things if you’re watching for them. This wasn’t planned. He saw it happening and responded. That’s field craft, not luck.
Step 5: Push Minimalism Until It Breaks, Then Pull Back One Step
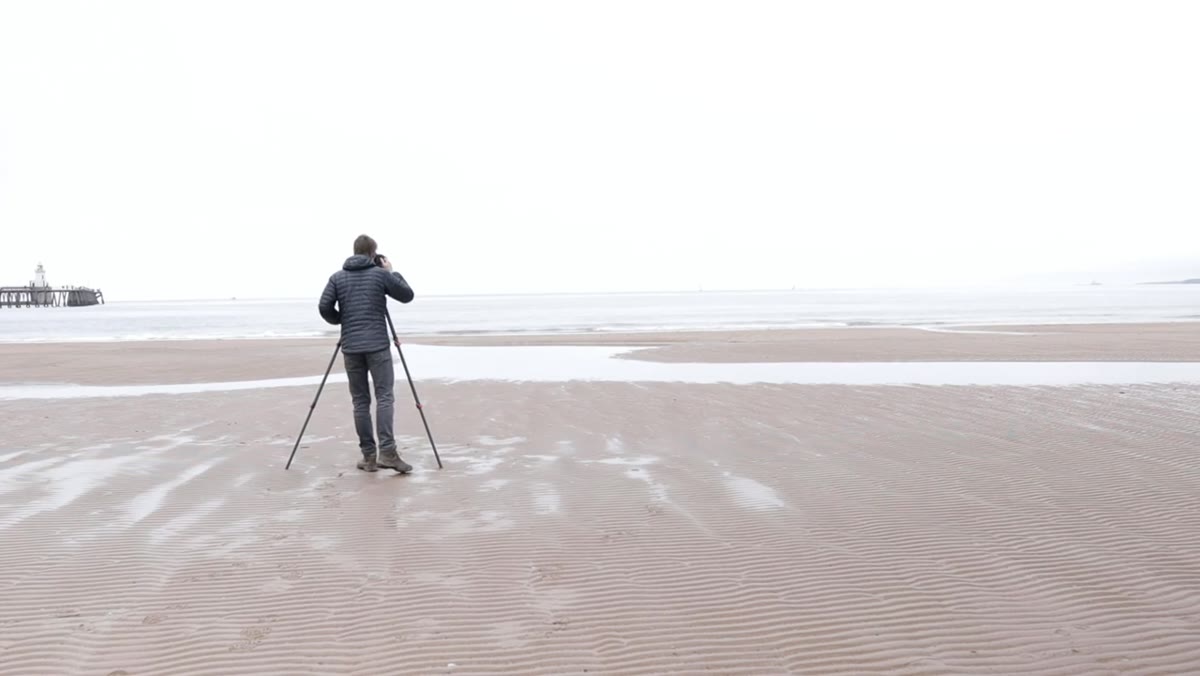 Nearly empty sand composition - extremely minimal frame
Heaton experiments with a composition so minimal it’s almost entirely texture: the rippled surface of wet sand, almost nothing else. He’s self-aware about it, noting that it might be taking the minimal approach too far. But he shoots it anyway, which is the right call. You don’t know where the line is until you cross it.
The image that follows, a curving edge of water framing the pier, finds that balance. It has the same stripped-back quality but gives the eye just enough to travel across the frame. Study the difference between those two images and you’ll understand minimalism better than any definition I could write.
Step 6: Identify Your Strongest Frame and End on It
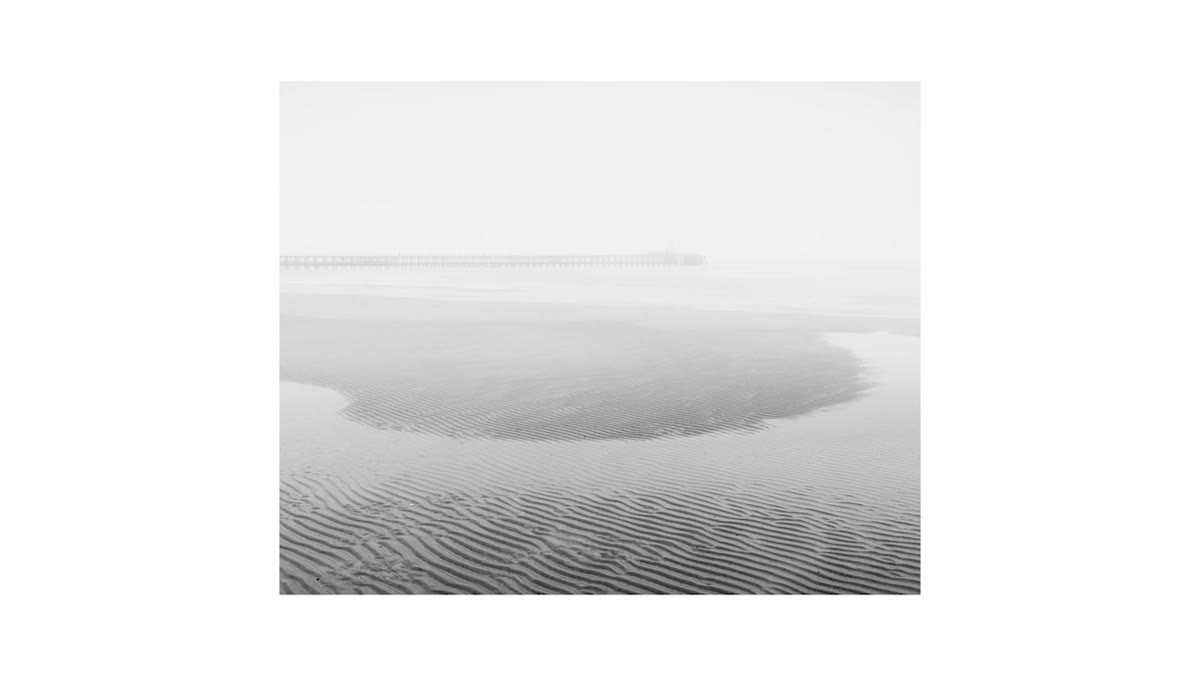 Final favorite image of the day, pier framed by water’s edge
The last image Heaton makes becomes his favorite from the session: the arc of shallow water curving around the base of the pier, clean and spare. He names it as his best and closes the shoot. That’s a discipline I’d encourage more photographers to practice. When you’ve made the shot that satisfies you, stopping is an option. Grinding on until the light is completely gone sometimes costs you the clarity to know what you already have.
A Note on Filters vs. Real Atmosphere
I shoot a lot of high desert and mountain terrain out here in Oregon, and mist filters behave differently in those environments than they do on a flat coastal scene. On open water, the diffusion reads naturally because the eye expects haze over long distances. In a mountain scene with strong mid-ground detail, the same filter can look applied if you’re not careful about where you grade it in the frame and how much diffusion strength you choose.
If you’re experimenting with this technique in non-coastal settings, start with the lightest filter you own and grade it high in the frame toward the sky. Let the foreground stay clean. The atmosphere should feel like it belongs to the distance, not the whole world.
The single thing I’d take away from this tutorial is that a failed atmospheric condition is not a failed shoot. The tools you carry and the quality of your attention determine what you come home with. Heaton turned a fogless morning on a pier into four considered, portfolio-worthy images. The fog was never the photograph. The seeing was.
Watch the full tutorial on YouTube to see the images themselves alongside Heaton’s commentary. The visuals make the compositional choices far more legible than any description can.
Comments
Leave a Comment