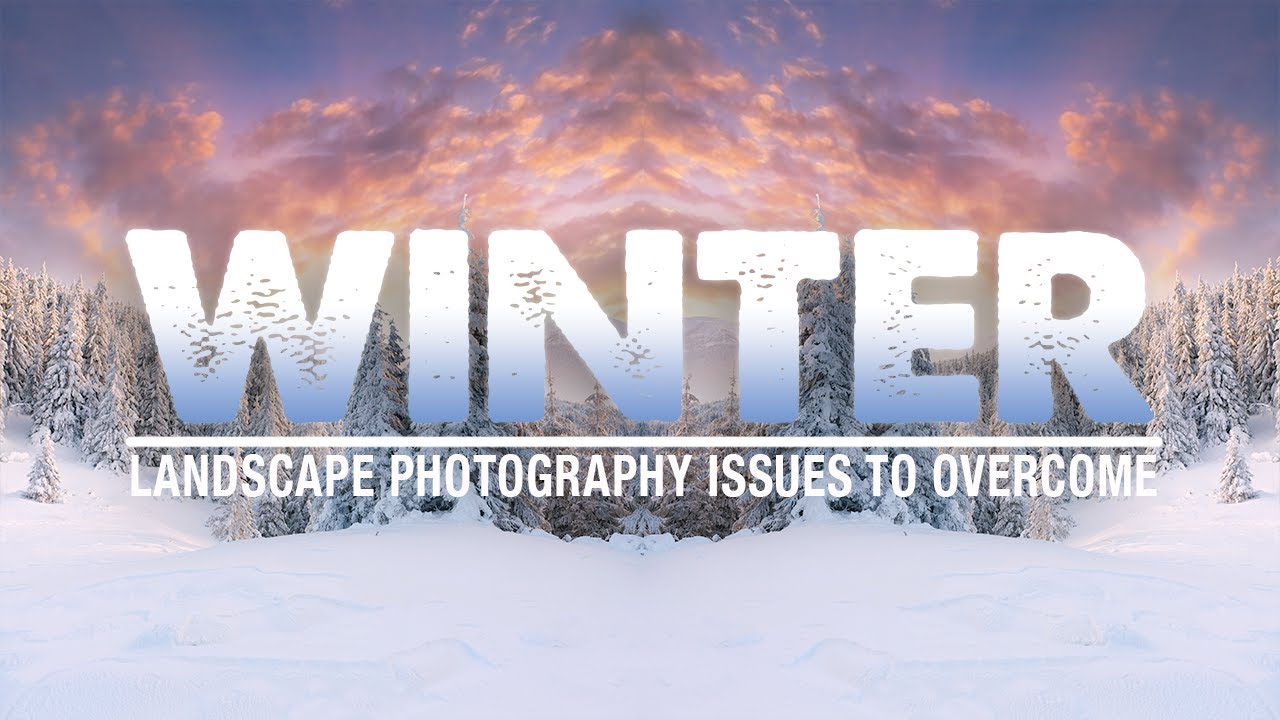
I’ve been waking up before dawn for twenty years to stand in freezing air with a camera. You’d think by now I’d have winter dialed in. And mostly, I do. But every season finds a new way to humble you. A forgotten hand warmer. A battery that dies in the first fifteen minutes. Fingers so stiff you can’t feel the aperture dial. Winter photography is genuinely one of the most rewarding pursuits I know, but it has a real cost if you walk into it underprepared.
That’s why I keep coming back to content like Watch the full tutorial on YouTube from Mark Denney, who put together a thorough breakdown of the core issues that trip up photographers in cold conditions. Even as someone who’s been doing this long enough to have a hat I consider lucky, I found myself nodding along. Mark organizes the problem cleanly into four categories, and each one maps to something I’ve personally had to learn the hard way in the field around the Cascades and high desert of central Oregon.
What makes his approach useful is that it doesn’t read like a gear list or a checklist for beginners. It reads like someone who has actually been cold in a field and had to think their way out of it. That’s the tone I want to carry through this breakdown, with my own notes layered in where twenty years of winters have taught me something extra.
Step 1: Treat Personal Comfort as a Photographic Variable
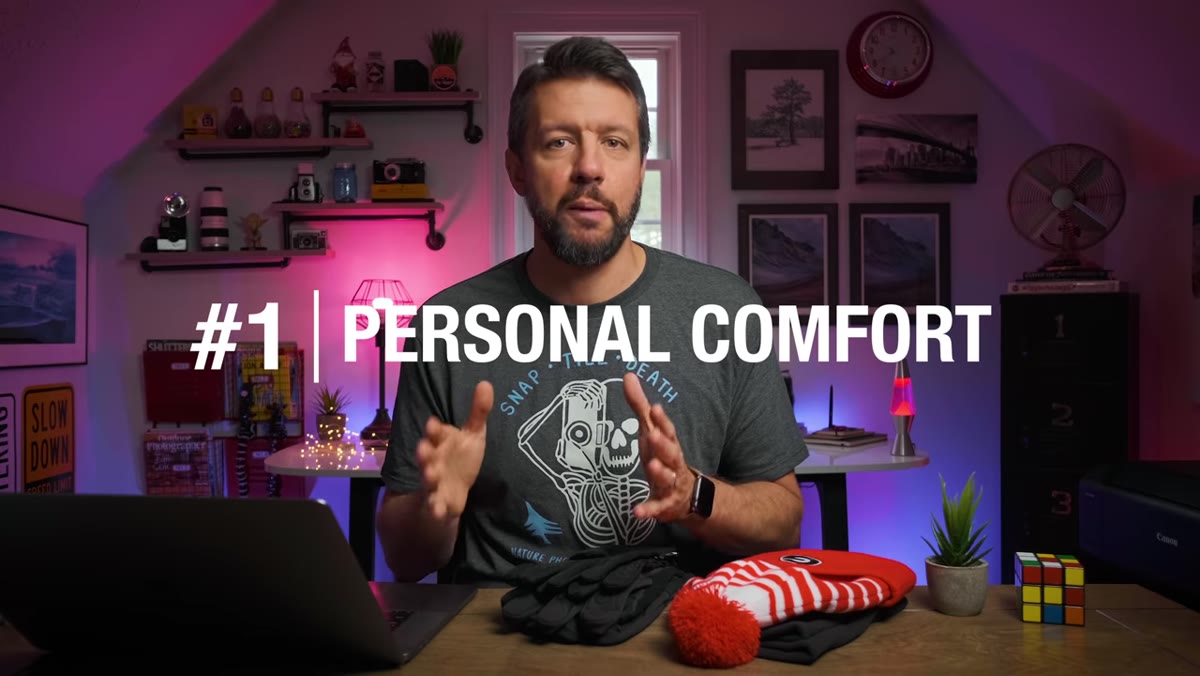 Mark discusses personal comfort as the first and most critical category
Most photographers treat warmth as a lifestyle concern and leave it out of their creative thinking. That’s the mistake. When you’re cold, your decision-making degrades. You stop waiting for the right light and start waiting to leave. Mark puts personal comfort first in his breakdown, and I think that’s exactly right. Discomfort isn’t just unpleasant. It actively shortens your time in the field and narrows your vision.
The subtler trap he names is this: you feel fine during the hike in. Your heart rate is up, you’re moving, and the cold doesn’t register properly. Then you stop. You set up the tripod, frame the composition, and suddenly the cold comes for you all at once. That still moment, when you’re waiting for the light to shift or for clouds to move, can last fifteen minutes or an hour. Plan your layers for that stillness, not for the hike.
Step 2: Start With Your Head and Face
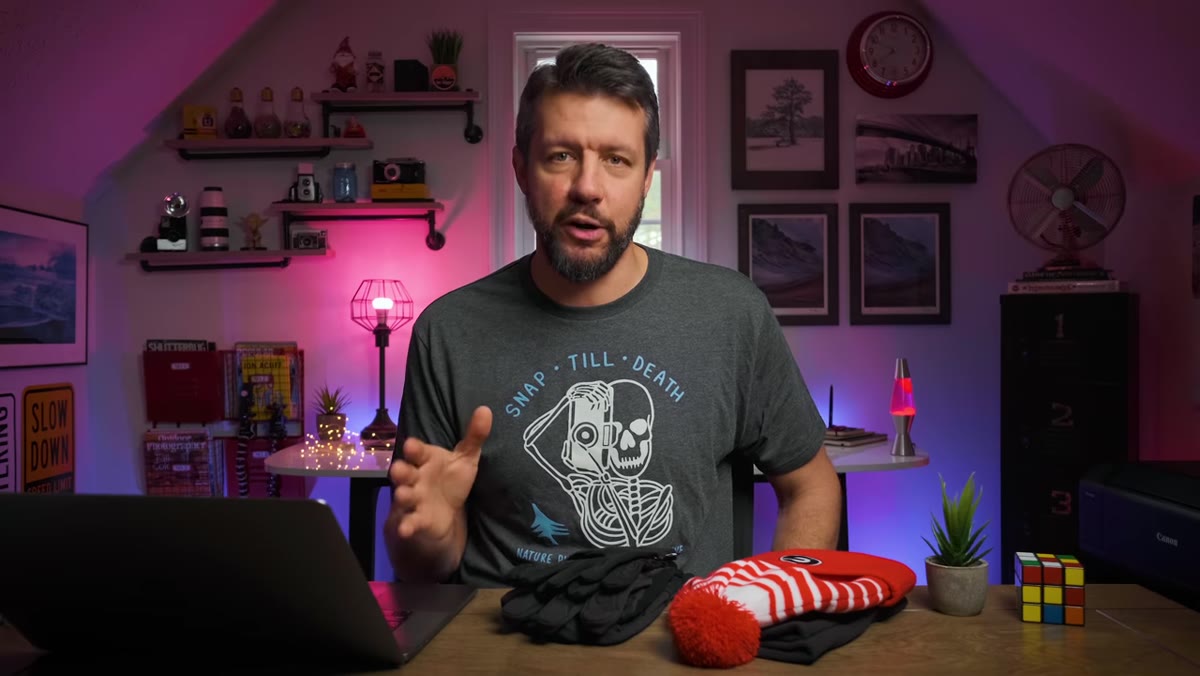 Mark holds up a warm winter hat, explaining head coverage basics
Heat escapes fastest from your head. That’s not a myth. A proper hat that covers your ears is the starting point, not an afterthought. Mark recommends starting your warmth system from the top down, and I’ve found that framework useful because it forces you to think systematically rather than just grabbing whatever’s near the door.
He also mentions a neck gaiter as a significant upgrade over a traditional scarf. The reason is practical. A gaiter stays in place. It doesn’t catch on your camera strap or flop across your lens when you lean into the viewfinder. And when the wind picks up, you can pull it over your nose and mouth without losing a glove to do it. I carry mine in a jacket pocket so it’s accessible without digging into a bag.
Step 3: Build a Two-Layer Glove System
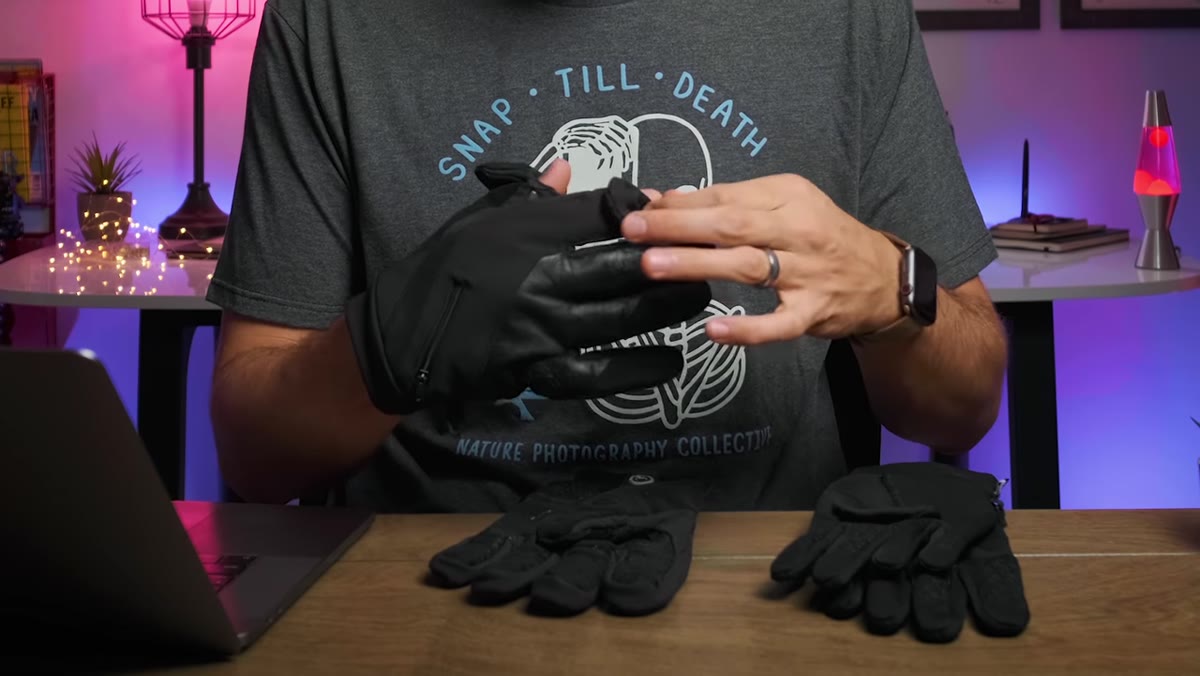
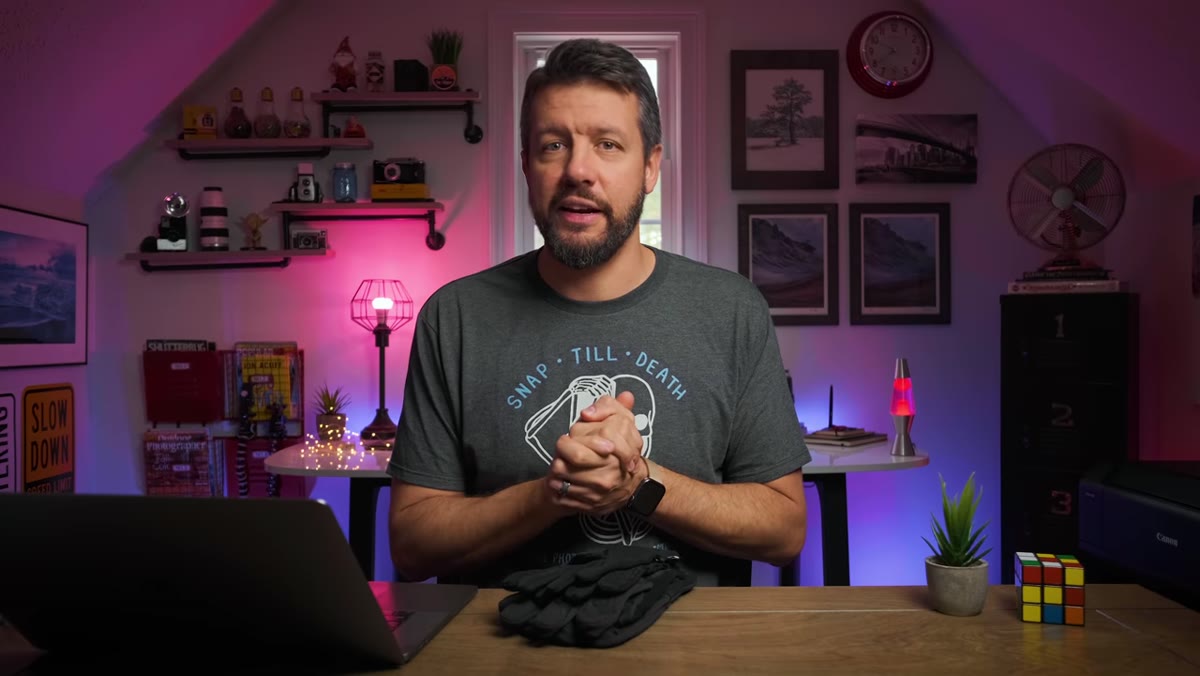 Mark demonstrates layering thin touch-screen gloves beneath heavier outer gloves
Hands are where winter shoots fall apart. I’ve watched workshop students lose an entire golden hour because they couldn’t work their camera controls with frozen fingers. The frustration alone is enough to make you pack up early, and once you’re mentally checked out, no amount of beautiful light brings you back.
Mark’s solution is a two-layer system. A thin inner glove, ideally touch-screen compatible so you can operate your phone or a touchscreen LCD, worn as a base. Then a heavier outer glove layered on top. The key feature he highlights in the outer glove is a fold-back thumb and index finger, held by a small magnet, so you can expose just those two fingertips for shutter and dial work without removing the glove entirely. This keeps the rest of your hand warm while you make fine adjustments. It sounds like a small thing until you’re at minus ten with wet snow blowing sideways and you realize that small thing is the reason you’re still shooting.
Step 4: Protect Your Feet for the Long Wait
 Mark shifts focus downward, addressing foot warmth for stationary shooting
Feet are the final point of the warmth pyramid Mark describes, and they’re the most overlooked because they feel fine when you’re walking. Once you’re stationary on cold ground or snow, heat drains out through your boots faster than you’d expect. Insulated, waterproof boots are the baseline. But the real upgrade is what goes inside them.
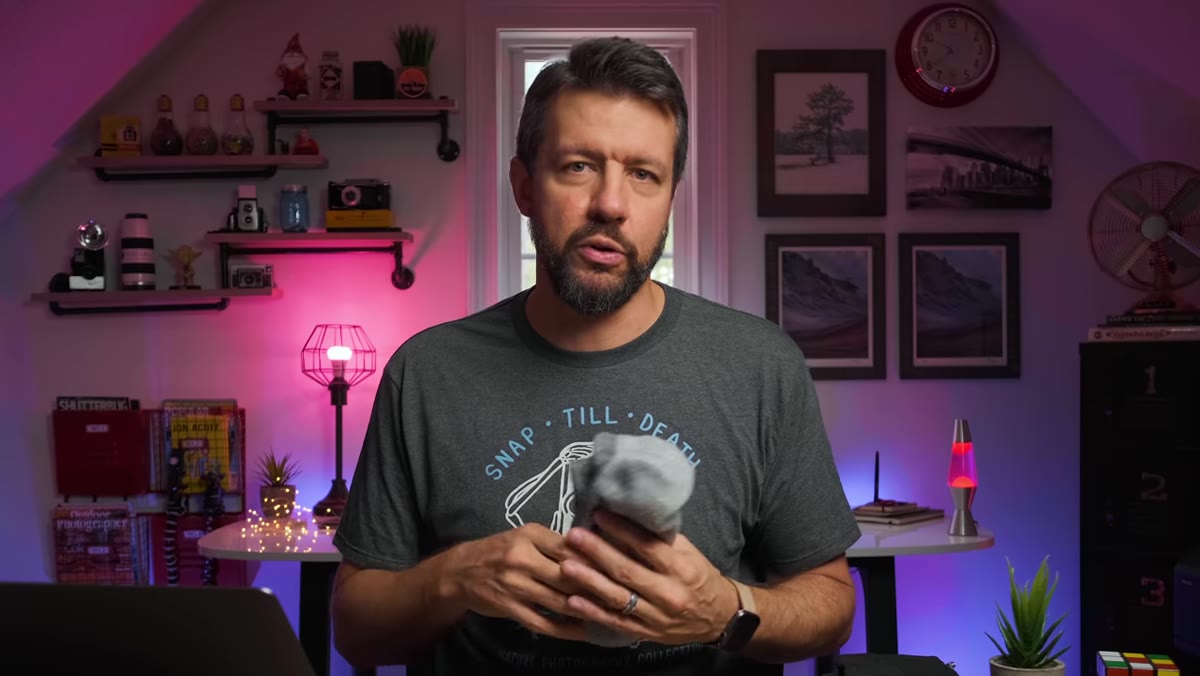
Wool socks, worn as a proper layer, make a significant difference. Chemical toe warmers tucked in before you leave the car extend your comfortable standing time considerably. I keep a few packets in every jacket I own at this point. They cost almost nothing and have saved more than one sunrise session that would have otherwise ended early.
Step 5: Prepare Your Gear for Cold-Weather Behavior
 Mark addresses camera and battery performance in cold conditions
Cold affects your equipment the same way it affects your body. Batteries discharge faster, sometimes dramatically faster, at low temperatures. Condensation becomes a real issue when you move between cold outdoor air and a warm interior. Lenses and electronics need time to adjust. Mark addresses this directly, and it’s worth treating gear preparation as its own pre-shoot ritual rather than something you handle reactively.
Carry at least one spare battery kept warm in an inner pocket, not in your bag. When you finish a shoot and come back inside, don’t open your bag immediately. Let the gear come up to room temperature gradually inside the closed bag before exposing it to the warmer, humid indoor air. It sounds counterintuitive to wait, but it prevents the kind of condensation that works its way into a lens and doesn’t come back out.
What Twenty Winters in Oregon Add to This
Mark’s framework is solid. My one extension is this: the emotional preparation matters just as much as the physical gear. My kids think I’m slightly unhinged for dragging myself out at 4am in January, but what they don’t see is how much better the photograph is when you’ve committed to being uncomfortable. I’ve learned to treat the cold as a filter. Most people stay home. The ones who don’t tend to find something worth photographing.
A mentor told me once that the mountain doesn’t care about your schedule. That line has stayed with me through hundreds of winters. Preparation is not about controlling the conditions. It’s about buying yourself enough time and comfort to be present when the conditions turn in your favor.
The single most important shift Mark’s tutorial reinforced for me is planning for stillness, not movement. Dress for the moment you stop hiking, not the moment you start. That one change will extend your time in the field more than any single piece of gear.
Watch the full tutorial on YouTube and see Mark walk through each of these points in his own words, with gear in hand and real field context behind every recommendation.
Comments
Leave a Comment