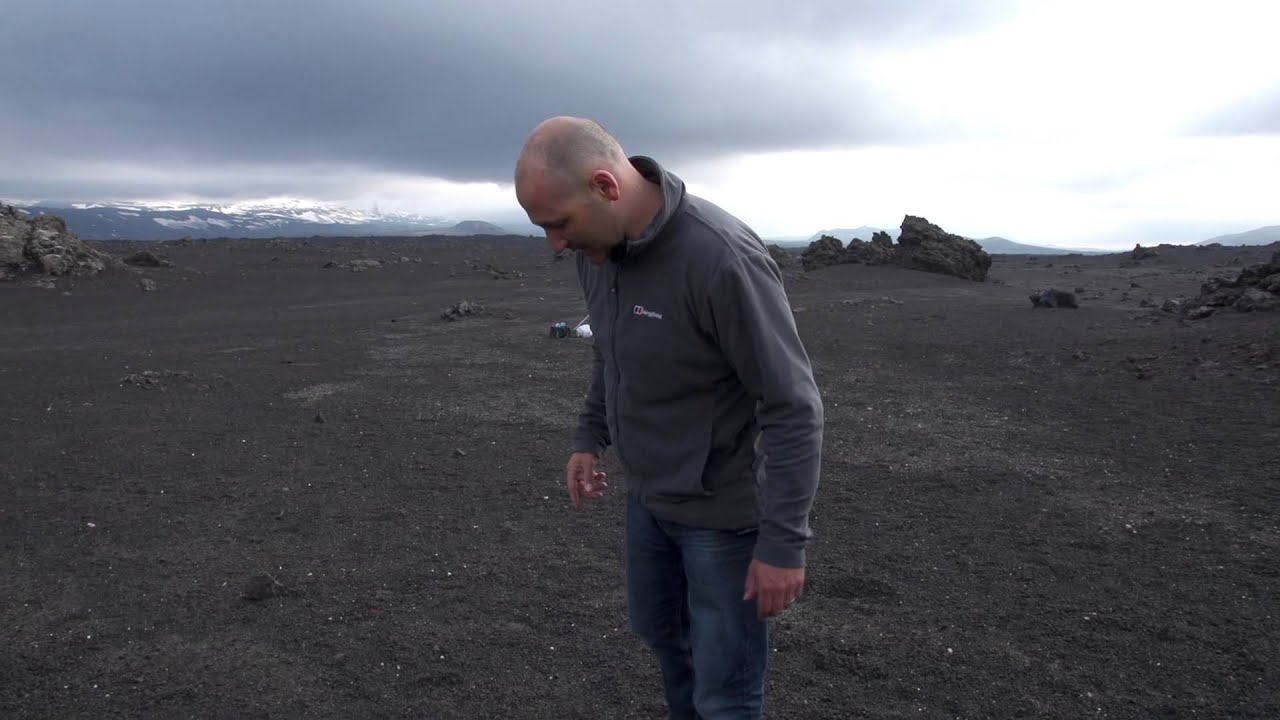
There’s a difference between arriving at a location and actually working one. I’ve spent twenty years getting up before the alarm goes off, driving out to some ridge or riverbed in central Oregon, and I still have to remind myself of that distinction. The camera doesn’t care how far you drove. Neither does the mountain. What separates a strong image from a mediocre one taken in the same spot usually comes down to whether you showed up to take a picture or to make one.
That phrase stopped me cold when I watched Karl Taylor’s Visual Education tutorial filmed on location in Iceland’s highlands. Watch the full tutorial on YouTube. Taylor is shooting a fashion editorial in what looks like another planet entirely, a dark volcanic desert beneath Mount Hekla, and the way he talks through his process is a clean, direct lesson in intentional location work. The subject matter is fashion, but the underlying approach applies to anyone shooting in a dramatic landscape with a specific vision in mind.
What struck me most is that the tutorial doesn’t waste time on gear specs or post-processing tricks. It’s entirely about the thinking that happens before the shutter fires. That’s the gap I see most often in photographers who come through my workshops. They know their cameras. They haven’t developed the habit of reading a location as a compositional problem to be solved.
Step 1: Enter the Location as a Scout, Not a Shooter
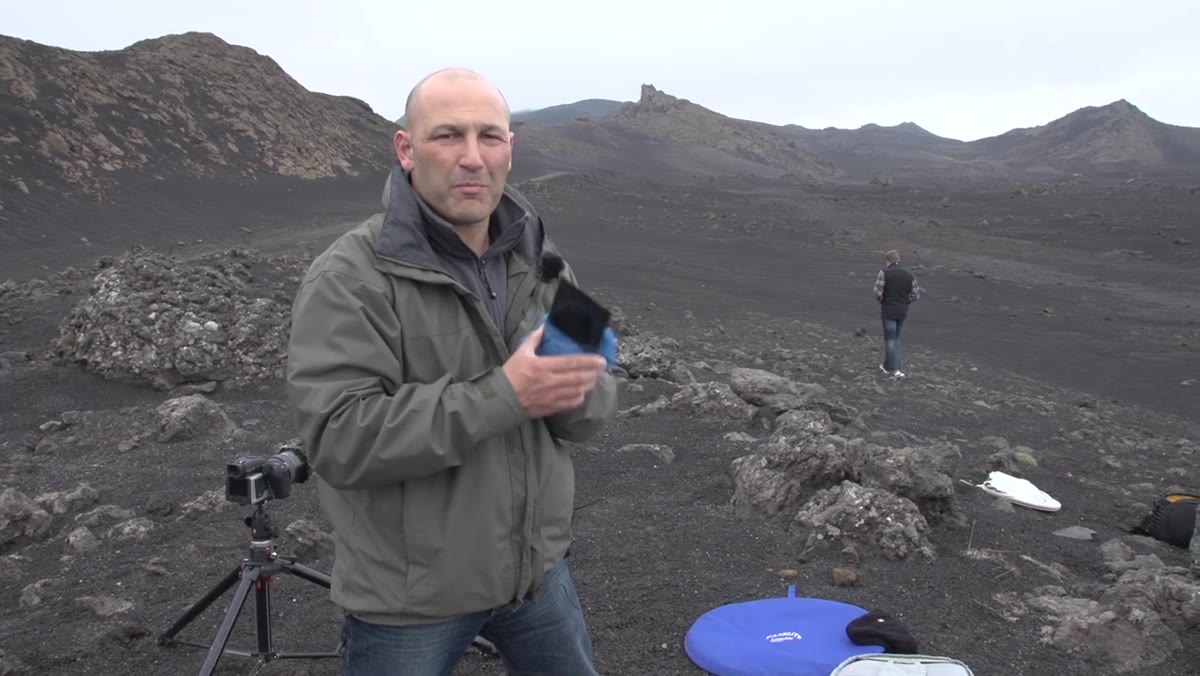 Karl Taylor standing in volcanic landscape, camera lowered, surveying the scene
When Taylor arrives at the highland location, he doesn’t immediately start shooting. He describes moving through the terrain looking for the right landscape elements, the right foreground and background relationships, before deciding where to place his subject. This is pure scouting, even if it’s happening in real time on a live shoot.
In landscape work, I do this on every visit to a new location. Walk the ground without the camera at your eye. Look at sight lines. Notice what’s competing for attention in the background and what anchors the foreground. The volcanic rock fields in this video have tremendous texture and depth, and Taylor is clearly reading those qualities before committing to a frame. Train yourself to see the location as a set of compositional variables before you start solving for any of them.
Step 2: Select a Position That Serves Both Foreground and Background
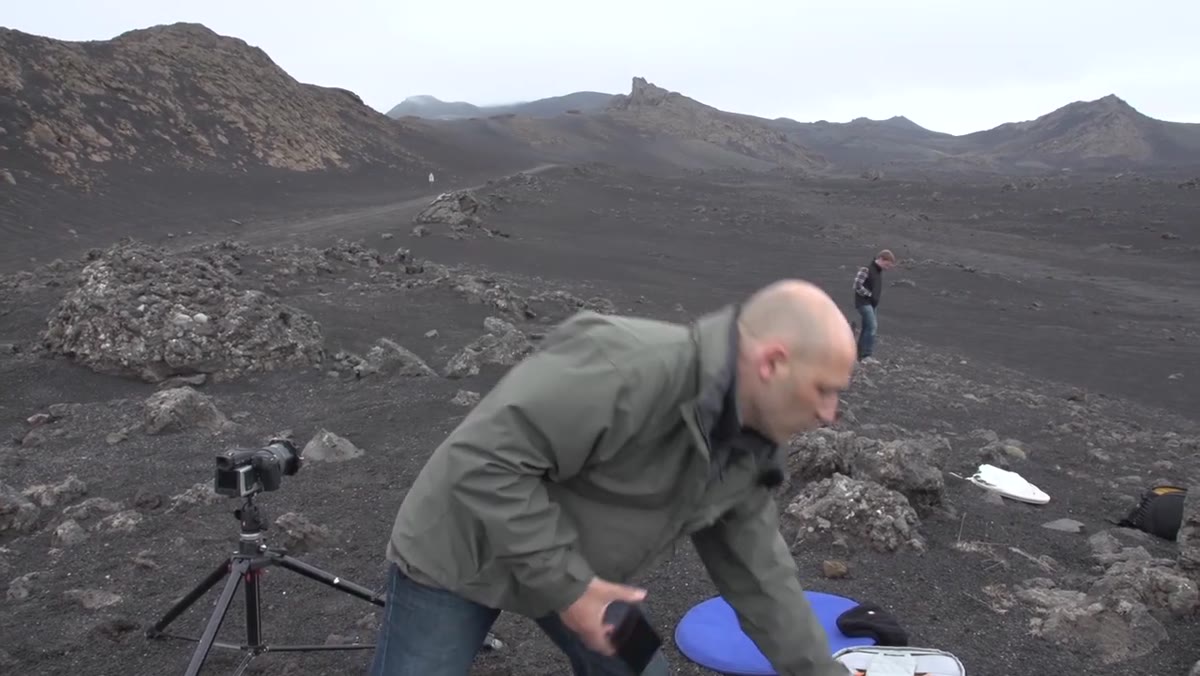 Taylor gesturing toward placement position for model in the frame
Once Taylor has assessed the terrain, he chooses a specific position for his subject that creates a relationship between what’s close and what’s far. He’s explicit about this: the placement needs to fit the foreground and the background simultaneously. It’s not just about where the model looks good. It’s about where the model makes the whole frame work.
For landscape photographers, this is the same logic we use when deciding where to place a lone tree or a rock formation within a wide scene. The subject doesn’t exist in isolation. Ask yourself what the foreground is doing for the subject and what the background is doing for both. If the answer to either question is “nothing,” you haven’t found your position yet.
Step 3: Protect the Photo Zone
 Taylor marking off a section of the volcanic terrain to keep clear
Taylor designates a specific area of ground as the photo zone and asks the crew to route around it. This protects the natural texture and composition of the foreground from being disturbed by foot traffic. On a remote volcanic landscape, crushed rock and scuffed surfaces read in a wide shot.
I do something similar when I’m shooting in sensitive terrain, whether that’s a frost-covered meadow at dawn or a section of desert sand with undisturbed ripple patterns. Before you set up, walk your intended foreground. Mark your own footprint boundary in your head. The difference between an untouched piece of ground and one that’s been trampled is visible in the final image, even if it registers only as a vague sense that something feels off.
Step 4: Match Your Lighting to the Scale of the Environment
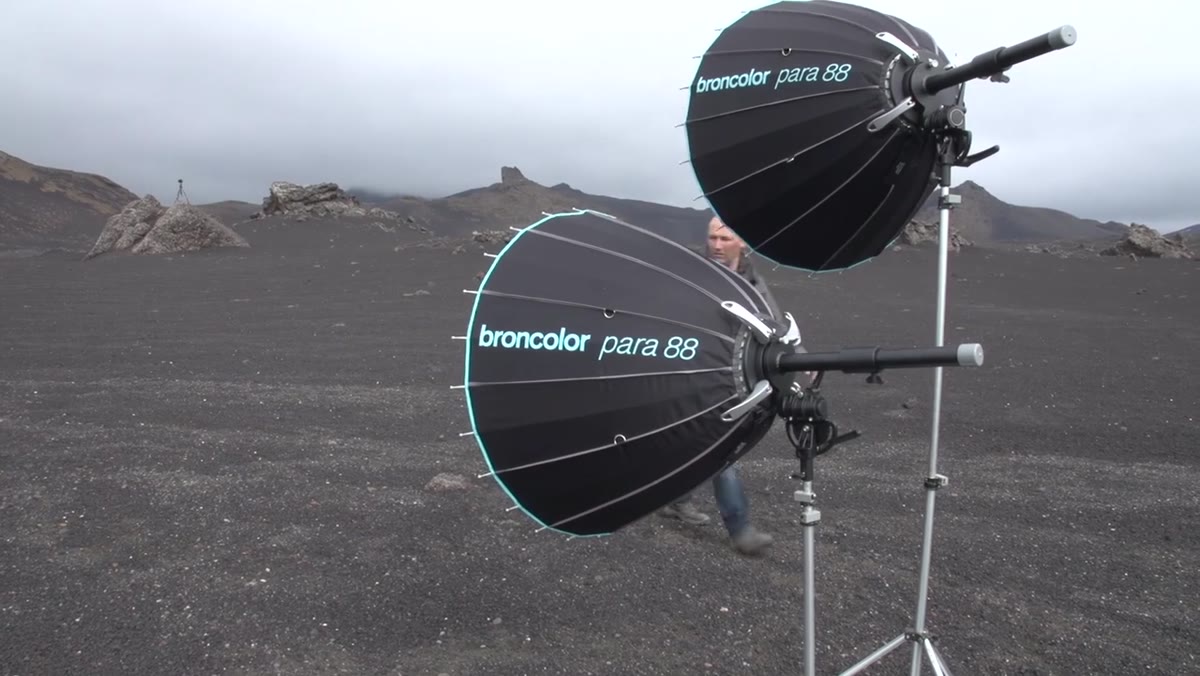
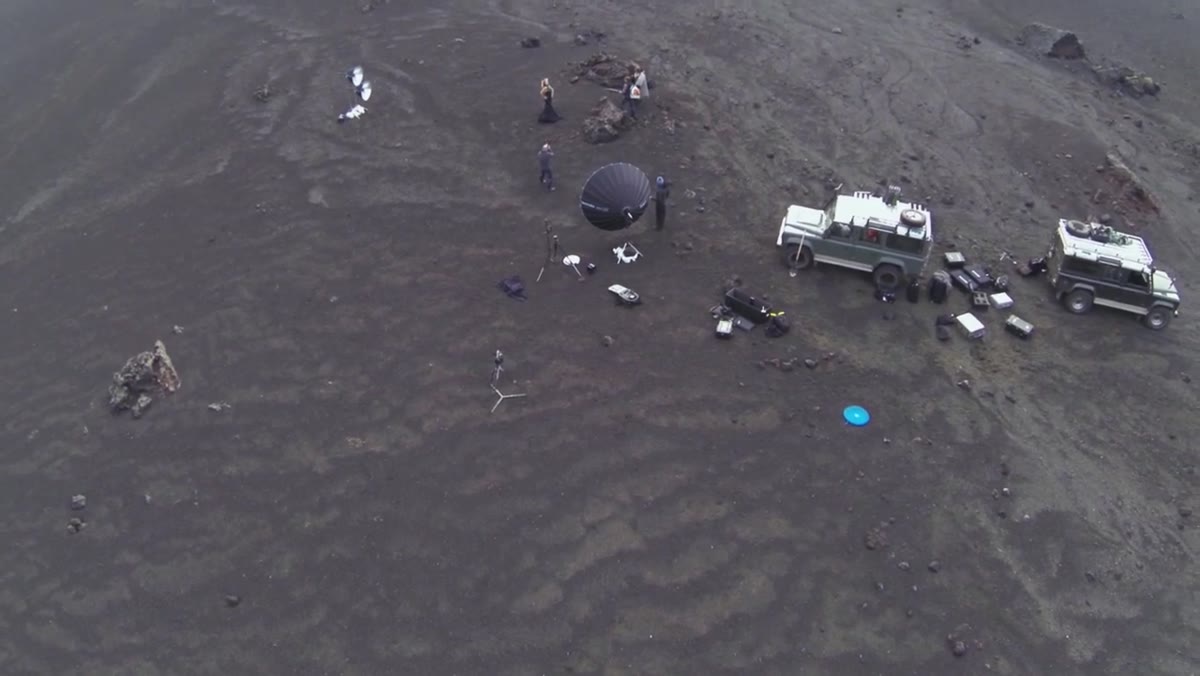 Aerial view showing parabolic reflectors at significant distance from subject
The aerial shots in the tutorial reveal something you can’t fully appreciate from ground level: the scale at which Taylor is working his artificial lighting. The parabolic reflectors are placed at a considerable distance from the subject, and that distance is intentional. The goal is to throw light across a wide enough area that it reads as natural within a vast landscape, rather than looking like a hot spot dropped onto a figure.
This principle translates directly to natural light landscape work. When you’re scouting a location for golden hour or blue hour, you’re essentially thinking about the same problem. Where is the light source in relation to your subject? How is it falling across the terrain? A low raking light that illuminates texture from the side tells a completely different story than flat overhead light. Understanding the geometry of light, its distance, angle, and quality, is the same skill whether you’re moving a reflector or waiting for the sun to drop another ten degrees.
Step 5: Treat Every Exposure Variable as a Deliberate Choice
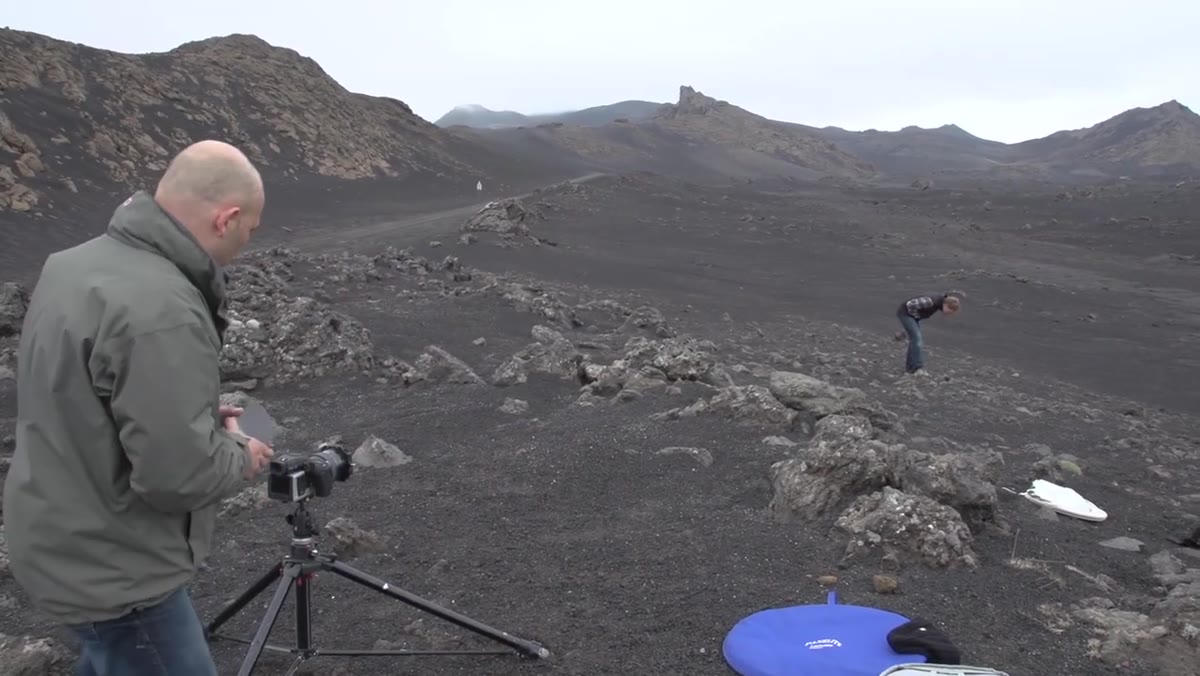 Taylor adjusting camera settings, discussing exposure approach
Taylor describes tweaking every element of the exposure to suit the shot. Not dialing in a setting and firing, but adjusting deliberately for the specific conditions and the specific image he wants. This is the part that gets skipped in a lot of field photography, especially when conditions are changing fast and there’s pressure to capture something before the light goes.
I still shoot film occasionally for exactly this reason. When you have twelve or twenty-four frames on a roll, you don’t fire until you’ve thought through the exposure. That discipline carries back into digital work and makes you slower in the best possible way. Know what you’re changing and why before you change it.
A Note on Environment as Creative Partner
What Taylor found in Iceland’s highlands, and what he responds to visibly throughout this tutorial, is a location that does real creative work on its own. The dark volcanic desert, the looming presence of Mount Hekla in the background, the texture of centuries of lava deposits underfoot: all of that is doing compositional and atmospheric work that no lighting rig could replicate.
In my own practice, I’ve learned to let a location lead when it has something genuinely powerful to say. The strongest images I’ve made didn’t come from forcing a preconceived shot onto a landscape. They came from arriving with a flexible vision and then following what the environment was already doing. Iceland’s lunar highlands are an extreme version of that, but the same dynamic exists in the high desert outside Bend, in a fog-filled valley at dawn, in any landscape that has its own strong presence. Your job is to recognize it and compose around it, not over it.
The single most useful thing I took from Taylor’s tutorial is that phrase he uses early on: making a shot versus taking one. That distinction is the whole game. Everything else, the scouting, the zone protection, the lighting geometry, the deliberate exposure work, is in service of that fundamental shift in mindset.
Watch the full tutorial on YouTube and pay particular attention to the aerial sequences near the end. Seeing the scale of the setup from above reframes everything Taylor describes from the ground level.
Comments
Leave a Comment