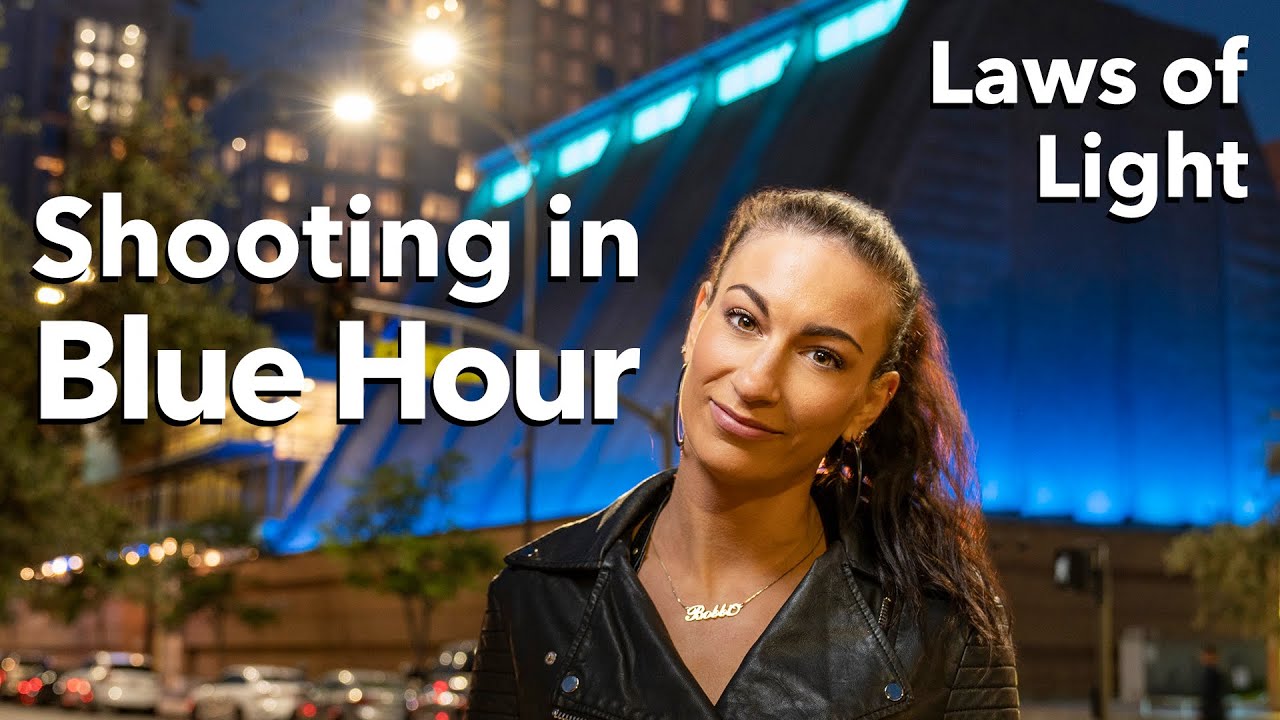
There’s a moment every evening when most photographers are already packing up their gear. The sun has dropped below the horizon, the golden light is gone, and the show feels over. For the first few years I shot landscapes seriously, I was one of those people. I’d nail golden hour, feel satisfied, and start the hike back to my car. Then a mentor of mine told me something that stuck: the mountain doesn’t care about your schedule. Stay. So I stayed. And blue hour changed everything about the way I work.
Blue hour, technically called civil twilight, is roughly 15 to 20 minutes after the sun disappears. The sky shifts into a deep, saturated blue, city lights and artificial sources start to fire up, and for a brief window those two exposures converge at nearly the same level. The result is a naturally balanced, atmospheric image that doesn’t require heavy editing to look dramatic. It looks dramatic because it actually is. In this The Slanted Lens tutorial, photographer Jay P. Morgan shoots blue hour on location in downtown Los Angeles and walks through the practical mechanics of capturing it well. Watch the full tutorial on YouTube before or after reading, but everything you need to apply it in the field is laid out below.
Step 1: Understand What Blue Hour Actually Is
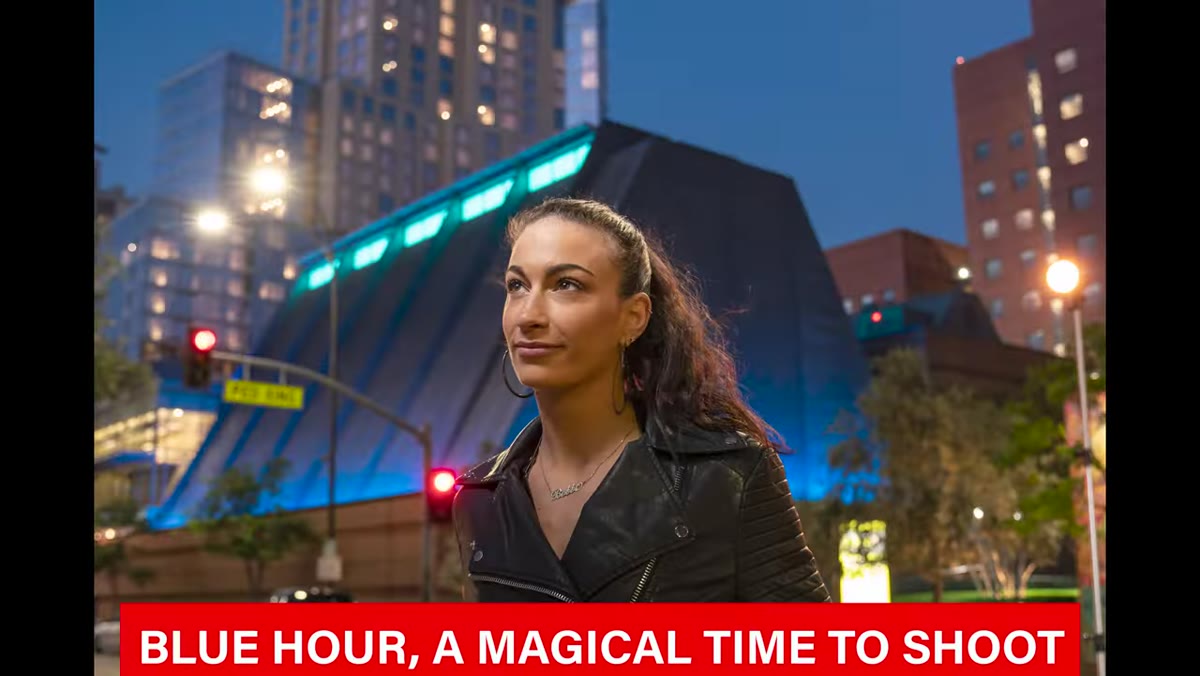 Jay explaining blue hour timing after sunset
Blue hour is not a metaphor and it is not an hour. It’s a specific transitional window that begins the moment the sun clears the horizon and lasts roughly 15 to 20 minutes. During that window, the atmosphere scatters short-wavelength blue light across the entire sky, casting a cool, even glow over your scene. There’s no harsh directional light, no blown highlights from the sun itself, and no deep shadow problems. Everything just sits in this quiet, luminous blue.
If you’re shooting landscapes rather than cityscapes, that blue cast still works beautifully. Snow, water, open meadows, mountain ridgelines - they all take on a quality in blue hour that feels almost otherworldly. The key is knowing exactly when your window opens at your location, which means checking a reliable app for your sunset time and being fully set up before that moment arrives.
Step 2: Plan Around the Exposure Crossover Point
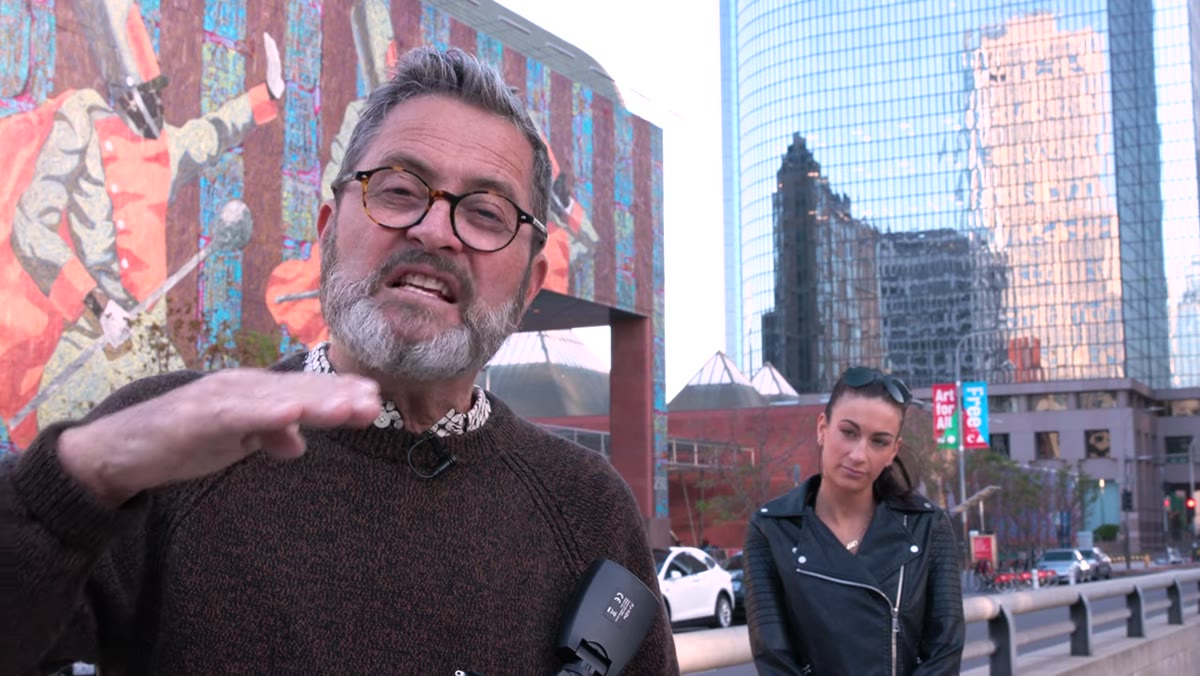 Chart showing sky exposure dropping to match city lights
Jay shares a simple but powerful concept: think of blue hour as a graph. Sky exposure is steadily dropping after sunset. Artificial light sources hold a flat, consistent exposure. There’s a specific moment when those two lines cross and the values match. That’s your sweet spot. Before the crossover, your sky will be brighter than your lights. After it, your lights will blow out against a dark sky.
In practice, this means you want to be actively shooting during that transition rather than waiting for one “perfect” moment. Bracket your shots every few minutes. Take a frame, check your histogram, adjust, and shoot again. The crossover happens whether you’re ready or not. Your job is to be watching for it rather than guessing after the fact.
Step 3: Arrive Early and Scout While There’s Still Light
 Jay referencing the 15-minute window for blue hour shooting
You have roughly 15 minutes. That’s not much time to also figure out where to stand, which direction to face, or whether a foreground element is working. I’ve lost plenty of blue hour windows to bad location decisions I made in the dark. Now I treat golden hour as my scouting session. I use the remaining light to test compositions, check for distracting elements, and confirm my tripod position before the window opens.
If you’re shooting with a subject or in an urban environment like Jay is in this tutorial, use the transition time to dial in your framing at different focal lengths. Know before blue hour hits whether you want a wider environmental shot or something tighter. Hesitation during the 15-minute window costs you frames you can’t get back.
Step 4: Use Focal Length and Physical Movement Together
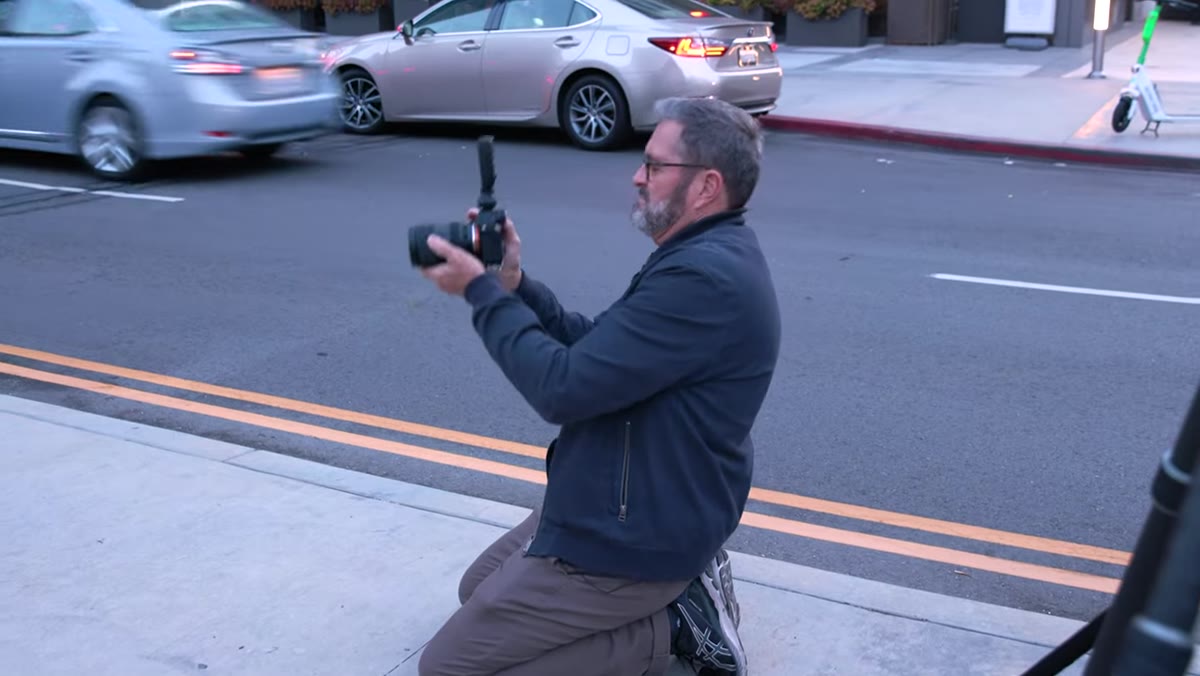 Jay demonstrating perspective shift by moving closer and zooming
Jay makes a point here that photographers often forget: zooming alone changes your crop, but moving your physical position while zooming changes your perspective. Step back and zoom in, and background elements compress and appear larger. Move forward and zoom out, and those same elements recede. This matters enormously for blue hour because the background - whether it’s a city skyline or a mountain range - is often as important as your subject.
In landscape work without a human subject, the same logic applies to foreground elements. A rock, a tree line, a bend in a river - shifting your body position changes how those elements relate to what’s behind them. During blue hour you may only have time to work two or three compositions, so commit to the one that uses that depth most intentionally rather than standing still and just zooming.
Step 5: Set Your Camera for Low-Light Stability
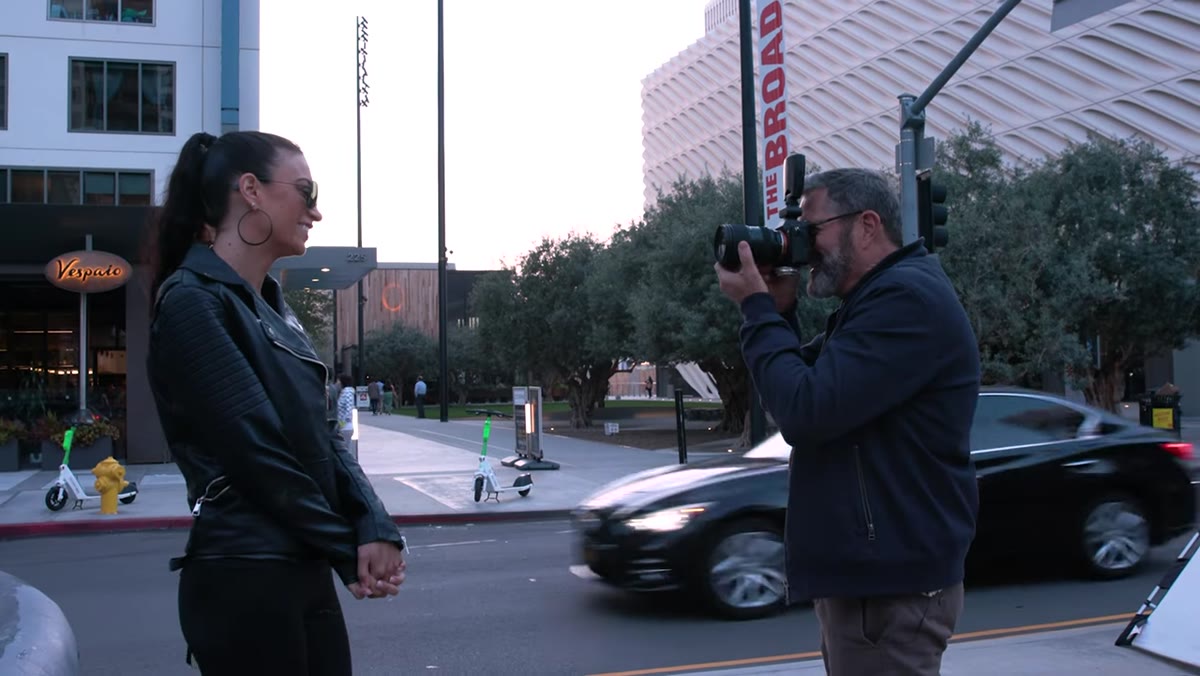
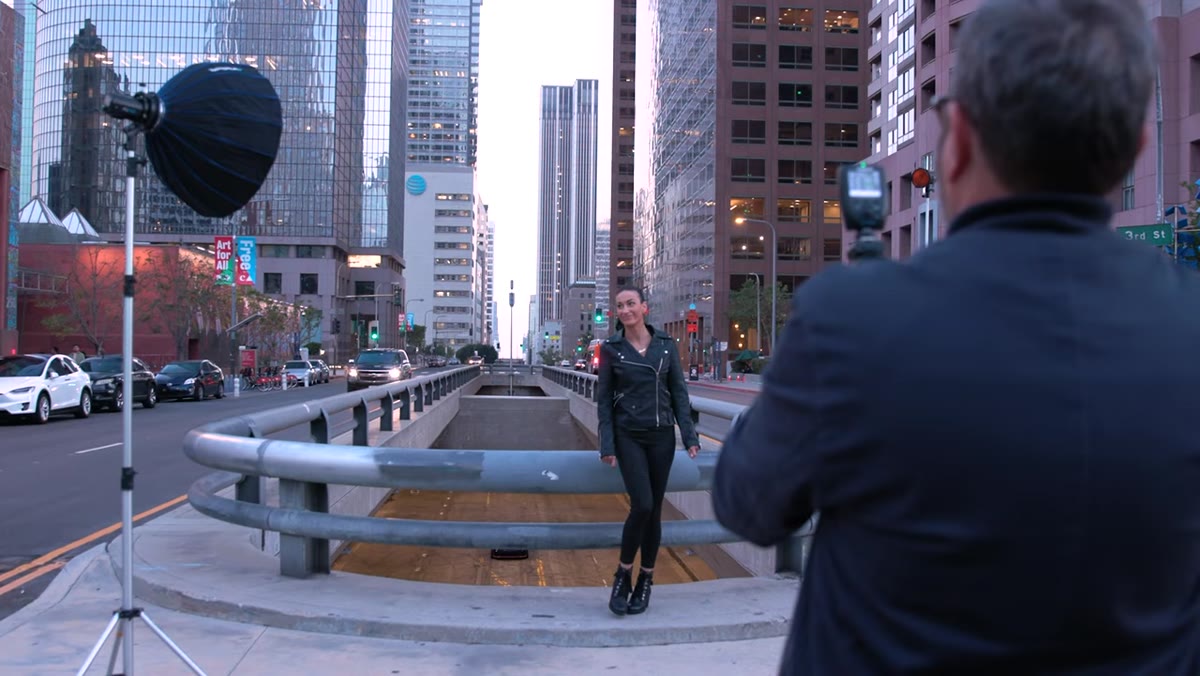 Jay shooting in blue hour conditions with city lights visible
Blue hour is dim. If you’re shooting handheld, you’ll fight motion blur before the window is even halfway through. A tripod is non-negotiable for landscape work here. Set your aperture based on the depth of field you need, then use ISO and shutter speed to balance the exposure correctly. I typically start around ISO 400 to 800 at f/8 and adjust shutter speed to get a clean reading on the histogram. If the scene is moving - water, clouds, traffic - factor that into your shutter speed intentionally rather than accidentally.
One thing Jay doesn’t emphasize that I’ll add from experience: shoot in RAW without exception during blue hour. The blue channel in these images holds a surprising amount of recoverable detail, but only if you give yourself the data to work with. A JPEG compressed in-camera at blue hour is money left on the table.
A Note from Shooting Blue Hour in High Desert
I live and work outside Bend, Oregon, where blue hour looks nothing like downtown Los Angeles. There are no city lights equalizing the exposure. Instead, I’m chasing that blue sky against dark volcanic ridgelines, or watching the last reflected glow disappear off a alpine lake. The principle Jay outlines, that converging exposure window, still applies. But in natural landscapes without artificial light, that crossover happens between the sky and any reflective surface in your scene: snow, water, wet rock.
The lesson I’d add is this: morning blue hour is harder and shorter than evening, but it has a quality that evening can’t replicate. The air is often clearer, the colors slightly colder, and there’s a stillness that doesn’t exist at the end of the day. I wake up early enough to shoot it regularly, and it’s produced some of my most-sold prints. Don’t write off the pre-dawn window just because it’s less convenient.
The single most important takeaway from Jay’s tutorial is simple: be ready before blue hour starts, not during it. The window is too short for setup mistakes, equipment fumbling, or composition second-guessing. Treat everything before that 15-minute window as preparation, and treat the window itself as execution. When you walk away with a strong blue hour image, it rarely feels lucky. It feels earned.
Watch the full tutorial on YouTube to see Jay work through these techniques in real time on location in Los Angeles.
Comments
Leave a Comment