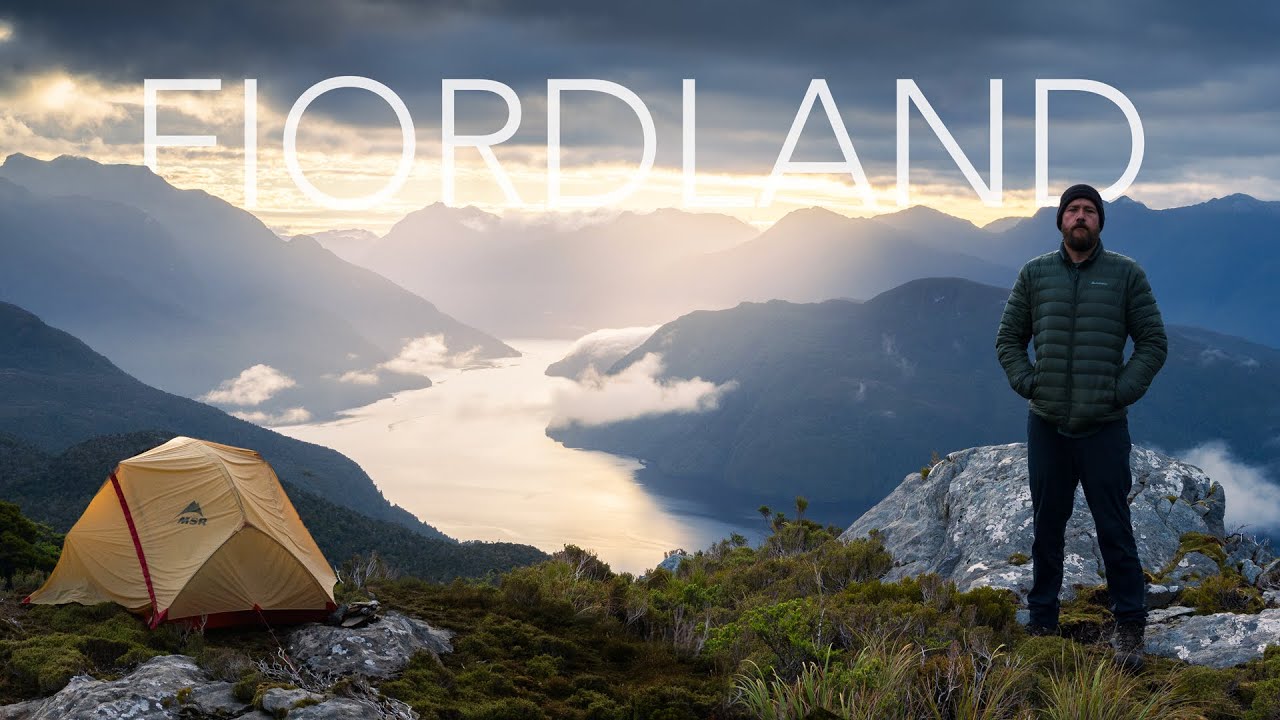
There’s a version of this job that looks glamorous from the outside. Golden hour, dramatic peaks, camera pointed at something magnificent. What that picture leaves out is the morning you drove three hours in the dark, hiked another ninety minutes in the cold, and watched a wall of grey cloud swallow every last bit of light before sunrise even began. I’ve had more of those mornings than I can count. Twenty years in, I still have them regularly. Which is exactly why I keep studying how other working photographers handle the field, because the gap between a mediocre outing and a great one is almost never about luck. It’s about knowing what to do with the conditions you actually get.
Watch the full tutorial on YouTube
In this William Patino tutorial filmed above Dusky Sound in Fiordland, New Zealand, Patino works through a genuinely spectacular sunrise in real time, narrating his decisions as the light changes around him. What makes it worth studying isn’t the scenery, though the scenery is extraordinary. It’s the way he thinks out loud. You hear him weighing tradeoffs, catching himself, adjusting. That’s the part most photographers never share, and it’s the part that actually teaches you something.
Step 1: Reframe Your Expectations Before You Even Press the Shutter
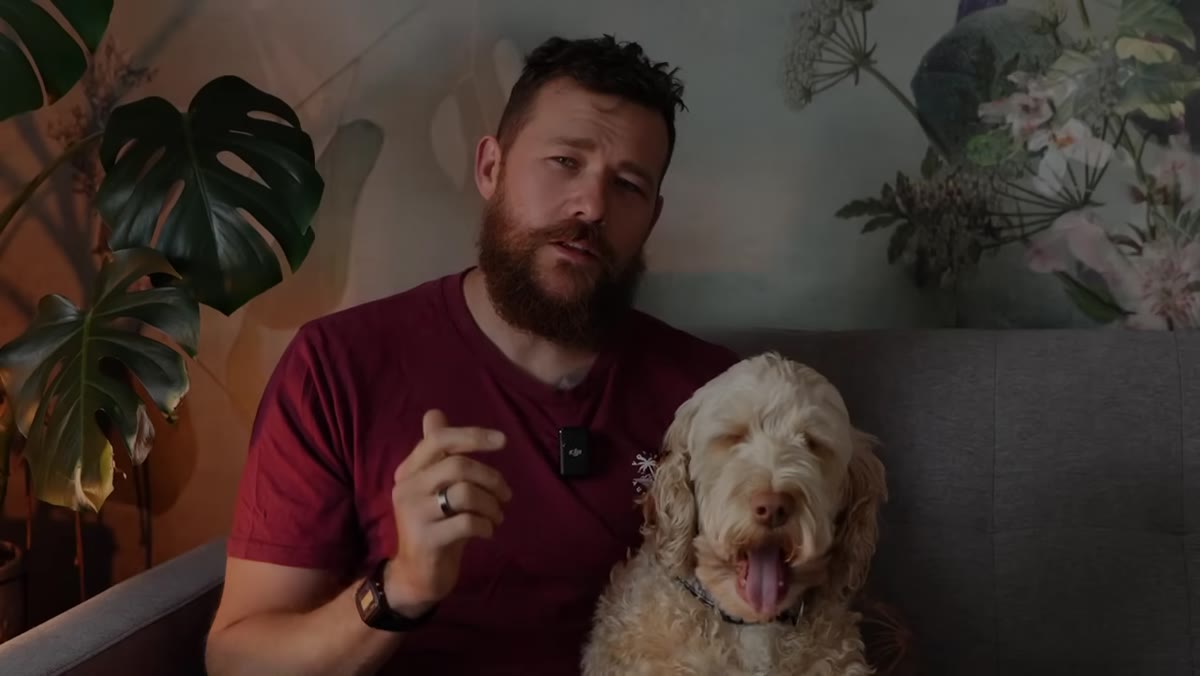 Patino speaking to camera at dawn, mountains behind him
Patino opens with a comparison I’ve used in my own workshops for years: landscape photography is like fishing. You are not going to catch something every time, and the faster you make peace with that, the better your decision-making in the field becomes. This sounds like philosophy, but it has a practical edge. Photographers who go out expecting a great shot tend to force compositions that aren’t there. Photographers who go out curious, patient, genuinely open to the possibility of coming home empty, tend to see more clearly.
Patino speaking to camera at dawn, mountains behind him
Patino opens with a comparison I’ve used in my own workshops for years: landscape photography is like fishing. You are not going to catch something every time, and the faster you make peace with that, the better your decision-making in the field becomes. This sounds like philosophy, but it has a practical edge. Photographers who go out expecting a great shot tend to force compositions that aren’t there. Photographers who go out curious, patient, genuinely open to the possibility of coming home empty, tend to see more clearly.
My mentor once told me that the mountain doesn’t care about your schedule. He was right. Arriving at a location with no attachment to outcome is a skill, and it takes deliberate practice.
Step 2: Read the Light Layers Before You Compose
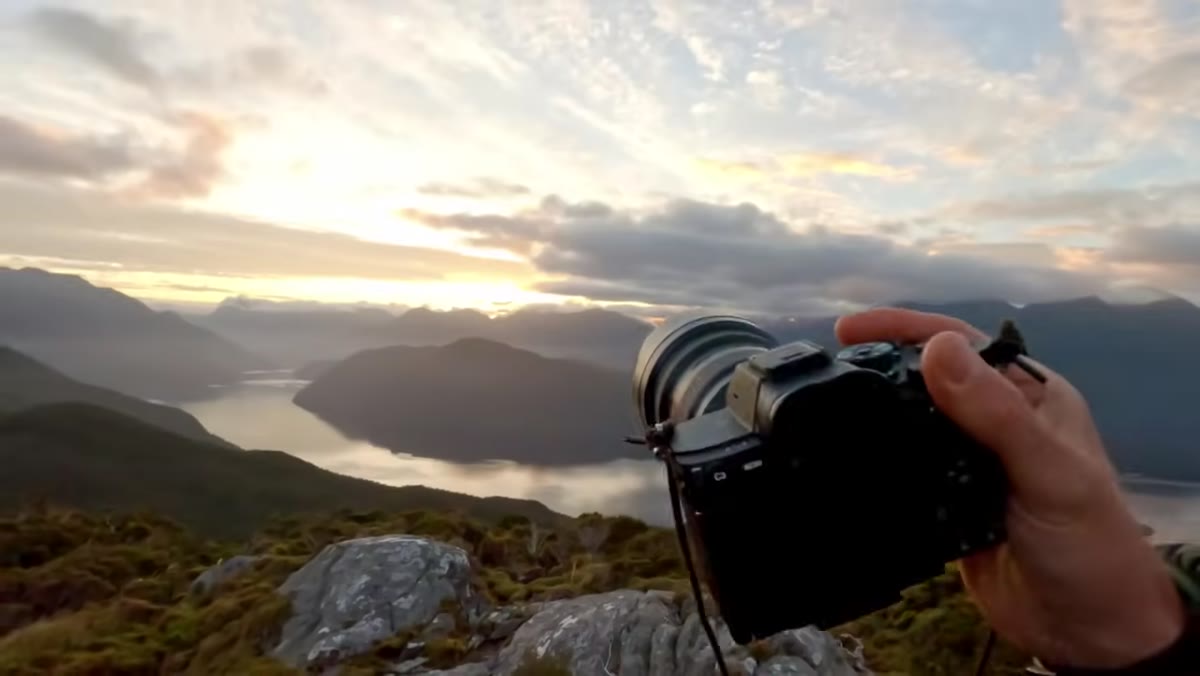 Sun rising, cloud layers catching light above the fjord
As the sun climbs, Patino talks through what he’s actually looking at, not the scene as a whole but its layers. Where is the light hitting first? Which cloud formations are starting to glow? Is the main peak catching anything? He identifies a cloud sitting above the ridge and immediately flags it as a potential compositional anchor once light reaches it. That kind of forward-reading, thinking thirty seconds or two minutes ahead, is what separates a reactive shooter from a deliberate one.
Sun rising, cloud layers catching light above the fjord
As the sun climbs, Patino talks through what he’s actually looking at, not the scene as a whole but its layers. Where is the light hitting first? Which cloud formations are starting to glow? Is the main peak catching anything? He identifies a cloud sitting above the ridge and immediately flags it as a potential compositional anchor once light reaches it. That kind of forward-reading, thinking thirty seconds or two minutes ahead, is what separates a reactive shooter from a deliberate one.
Before you lift the camera, scan the scene in layers. Foreground, midground, sky. Notice where the light is moving, not just where it is now. That gives you time to position before the moment arrives rather than scrambling after it.
Step 3: Protect Your Highlights, But Don’t Obsess Over Them
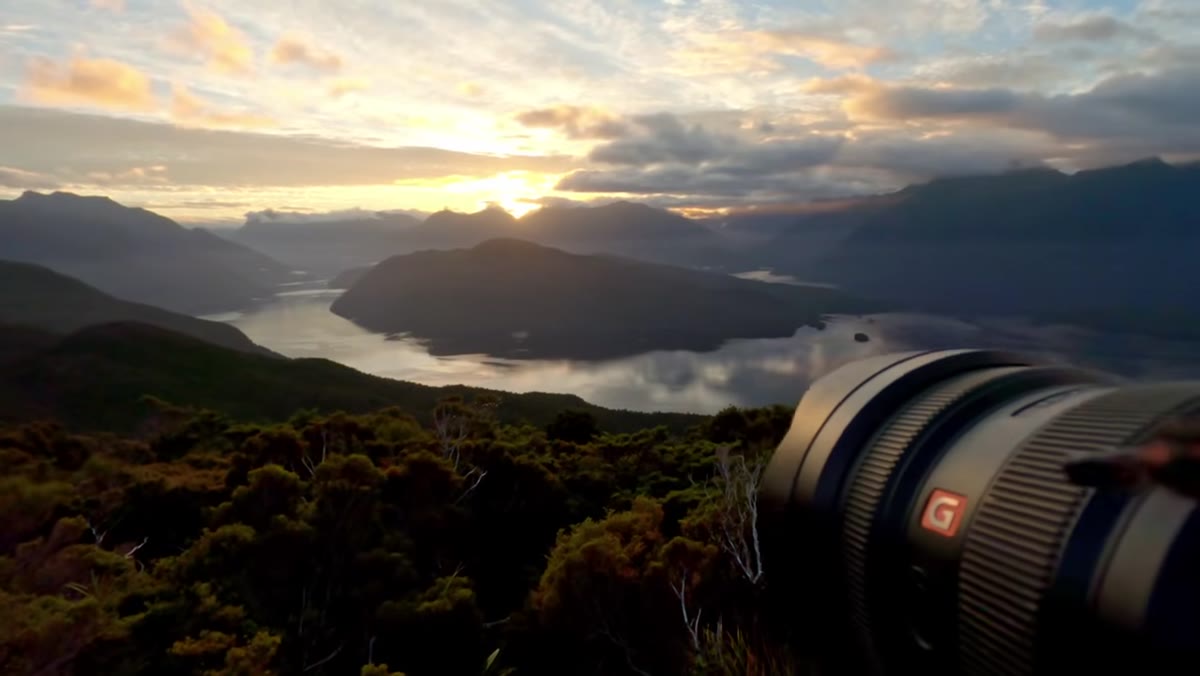 Patino adjusting exposure, discussing dynamic range
With wide dynamic range in the frame, Patino exposes to protect the highlights while keeping an eye on the shadows. He notes that the shadows in this scene are naturally open enough that he isn’t fighting them, which simplifies his exposure decision considerably. The key phrase he uses is “protect those highlights,” meaning he’s deliberately underexposing slightly relative to what the camera meters, so the brightest parts of the sky don’t blow out entirely.
Patino adjusting exposure, discussing dynamic range
With wide dynamic range in the frame, Patino exposes to protect the highlights while keeping an eye on the shadows. He notes that the shadows in this scene are naturally open enough that he isn’t fighting them, which simplifies his exposure decision considerably. The key phrase he uses is “protect those highlights,” meaning he’s deliberately underexposing slightly relative to what the camera meters, so the brightest parts of the sky don’t blow out entirely.
The setting here isn’t magic. If you’re shooting in manual, evaluate your histogram and keep the right edge of the curve from clipping. In a scene with the sun near the frame, this often means your shadows will look darker on the LCD than they will after a modest lift in post. Trust the histogram more than the screen preview in the field.
Step 4: Keep Reflections Clean
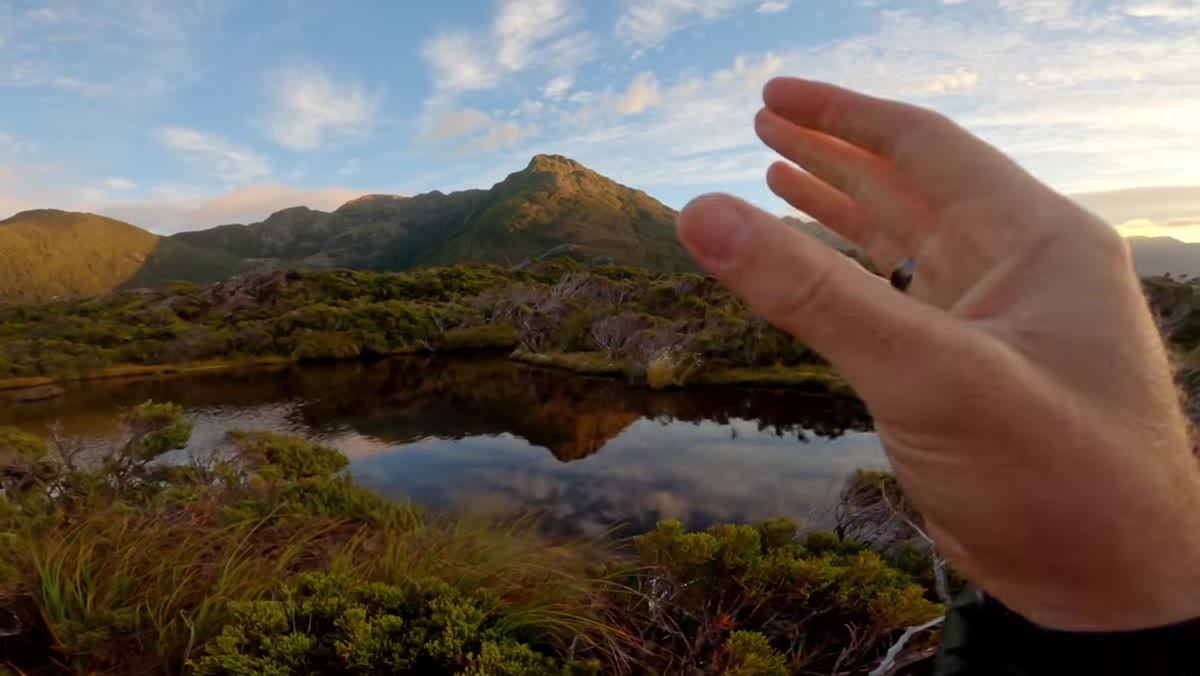 Patino framing a mountain reflection in still water
When Patino finds a still-water reflection of the peaks, he immediately checks whether any foreground vegetation is cutting into it. His rule is simple: if you’re using a reflection as a compositional element, keep it unobstructed. A plant or rock edge slicing across the reflected mountain pulls the viewer’s eye to the interruption and weakens the symmetry you were after in the first place.
Patino framing a mountain reflection in still water
When Patino finds a still-water reflection of the peaks, he immediately checks whether any foreground vegetation is cutting into it. His rule is simple: if you’re using a reflection as a compositional element, keep it unobstructed. A plant or rock edge slicing across the reflected mountain pulls the viewer’s eye to the interruption and weakens the symmetry you were after in the first place.
This is the kind of thing that’s obvious in hindsight and invisible in the field when you’re excited about the light. Get in the habit of scanning the full reflection before you shoot, not just the peak of the reflected subject.
Step 5: Bracket When the Dynamic Range Becomes a Debate
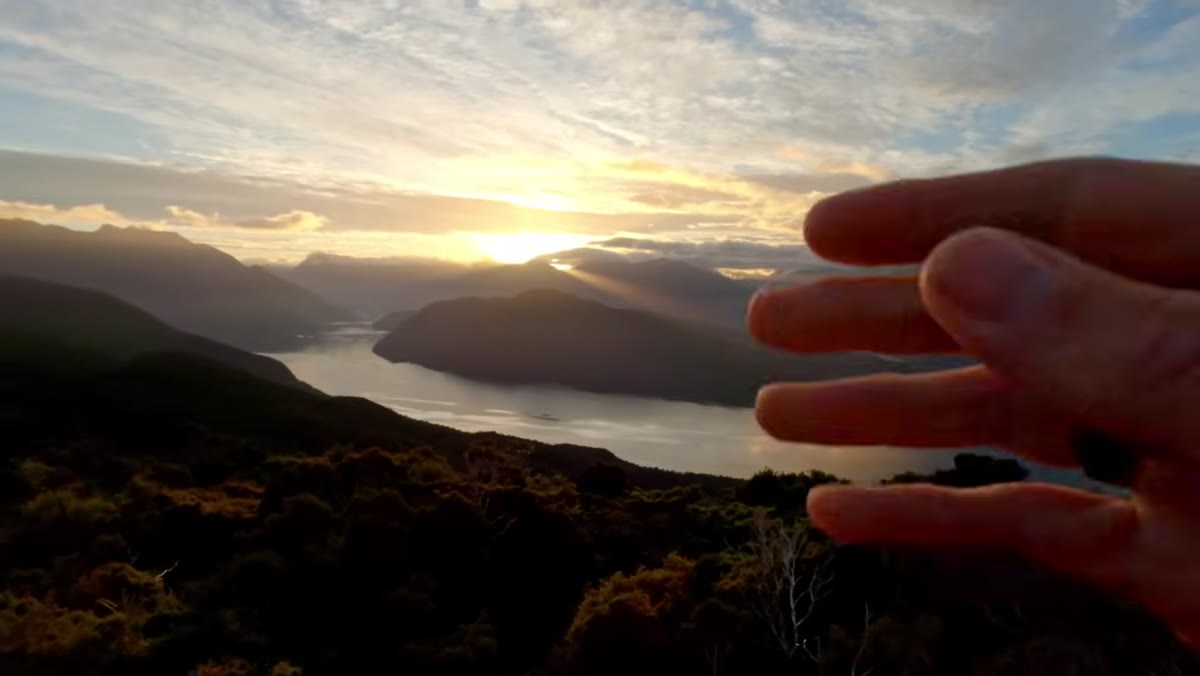 Three-exposure bracket sequence, sun behind ridge
As the scene’s contrast increases, Patino shoots a three-image bracket at three stops apart. He’s clear about his reasoning: not because he plans to blend all three images, but so he has options back at the desk. If he decides he doesn’t want to push the shadows too far in a single raw file, he has a cleaner shadow exposure available. If the highlights look fine in the base exposure, he doesn’t have to use the bracket at all.
Three-exposure bracket sequence, sun behind ridge
As the scene’s contrast increases, Patino shoots a three-image bracket at three stops apart. He’s clear about his reasoning: not because he plans to blend all three images, but so he has options back at the desk. If he decides he doesn’t want to push the shadows too far in a single raw file, he has a cleaner shadow exposure available. If the highlights look fine in the base exposure, he doesn’t have to use the bracket at all.
Three stops apart is wider than some photographers bracket, but in a scene where the sun is near the frame edge, that range gives you meaningful separation between exposures. Two of the three frames will almost always do the work. The third is insurance.
Step 6: Know When the Sun Star Has Overstayed Its Welcome
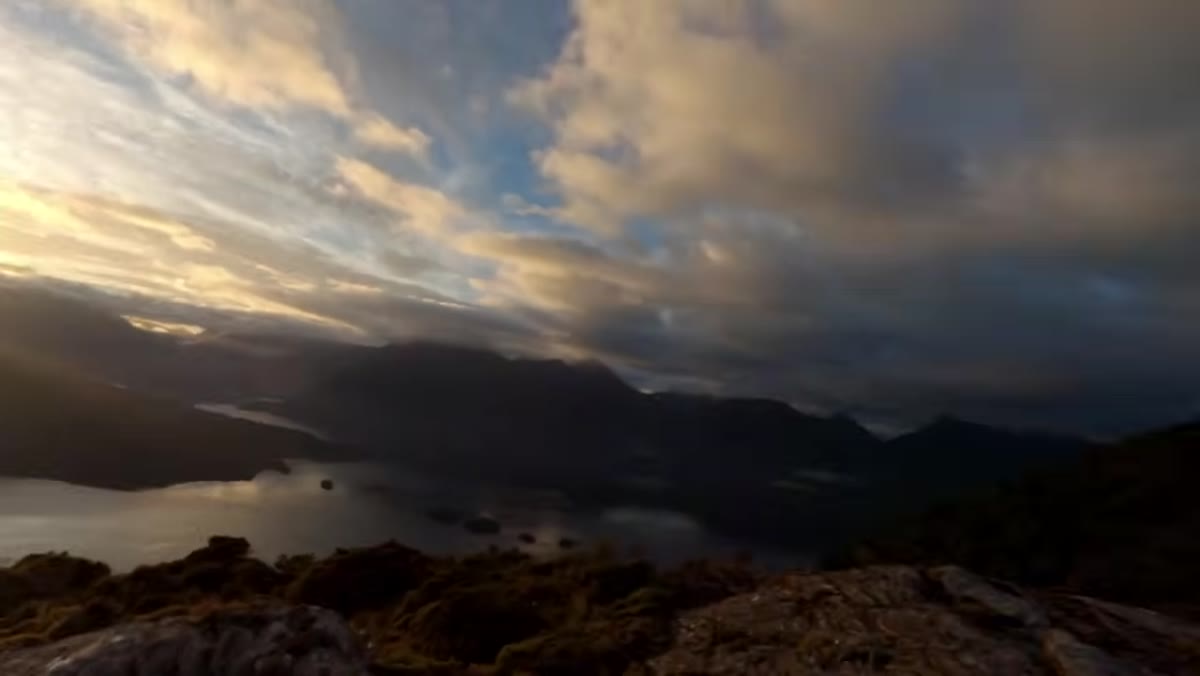 Sun cresting the ridge, harsh sun star forming in frame
Once the sun fully clears the ridge, Patino shifts his approach. He acknowledges he enjoys a well-placed sun star in certain images, but he’s also honest that they can tip into obnoxious territory quickly. When the sun is direct and high, the surrounding highlights become difficult to manage and the star itself can dominate the frame in a way that flattens everything else.
Sun cresting the ridge, harsh sun star forming in frame
Once the sun fully clears the ridge, Patino shifts his approach. He acknowledges he enjoys a well-placed sun star in certain images, but he’s also honest that they can tip into obnoxious territory quickly. When the sun is direct and high, the surrounding highlights become difficult to manage and the star itself can dominate the frame in a way that flattens everything else.
His practical solution: stop shooting into the sun and pivot. Look to the side. Look behind you. The quality of light hitting the landscape at oblique angles is often better than the drama of shooting directly toward the source.
Step 7: Anticipate the Cloud Block and Wait for the Beams
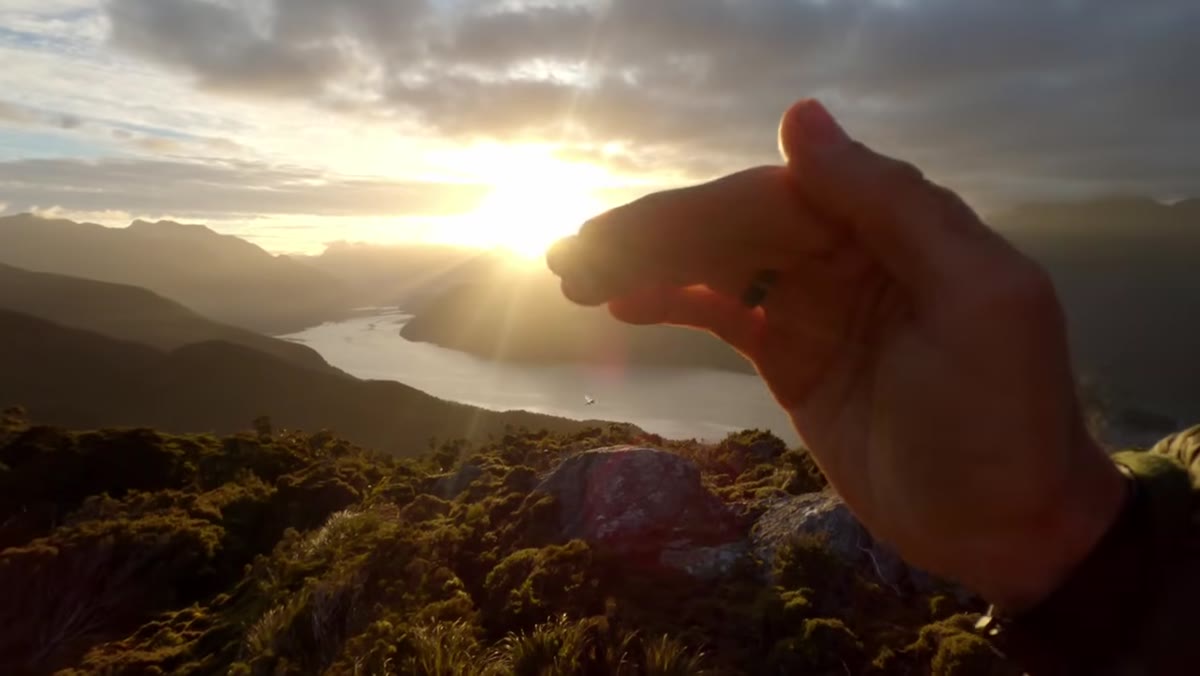 Low cloud layer above sun, crepuscular rays beginning to form
In the final phase of the shoot, Patino notices a low cloud layer forming just above the sun. He predicts that when the sun rises into that cloud, the harsh direct light will be filtered, and crepuscular rays, the volumetric light beams that shoot downward from gaps in cloud cover, may appear beneath it. He waits. The beams begin to form almost exactly as he anticipated.
Low cloud layer above sun, crepuscular rays beginning to form
In the final phase of the shoot, Patino notices a low cloud layer forming just above the sun. He predicts that when the sun rises into that cloud, the harsh direct light will be filtered, and crepuscular rays, the volumetric light beams that shoot downward from gaps in cloud cover, may appear beneath it. He waits. The beams begin to form almost exactly as he anticipated.
This is advanced field reading and it comes from experience, but the underlying principle is teachable: watch how cloud layers interact with the sun’s position over time, and resist the urge to pack up just because the obvious light has passed. The most interesting light often comes in the transition.
What I’d Add from My Own Experience
I shoot in Oregon, not Fiordland, and my fjords are more likely to be fog-filled river canyons than granite peaks above the Tasman Sea. But the dynamic range problem Patino works through here is identical to what I face most mornings at a high contrast location. One thing I do that he doesn’t mention explicitly: I shoot a single test frame as I’m hiking in and pull it up on the histogram before I’ve committed to any composition. It tells me immediately how extreme the contrast is going to be and whether I need to plan around bracketing from the start rather than deciding mid-shoot.
I also shoot film occasionally, not for the aesthetic but because it forces me to commit before I press the shutter. The discipline carries over when I pick the digital camera back up.
The single most important thing Patino demonstrates in this video is not a setting or a technique. It’s the rhythm of a working photographer who is genuinely paying attention, watching the scene evolve, reading it forward, and making deliberate decisions rather than firing continuously and hoping. Every adjustment he makes has a reason he can articulate out loud. That’s the standard worth chasing.
Watch the full tutorial on YouTube and watch specifically for the moments where he pauses and looks before he shoots. That’s where the real instruction is.
Comments (4)
Wow, I had no idea you could do this. Mind blown.
Clear and practical. No fluff. Appreciate that.
Love how you break down complex stuff into manageable steps.
This is exactly what I needed today. Been struggling with this for weeks.
Leave a Comment