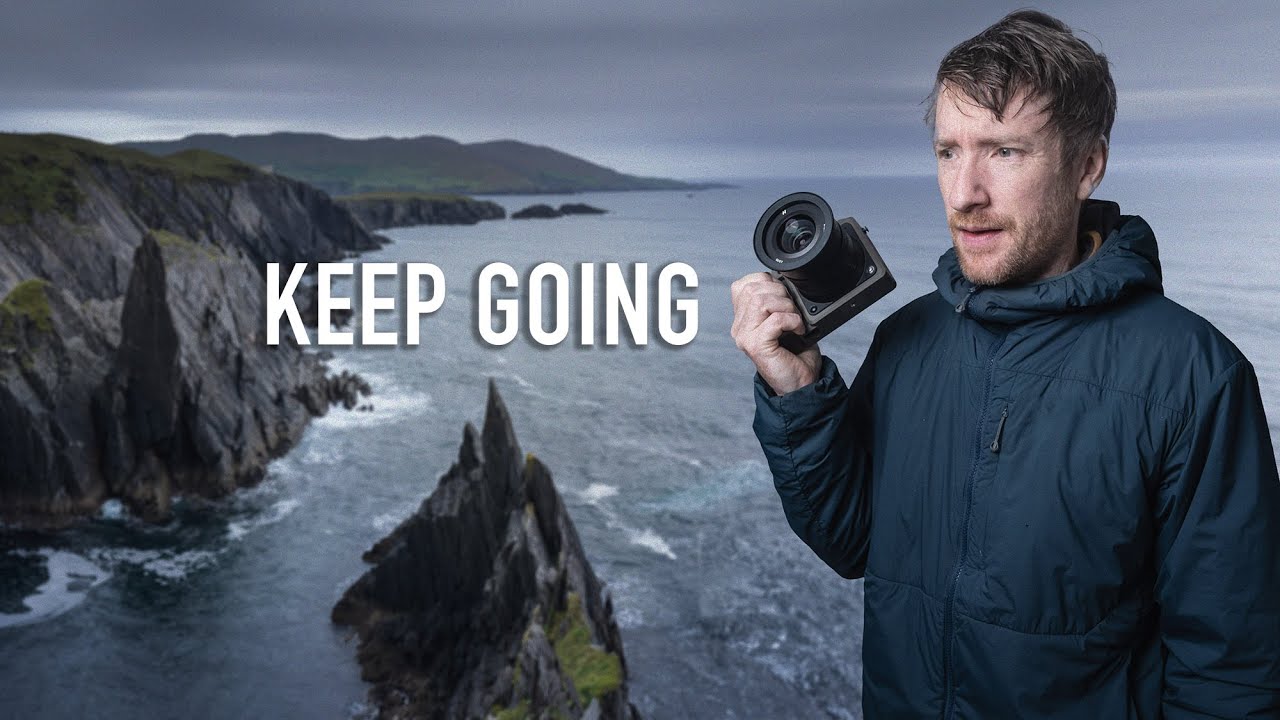
There’s a particular kind of frustration that every landscape photographer knows. You’ve read the forecast, checked the apps, driven out in the dark, set up your tripod in the cold, and then watched the light just… not show up. Or worse, it teases you, fades, and you start packing up. I’ve stood on a lot of ridges here in Central Oregon feeling exactly that. The mountain doesn’t care about your schedule. A mentor said that to me years ago and it still stings every time it turns out to be true.
In this Thomas Heaton tutorial filmed in Killarney National Park in the south of Ireland, Watch the full tutorial on YouTube, Thomas works alongside local photographer Norman McCloskey across two sessions: a late-afternoon golden hour at a lake and an unpredictable sunrise the following morning. What makes this video worth studying is not any single technical trick. It’s the way Thomas narrates his own thinking in real time, including the moments where that thinking is wrong, and what he does to course-correct. For working photographers, that kind of transparency is worth more than a gear list.
The tutorial solves a problem I run into constantly: what do you actually do when the scene isn’t behaving the way you predicted? How do you stay useful to yourself when your expectations are getting in the way? Thomas walks through that, live, which is why I kept coming back to this video.
Step 1: Let a Local Lead You to the Right Scene
 Thomas in Norman McCloskey’s gallery before heading out
Before a single frame is shot, Thomas makes a smart logistical choice. He links up with Norman McCloskey, a photographer who knows the landscape intimately, and lets Norman drive the scouting. This isn’t laziness. It’s field efficiency. When you’re working unfamiliar terrain, a local guide compresses days of scouting into hours. They know which gates are locked, which paths flood, and where the light actually lands.
Thomas in Norman McCloskey’s gallery before heading out
Before a single frame is shot, Thomas makes a smart logistical choice. He links up with Norman McCloskey, a photographer who knows the landscape intimately, and lets Norman drive the scouting. This isn’t laziness. It’s field efficiency. When you’re working unfamiliar terrain, a local guide compresses days of scouting into hours. They know which gates are locked, which paths flood, and where the light actually lands.
If you don’t have a local contact, spend real time on Google Earth and photography forums before your trip. But whenever you can, find someone who has already made the mistakes on that ground. Your job on the first outing is to absorb their spatial knowledge and start forming your own compositional ideas as the landscape unfolds in front of you.
Step 2: Identify Your Foreground Anchor the Moment You Arrive
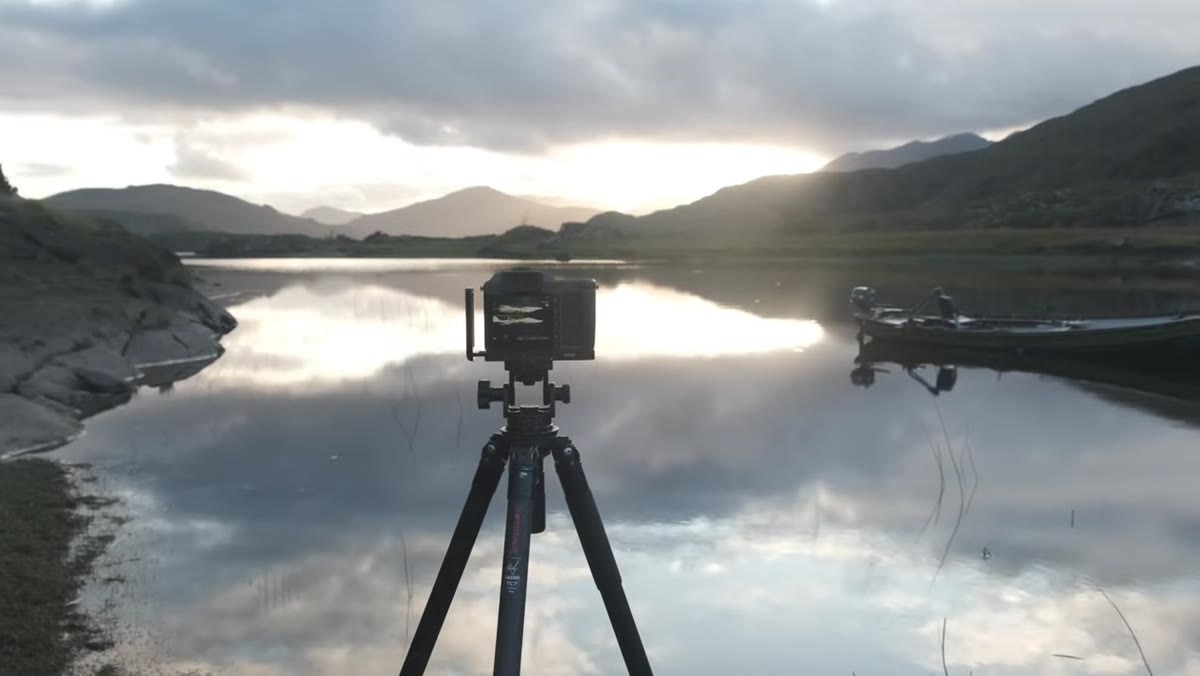 Thomas low to the ground shooting grasses in lake foreground
At the lake, Thomas doesn’t wander. He reads the scene quickly and moves into position in front of the lakeside grasses almost immediately. He’s looking for elements that will create visual layers: a delicate, textural foreground that leads the eye toward mid-ground and then background. The grasses in the water do exactly that. They’re fine enough not to compete with the mountains and clouds behind them, and they provide movement and depth.
Thomas low to the ground shooting grasses in lake foreground
At the lake, Thomas doesn’t wander. He reads the scene quickly and moves into position in front of the lakeside grasses almost immediately. He’s looking for elements that will create visual layers: a delicate, textural foreground that leads the eye toward mid-ground and then background. The grasses in the water do exactly that. They’re fine enough not to compete with the mountains and clouds behind them, and they provide movement and depth.
When you arrive at a location, resist the urge to shoot from where you’re standing. Walk the edges first. Get low. The foreground is often the weakest part of a landscape shot because photographers are thinking about the horizon, not their feet. Find something within two to four meters of your lens that has shape, texture, or tonal interest, and build your composition outward from there.
Step 3: Use a Square Crop to Edit Out Distractions Before You Shoot
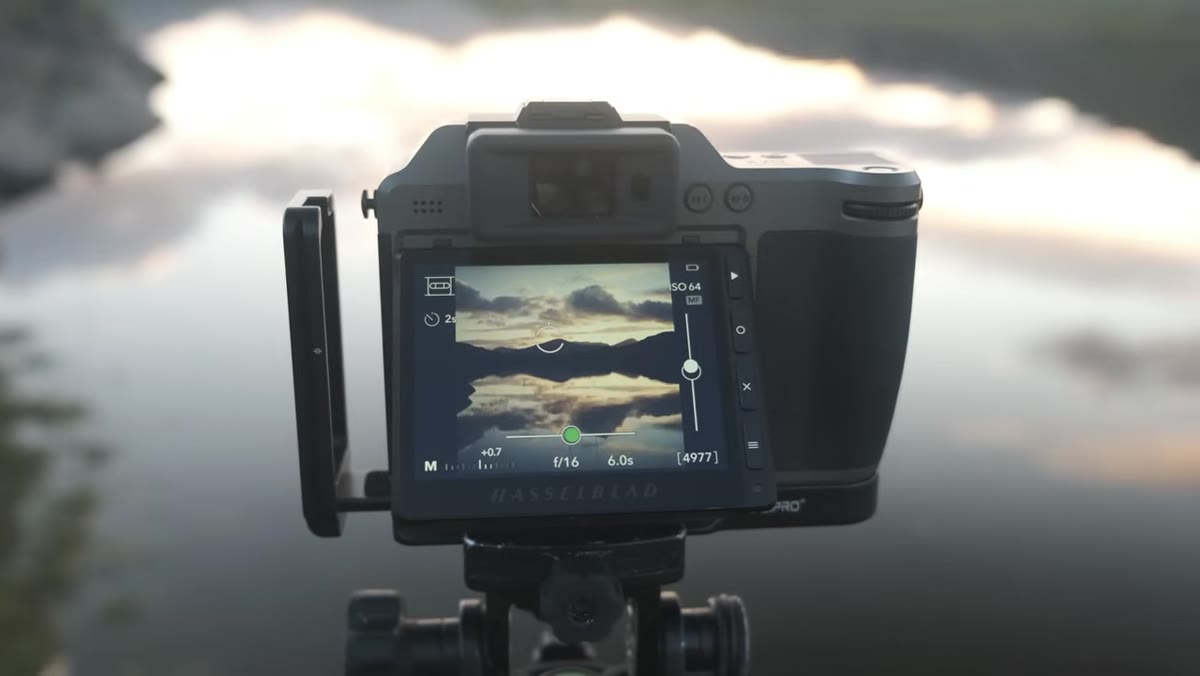 Thomas explaining square crop framing at the lake
Thomas makes an interesting cropping decision in-camera. He switches to a 1:1 square aspect ratio to contain the strongest elements of the scene and cut out the distracting shoreline and a boat sitting just outside the ideal frame. Most photographers think of cropping as a post-processing decision. Thomas treats it as a compositional tool in the field.
Thomas explaining square crop framing at the lake
Thomas makes an interesting cropping decision in-camera. He switches to a 1:1 square aspect ratio to contain the strongest elements of the scene and cut out the distracting shoreline and a boat sitting just outside the ideal frame. Most photographers think of cropping as a post-processing decision. Thomas treats it as a compositional tool in the field.
If your camera supports aspect ratio overlays in the viewfinder or on the live view screen, use them actively. A square crop forces you to think differently about negative space and symmetry. It also tends to center the weight of a scene rather than pulling the eye toward edges. Try it when a wider frame is giving you problems you can’t solve by repositioning.
Step 4: Call It When the Light Is Gone, Then Refuel
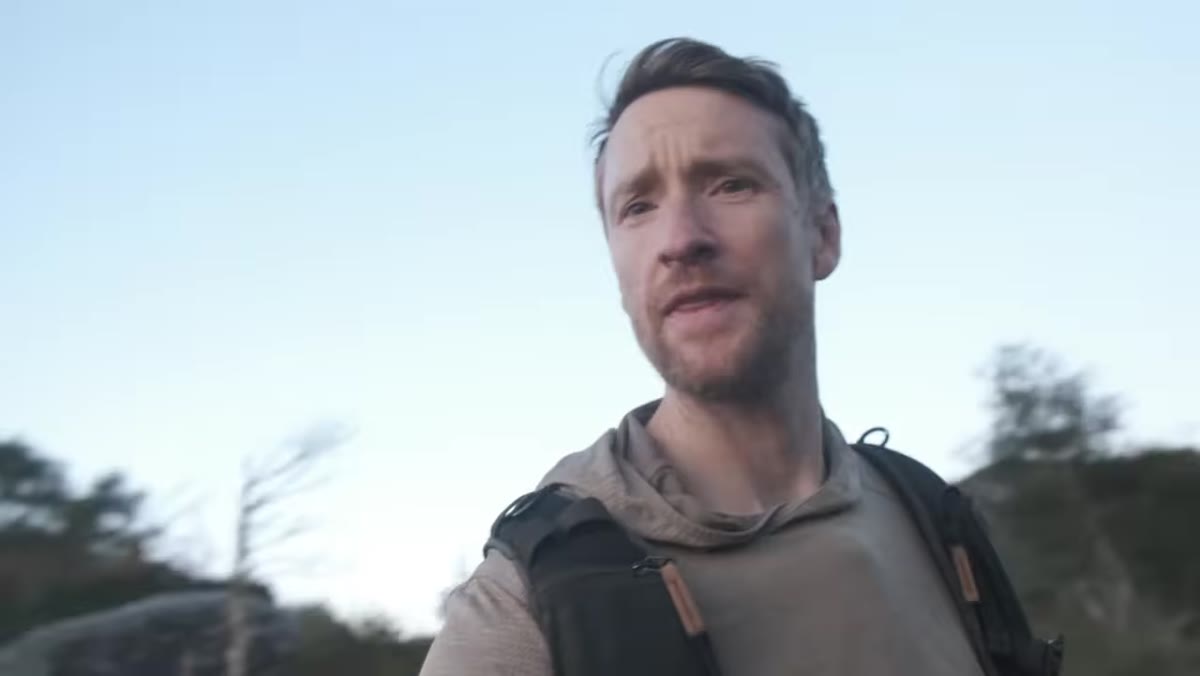 Thomas and Norman deciding to leave after golden hour
When the good light fades at the lake, Thomas and Norman don’t linger hoping for a second act. They make a clean decision: leave, eat, sleep, and come back for sunrise. This is practical field discipline that a lot of photographers, myself included, take years to learn. Staying past the point of useful light rarely produces anything. It drains you for the next session and fills your memory card with frames you’ll delete.
Thomas and Norman deciding to leave after golden hour
When the good light fades at the lake, Thomas and Norman don’t linger hoping for a second act. They make a clean decision: leave, eat, sleep, and come back for sunrise. This is practical field discipline that a lot of photographers, myself included, take years to learn. Staying past the point of useful light rarely produces anything. It drains you for the next session and fills your memory card with frames you’ll delete.
Know what the end condition looks like before you go out. When the light quality drops below what you came for, that’s your cue. Debrief the session mentally while it’s fresh, note what worked and what you’d do differently, then let yourself rest. The work is cyclical, and you need to be sharp for the next window.
Step 5: Manage Your Expectations at Sunrise Actively, Not Passively
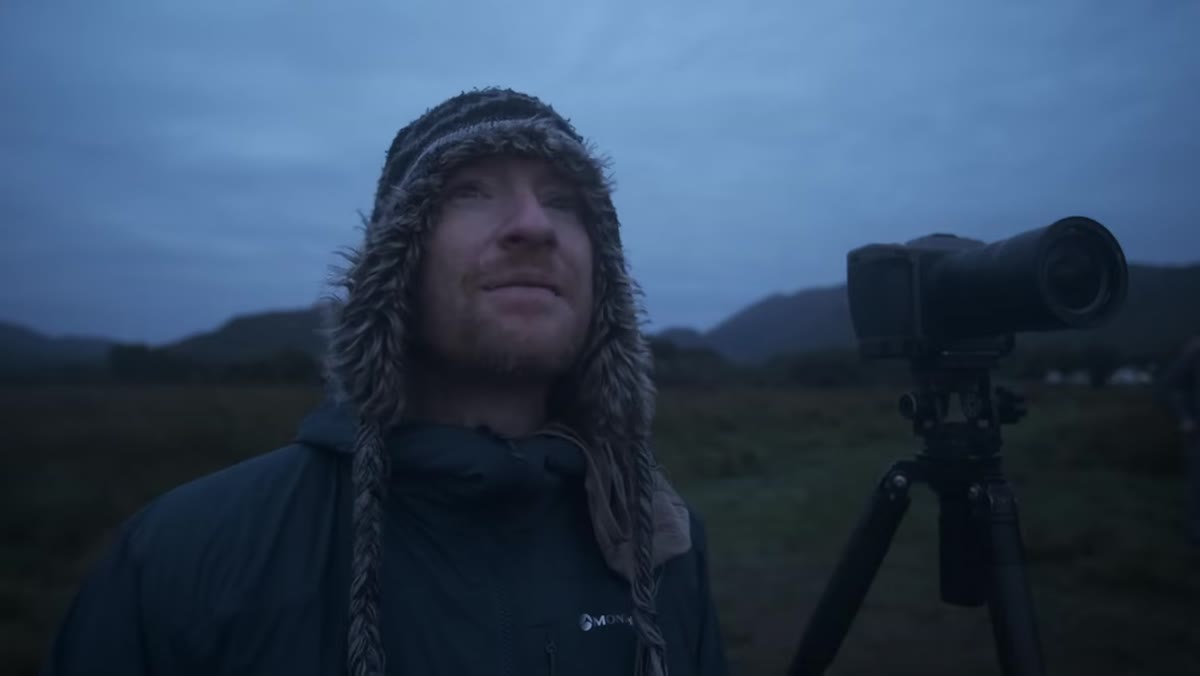 Thomas watching fading pre-sunrise glow on horizon
The next morning is where this tutorial gets genuinely instructive. Conditions look promising 45 minutes before sunrise: a warm glow on the horizon, mid-level cloud, no wind. Thomas and Norman anticipate a dramatic color show. It starts to build, then it stalls. Thomas catches himself being disappointed, then says something worth writing down: he needs to stop being governed by what he expected and start being grateful for what’s actually there.
Thomas watching fading pre-sunrise glow on horizon
The next morning is where this tutorial gets genuinely instructive. Conditions look promising 45 minutes before sunrise: a warm glow on the horizon, mid-level cloud, no wind. Thomas and Norman anticipate a dramatic color show. It starts to build, then it stalls. Thomas catches himself being disappointed, then says something worth writing down: he needs to stop being governed by what he expected and start being grateful for what’s actually there.
This is an active mental shift, not a passive acceptance. He reframes his eye toward the quality of light that does exist rather than mourning the intensity that didn’t arrive. In practice this means: lower your camera to explore what the available light is actually illuminating. Look for subtlety. Some of the quietest light produces the most lasting images.
Step 6: Stay in Position for Secondary and Tertiary Light Waves
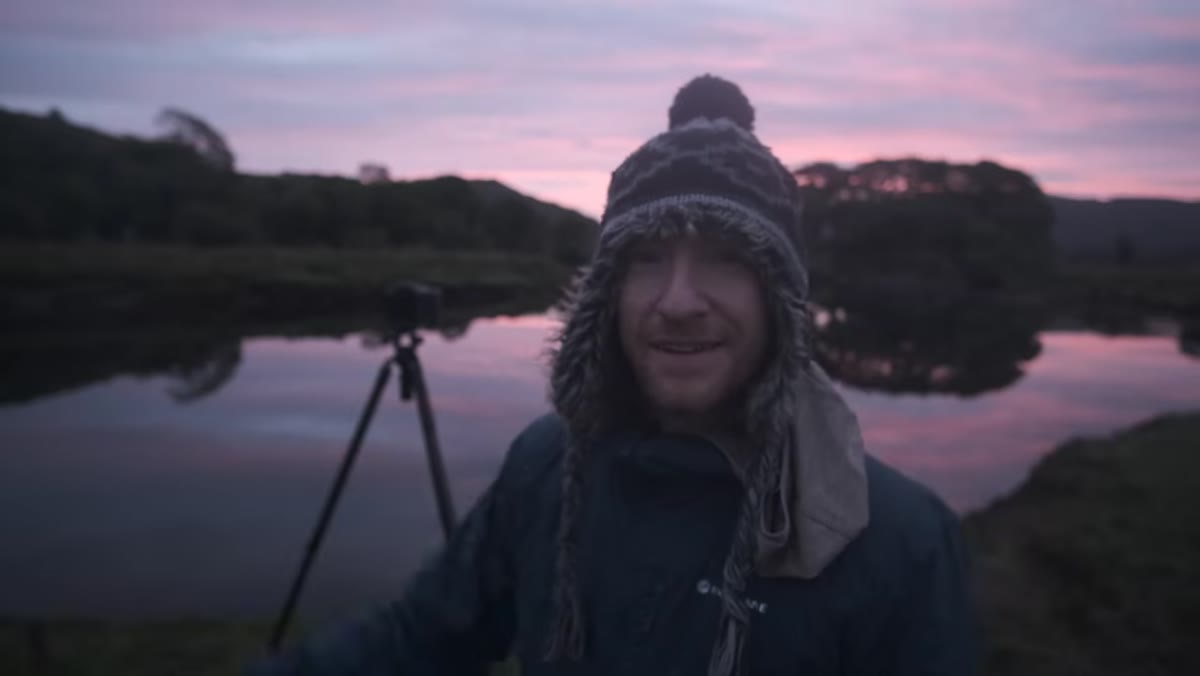 Thomas reacting to unexpected second wave of sunrise color
Here’s the practical payoff: after the initial color fades and Thomas adjusts his expectations, a second wave of light arrives, stronger than the first. He gets his shots. Then, against all expectation, a third wave follows.
Thomas reacting to unexpected second wave of sunrise color
Here’s the practical payoff: after the initial color fades and Thomas adjusts his expectations, a second wave of light arrives, stronger than the first. He gets his shots. Then, against all expectation, a third wave follows.
The lesson is almost embarrassingly simple: don’t pack up. Sunrise and sunset are not single events. They’re sequences, and the most dramatic phase is often not the first one. Give yourself a minimum window of 20 to 30 minutes after what looks like the peak before you break down your setup. The light doesn’t owe you a linear performance, and the photographers who understand that are the ones who bring home the frames.
What I’d Add From My Own Experience
Norman’s read of the scene during the sunrise sequence is worth noting separately. He was skeptical that the initial color would build, and he turned out to be right about that first wave while being completely wrong about what came next. Even experienced local photographers can’t predict light with certainty. I’ve driven six hours to a location and sat in fog for two days, certain I’d wasted the trip, and come home with one frame that became my best-selling print. The unpredictability isn’t the enemy of good work. Often it’s the source of it.
What I’ve started doing is keeping a simple field journal. After each session, I note what I predicted, what actually happened, and what I would do differently. Over time, you build a better internal model of how light behaves in different conditions. You stop being surprised and start being prepared for a wider range of outcomes.
The single most important thing this tutorial reinforces is this: patience is a technical skill, not a personality trait. You can train it. You build it by staying in position, managing your own expectations honestly, and trusting that if conditions are present, the light is going to do something worth photographing. You just may not be able to predict exactly when.
Watch the full tutorial on YouTube and pay particular attention to how Thomas narrates his own mental shifts in real time. That’s the part that doesn’t make it into most photography tutorials, and it’s the part that will actually change how you work.
Comments
Leave a Comment