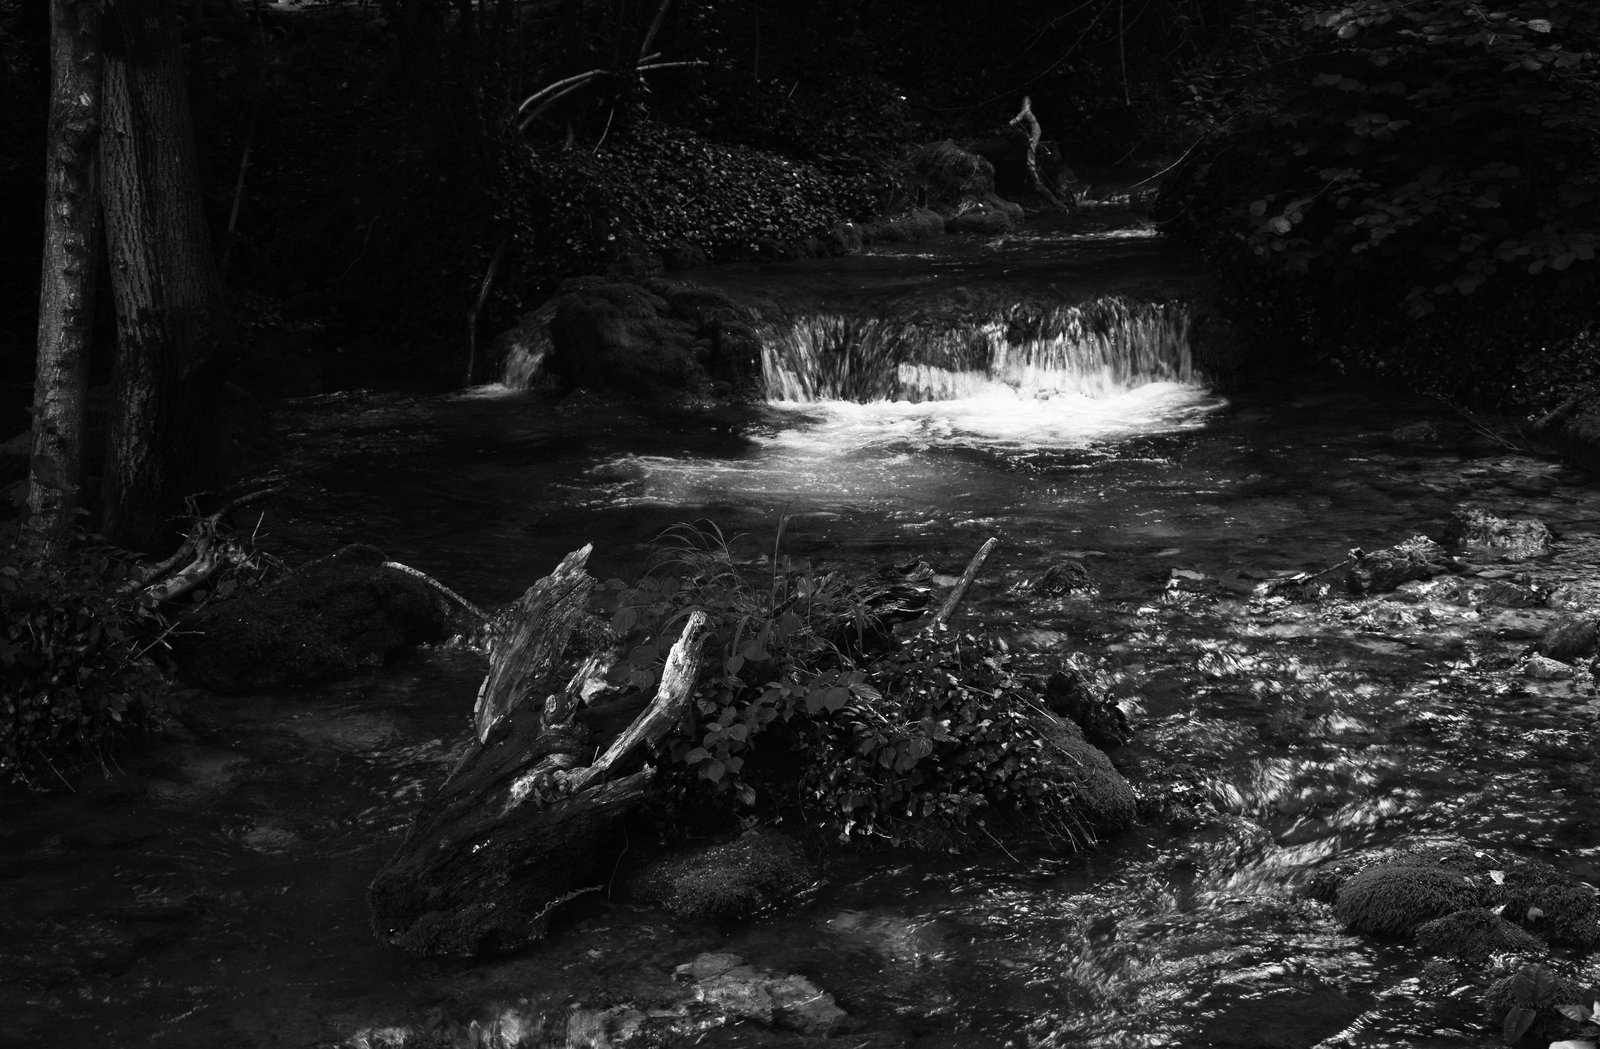
There’s a particular kind of frustration that comes from hiking forty-five minutes to a waterfall, setting up in the golden light, and coming home with images that look like a gray smear on a dark rock. The water is blown out. The shadows under the canopy are impenetrable. The whole thing looks like a snapshot, not a photograph. I see this constantly in the workshops I run out of Bend, and I’ve watched it discourage people who have genuinely good instincts and solid gear.
The problem is almost never the camera. It’s almost always light, timing, and a misunderstanding of how a camera meter reads moving water.
What Your Meter Is Getting Wrong
A camera’s evaluative meter sees a waterfall and does the same thing it does with snow: it tries to neutralize it. White, bright, dynamic water reads as overexposed in the meter’s logic, so it pulls exposure down. The result is underexposed shadows and midtones, with water that’s either still blown out or, if you’ve compensated too far, rendered as a flat gray ribbon.
The actual challenge with waterfalls is managing a scene with an extreme dynamic range, often four to six stops between the bright water and the surrounding forest floor. Matrix metering won’t solve this for you. You have to read the scene yourself, bias your exposure toward protecting the highlights in the water, and either bracket for a blend or accept that you’re going to lift those shadows in post. I shoot in manual mode exclusively. I set my shutter speed based on the look I want from the water, then dial in aperture and ISO around that, checking highlights on the histogram before I take a single frame.
Shutter Speed Is a Creative Choice, Not a Technical Afterthought
The silky, long-exposure waterfall is a photographic cliche for a reason. It works. But it’s not the only option, and for some falls it’s the wrong one.
Fast water with a lot of texture, like a cascade tumbling over broken granite, often reads better at 1/60 to 1/125 of a second. You freeze individual threads of water, and the image has energy and structure. For smoother, higher-volume falls, something in the 0.5 to 2 second range creates motion without completely obliterating the water’s form. Go much beyond 4 seconds and you often lose all sense of water movement entirely. It becomes a fog.
I use a Lee Filters 100mm system with a 6-stop Big Stopper and a 3-stop soft grad. That combination gives me enough control over shutter speed in broad daylight to dial in exactly what I want. The system runs about $200 to $300 for the holder and a couple of filters, and it’s worth every cent. A circular polarizer goes on first, under the filter holder, to cut glare off wet rocks and deepen the greens in surrounding foliage. Rotate it slowly. Watch the reflections come and go. Stop when the wet stone looks wet without being reflective, which usually means rotating about 30 to 45 degrees off maximum effect.
The Light Most Photographers Miss
Overcast days are not consolation prizes. For waterfall photography, they’re often the target.
Direct sun creates dappled patches through the tree canopy, which means you’re fighting bright hotspots on the forest floor, deep shadows, and bright water all at once. That’s a difficult blend and a difficult grade. Thin overcast acts like a six-story softbox. The entire scene evens out. Contrast drops. Colors become saturated without being garish. Water renders cleanly.
I plan most of my waterfall shoots for days with high cloud cover. I check weather apps obsessively, specifically Clear Outside and Weather Underground for hourly cloud layers. I’m usually on location well before sunrise regardless, because that early blue hour light, even under clouds, has a quality that’s hard to replicate in post.
Composition When Your Feet Are Already Wet
Getting low is almost always right. The instinct is to stand at a comfortable distance and shoot from eye level. The resulting image looks like a snapshot of a waterfall. Getting into the water, even just ankle-deep, and shooting from six to twelve inches off the surface puts you inside the scene. Foreground rocks and pooled water become part of the frame. The waterfall has context and depth.
I keep a pair of Korkers wading boots in the truck. They’re not cheap, around $150, but they have replaceable outsoles so I can swap between felt for slick river rock and rubber studs for muddy approaches. Wet feet in November are not an option I’m willing to take.
One more thing on composition: don’t center the falls unless it’s the only honest choice. Most waterfalls want to breathe to one side. Leave room for the surrounding canyon or trees. Let the fall sit at a third, with the flow of water leading toward the center of the frame or out a corner. A centered waterfall with nothing else in the frame is a photo of a waterfall. An off-center waterfall anchored by leading lines and context is a photograph.
When to Walk Away and Come Back
A few years ago I drove six hours to photograph a wide basalt falls in eastern Oregon. I arrived to find the canyon buried in fog. Not the romantic, wispy kind. The thick, flat kind that kills light and flattens everything. I stayed two days. I waited. The fog broke for about forty minutes on the morning of the second day, and the light that came through was something I had no right to expect. That image is now my best-selling print.
My old mentor told me once that the mountain doesn’t care about your schedule, and I’ve found that to be the most accurate piece of photography advice anyone ever gave me. Conditions are not always wrong. Sometimes your timing is.
The single most important thing I can tell you about waterfall photography is to spend more time reading the scene before you open your bag. Every few minutes of observation will save you from an hour of frustration and a card full of images that almost worked.
Comments
Leave a Comment