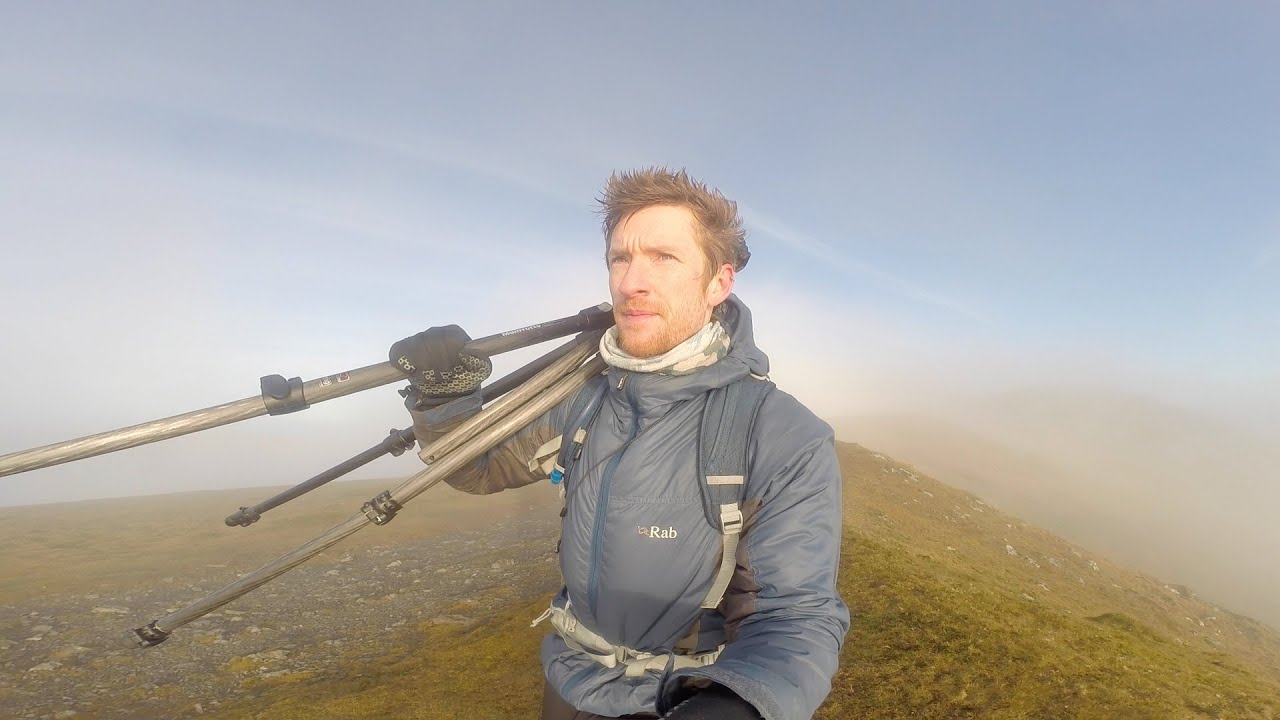
There’s a particular kind of frustration that comes with being on a spectacular mountain and coming home with nothing. You had the location. You had the light, briefly. But the camera was in the bag, the cloud closed in, and the moment dissolved. I’ve stood on more summits than I can count and felt that sting. It’s not a gear problem. It’s a timing and decision-making problem, and it’s the kind of thing that only gets solved by watching photographers who’ve built systems for it.
In this Thomas Heaton tutorial, he hikes Blencathra in the Lake District via Sharp Edge, a narrow, exposed ridge with steep drops on both sides and a habit of catching fast-moving cloud. Watch the full tutorial on YouTube. What makes this video worth studying isn’t the destination. It’s how Heaton thinks out loud about conditions, adjusts his approach mid-climb, and makes specific technical decisions in real time. That process is exactly what most tutorials skip.
A mentor of mine once said the mountain doesn’t care about your schedule, and Blencathra proves that over and over in this video. Heaton doesn’t fight the conditions. He reads them, adapts, and pulls workable images from a day that could easily have been written off. Here’s how he does it, step by step.
Step 1: Choose a Location With Built-In Visual Drama
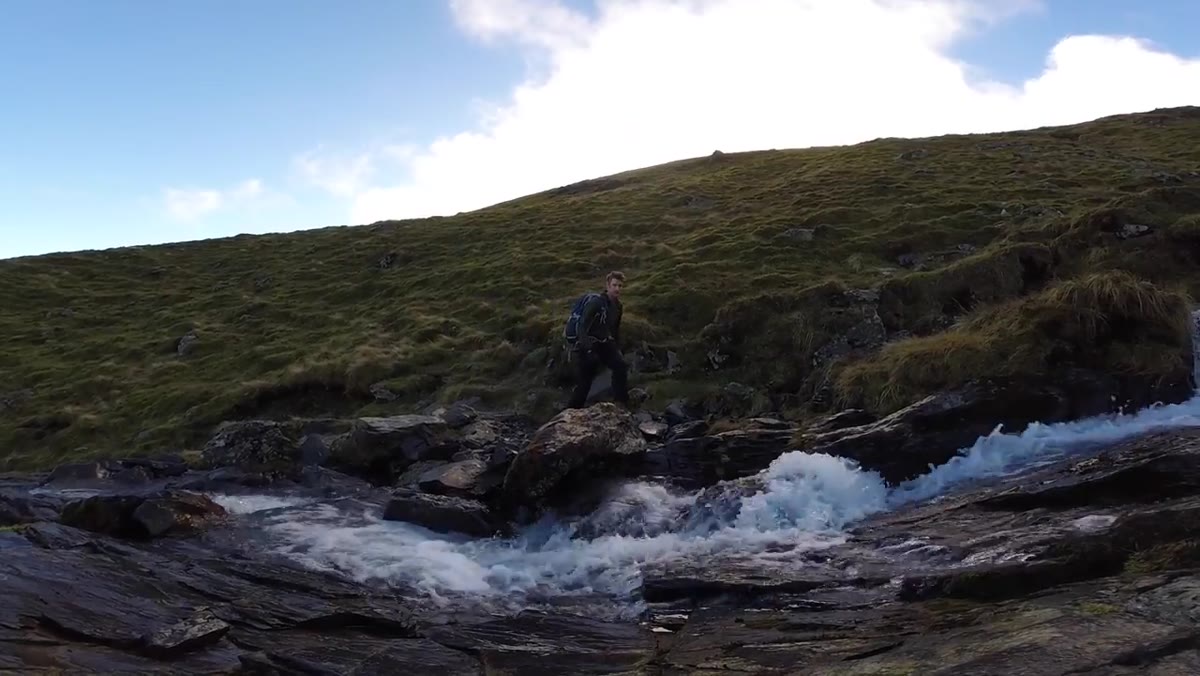 Thomas starting up the Blencathra footpath from the road
Heaton opens by explaining why Blencathra is his favorite mountain in the Lake District, and his reasoning is worth sitting with. The trailhead starts directly from the road, there’s no lengthy approach before the climb begins, and within ten minutes the landscape strips away every sign of human infrastructure. No pylons, no buildings, no roads. What that gives you photographically is a genuine sense of wilderness that reads clearly in the frame.
Thomas starting up the Blencathra footpath from the road
Heaton opens by explaining why Blencathra is his favorite mountain in the Lake District, and his reasoning is worth sitting with. The trailhead starts directly from the road, there’s no lengthy approach before the climb begins, and within ten minutes the landscape strips away every sign of human infrastructure. No pylons, no buildings, no roads. What that gives you photographically is a genuine sense of wilderness that reads clearly in the frame.
When you’re scouting locations, prioritize places where the visual environment simplifies quickly. A dramatic ridgeline surrounded by car parks and signage fights itself. The cleaner the surroundings, the more your subject can carry the image. Blencathra also sits just under 3,000 feet with a rocky, craggy character that creates natural texture and depth. That kind of inherent visual interest means you’re not manufacturing drama. You’re finding it.
Step 2: Identify Your Key Conditions Before You Arrive
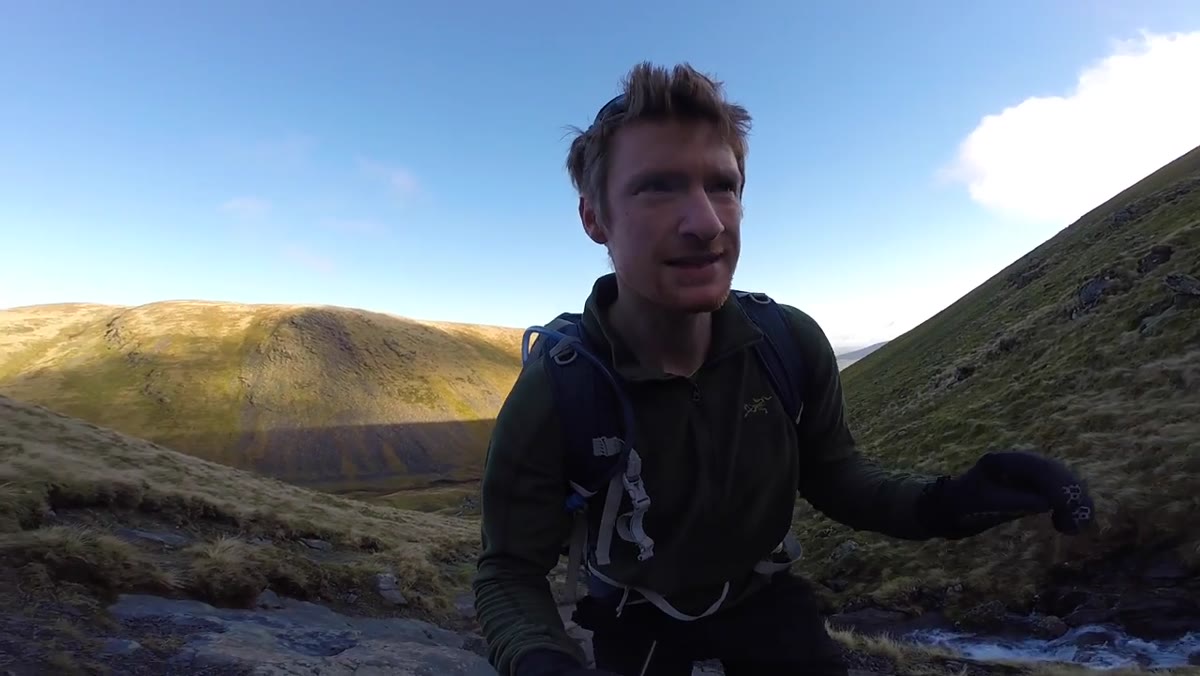 Moving cloud partially covering the summit of Blencathra
Before Heaton reaches the ridge, he’s already identified what he’s looking for: moving cloud, rocky outcrops, and atmosphere. He uses that word deliberately and keeps returning to it throughout the climb. Having a conditions checklist before you leave the car is a habit that separates productive shooting days from wandering ones.
Moving cloud partially covering the summit of Blencathra
Before Heaton reaches the ridge, he’s already identified what he’s looking for: moving cloud, rocky outcrops, and atmosphere. He uses that word deliberately and keeps returning to it throughout the climb. Having a conditions checklist before you leave the car is a habit that separates productive shooting days from wandering ones.
For a mountain shoot, write down two or three specific elements you’re hoping to capture. Heaton wanted cloud drama, rocky texture, and the feeling of exposure that Sharp Edge naturally provides. That clarity helps you recognize the shot when it appears and make compositional decisions faster. On a ridge where light and cloud shift in seconds, hesitation costs you the frame.
Step 3: Shoot the Ridge as a Vertical to Pull the Viewer In
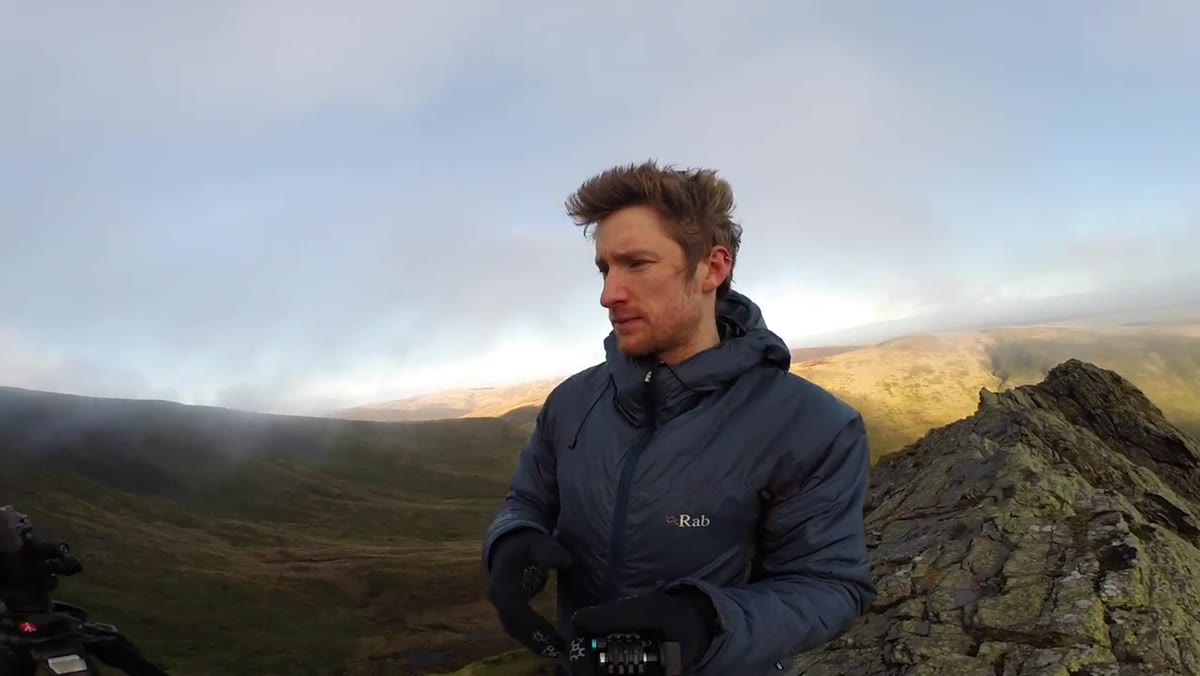 Heaton framing a vertical shot of Sharp Edge disappearing into cloud
At Sharp Edge, Heaton makes a deliberate choice to shoot vertically rather than in the landscape orientation most people default to on a wide ridge. His reasoning is concrete. A vertical composition invites the viewer to walk into the image, following the ridge line upward and into the mist, in a way that a horizontal frame doesn’t encourage. The geography of a narrow ridge leading toward a vanishing point into cloud suits portrait orientation almost perfectly.
Heaton framing a vertical shot of Sharp Edge disappearing into cloud
At Sharp Edge, Heaton makes a deliberate choice to shoot vertically rather than in the landscape orientation most people default to on a wide ridge. His reasoning is concrete. A vertical composition invites the viewer to walk into the image, following the ridge line upward and into the mist, in a way that a horizontal frame doesn’t encourage. The geography of a narrow ridge leading toward a vanishing point into cloud suits portrait orientation almost perfectly.
He’s shooting at 24mm with a polarizing filter attached and using a 2-second timer to eliminate camera shake without a cable release. The polarizer deepens the cloud contrast and cuts any glare off the wet rock. If you’re shooting on a damp, overcast mountain day, a polarizer earns its place in the bag even without direct sun. Rotate it until you see the rock texture and cloud detail sharpen in the viewfinder, then commit.
Step 4: Adapt When the Conditions Outpace Your Setup
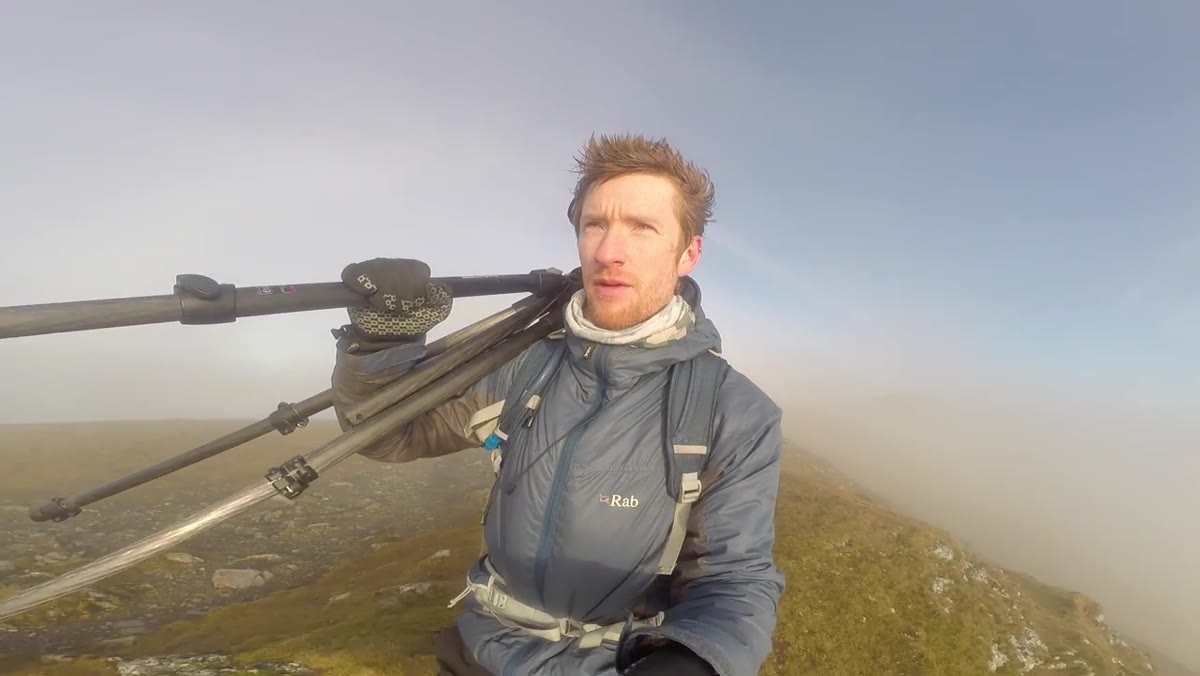 Heaton holding camera on shoulder, ready to shoot without tripod
This is the most practically useful moment in the video. Heaton is near the summit and the cloud keeps opening into dramatic views, but by the time he gets his tripod off his pack and his camera set up, the window is gone. His solution is simple and worth adopting. He pulls his camera off the tripod, sets it on his shoulder ready to shoot, and accepts that for the next stretch he’s working handheld and reactive.
Heaton holding camera on shoulder, ready to shoot without tripod
This is the most practically useful moment in the video. Heaton is near the summit and the cloud keeps opening into dramatic views, but by the time he gets his tripod off his pack and his camera set up, the window is gone. His solution is simple and worth adopting. He pulls his camera off the tripod, sets it on his shoulder ready to shoot, and accepts that for the next stretch he’s working handheld and reactive.
This is a real field decision, not a concession. When conditions are moving fast and your subject is fleeting, the shot you take handheld is worth more than the perfect tripod composition you missed. Keep your ISO high enough to maintain a shutter speed that kills motion blur at your chosen focal length, and pre-set your exposure for the ambient conditions so you’re not fumbling with dials when the cloud breaks. Heaton doesn’t elaborate on his exact settings here, but the principle is clear: reduce friction between you and the shutter.
Step 5: Wait for the Window, Not the Perfect Scene
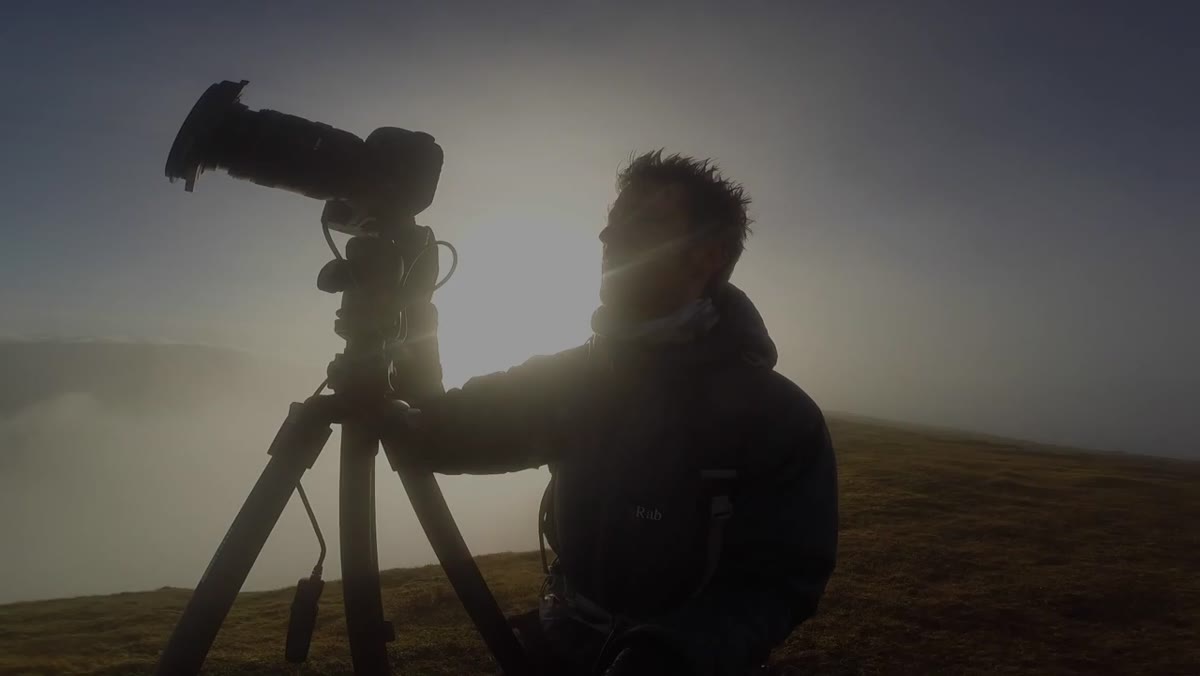 Summit of Blencathra briefly clearing with hikers visible on top
Once Heaton identifies a shot he likes near the summit, he doesn’t chase it or rush the shutter. He waits. The cloud is coming and going, and the frame only works when there’s enough visibility to read the summit shape while still retaining atmosphere. He mentions the small figures of other hikers on the ridge as an asset, not a problem. Human scale in a mountain image grounds the viewer and makes the mountain feel genuinely large.
Summit of Blencathra briefly clearing with hikers visible on top
Once Heaton identifies a shot he likes near the summit, he doesn’t chase it or rush the shutter. He waits. The cloud is coming and going, and the frame only works when there’s enough visibility to read the summit shape while still retaining atmosphere. He mentions the small figures of other hikers on the ridge as an asset, not a problem. Human scale in a mountain image grounds the viewer and makes the mountain feel genuinely large.
The practice here is patience with intention. You’re not waiting passively. You’re holding your position, watching the light and cloud interact, and releasing the shutter in the moments when the elements align. Set your composition, lock your focus, and then watch. The mountain will give you a window. Your job is to be ready when it does.
Step 6: Move When Staying Stops Serving the Image
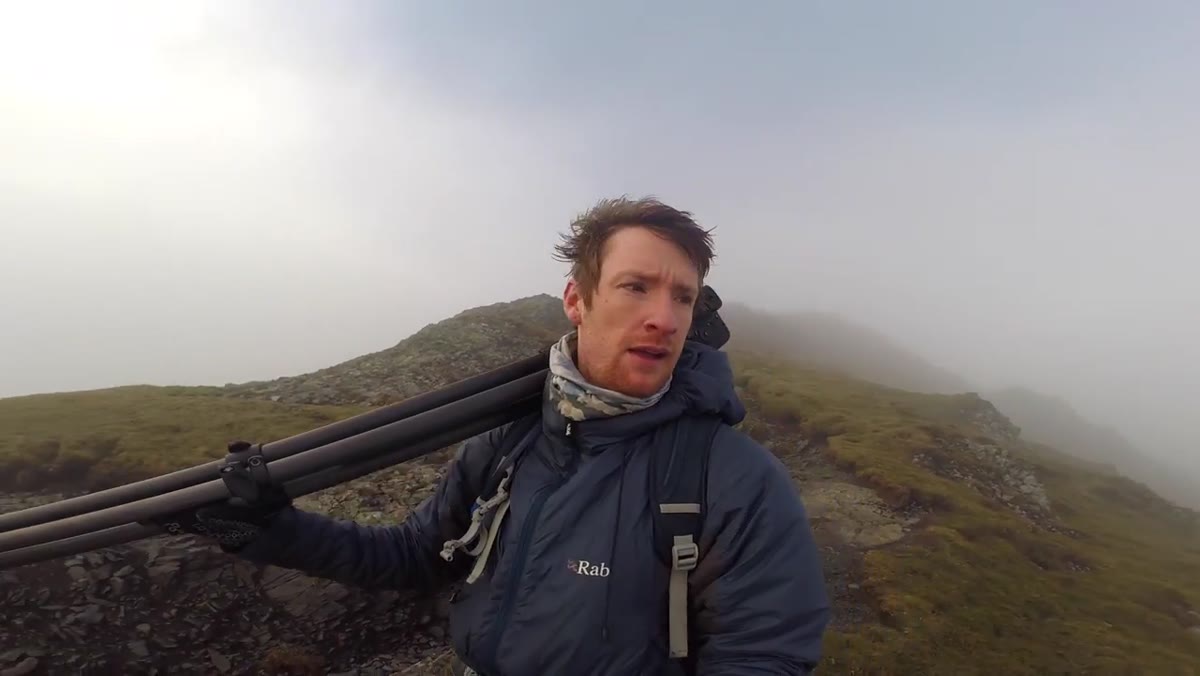 Heaton deciding to descend several hundred feet from the summit
After an hour near the summit with the cloud refusing to cooperate consistently, Heaton makes the call to drop down several hundred feet. This is a discipline most photographers don’t practice enough. Staying put feels committed. Leaving feels like quitting. But the best vantage point changes as light and cloud change, and a lower position might give you a cleaner foreground, a better angle on the ridge, or separation between the cloud layers that the summit doesn’t offer.
Heaton deciding to descend several hundred feet from the summit
After an hour near the summit with the cloud refusing to cooperate consistently, Heaton makes the call to drop down several hundred feet. This is a discipline most photographers don’t practice enough. Staying put feels committed. Leaving feels like quitting. But the best vantage point changes as light and cloud change, and a lower position might give you a cleaner foreground, a better angle on the ridge, or separation between the cloud layers that the summit doesn’t offer.
Build the willingness to abandon a position into your field process. If you’ve been at a spot for an hour and the image isn’t coming together, walk fifty meters and look again. The scene you want might be just below or behind you.
What I’d Add From the Field
One thing the video doesn’t address, and it’s worth naming, is the difference between a shoot day and a scout day. I’ve made the mistake of going hard on a location I’ve never visited and burning my best emotional energy on orientation instead of photography. Blencathra is the kind of mountain where knowing the route, the ridge geometry, and the typical cloud behavior in advance means you can make decisions like Heaton’s in real time rather than spending that bandwidth on navigation. If you can visit once without a camera, or at minimum study the topographic map and recent trip reports before you go, your shooting day becomes entirely different.
The deeper lesson from watching Heaton work Blencathra is that atmosphere is a mood you chase, not a setting you dial in. Every decision he makes, from choosing Sharp Edge as a route to shooting vertical to dropping altitude near the end, is oriented toward a single word he uses at the start of the day: atmosphere. Know what you’re after before you leave the car. Let that guide every choice on the hill.
Watch the full tutorial on YouTube to see Heaton work through all of this in real time. There’s no substitute for watching the decision-making happen on the mountain.
Comments
Leave a Comment