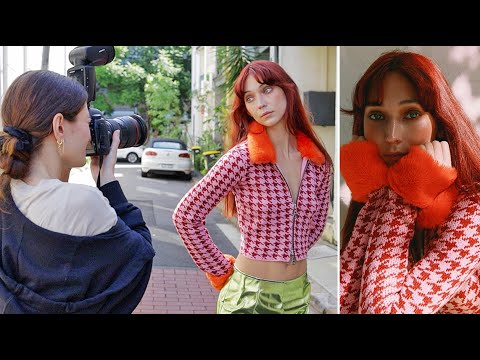
I have spent the better part of twenty years avoiding flash outdoors. My whole philosophy lives in existing light, in waiting for the sun to do something interesting, in the patience that comes from standing in a cold Oregon river at 5am because the mountain will reveal itself when it wants to, not when I want it to. Flash felt like forcing the issue. It felt like cheating the landscape.
Then I watched a Jessica Kobeissi tutorial filmed on location in Sydney, and something shifted. Watch the full tutorial on YouTube. The problem she was solving, working with a model named Valentina in mixed, uncontrollable outdoor light during what photographers call “the worst time to shoot,” is the same problem I face every time a workshop client wants portraits at a location that has no shade, no golden hour, and no mercy. Harsh midday light does not care about your schedule. This tutorial gave me a working method for when conditions refuse to cooperate.
What struck me most was how practical and unromantic the approach was. No elaborate lighting rigs, no assistants, no controlled studio logic transplanted outdoors. Just one flash unit, a clear understanding of exposure priorities, and the willingness to keep moving when a garbage truck rolls through your shot. That last part felt very familiar.
Step 1: Choose Your Equipment Intentionally
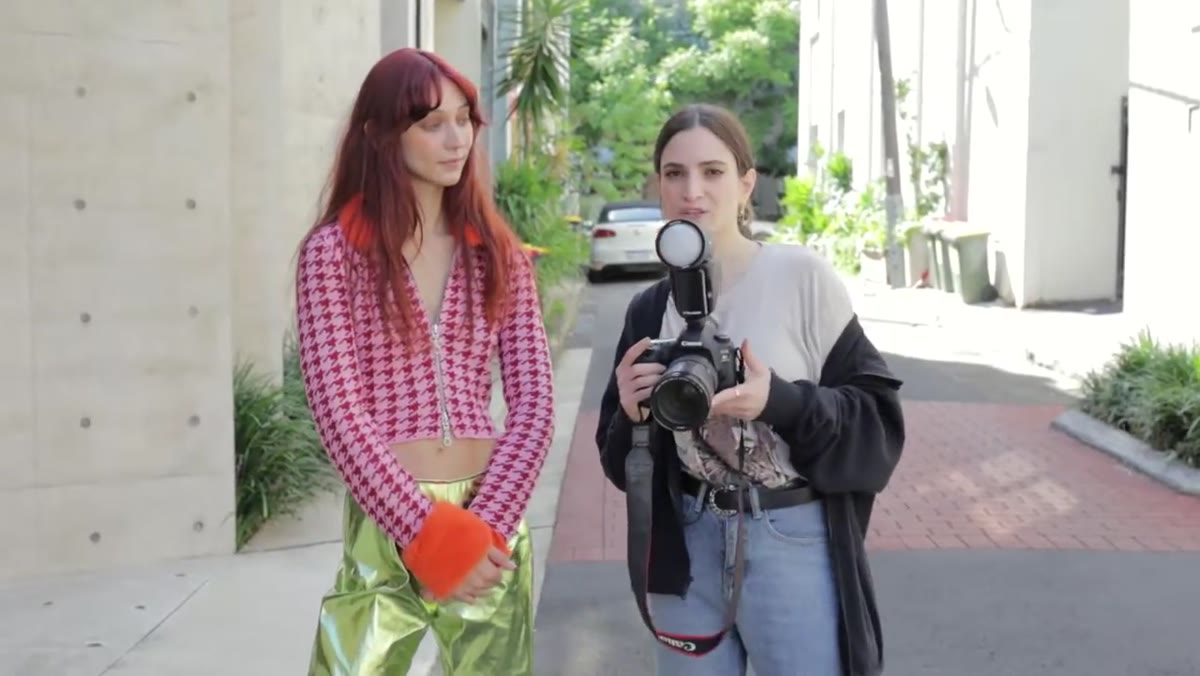 Camera, lens, and Profoto A1 flash listed on screen
Kobeissi shoots this session with a Canon 5D Mark IV, a 24-70mm lens, and a Profoto A1 flash. The lens choice matters here more than people give it credit for. A 24-70mm gives you flexibility to pull back for full-length work and push in for tight portraits without switching glass mid-shoot. When you are chasing light on a street and your subject is moving between patches of shade and open sun, the last thing you want is to be fumbling with a lens change.
The Profoto A1 is a compact, battery-powered unit designed specifically for on-camera use in run-and-gun situations. If you are not ready to invest at that level, a mid-range speedlight from your camera manufacturer will get you into the same workflow. The brand is less important than having a flash that can sync reliably and recycle fast enough that you are not waiting between frames.
Step 2: Read the Scene Before You Fire a Single Shot
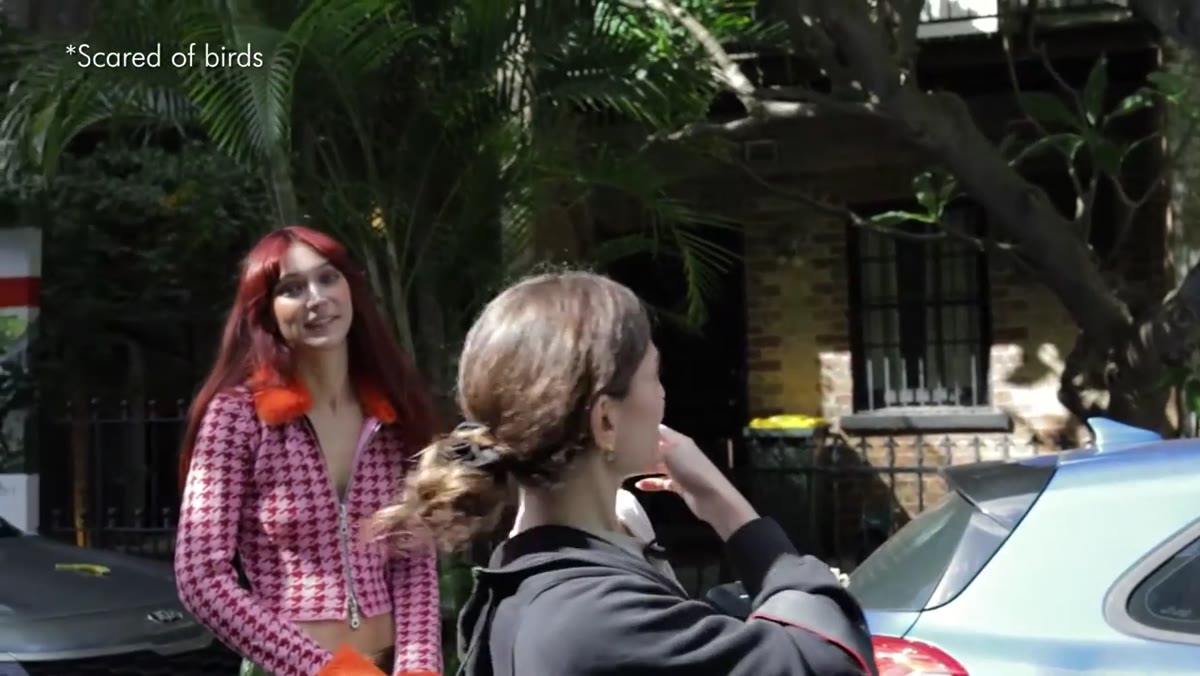 Photographer evaluating a textured wall location in outdoor light
Before Kobeissi introduces the flash, she is actively scouting. She identifies walls, patches of open shade, and pockets of directional light as potential backdrops. This is the step most people skip because they are eager to start shooting, and it is the step that determines everything else. A flash cannot fix a bad background. It cannot rescue a location where the light direction works against you.
Walk the location first. Look for where the natural light is coming from and decide whether your flash will supplement it or counteract it. In open sun, you are almost always trying to fill shadows on the face. In shade, you are trying to add a catchlight and separate your subject from a flat, directionless ambient environment. Those are different problems with different solutions.
Step 3: Underexpose Your Ambient Exposure Deliberately
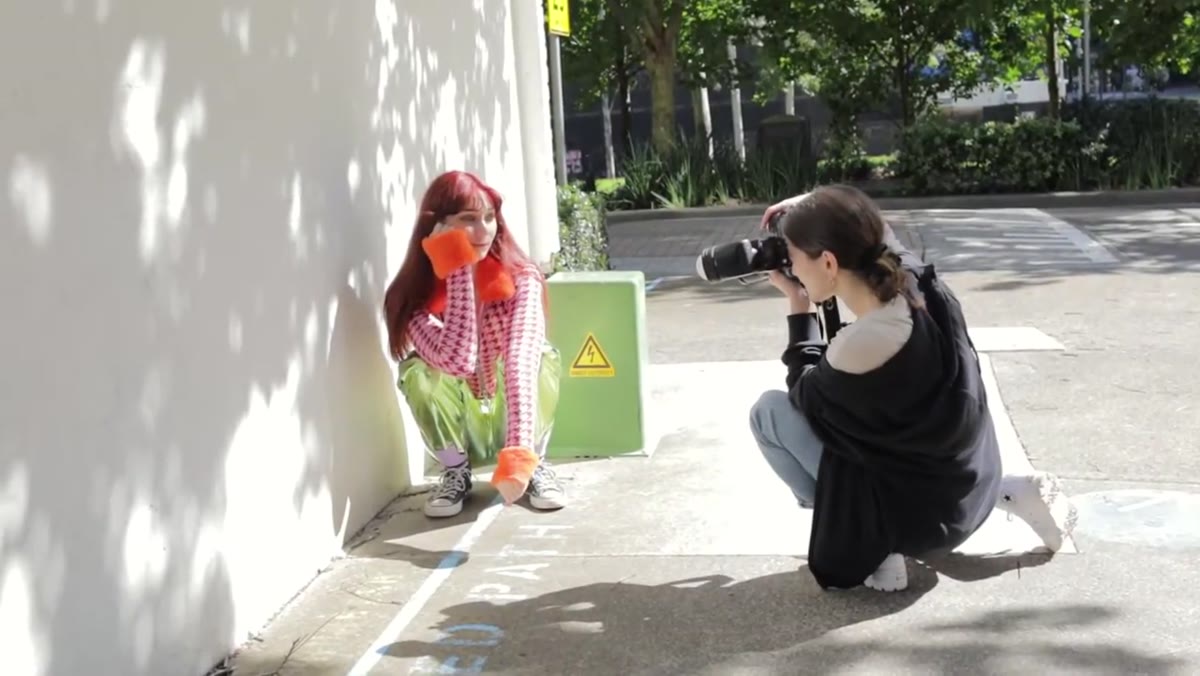 Camera settings adjusted to underexpose in mixed spotty light
This is the technical heart of the tutorial, and it is the piece that unlocks everything else. When you are working in mixed light, especially that dappled, spotty light that happens under trees or near reflective urban surfaces, your camera’s meter will average everything and give you a muddy result. Kobeissi’s approach is to expose for the flash rather than the ambient light, which means deliberately pulling your exposure down.
In practice, this means dropping your ISO as low as it will go, keeping your shutter at or below your flash sync speed (typically 1/200s or 1/250s depending on your camera), and stopping your aperture down until the ambient reading is one to two stops underexposed. Then your flash fills in the subject at the correct exposure while the background goes darker and more dramatic. It is a simple principle and a genuinely useful one. I use a version of this in landscape work when I shoot into a bright sky and use a graduated filter to hold back the light. Same idea, different tool.
Step 4: Know When to Turn the Flash Off
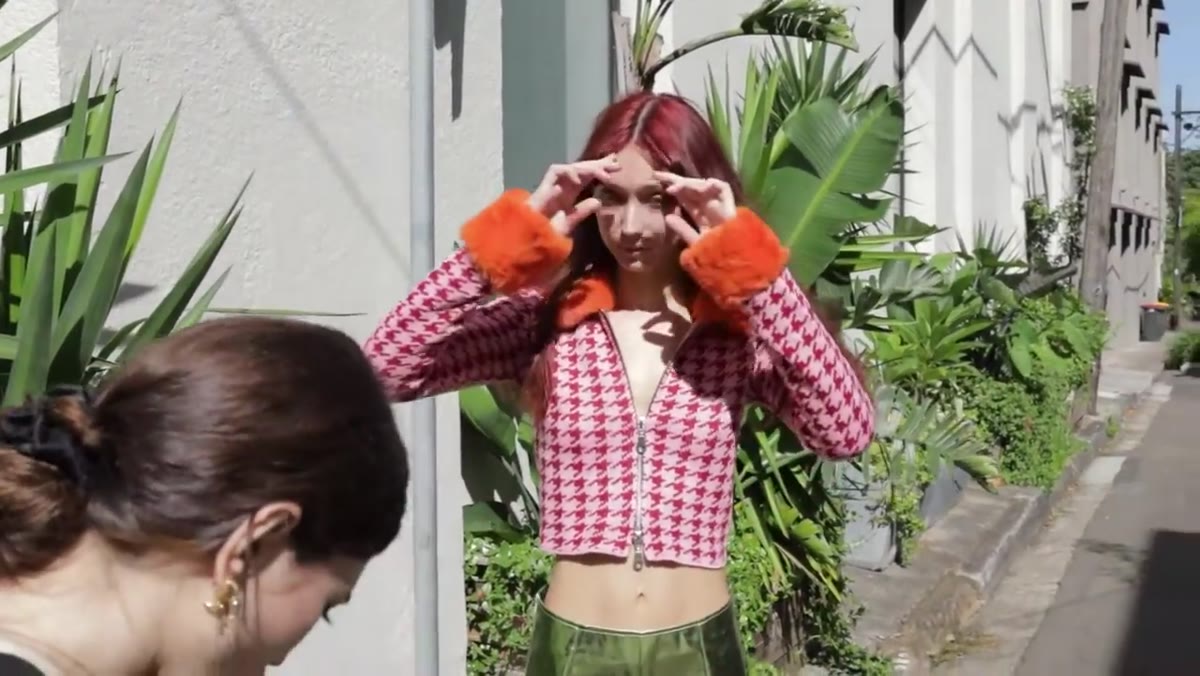 Flash disabled for a shot in open directional natural light
One of the most honest moments in the tutorial is when Kobeissi simply switches the flash off for a particular shot because the natural light is handling things well on its own. This sounds obvious but it runs against the instinct of a photographer who has just set up a system and wants to use it. The flash is a tool, not a commitment. When a patch of open shade gives you soft, even light on a face, turning the flash on might actually degrade the image by flattening depth or creating an unnatural look.
Watch how the light falls on your subject’s face. If you can see clear definition between the lit side and the shadow side without the flash, you may not need it. If everything looks flat or the shadows are too deep to recover in post, bring the flash in. Trust what you see, not what you have set up.
Step 5: Direct and Adjust Continuously, Not in Bursts
 Photographer giving real-time chin and posture direction to model
Throughout the Sydney shoot, Kobeissi is in constant, low-key communication with Valentina. Small adjustments, lift the chin slightly, shift a strand of hair, lower a hand, happen between almost every frame. This is not about being controlling. It is about using the time between shots to refine rather than simply repeating the same frame hoping for a different result.
For those of us who photograph people occasionally rather than professionally, this rhythm feels awkward at first. Build a habit of looking at one thing after each shot. Not everything. One thing. Where are the eyes pointing. Is the posture too rigid. Is the near shoulder dropped naturally. Small corrections compound quickly, and your subject stays in the flow of the shoot rather than freezing up while you review your screen for thirty seconds.
What I Would Add from Twenty Years in the Field
Flash outdoors becomes genuinely interesting when you treat it the way I treat a long exposure at dawn: as a way to show something the eye cannot quite see on its own. The underexposure technique Kobeissi uses does something similar to what I do when I drop my shutter to blur water. You are making a choice about what the sensor records and what it does not, using technology to push beyond the limits of the moment.
My caveat for landscape photographers exploring portraiture is this: the location is still doing seventy percent of the work. Kobeissi keeps moving through Sydney because she is always looking for a wall, a line, a surface with character. Flash does not replace that searching. It extends what you can do with the locations you find.
The single most important lesson from this tutorial is that harsh light is not a reason to stay home or wait. It is a problem with a technical solution, and that solution is simpler than you might expect. Underexpose your ambient, let the flash carry your subject, and keep adjusting until the image earns its keep.
Watch the full tutorial on YouTube and see how Kobeissi works through a real location with all of its chaos, garbage trucks included.
Comments
Leave a Comment