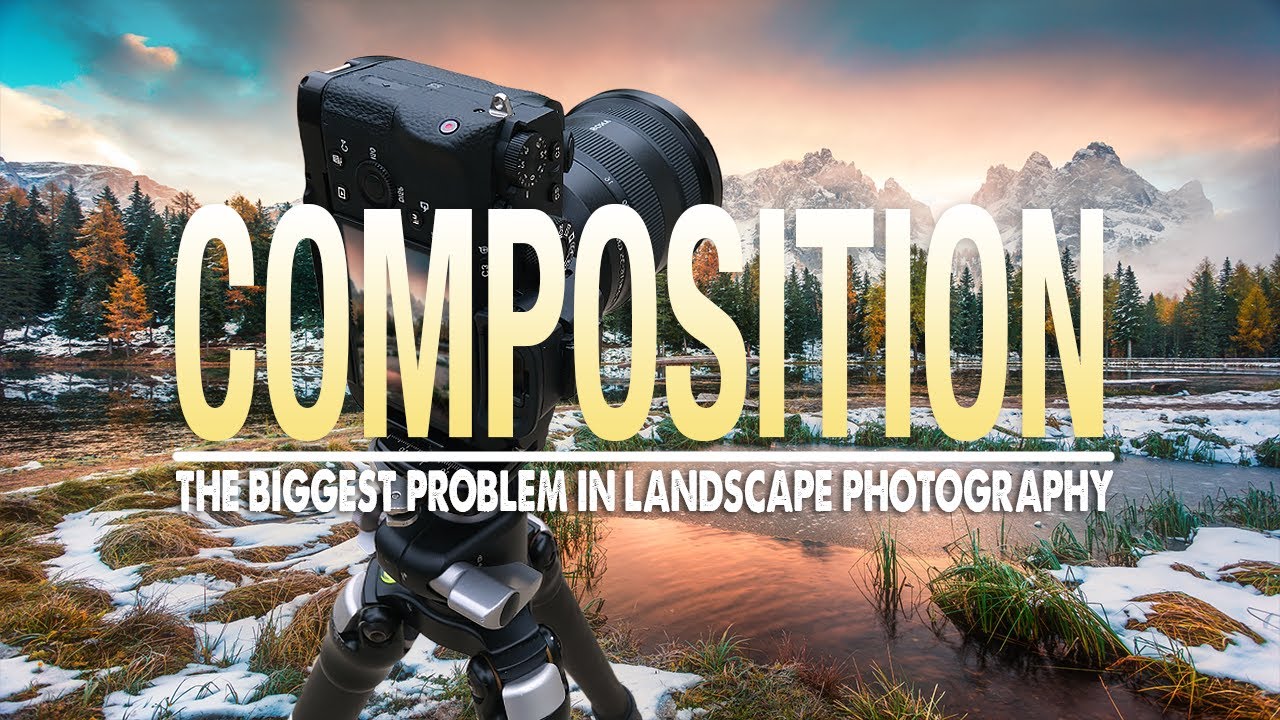
There’s a frustration I come back to more than almost any other in twenty years of shooting landscapes. You’re standing at the edge of a meadow at first light, the mountains are glowing, the scene in front of you is genuinely three-dimensional and alive, and then you look at the back of your camera and it’s… flat. The depth is gone. What your eyes read as distance and volume has been collapsed into a rectangle, and the image doesn’t hold the weight of the moment. It took me years to understand this wasn’t a gear problem or a light problem. It was a composition problem, and it had a solvable answer.
That’s why I found myself watching this tutorial from Mark Denney all the way through twice. Watch the full tutorial on YouTube. Denney frames the entire challenge of landscape composition around one central problem: how do you translate a three-dimensional scene into a two-dimensional medium without losing what made it worth photographing in the first place? It’s the kind of question that sounds obvious once someone asks it, but I had never heard it stated that cleanly before. His answer comes in three concrete techniques, and what follows is my attempt to unpack them the way I’d explain them to a student standing next to me in the field.
Step 1: Train Your Eye to See Depth Before You Raise the Camera
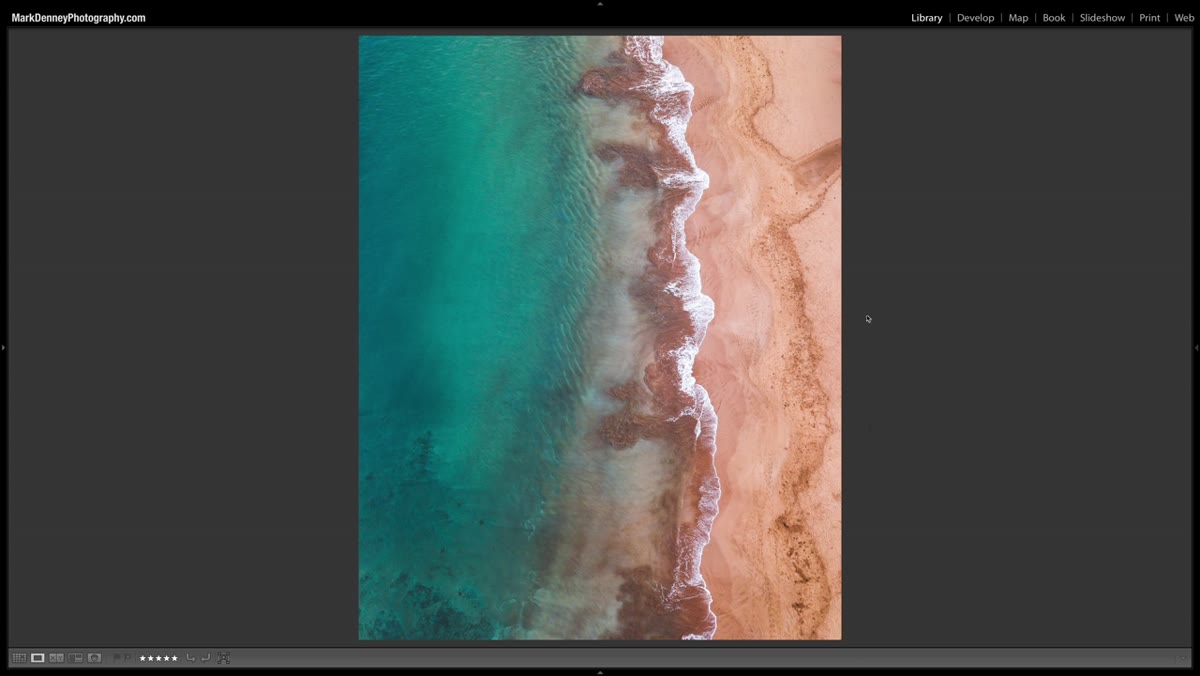 Aerial photo of waves with zero visible depth
Denney opens with a series of aerial photographs, and it’s a smart move. Overhead shots have almost no depth at all. Waves crashing from directly above, a winding road seen from a drone straight overhead - technically interesting, but spatially flat. He walks through these images in sequence, gradually introducing shots where a little more dimension appears: the shadow beneath a pier, gaps between snow-covered pines that hint at distance below.
The lesson here isn’t about aerial photography. It’s calibration. Before you can build depth into a composition, you need to be able to recognize its absence. When you’re on location, ask yourself whether the scene in front of you would look fundamentally different from a bird’s eye view. If the answer is no, you likely haven’t found your angle yet. Stand there a moment longer. Depth almost always exists in a landscape. Your job is to find the position that reveals it.
Step 2: Build a Clear Foreground, Middle Ground, and Background
 Waterfall composition showing rock, stone, and falls in three layers
This is the foundational technique, and Denney is honest that it’s the most common one for good reason. He walks through a waterfall image that illustrates it cleanly: a rock close to the lens in the foreground, a larger stone in the middle ground, and the falls themselves in the background. Three distinct planes for the eye to travel through.
When I’m scouting, I look for foreground elements first. Not last. The mistake I see most often in my workshop students is that they find a beautiful background, point the camera at it, and wonder why the image feels thin. The foreground is what anchors the viewer inside the scene. Get low, get close to something, and then ask whether your middle and background layers are clearly readable. Each plane should be distinguishable from the others in tone, texture, or distance. If two layers blend into each other, the depth you’re trying to suggest collapses.
Step 3: Use Leading Lines to Pull the Eye Through the Frame
 Path or river curving through landscape toward a distant point
Denney’s second technique involves using lines within the scene to do the work of creating perceived distance. A river curving from the foreground corner toward a mountain. A footpath that disappears into trees. A fence line running toward the horizon. The eye naturally follows lines, and when those lines move from near to far within the frame, the brain reads that movement as depth.
The practical field application is this: when you arrive at a location, look for anything with directionality. Rocks don’t naturally give you a leading line, but the way water moves between them might. A shoreline has a direction. A ridgeline has a direction. Train yourself to notice what within the scene is already pointing somewhere, and then position yourself so that “somewhere” is inside your frame. Your focal length matters here. Wider lenses exaggerate the convergence of lines toward a vanishing point, which amplifies the sense of depth. If I’m working a scene with strong leading lines, I’ll often push wider than my instinct says to.
Step 4: Create Depth Through Separation and Layering
 Scene demonstrating tonal or color separation between landscape layers
The third technique is subtler, and it’s the one that separates good compositions from truly immersive ones. Denney calls it separation, and it refers to the way distinct tonal or color differences between layers of a scene read as spatial distance. Atmospheric haze on a mountain range is the classic example. The far mountains are lighter and cooler in tone than the closer ones, and that shift signals depth to the viewer even when the geometry of the composition doesn’t.
You can’t manufacture atmosphere, but you can choose your moments. Early morning often gives you mist in valleys. Late afternoon backlight separates foreground shadows from brighter mid-distance elements. In post-processing, I sometimes deepen the contrast between my foreground and background layers slightly, not to be heavy-handed, but to reinforce what was already there. If haze was softening the far hills, I’ll let it. Fighting atmospheric depth in processing is one of the more common mistakes I see photographers make in pursuit of “clarity.”
What Twenty Years in the Field Adds to This Framework
Denney’s three techniques are solid and I use all of them. But there’s a fourth thing I’d add that isn’t strictly compositional: patience with your position. I’ve watched students arrive at a scene, find a decent foreground element, and lock in within two minutes. The composition works technically, but it doesn’t sing. I still move. Even after I think I’ve found the shot, I take ten steps left, ten steps right, get lower, get closer. The relationship between foreground and background shifts with every foot of movement, and occasionally you stumble into a position where all three layers suddenly align in a way that feels inevitable. That’s the shot worth making.
I learned something like this from a mentor early in my career who told me the mountain doesn’t care about your schedule. He was talking about weather, but it applies to composition too. The right position is there. It’s not always where you’d expect to find it.
The single most useful shift I’ve taken from Denney’s tutorial is reframing composition as a problem-solving exercise rather than an aesthetic one. The problem is specific: three dimensions into two. The solutions are concrete: foreground-middle-background layering, leading lines, tonal separation. Work through those three in order when you’re on location, and the images that come back with you will be measurably stronger.
Watch the full tutorial on YouTube to see Denney walk through each technique with his own images. The visual comparisons he builds between flat shots and layered compositions are worth your time even if you’ve been shooting landscapes for years.
Comments
Leave a Comment