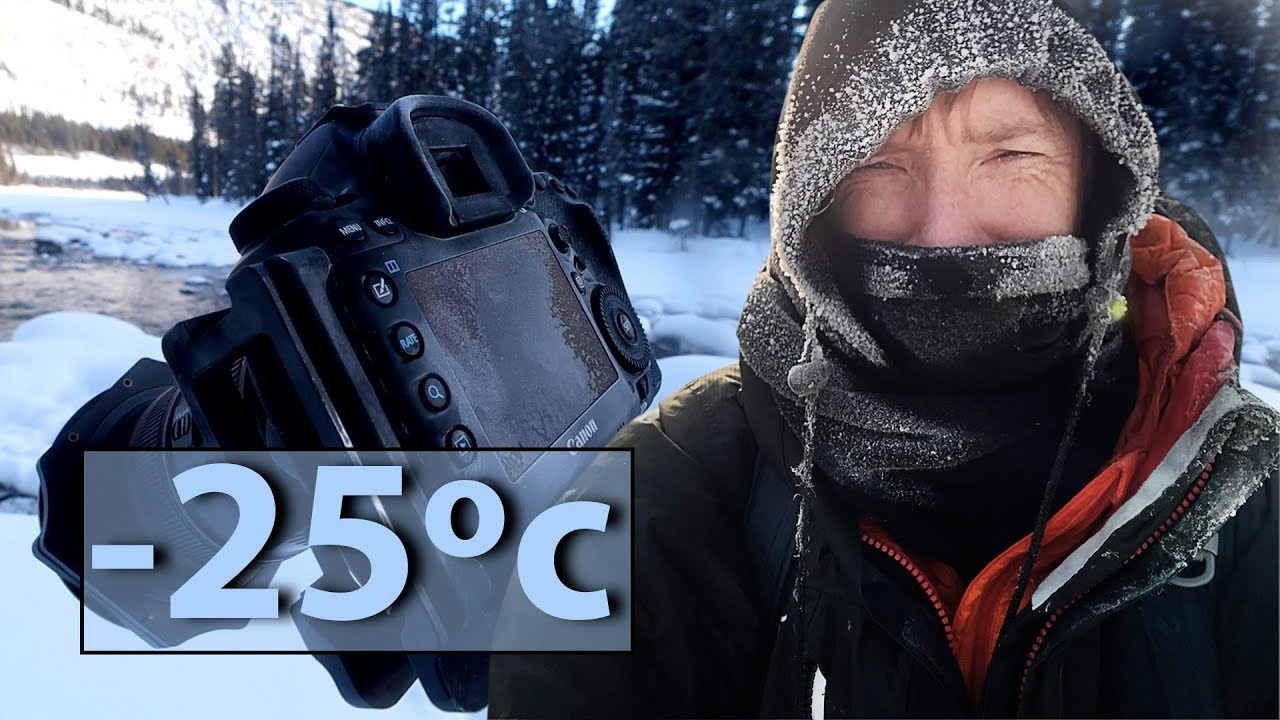
There is a particular kind of morning that landscape photographers live for. The air is so cold it feels brittle. Every exhale is a small cloud. The light has not arrived yet, but you can feel it coming, and you know the conditions are going to be extraordinary. I have stood in that silence more times than I can count, usually somewhere in the Oregon high country before anyone else is awake. The problem is that extreme cold introduces a set of challenges that can derail a shoot before it even starts: frozen gear, dangerous terrain, sluggish thinking from the discomfort. Knowing how to work through those challenges is the difference between a wasted morning and the shot you will print for years.
In this Thomas Heaton tutorial, filmed during a winter trip where temperatures bottomed out near -29ºC, Heaton walks through exactly how he approaches a frozen landscape shoot, from reading conditions on arrival to pulling back from a dangerous ice shelf the moment it started cracking underfoot. Watch the full tutorial on YouTube. What makes it worth studying is not just the technique, it is the decision-making. He shows you how a working photographer thinks in the field, not how a perfect shoot unfolds in theory.
Winter photography rewards the prepared. Here is how to put Heaton’s approach into practice on your next cold-weather shoot.
Step 1: Read the Location Before You Set Up
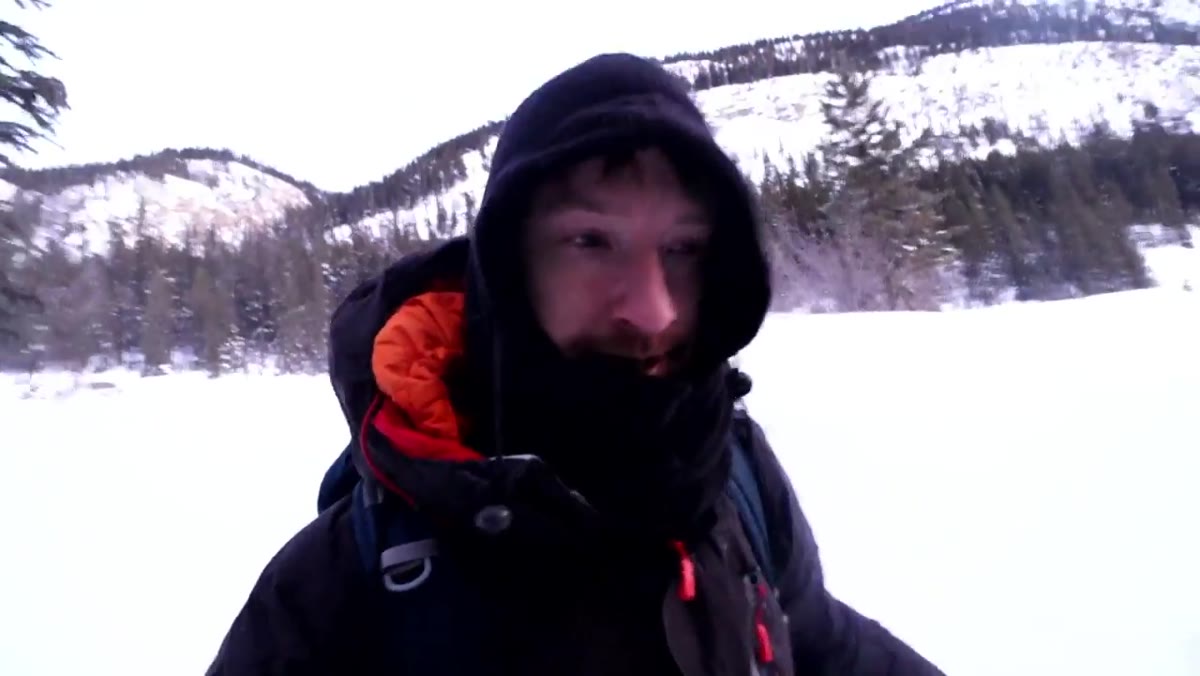 Thomas Heaton driving toward frozen lake at dawn
Arrive with your eyes open, not your tripod. Heaton pulls up to a frozen lake and immediately starts assessing what is actually there versus what he expected. He had planned to shoot open water reflections. They had frozen overnight. Rather than scrapping the idea, he noticed that the ice itself, free of snow cover, offered a foreground full of pattern and texture. That pivot takes seconds when you know what to look for. On a winter shoot, conditions change fast. Train yourself to ask what is actually in front of me right now, not what was there yesterday or what the forecast suggested.
Step 2: Time Your Arrival to the Alpenglow Window
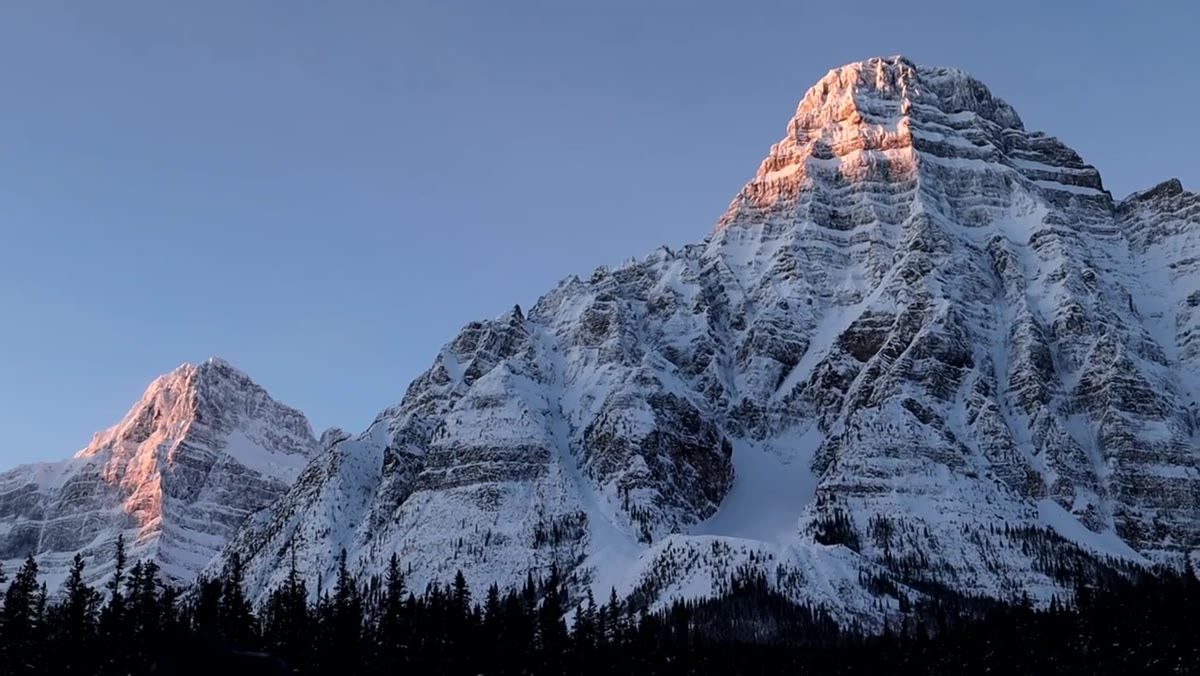 Mountain peak glowing pink-orange with alpenglow at sunrise
Alpenglow is brief and it does not negotiate. Heaton mentions timing the arrival deliberately so the group was not standing in extreme cold waiting for light that was still thirty minutes out. In practice, this means scouting or researching your location in advance so you can be set up and composed with ten to fifteen minutes to spare before first light touches the peaks. In temperatures that severe, every extra minute standing still is a minute your hands are getting colder and your focus is getting worse. Know your location, know your solar angle, and get there just in time.
Step 3: Choose a Focal Length That Fits the Scale
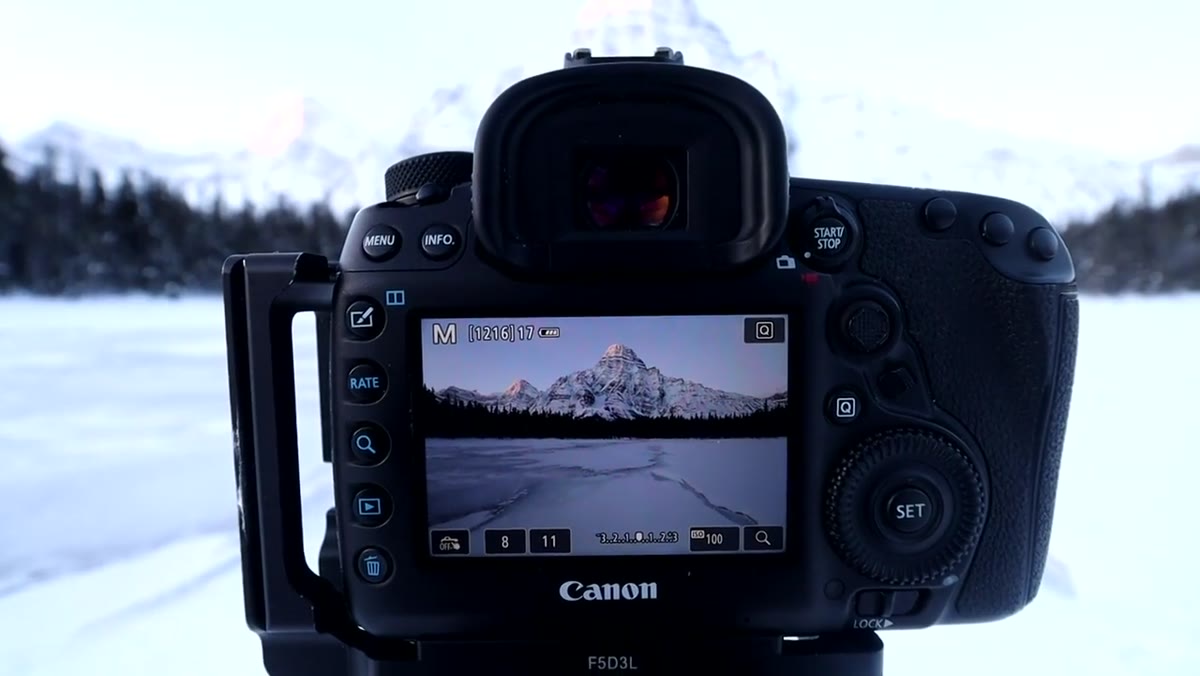 Camera display showing 16mm focal length with mountain in frame
Heaton shoots the mountain scene at 16mm. The reasoning is direct: the peak is so large and imposing that anything longer would crop out its full presence. Wide angles in winter landscapes serve a dual purpose. They pull in the sweeping scale of snow-covered terrain while also letting you incorporate foreground interest, in this case the patterned ice, that creates a visual journey from front to back through the frame. If you are shooting an expansive frozen scene and it feels flat or ordinary, move closer to a foreground element and go wider before you try anything else.
Step 4: Expose to Protect the Highlights
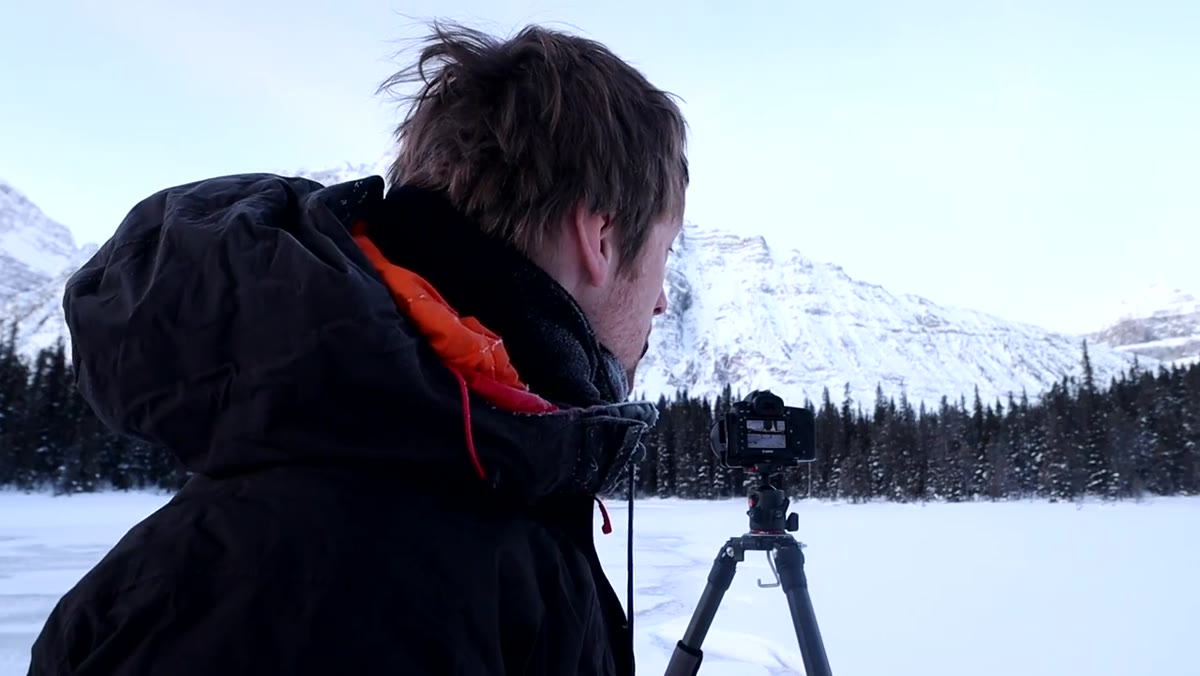 Thomas Heaton checking camera screen for highlight exposure on peak
Snow and alpenglow together are a highlight trap. Heaton shoots at f/11 and keeps a close eye on not blowing out the peak as the sun catches it. In bright winter conditions, I always check my histogram and use highlight warnings on the first few frames. Expose to the right until you are just shy of clipping, because recovering blown-out snow is nearly impossible and losing detail in an alpenglow is worse. f/11 gives you enough depth of field that a wide-angle lens focused on the mountain will keep the foreground acceptably sharp without needing to stack exposures.
Step 5: Stay Alert to Ice Stability
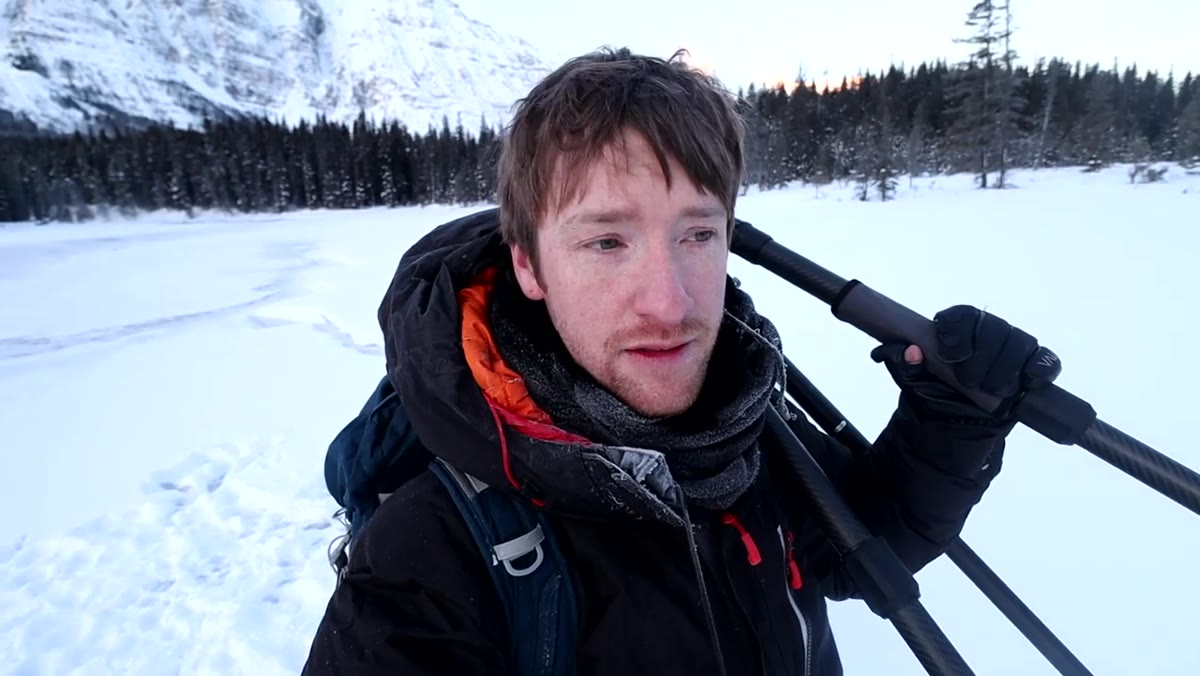 Crack opening in lake ice with water seeping through
This is the step most tutorials skip, and it is the most important one Heaton covers. He describes the moment a tripod leg went through the ice nearby, a crack opened, and water started seeping through within twenty or thirty feet of where he was standing. His response is the right one: he recognized the shot was done, moved back to consolidated snow, and left. The lesson is not to avoid frozen lakes. It is to know the difference between ice that has been frozen for months under deep snow cover and ice that was open water twenty-four hours ago. If the ice is cracking, groaning, or flexing underfoot, no photograph is worth the risk. Get out calmly and quickly.
Step 6: Shift to Intimate Details When the Hero Light Is Gone
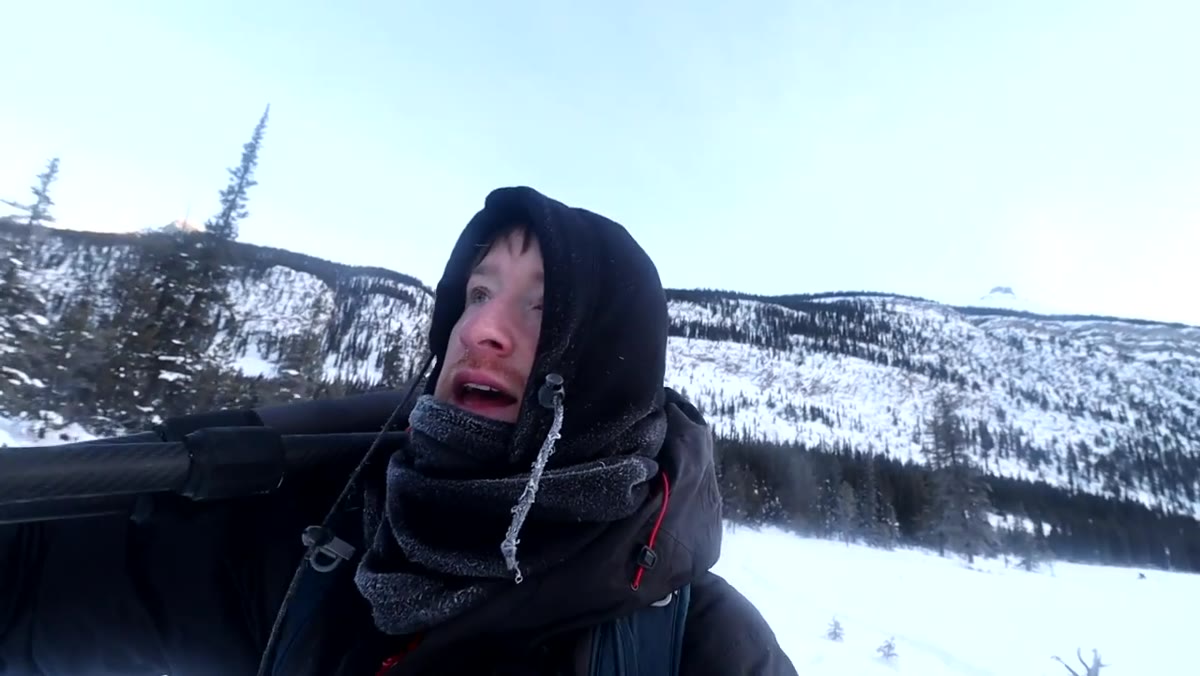 Thomas Heaton walking through deep snow toward frozen stream details
Once the alpenglow fades and direct sun hits the mountain, the large-scale scene loses its magic. Heaton immediately shifts his attention to intimate details: frost patterns, snow-capped boulders, moving water catching reflected golden light. This is where a lot of photographers pack up and leave, which is a mistake. Winter landscapes are full of close-up compositions that work in flatter light. Drop your focal length, get low, look for ice crystals, running water against snow, or compressed snow textures. The macro world of a winter landscape is its own reward.
Step 7: Accept When a Location Is Not Giving You the Shot
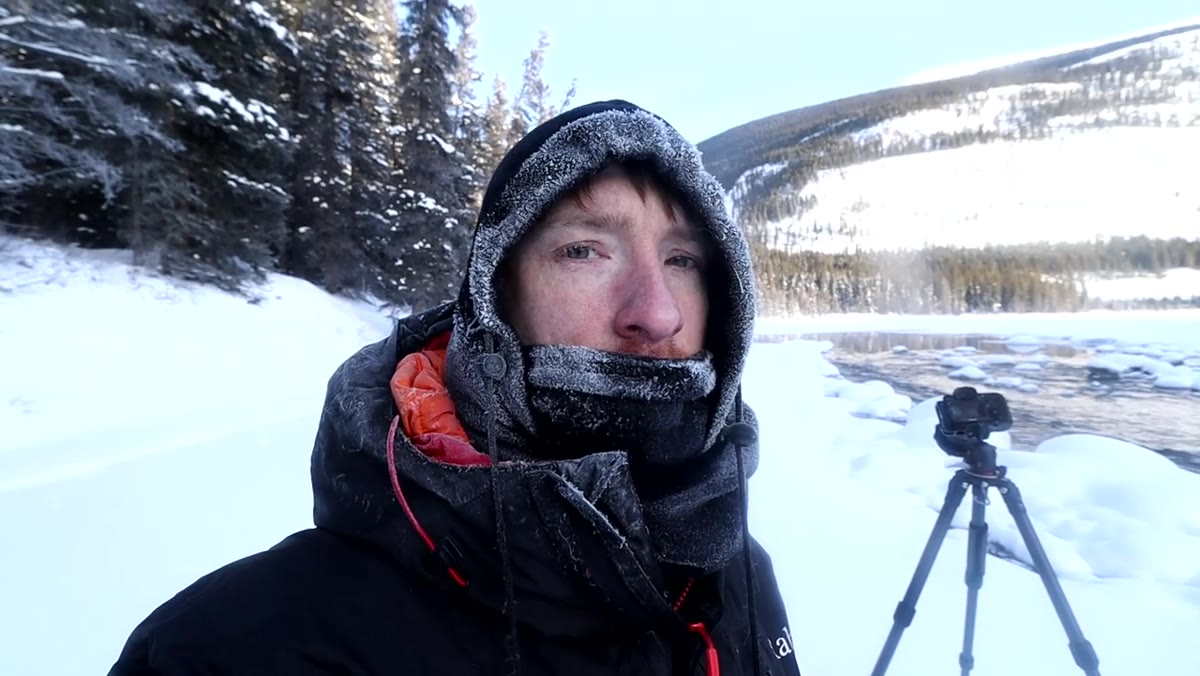 Heaton studying rocky stream area, visibly uncertain about composition
Heaton arrives at a gorgeous spot with boulders, running water, and golden reflected light and freely admits he cannot find the composition. This is worth sitting with. The temptation in a beautiful location is to keep shooting and figure it out later. The more honest move is to acknowledge when the elements are not arranging themselves and move on rather than force it. My mentor once told me that the mountain does not care about your schedule. A location that frustrates you on one visit is often a location to return to with different light, different snow conditions, or a different season.
What I Would Add: Gear Prep Starts the Night Before
Cold weather does not just affect you, it affects your batteries, your lubricants, and your LCD screen. I keep my batteries warm in an inside pocket during every winter shoot and carry at least two spares. Cold-weather battery drain is real: a battery that shows full charge indoors can die within twenty minutes at -20ºC. I also let my camera acclimate slowly when moving from extreme cold back into a warm car or building, which prevents condensation from forming on the sensor and elements. Put the camera in a sealed bag before you come inside. Let it warm up inside the bag. It takes five minutes and can save you from a fogged-up sensor.
The single most important thing Heaton demonstrates is the willingness to adapt. Plans change when you arrive, light changes while you are shooting, and ice can change in a matter of hours. The photographers who come home with great winter images are not the ones who stuck to their plan. They are the ones who read what was actually in front of them and responded to it honestly. Watch the full tutorial on YouTube to see Heaton work through all of this in real time, in conditions that would send most people back to the car.
Comments
Leave a Comment