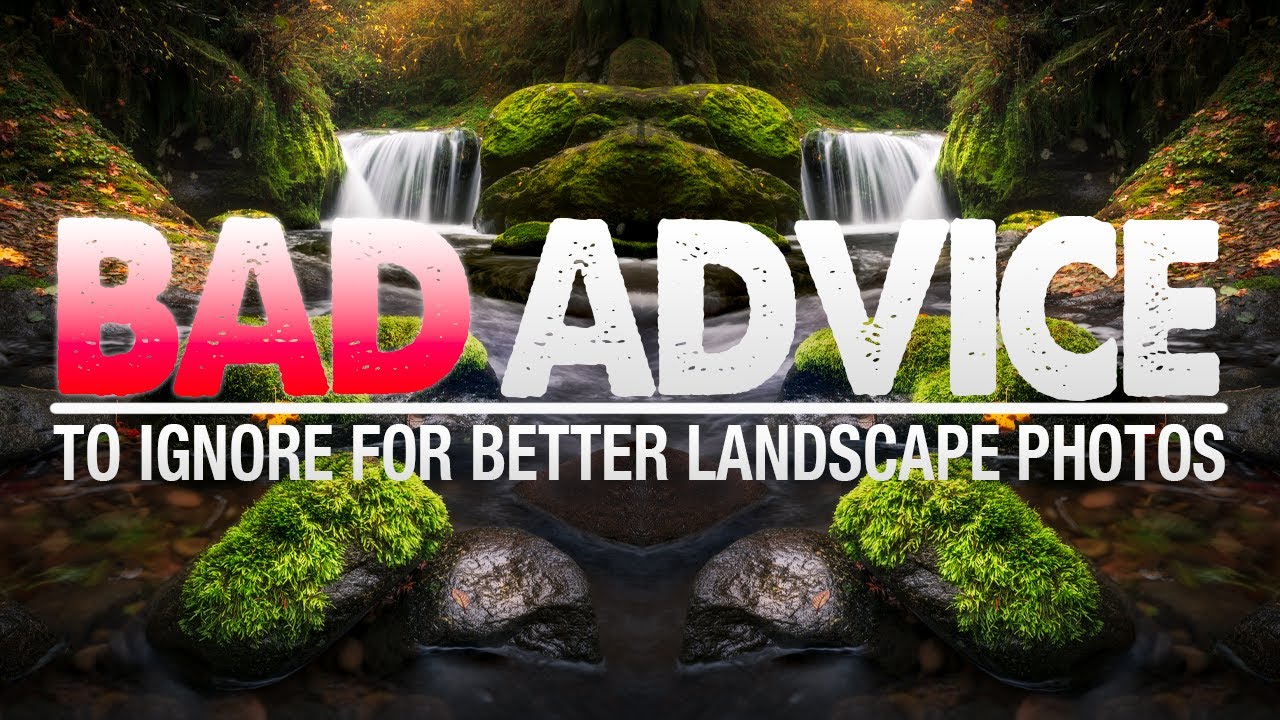
There’s a particular kind of confidence that comes from being told the rules early. You hear them enough times, they start to feel like gravity. Shoot in manual mode. Buy the graduated ND filters. Own your gear before you own your style. I followed every single one of those rules when I started, and some of them cost me real money and, worse, real creative momentum. Twenty years of standing in rivers at 5am with a camera has a way of sorting out what actually matters from what just sounds authoritative.
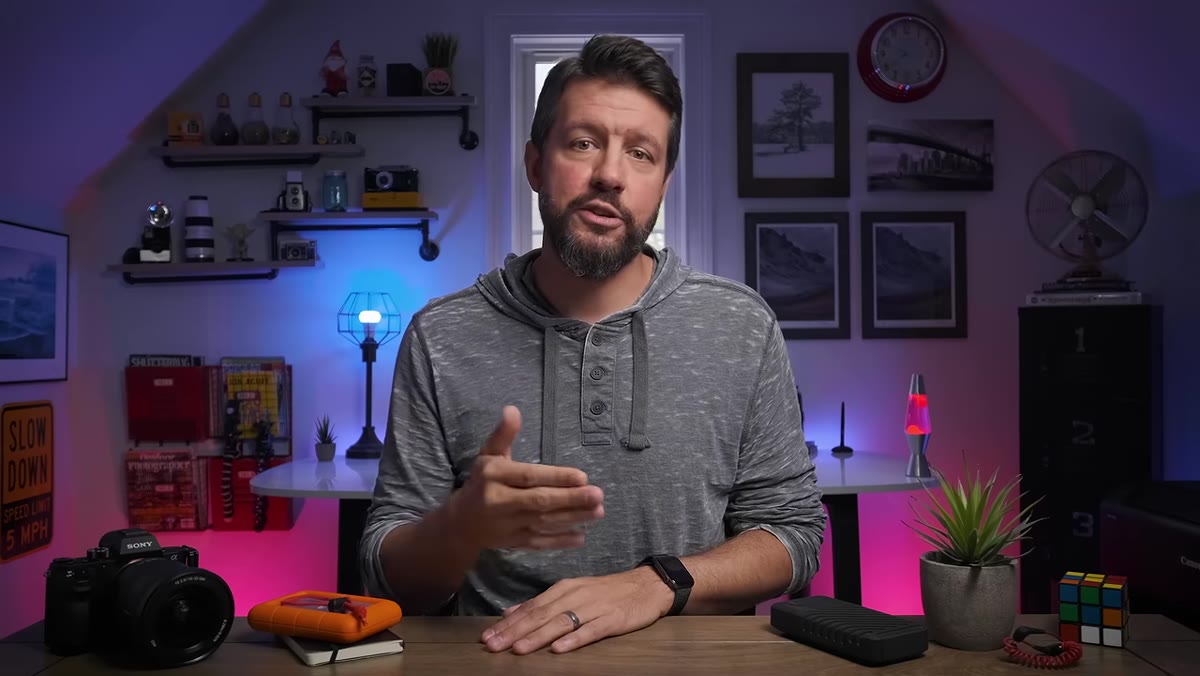
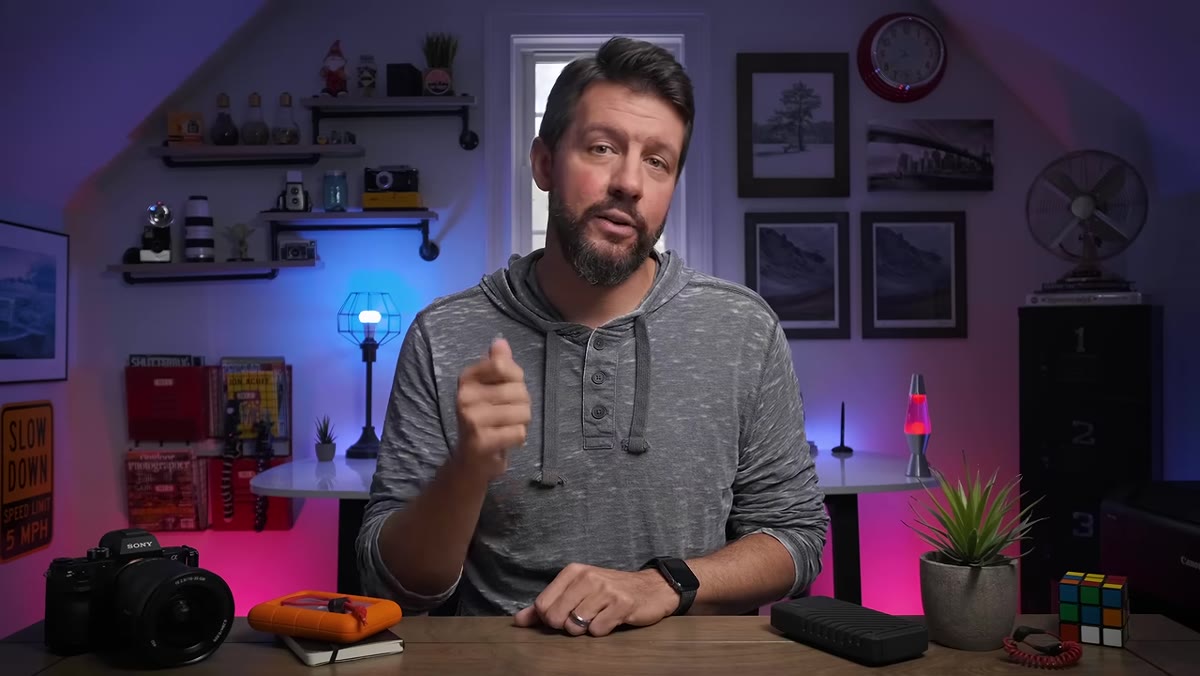
That’s why I found myself nodding along, hard, watching this Mark Denney tutorial on beginner landscape photography advice worth ignoring. Watch the full tutorial on YouTube. Mark approaches this not as a contrarian exercise but as someone who genuinely implemented this advice during his first year and tracked the consequences. That honesty gives the whole video a different texture than the usual tips-and-tricks format. He’s not tearing down the conventional wisdom for sport. He’s mapping the gaps between what sounds right and what actually works in the field.
Here’s a breakdown of his key points, with some of what I’ve learned layered in.
Step 1: Stop Treating Manual Mode Like a Badge of Honor
 Camera mode dial on manual setting
Mark’s first target is the near-universal advice that beginners must abandon automatic modes and live in manual mode as quickly as possible. His point isn’t that manual mode is bad. Understanding the exposure triangle, how aperture, ISO, and shutter speed interact, is genuinely important knowledge. But the insistence that manual mode is the only serious option ignores how professional photographers actually work. He knows professionals shooting sports in shutter priority. I know commercial photographers who use aperture priority for landscapes when the light is shifting fast.
The real skill is understanding why you’re choosing your settings, not which dial you’re turning. Aperture priority with exposure compensation dialed in thoughtfully is not a crutch. On a morning when the light is moving from deep blue to gold in under four minutes, locking yourself into manual mode adjustments can mean missing the shot entirely. Know your camera well enough to use every mode deliberately. That’s the goal.
Step 2: Reconsider Whether You Actually Need Graduated ND Filters
 Graduated ND filter held in front of lens
This one stings a little because I bought a full set of graduated neutral density filters in my second year and used them religiously. Mark’s argument is direct: the effects of a graduated ND filter can be replicated in post-processing software available today, which makes them a nice-to-have rather than a must-have.
There’s a second issue he raises that I think deserves more attention than it usually gets. Using a graduated ND filter in the field is a destructive workflow if you’re not careful. When you slide that filter down in front of the lens, the gradient has to fall precisely on the horizon line. If the filter is even slightly crooked, you’ve introduced a problem you cannot fully fix in editing. Coming home to an otherwise strong image with a darkening band cutting diagonally across a mountain ridge is a particular kind of frustration. The one filter Mark says every landscape photographer genuinely needs is a circular polarizer, and the reason is simple: the effect it creates, cutting glare, saturating colors, revealing detail in water, cannot be replicated in any software. That’s the distinction worth holding onto. Buy what cannot be replaced digitally first.
Step 3: Don’t Rush to Buy the “Best” Camera Body
 Various camera gear laid out on a table
Mark positions the gear acquisition spiral as one of the more financially damaging pieces of advice beginners absorb. The message floating around photography forums and comment sections is that serious landscape photography requires serious camera bodies, and that you should upgrade as fast as possible.
The problem is that camera bodies depreciate fast, and the images that actually build your eye, your sense of composition, your instinct for light, come from time in the field, not from sensor specifications. A mentor of mine used to say the mountain doesn’t care about your schedule, and it certainly doesn’t care about your megapixel count. I shot some of my most important early work on a camera body I’d now consider basic. The constraint forced me to think harder about placement and timing because I couldn’t lean on technical quality to compensate for a weak composition.
Step 4: Location Scouting Is Not Optional
 Photographer reviewing map or scouting app on phone
One piece of advice Mark flags as genuinely harmful is the impulse to just show up somewhere beautiful and start shooting. Beautiful places are everywhere, especially here in central Oregon where I live. But beautiful and photogenic are not the same thing, and neither is the same as photographically prepared.
Scouting means knowing where the sun rises relative to your foreground, knowing what the scene looks like in flat midday light so you can visualize it at golden hour, and knowing your exit route in the dark. It also means accepting that you might scout a location three times before the conditions come together. That part of landscape photography is invisible in most tutorial videos, but it accounts for a huge percentage of whether you come home with anything worth keeping.
Step 5: Ignore the Pressure to Post Constantly
 Social media feed showing landscape photography posts
Mark closes this section of his advice with something photographers don’t talk about enough: the social media pressure to produce and publish at a pace that has nothing to do with how landscape photography actually works. The algorithm wants content. Landscape photography at its best requires patience, weather, seasons, and a willingness to go home empty-handed more than you’d like to admit.
Some of my best work came from a two-day fog-out at a location I’d driven six hours to reach. I sat with it, walked it in poor light, and on the second morning got one frame I’d been building toward without realizing it. That image became my best-selling print. It would not exist if I’d felt pressure to post something from day one just to stay visible.
What I’d Add From the Field
Mark’s framework is smart and honest, but there’s one more I’d stack on top of it: the advice to always shoot in the golden hours. Dawn and dusk are genuinely beautiful, and I’m out there before most people have had coffee. But midday light, overcast skies, and flat gray afternoons have produced images I couldn’t have made otherwise. Soft diffused light through cloud cover is extraordinary for intimate forest scenes and moving water. Chasing only the golden windows narrows what you’re capable of seeing.
The single most useful thing Mark Denney does in this tutorial is reframe beginner advice not as right-or-wrong but as context-dependent. The rules aren’t lies. They’re oversimplifications, and oversimplifications eventually become ceilings. Knowing when to set a rule aside is what separates someone who’s learned the formula from someone who’s developed a practice.
Watch the full tutorial on YouTube and pay attention to how Mark explains not just what to avoid, but why he followed the bad advice in the first place. That self-awareness is the most teachable thing in the video.
Comments
Leave a Comment