
There’s a particular kind of frustration that comes from standing in front of a genuinely beautiful scene and feeling completely stuck. The light is decent. The subject is there. And yet something about the frame feels soft, unfocused, like you haven’t quite figured out what the photograph is actually about. I’ve been shooting landscapes full-time for two decades and I still walk into that wall more often than I’d like to admit. It happened to me last fall in a stand of old-growth ponderosa pines outside Bend, and it happens to photographers at every level. The problem isn’t vision. It’s usually a missing step in the process of translating what your eyes see into what the camera records.
That’s exactly the problem Mark Denney works through in real time during this tutorial, filmed on location in the North Carolina woodlands during the tail end of autumn color. It’s worth watching in full. Watch the full tutorial on YouTube — but below I’ve broken down the core technique and expanded on it with notes from my own field experience so you can apply it immediately.
What makes this tutorial useful is that Denney doesn’t pretend to have the composition solved when he arrives on location. He works through the uncertainty out loud, and in doing so, reveals a methodical approach to reading a scene that most photographers skip entirely.
Step 1: Scout Before You Set Up the Tripod
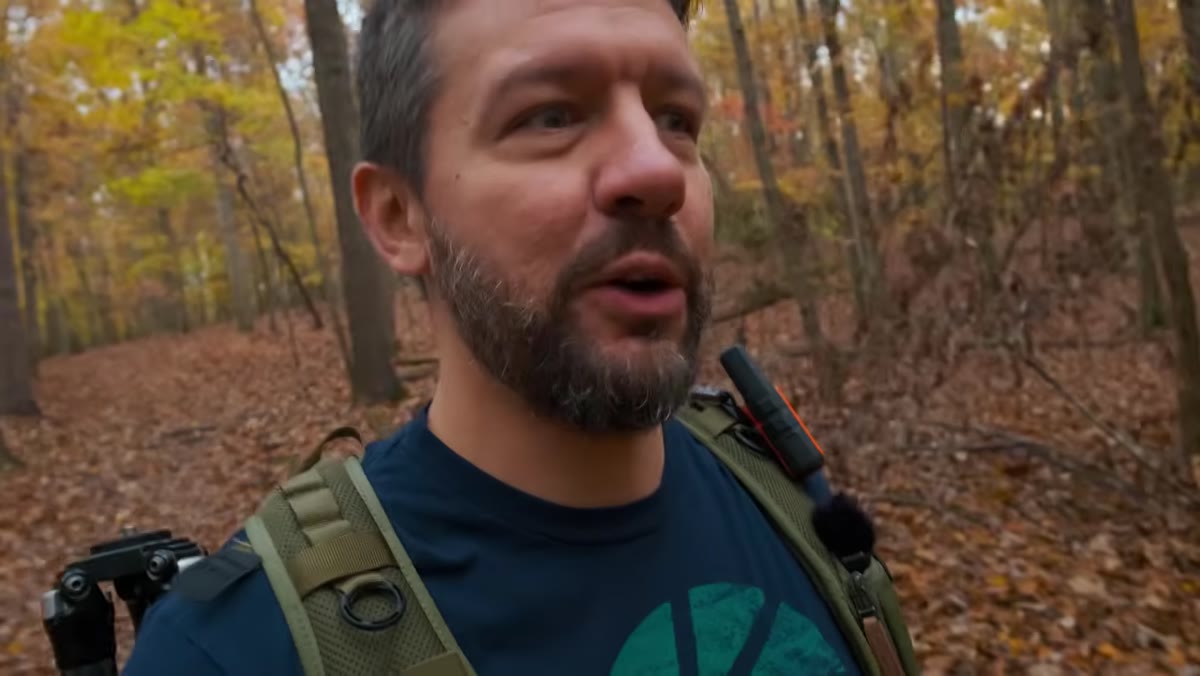 Mark walking through woodland looking for tree groupings
Denney spends the opening minutes simply walking and looking. No tripod, no camera to his eye. He’s assessing the overall character of the space, noting how the trees are distributed, whether the scene feels chaotic or organized, and where the natural lines are forming. This sounds obvious, but the pull to start shooting immediately is real, especially when you’ve driven to a location and the light is doing something interesting.
The habit of scouting first, even for five or ten minutes, rewires how you approach the frame. You stop looking for a single hero shot and start reading the landscape as a collection of potential compositions. In dense woodland especially, the difference between a photograph that breathes and one that just feels like a pile of trees is almost always found in that initial walk-around.
Step 2: Let a Natural Line Anchor the Composition
 Stream with s-curve visible through fallen leaves and logs
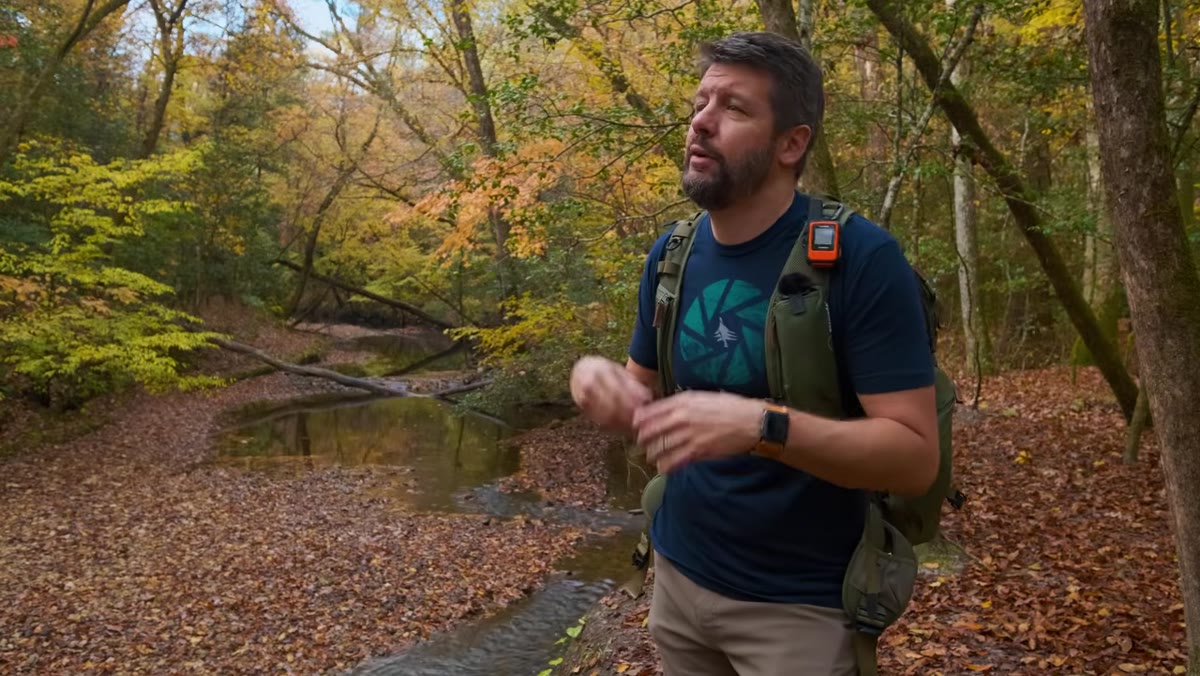
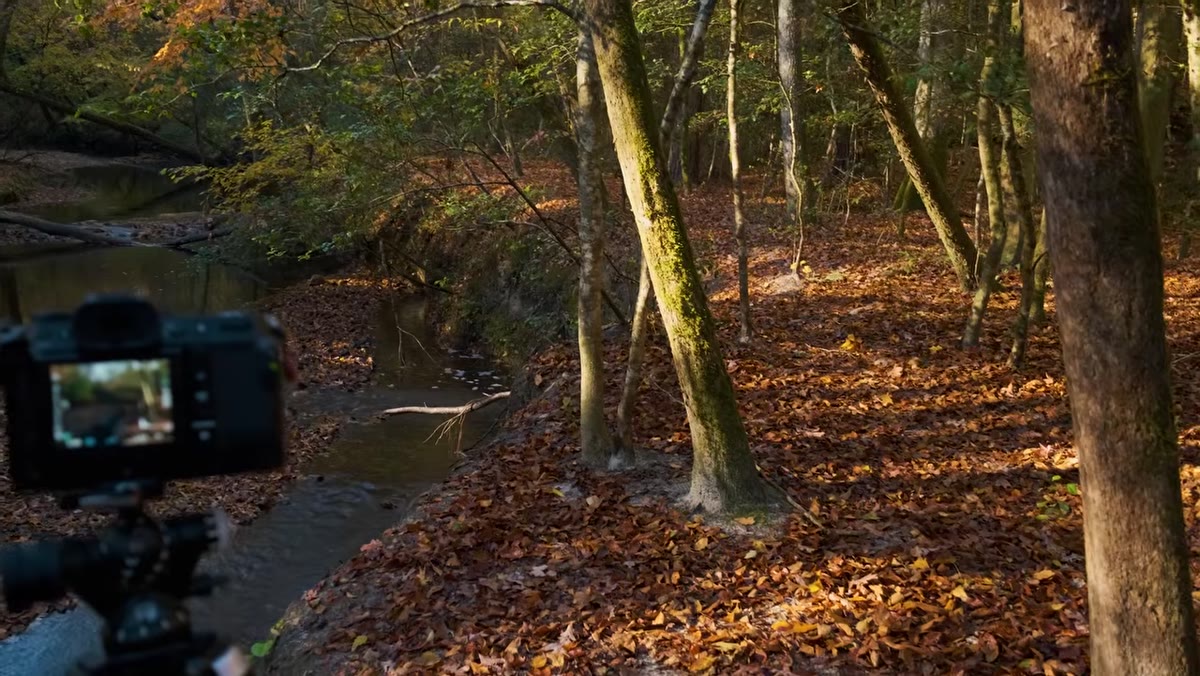
When Denney stumbles onto a small stream mid-shoot, he immediately identifies the S-curve it makes through the frame as the compositional spine of the image. A curving line through a landscape photograph does specific work: it creates depth, guides the eye, and gives the viewer a path to travel. He also notes the fallen logs crossing the stream and the leaf-covered banks as supporting elements that add visual interest without competing for attention.
When you’re composing a woodland or stream scene, look for that one line you can build the frame around. It doesn’t have to be a stream. It can be a path of light falling through a canopy, a row of tree trunks receding into the background, or a ridge line in the distance. Identify it first, then arrange everything else relative to it.
Step 3: Factor in Conditions That Affect Color Rendering
 Close-up of wet autumn leaves on stream bank
Denney points out that it rained the night before, and he sees this as an asset, not an inconvenience. Wet surfaces saturate color naturally. When you add a circular polarizer to that equation, the effect compounds significantly. Polarizers cut the surface glare on wet leaves and damp rocks, which reveals the underlying color rather than reflecting the sky back at you.
The practical note here is to always check current and overnight weather before a shoot, not just the forecast for your shooting window. Wet conditions after a dry spell can transform an ordinary scene. I’ve driven to locations specifically because rain was in the previous night’s forecast. The color payoff on forest floors and stream banks is worth planning around.
Step 4: Diagnose Why a Composition Isn’t Working
 Wide shot showing harsh light breaking through tree canopy on right side
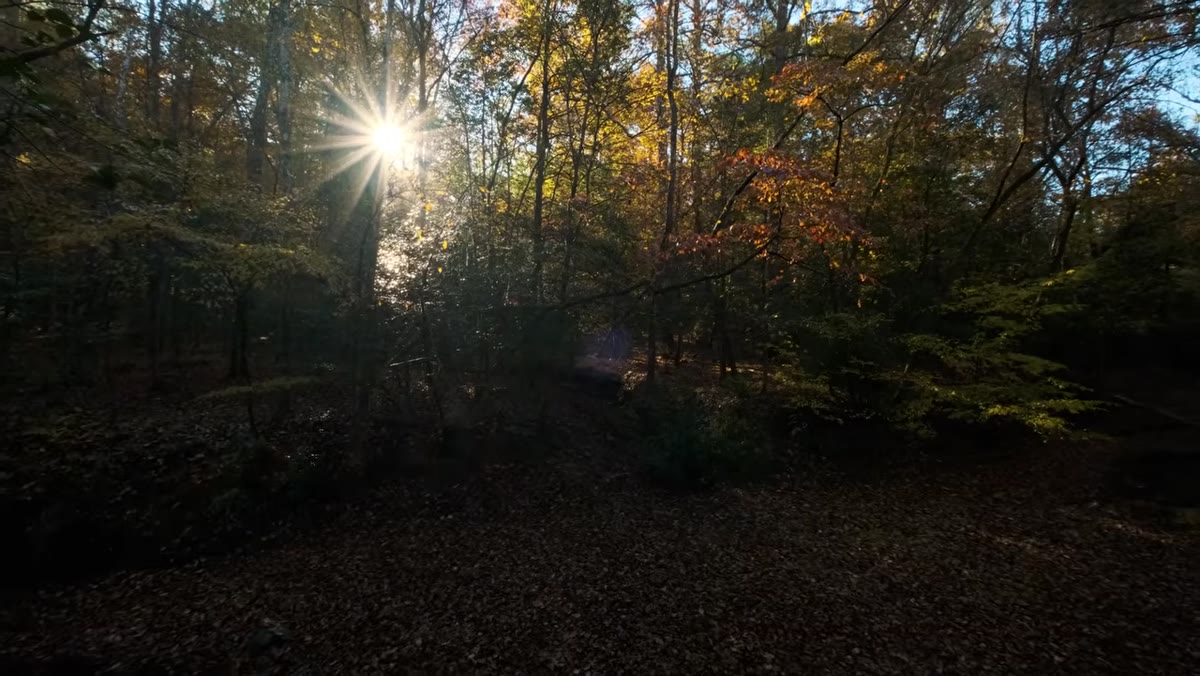
Denney is honest about the fact that his first setup isn’t quite landing. He walks through exactly why: the light on the right side of the frame is getting harsh, the sky is punching through gaps in the canopy in a way that creates distracting bright pockets, and the overall composition lacks a clear focal point. He names each problem specifically rather than just feeling vaguely dissatisfied and moving on.
This diagnostic habit is a skill worth developing deliberately. When a composition feels off, stop and ask three questions: Where is the light pulling attention that I don’t want? Where is the eye entering the frame, and where does it go from there? What is the single strongest element, and is it actually visible? Naming the problem precisely gives you a direction to adjust rather than just repositioning randomly until something clicks.
Step 5: Switch Orientation to Simplify and Focus
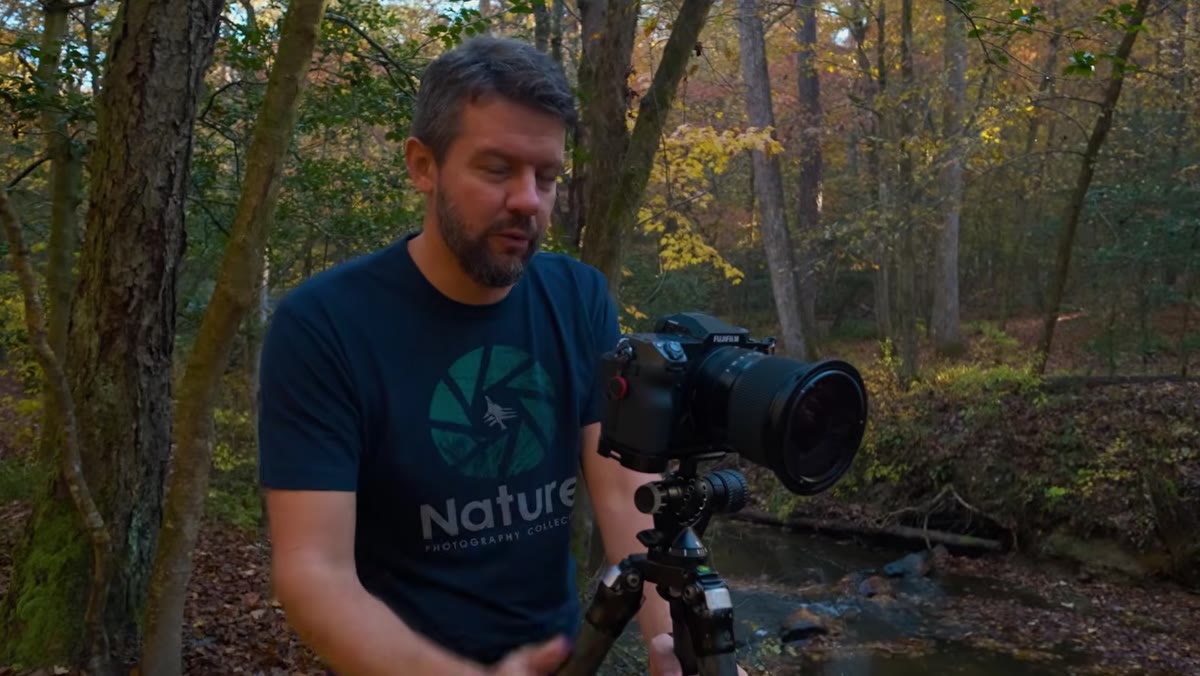 Camera being repositioned to portrait/vertical orientation
One of Denney’s practical solutions to the cluttered horizontal frame is to flip to a vertical orientation. Portrait mode in woodland photography does something specific: it naturally de-emphasizes the sky and the wide peripheral chaos of a forest scene, and it forces a tighter relationship between the foreground and the background. It also happens to suit the vertical nature of trees, making it a natural fit for this type of subject.
Don’t think of orientation as a fixed decision made at the start of a shoot. It’s an active compositional tool. If a horizontal frame is pulling in too many competing elements, try vertical before you try a completely different position. You may already be standing in exactly the right place.
Step 6: Lower the Camera to Control the Sky
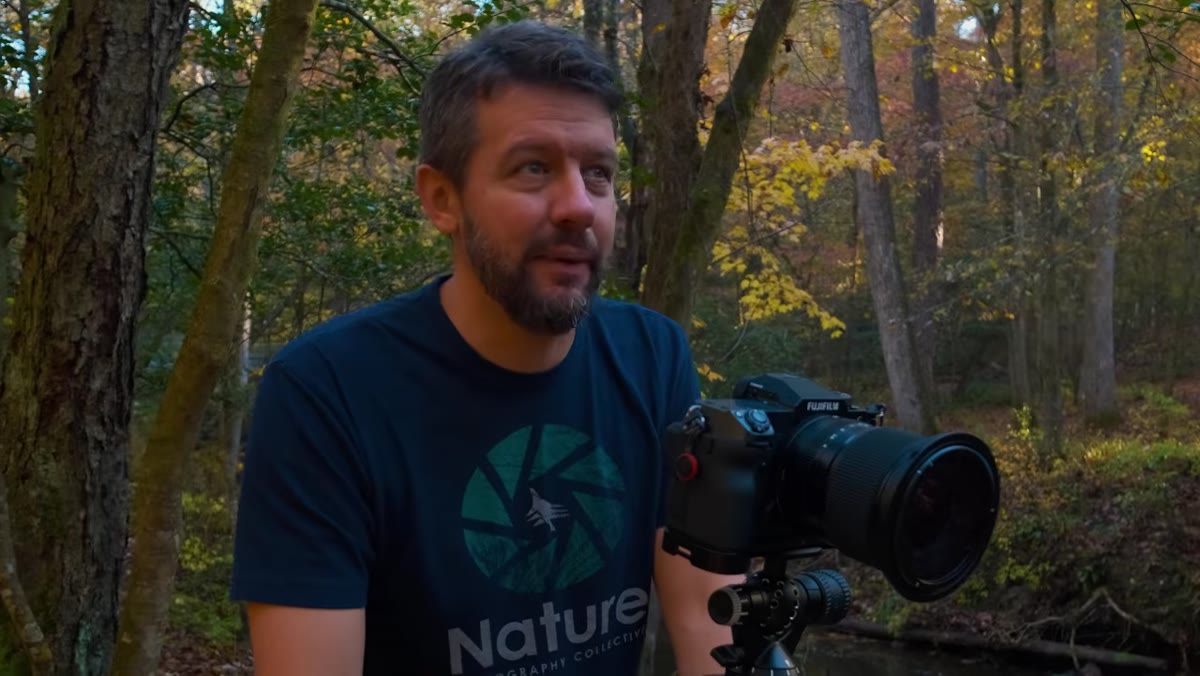 Discussion of lowering camera position to reduce sky in frame
When the canopy is sparse, sky gaps become a real problem. Denney’s solution is to lower the camera position, which changes the angle relative to the tree line and can effectively bury those bright sky windows behind foliage or push them out of frame entirely. Combined with the shift to vertical orientation, this often resolves both the sky problem and the lack of foreground interest in a single adjustment.
Getting lower also changes your relationship to ground-level elements: leaves, rocks, roots, the surface of a stream. What looks like a messy, flat foreground from standing height can become a rich, textured layer from 18 inches off the ground.
What I’d Add From My Own Experience
The technique Denney is really teaching here is a sequenced approach to problem-solving on location, and the sequence matters. Scout first. Find your anchor line. Assess conditions. Diagnose what’s not working. Adjust orientation. Adjust height. Most photographers do some version of this, but not in order, and not with enough patience between steps.
I still shoot a roll of film occasionally, and one thing it has permanently installed in my process is the habit of slowing down before I commit to a frame. When each exposure costs you something, you think more carefully. You can apply that same discipline with a digital camera by simply deciding you’ll take no more than three frames from any given position until you’ve made a deliberate adjustment. It forces the kind of systematic thinking Denney is modeling here.
The single most transferable idea from this tutorial is this: discomfort with a composition is useful information, not a dead end. When the frame isn’t working, don’t move on immediately. Name what’s wrong, make one change at a time, and stay in the scene long enough to actually solve it. That patience, repeated across hundreds of locations and years, is where the best images come from.
Watch the full tutorial on YouTube to see Denney work through the full scene in real time. Watching someone reason through a difficult composition out loud is worth more than a dozen perfectly lit tutorials shot in a studio.
Comments
Leave a Comment