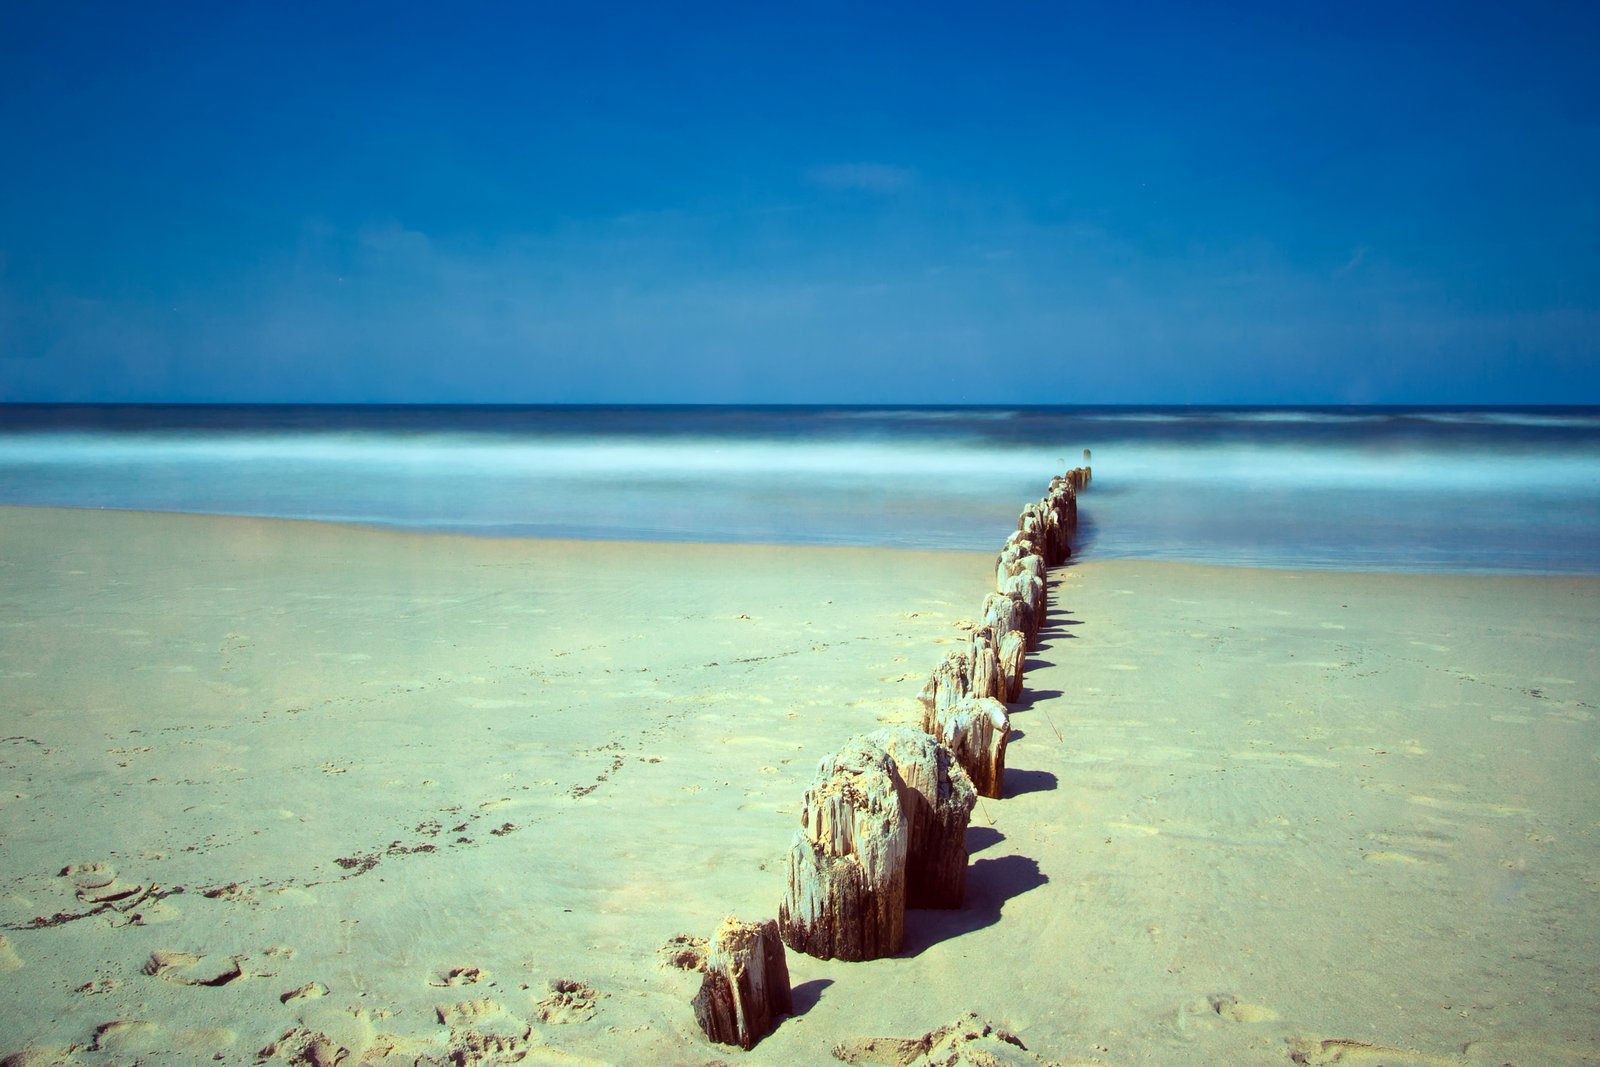
The Shot That Made No Sense Until It Did
I once drove six hours to a basalt coastline in southern Oregon expecting a clear winter sunrise. I got two days of dense fog and a tide that refused to cooperate. On the morning of day two, with my coffee cold and my patience genuinely tested, I set my shutter to 45 seconds and let the fog roll through a sea stack composition I almost didn’t bother setting up. That image has now sold more prints than anything else I’ve made in twenty years of doing this for a living. It’s not the sharpest file I’ve ever produced. But the motion of the fog, compressed into a single frame, turned atmosphere into something almost architectural. Time made the image. I just held the camera still.
That’s the thing about long exposure that most tutorials skip: they teach you how to do it, but not what it’s actually doing. And until you understand the physics of it, you’re guessing.
What the Sensor Is Actually Collecting
A camera sensor records light that accumulates over time. When your shutter opens, photons hit the sensor and build up a charge. At 1/500th of a second, you’re freezing a sliver of a moment. At 30 seconds, you’re layering every moment within that window into a single plane. Anything that moves during that window becomes a blend, an average of its own positions over time.
This is why water smooths out. A waterfall at 1/8th of a second looks agitated and real. At 4 seconds, it becomes silk. At 25 seconds, it becomes mist. None of these are more truthful than the others. They’re different translations of the same event. The question you need to answer in the field is what emotional truth you’re after, and then engineer your exposure to match.
Clouds behave the same way. So does grass in wind. So does fog. Your job is to decide how much motion you want to average, and then pick your shutter speed accordingly.
Building the Exposure: Filters, Stops, and Math That Actually Helps
I never use auto mode. Not for aperture, not for ISO, not for white balance. Long exposure especially rewards full manual control, because the meter has no idea what you’re trying to do.
Start with your base exposure for a correctly lit scene. If you’re shooting a river at dusk and your meter gives you f/8, ISO 100, 1 second, that’s your starting point. Now decide how much time you want to add. A 6-stop ND filter multiplies your shutter speed by 64. So that 1-second base becomes 64 seconds. A 10-stop filter multiplies by 1024, turning 1 second into roughly 17 minutes, which is genuinely too long for most moving water situations but useful for daytime cloud work.
My go-to filter for most river and waterfall work is a 6-stop ND (I’ve used Breakthrough Photography’s X4 series for years, around $120 for a quality 77mm option). For seascape work where I want longer exposures in brighter light, I’ll stack a 10-stop with a 3-stop and recalculate. Keep a long exposure calculator app on your phone. PhotoPills has one built in and it’s accurate.
Aperture stays where it needs to be for depth of field. I’m usually at f/11 for most landscape work. ISO stays at base, typically 64 or 100 on my Nikon Z7 II, to keep noise out of those shadow areas that long exposures tend to reveal. Focus before you put the ND filter on. Once that glass is on, live view in low light becomes a guessing game.
Stability Is Not Optional, It’s the Whole Point
A long exposure is only as good as your tripod. I’ve seen people run a 30-second exposure on a $40 tripod in a river with a current pushing against the legs and then wonder why the rocks look soft. The image isn’t soft because of camera shake in the traditional sense. It’s soft because the tripod was flexing at a frequency too slow to see but fast enough to wreck critical sharpness.
I shoot on a Really Right Stuff TVC-33 (around $800 used). It’s not a purchase I made lightly. But when I’m standing in a cold river before sunrise, which I do regularly because that’s where the best light hits the best water, I’m not thinking about whether my support system is solid. It is. That mental quiet matters.
Use a cable release or your camera’s built-in timer (I use a 2-second delay) to eliminate the vibration from pressing the shutter. Enable mirror lockup if you’re shooting a DSLR. On mirrorless bodies, electronic shutter can help, but check whether your camera introduces banding under certain artificial light conditions before relying on it for anything longer than 10 seconds.
When the Long Exposure Becomes a Lie You Don’t Want to Tell
There’s a temptation to slap a 10-stop filter on everything and call it art. I’ve done it. The results taught me something uncomfortable: sometimes a 3-second exposure of surf is more powerful than a 45-second one, because it retains enough chaos to feel like the ocean still has something to say.
A mentor of mine used to repeat something I’ve never been able to shake: the mountain doesn’t care about your schedule. He meant it about patience, about showing up for light instead of demanding it. But I think about it when I’m reaching for my longest ND filter out of habit rather than intention. The technique should serve the place, not the other way around.
Before you drop the filter on, ask what motion is actually in front of you, and how much of it you want to preserve versus dissolve. The answer changes with every location, every tide, every season.
The single most important thing long exposure teaches you is that time is a compositional element, and you are in charge of how much of it lives inside each frame.
Comments
Leave a Comment