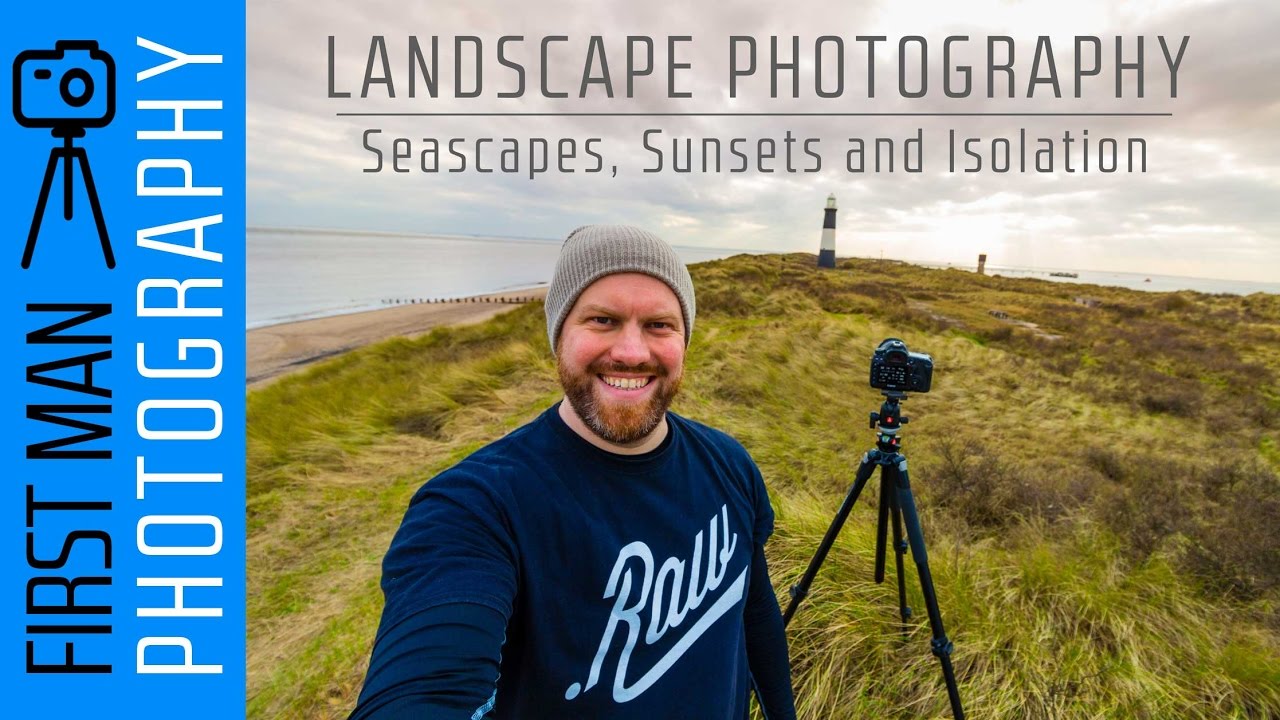
There’s a particular kind of location that draws me in every time: the ones that feel genuinely precarious. A spit of land dissolving into the sea. A road that no longer exists. A tide that will strand you if you misread it. These places carry a built-in tension that does half the compositional work for you, if you know how to let the conditions speak. That’s exactly what drew me to this tutorial from First Man Photography, where he documents a full-day coastal shoot at Spurn Point on England’s East Yorkshire coast. Watch the full tutorial on YouTube
What I appreciate most about this vlog is that it doesn’t pretend every shoot unfolds perfectly. Cloud rolls in. Wildlife doesn’t show. The light does what it wants. And yet the photographer keeps making images, keeps adapting. That’s the real curriculum here, and it maps directly onto a problem I’ve watched students in my workshops struggle with for years: they arrive at a location with one shot in mind, conditions shift, and they pack up and go home empty. This tutorial is a masterclass in not doing that.
The shoot covers a wide range of techniques in a single day, from midday lens testing at the Humber Bridge to long exposure fine art work on an eroding shoreline to a planned golden-hour sunset composition at a lighthouse. Let’s walk through the approach step by step.
Step 1: Plan the Primary Shot, Then Build a Full Day Around It
 Photographer in car, explaining the day’s plan
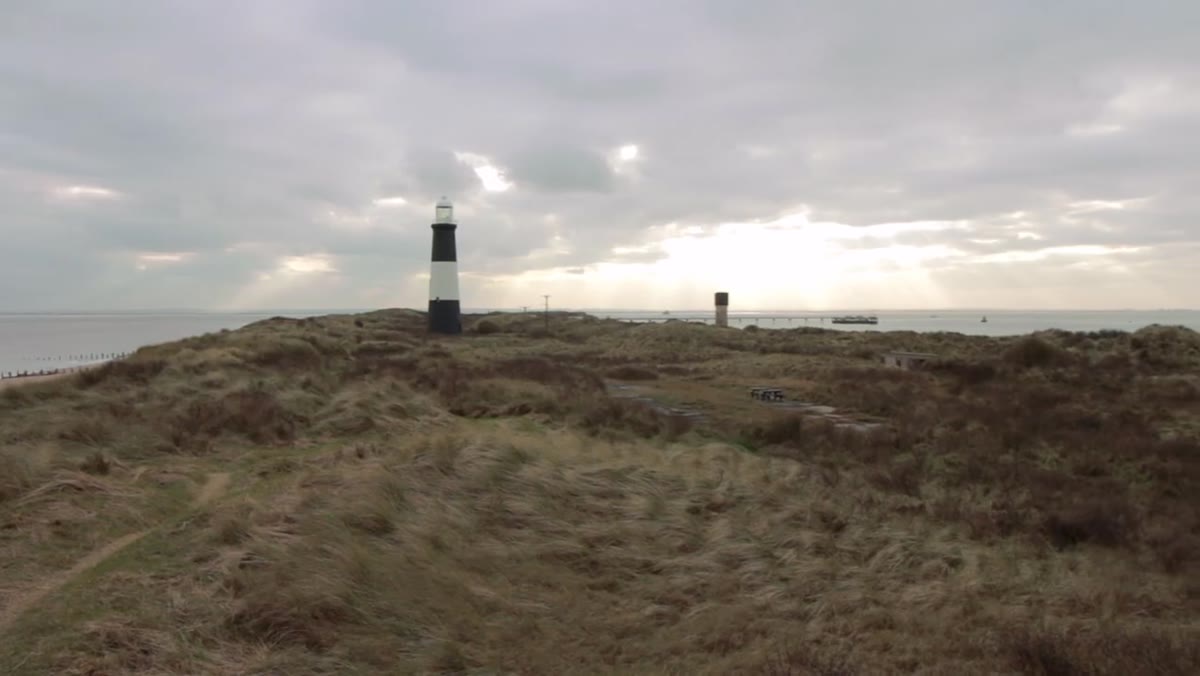
Before you load a single piece of gear, know what your anchor shot is. In this case, it’s a sunset at the lighthouse at the tip of Spurn Point. Everything else during the day, the wildlife walk, the test shots, the opportunistic compositions, orbits that main objective. This matters because it gives you forward momentum when conditions disappoint. If clouds shut down your wide-angle work, you still have a reason to be there at golden hour.
When I’m planning a coastal shoot, I also check tide tables alongside the weather. This tutorial makes that necessity concrete: part of Spurn Point floods at high tide, which means the photographer has a hard deadline on where he can be and when. Build those physical constraints into your planning before you leave the car park.
Step 2: Use Off-Peak Light for Lens Testing, Not as Wasted Time
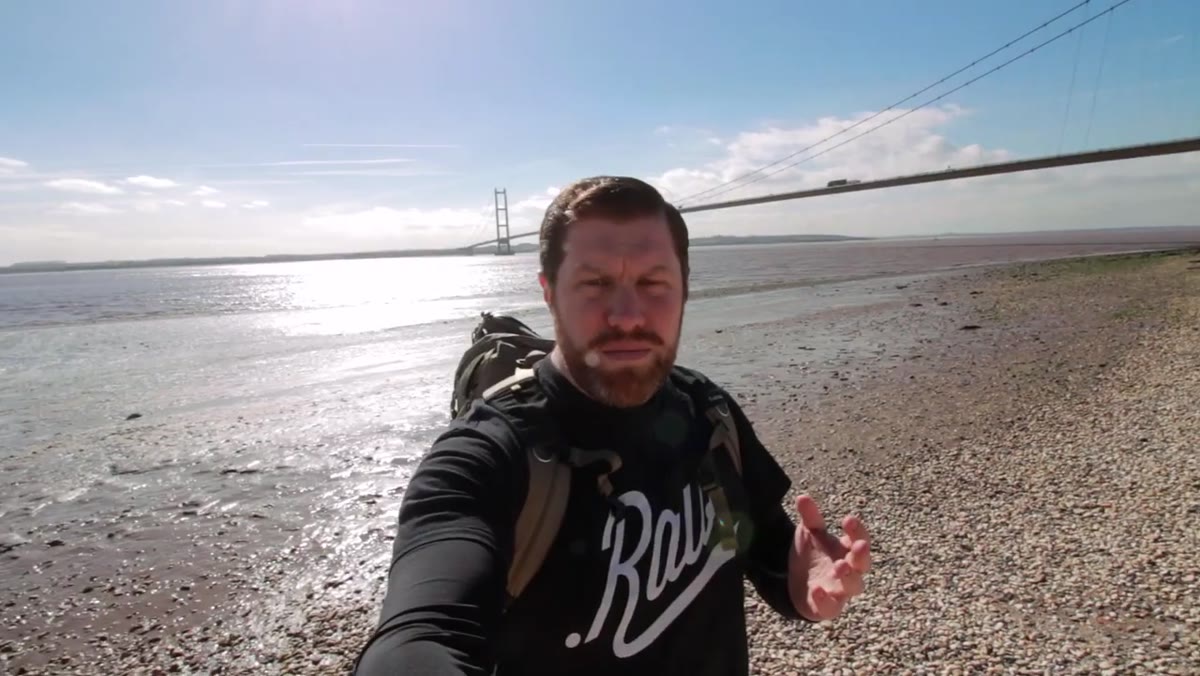 Wide-angle shot being framed beneath the Humber Bridge
Midday sun is flat and harsh, and most landscape photographers treat those hours as dead time. A smarter use: field-test a lens you haven’t fully worked with yet. Here, an 11mm wide-angle gets put through its paces under the Humber Bridge, a location with strong geometric lines and a clear composition that makes it easy to evaluate distortion, corner sharpness, and how the lens handles contrast.
The key insight is to pick a scene with enough inherent structure that you’d recognize a problem with the lens immediately. Architectural subjects with straight lines work well for this. He also notes the plan to return to the same spot after dark for a long-exposure version of the same composition, using a slower shutter speed to smooth out the water. Scouting and testing in one move is efficient fieldwork.
Step 3: Arrive Early Enough to Walk the Location Before You Shoot
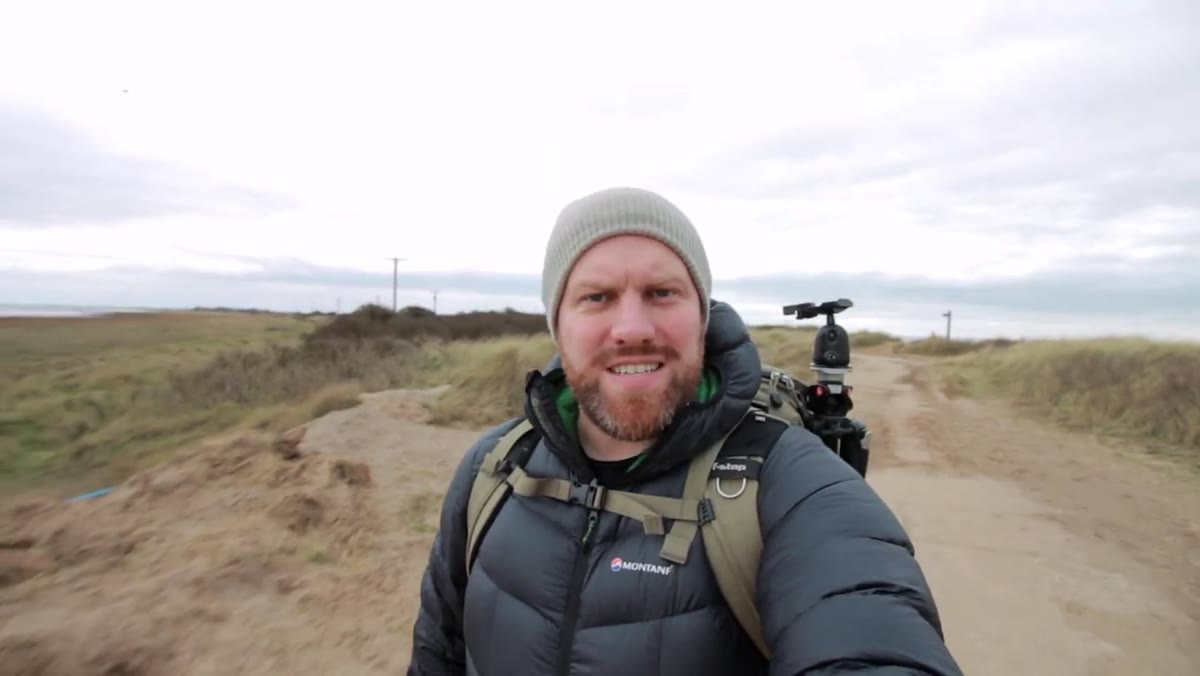 Walking toward the lighthouse along the Spurn Point shoreline
Spurn Point is remote enough that arriving at golden hour without a prior walk would be a mistake. He gets there with enough time to cover ground, assess wildlife potential, and identify where the sunset composition will actually work. That last part is critical: the lighthouse he wants to shoot is visible from arrival, but getting eyes on the foreground, the water angle, and the sight lines takes legwork.
Give yourself at least 90 minutes before your target light. Walk past your planned composition spot, then come back to it. Seeing it from different directions changes what you notice. The foreground that looked strong from one angle often loses interest from another ten meters forward.
Step 4: When Clouds Come In, Switch to Long Exposure Fine Art Work
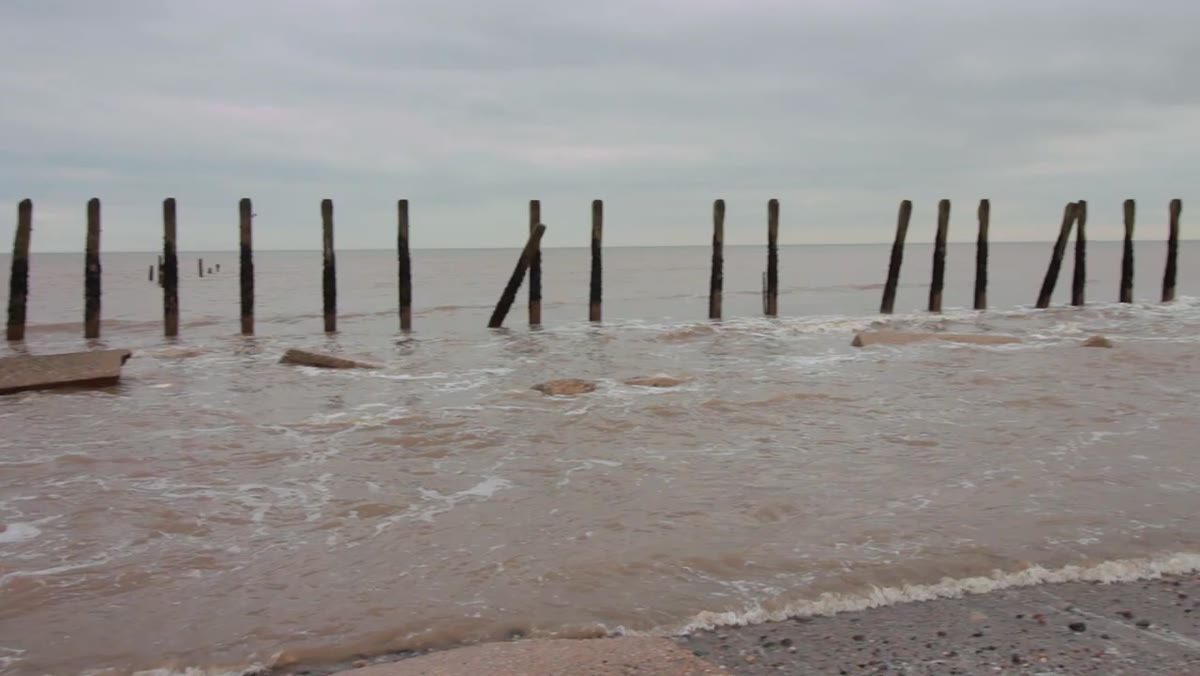 Camera set up on tripod for a long exposure over the sea
This is the move that separates photographers who go home frustrated from the ones who come home with something worth printing. Overcast, even heavy cloud cover, is genuinely useful light for long exposure work. It acts as a natural diffuser and gives moving cloud layers a silky, directional quality that hard sunlight destroys.
At this point in the shoot, he identifies a set of wooden poles standing out of the water, remnants of the old eroded road structure, and uses them as stationary foreground interest against the motion of water and cloud. The exposure runs to around two minutes and fifteen seconds. To achieve that in daylight, even overcast daylight, you’ll need a solid 10-stop ND filter. Aperture around f/11, ISO at its base (100 or 200 depending on your body), and a remote shutter release so you don’t introduce vibration. The stillness of the poles against the motion of everything else creates the visual contrast that makes the image work.
Step 5: Let the Location’s Story Inform Your Composition
 Eroded path crumbling at the edge of the sea
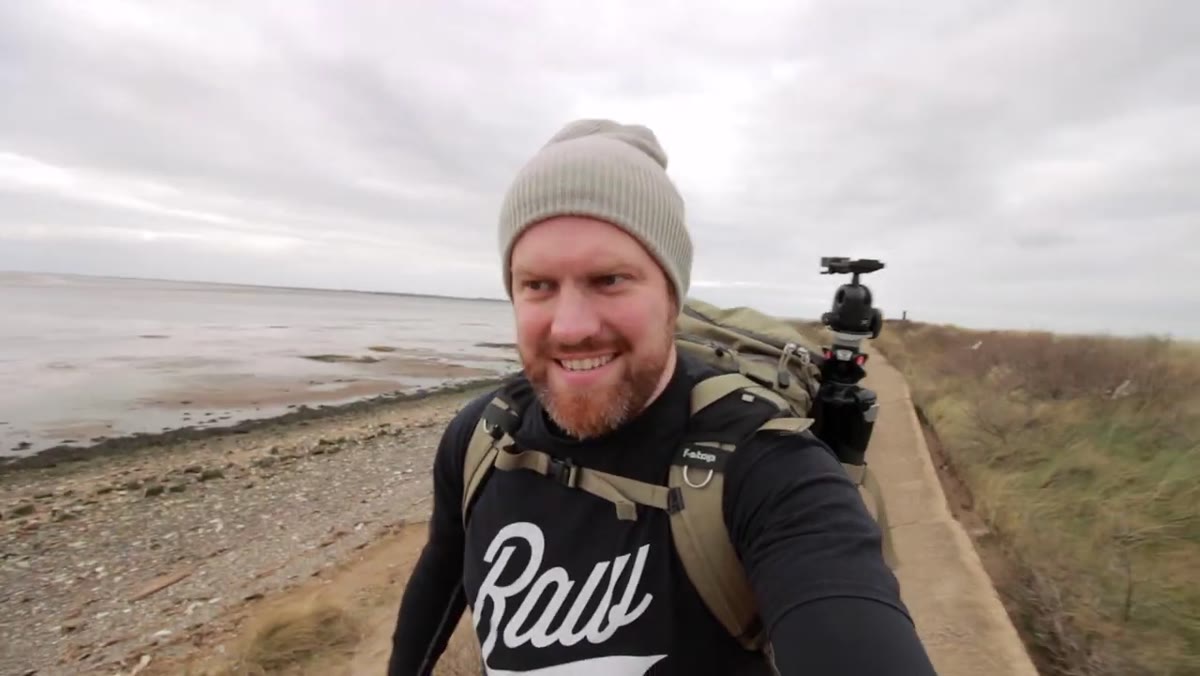
The most memorable images I’ve made over twenty years are the ones that carry information about a place, not just a record of what it looked like. At Spurn Point, the story is right underfoot: a road that was consumed by the sea, debris scattered across the beach, a path literally fracturing at its edge. He leans into that deliberately. The flotsam and eroded tarmac aren’t problems to work around. They’re content.
When you arrive at a location, ask yourself what the place is actually saying before you ask what it looks like. Those are different questions. The answer to the second one gives you a pretty picture. The answer to the first one gives you a photograph with weight.
Step 6: Accept That Isolation Is Part of the Work
 Photographer standing alone at the elevated tip of Spurn Point
From the tip of Spurn Point, you get a 360-degree view with no other person in it. That kind of solitude has practical value: no tourist in the frame, no noise, no pressure to rush. But it also carries logistical weight. You need to be self-sufficient, aware of tides, carrying enough battery and storage for a full day, and comfortable making decisions alone.
I’ve stood in similar spots more times than I can count, and the stillness always makes me sharper. There’s no one to defer to. Every choice about composition, timing, and exposure is yours.
What I’d Add From My Own Experience
The one thing I’d layer onto this tutorial is intentionality about revisiting. He mentions wanting to return to the Humber Bridge at night for a longer exposure of the same composition he tested at midday. That instinct is worth building into every shoot as a formal habit, not just an afterthought. I keep a running list of locations I’ve scouted but not fully shot, organized by season and tidal timing. Some of my strongest prints came from a second or third visit to somewhere I initially wrote off. The location didn’t change. My understanding of it did.
The single most transferable idea from this tutorial: conditions changing is not the shoot failing. It’s the shoot beginning. When the light isn’t what you planned for, the location will usually show you something else if you keep moving and keep looking. Watch the full process unfold by visiting the original First Man Photography tutorial on YouTube.
Comments
Leave a Comment