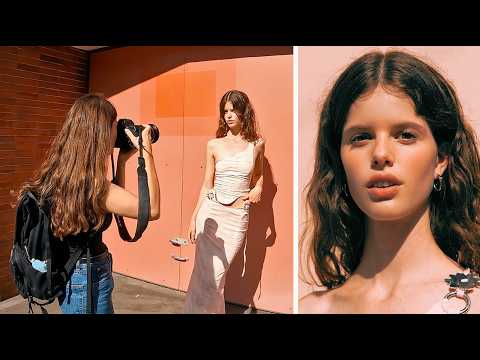
Most of my shoots happen before the rest of the world has put the kettle on. Fog on the river. A ridge catching the first pink of dawn. No people, no voices, just the sound of the shutter and the occasional annoyed heron. Portrait photography isn’t my world. But after twenty years of reading light for a living, I’ve learned that the skills behind a great portrait session and a great landscape shoot are closer than most people think. The real education lives in watching how other photographers move through a location, make decisions in real time, and respond to what the light is actually doing rather than what they hoped it would do.
That’s what pulled me into this Jessica Kobeissi tutorial on a simple outdoor portrait shoot. Watch the full tutorial on YouTube — it runs just over seven minutes, but there’s a lot packed into the way she works. What I noticed wasn’t just portrait technique. I noticed a photographer who reads a location the way I read a ridgeline: constantly, quickly, and with a willingness to change course the moment the light shifts. Here’s how she does it, broken down step by step.
Step 1: Let the Location Confirm Itself Before You Commit
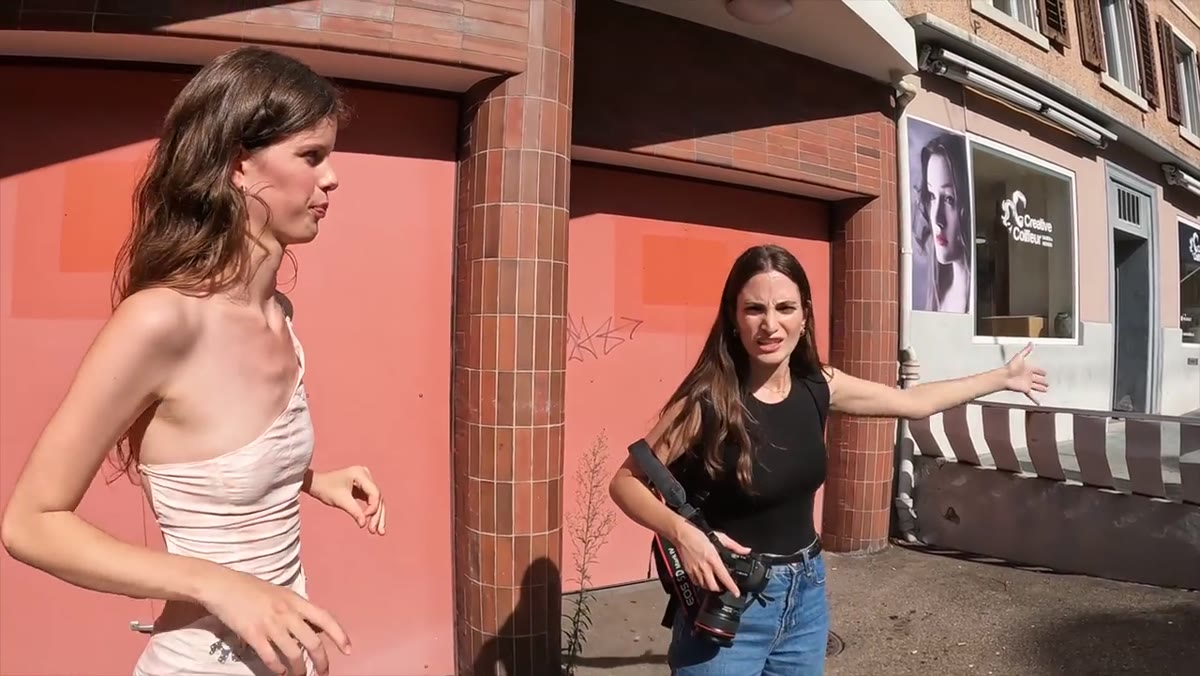
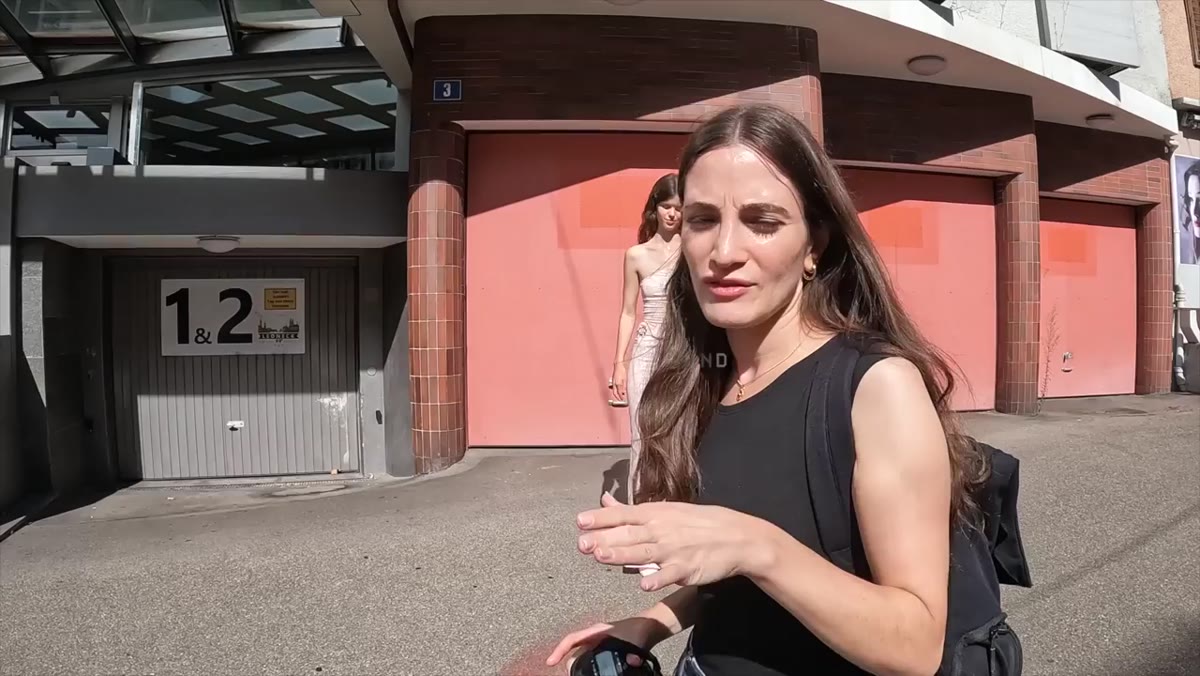 Photographer and stylist agreeing on the shoot location outdoors
Kobeissi arrives at a location she had already scouted mentally, and her stylist independently lands on the same choice. That alignment matters. It tells you both the visual instincts are sound and that the location has something worth working with. Before you raise the camera, spend two or three minutes walking the space. Where does the light fall naturally? Where does it bounce off a wall, or filter through leaves, or get blocked by an overhang? That first pass costs you nothing and saves you from building a whole sequence around a spot that looked good in your head but falls flat on a sensor.
Step 2: Start with Movement to Break the Stiffness
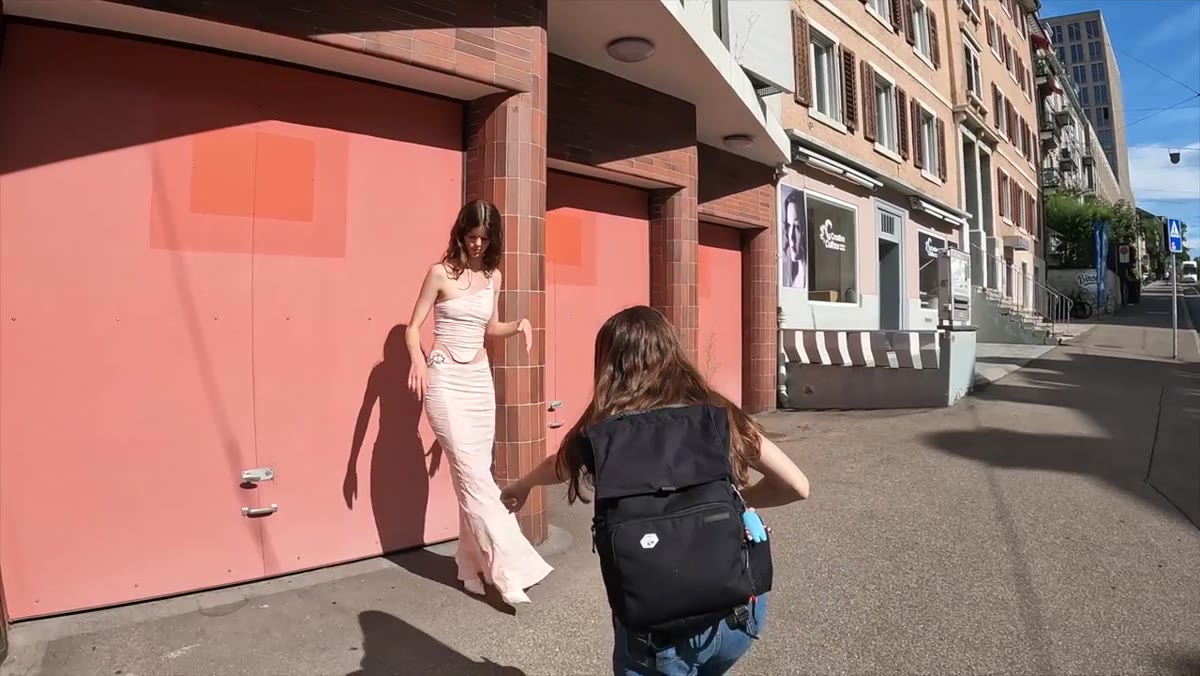 Subject taking steps forward during the walking sequence
The first actual shots in this session aren’t static poses. Kobeissi gets the subject walking, immediately. This is smart for portraits, and it’s a lesson I’ve carried into my workshop teaching as well. When someone is moving, they stop performing and start existing. The frame becomes more honest. For Kobeissi, the specific direction is simple: wider steps, more deliberate movement. She refines it once, the subject locks it in, and the images follow. If you’re shooting a person in a landscape, start with motion before you ask them to hold still. You’ll get better material and the subject relaxes.
Step 3: Read Light Direction Before Every Setup Change
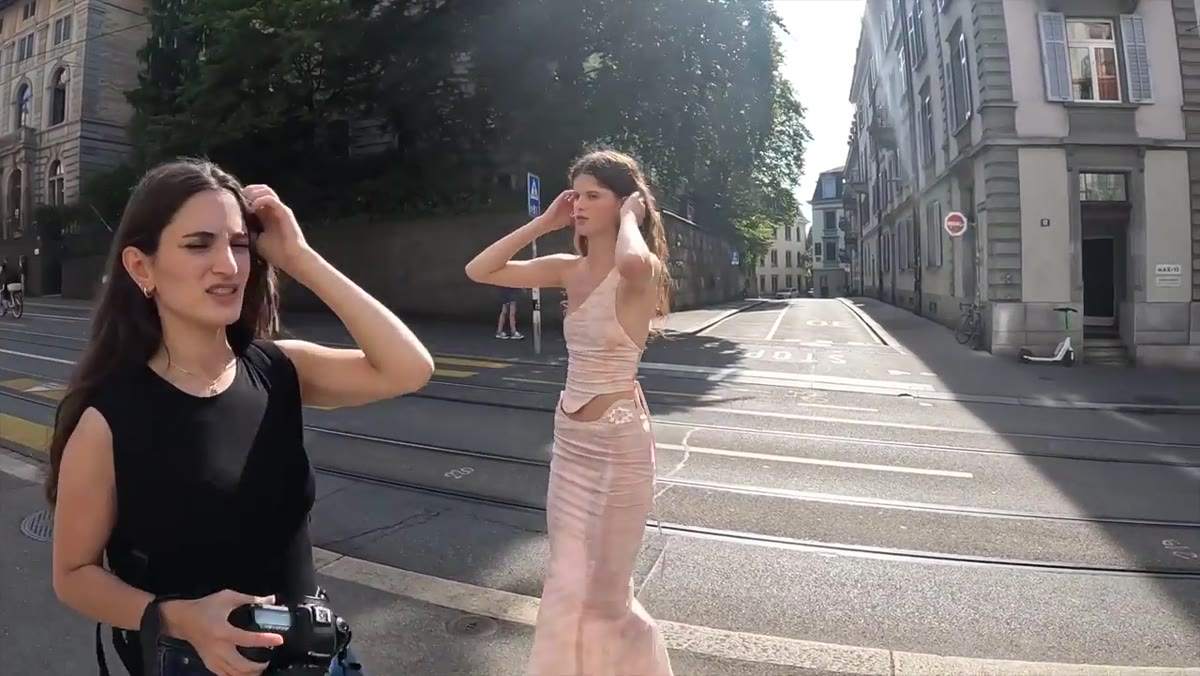 Photographer assessing light quality and direction at new spot
This is the moment in the tutorial that stopped me cold. Kobeissi looks at a potential setup and immediately says there’s no light — it’s a flat, boring shot from that angle. Then she turns and shows where the light is actually coming from, and the whole framing changes. I’ve stood in freezing rivers at dawn for exactly this reason: the same subject, two steps in either direction, can be the difference between a frame with dimension and one that looks like a photocopy of itself. Light direction isn’t a detail you manage in post. It’s a decision you make with your feet.
Step 4: Use Architecture and Texture as Secondary Characters
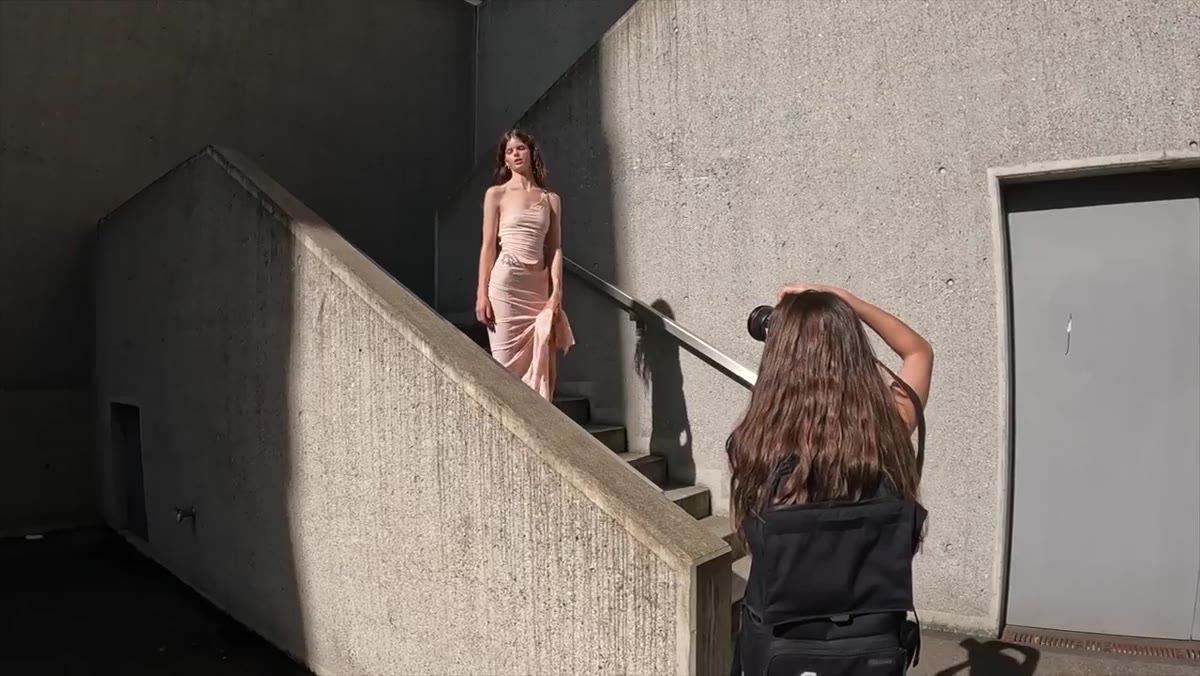
 Subject positioned against textured wall with strong visual interest
Walls, stairs, railings — Kobeissi works these actively throughout the session rather than treating the location as a neutral backdrop. When she finds a wall with interesting texture, she positions the subject against it deliberately, not just for framing but because the surface adds visual weight. In landscape photography we call this foreground interest. The principle is identical. A blank sky or a plain wall is a missed opportunity. A weathered surface, a shadow line, a patch of color behind your subject — these are what separate a location from a setting.
Step 5: Coach for Small Adjustments, Not Big Resets
 Photographer directing subtle hand and chin position changes
One of the quietest lessons in this tutorial is how Kobeissi directs. She doesn’t ask for dramatic changes. She asks for a chin lift, a hand shift, a slight lean. She notices when the subject organically does something interesting — picking up a skirt, tilting a shoulder — and she names it, then asks for it again. That’s a skill. The ability to observe a micro-gesture and immediately understand its photographic value is what separates a reactive shooter from a deliberate one. In the field, I do the same thing with light. When a cloud gap gives me three seconds of perfect directional light, I’m not thinking about exposure from scratch. I’ve already pre-set for it because I was watching.
Step 6: Solve Problems Without Stopping the Momentum
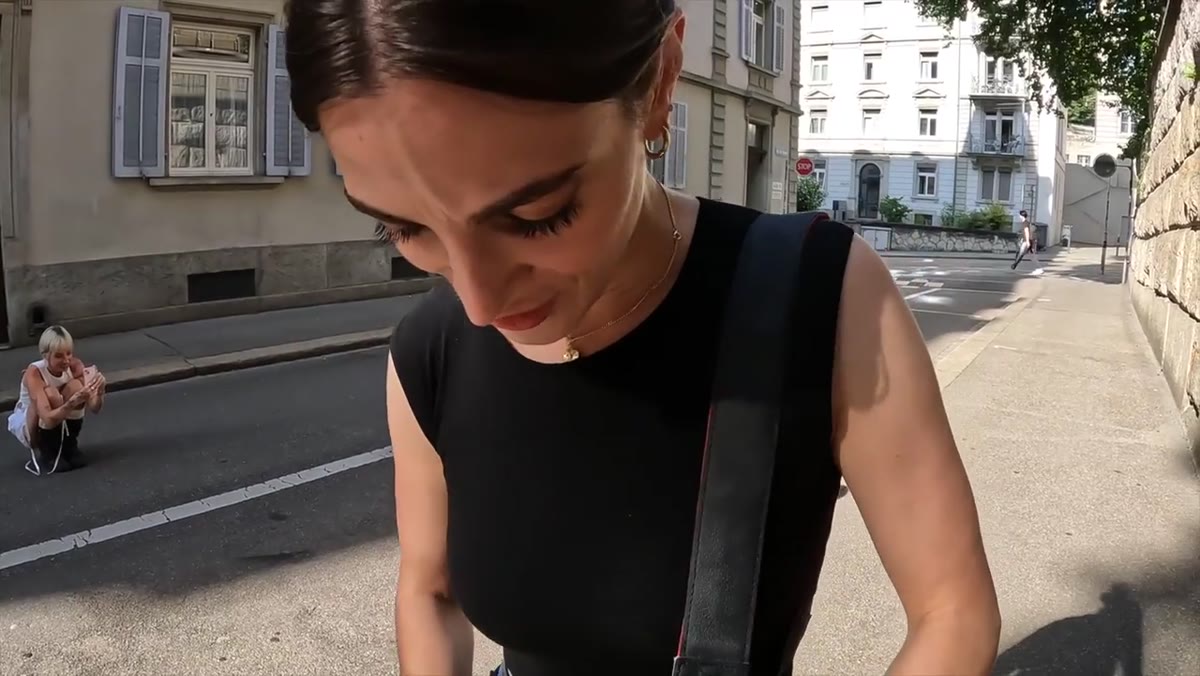 Photographer pausing briefly to clear memory card mid-session
Kobeissi runs out of storage mid-shoot. Her response is almost funny in how calm it is: she tells the subject not to move, handles the card situation, and gets right back into it. No dramatic pause, no reset, no loss of energy. Field problems are constant. A lens fogs up. The light changes faster than expected. A car parks in your composition. The photographers who keep producing good work are the ones who treat these interruptions as minor variables, not catastrophes. Have a plan for the predictable failures. Keep moving.
Step 7: Close the Session with a Final Full-Body Frame
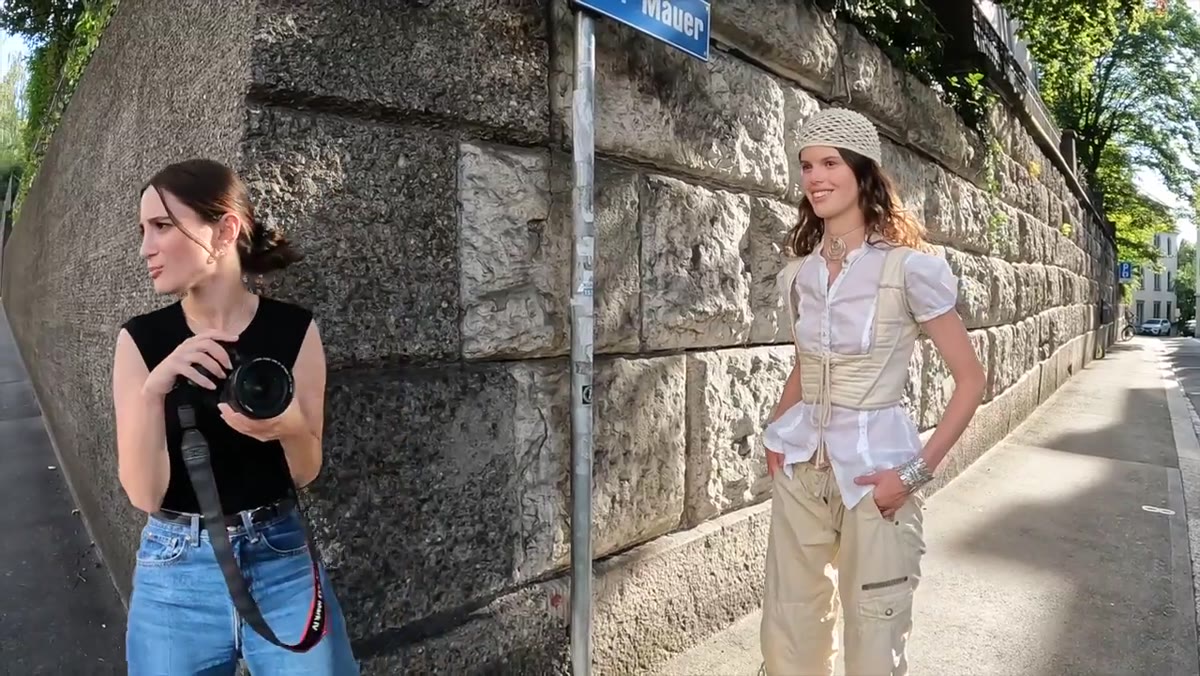 Photographer capturing full-length walking shot as final sequence
The session closes with a walking shot coming toward the camera, full body, clean and simple. It’s a deliberate choice to end on something grounded and clear after working through tighter, more textured compositions. In my own shooting I do something similar: after working through a complicated foreground or a layered composition, I’ll often pull back and make one wide, quiet frame that lets the whole scene breathe. It’s a palate cleanser, and sometimes it’s the best shot of the day.
What I’d Add from a Landscape Shooter’s Perspective
The one thing this workflow doesn’t account for — because portrait work has a cooperating subject — is timing. In landscape photography, the location doesn’t adjust for you. The light arrives when it arrives, and if you haven’t already figured out where you’re standing, you’ve missed it. My mentor used to say the mountain doesn’t care about your schedule, and he was right. The preparation work that Kobeissi compresses into a stylist conversation and a location walkthrough takes me considerably longer when I’m working with terrain that won’t hold a pose. The lesson I take from her approach is the same one I try to teach in my workshops: know your location before the light arrives, so the shoot itself is pure response, not scrambled problem-solving.
What Kobeissi demonstrates so clearly is that a great outdoor image isn’t about equipment or elaborate setups. It’s about reading light, working a location with intention, and staying responsive enough to catch the unplanned moments when they appear. That applies whether your subject is a person in a pink dress or a basalt ridge at first light.
Watch the full tutorial on YouTube and pay particular attention to how she moves through the space. The conversation and direction are worth studying, but the real tutorial is in her feet.
Comments
Leave a Comment