I am, by nature, a planner. I have a spreadsheet with moon phases, a folder of location pins organized by season, and a notes app full of compositions I’ve been mentally rehearsing for months. For twenty years, that structure has served me well. It’s also made me lazy in ways I didn’t notice until recently. I kept returning to the same locations, the same angles, the same reliable shots that I knew would work. Safe, sure, and increasingly hollow.
That’s what hit me when I watched this First Man Photography tutorial, Watch the full tutorial on YouTube, where the photographer laces up his boots and heads into the North Yorkshire countryside with no specific compositions in mind, no pre-visualized shots, just a walk and a camera. It sounds almost too simple. But watching someone work through the creative uncertainty in real time, finding subjects, making decisions, moving on when a shot doesn’t earn its place, reminded me of something a mentor told me years ago: the mountain doesn’t care about your schedule. At some point, you stop planning your way into good photographs and start walking your way into them.
This is a breakdown of how he works through that unplanned day, step by step, and what you can practically take from it on your next shoot.
Step 1: Choose a Walk First, a Photo Location Second
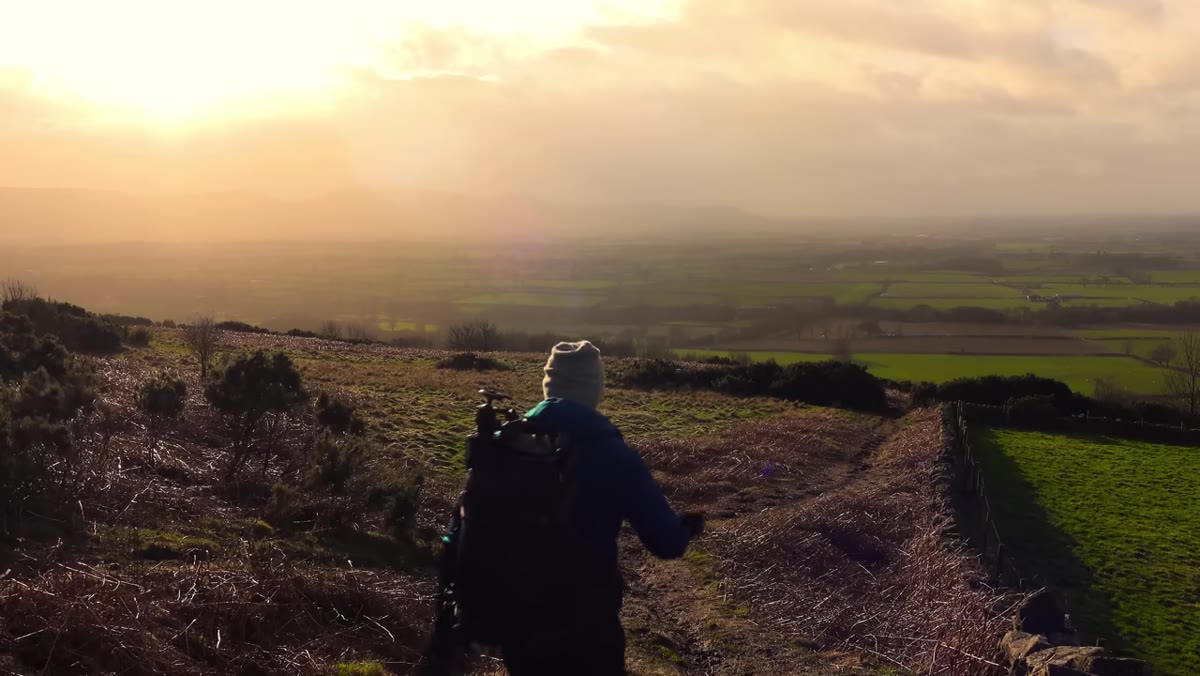 Photographer walking downhill toward wooded valley
The mental shift here is subtle but it matters. Instead of targeting a specific subject or scene, the starting point is a route. Pick a walk you find genuinely interesting, somewhere you’d want to spend time even if the camera stayed in the bag. Then let the photography emerge from the walk rather than forcing the walk to serve pre-planned images. This removes the pressure that kills creativity on location. You’re a hiker who happens to have a camera, not a photographer hunting for a specific shot. That posture changes what you notice.
If you’ve been photographing seriously for a while, try revisiting a walk you did years ago before you looked at the world through a viewfinder. You’ll see it completely differently now.
Step 2: Get One Shot in the Can Early to Build Momentum
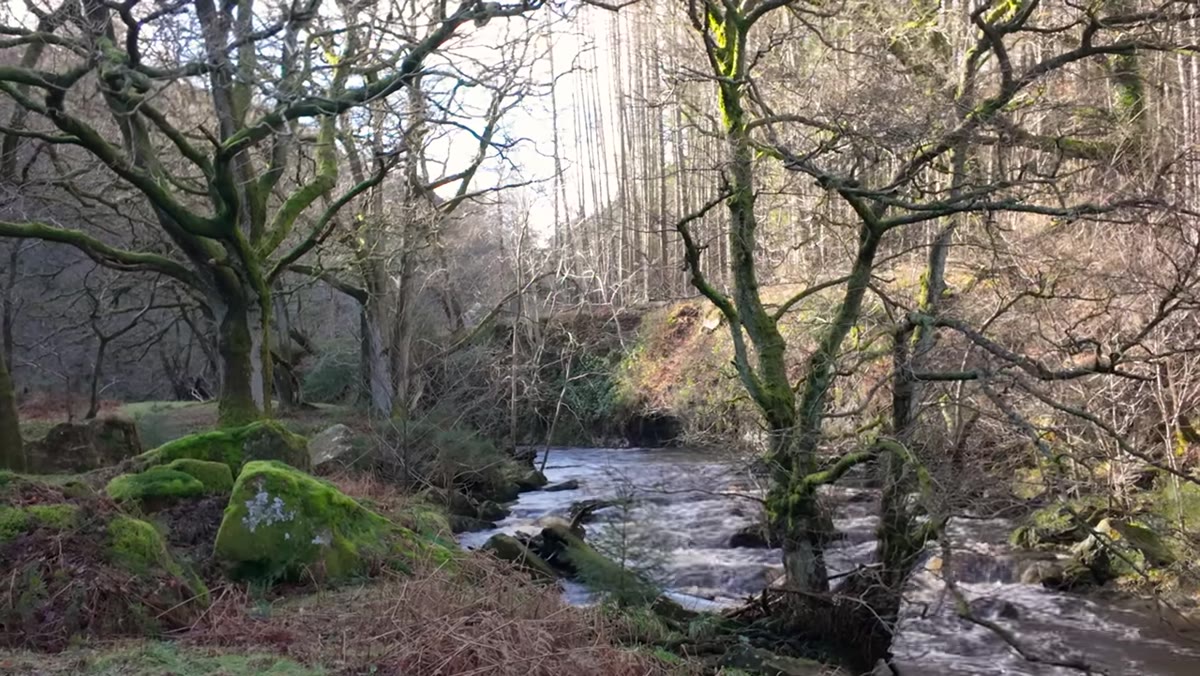 Camera positioned low in woodland near mossy tree and stream
This is practical psychology more than photographic technique, and it works. When you arrive at a location with no shot list, the blank-slate feeling can tip into anxiety fast. The fix is to find something, anything, that makes a decent image early in the day and photograph it. Not because it’ll be your best shot, but because the act of composing, exposing, and capturing something shifts your brain into a productive mode. Momentum compounds. One decent image makes the next one easier to see.
In the video, he finds a mossy, moss-covered tree in the woodland almost immediately after descending into a sheltered valley. It’s not a dramatic subject, but it’s beautiful in a quiet way, and it’s enough to start the engine running.
Step 3: Use Perspective and Focal Length to Eliminate Distractions
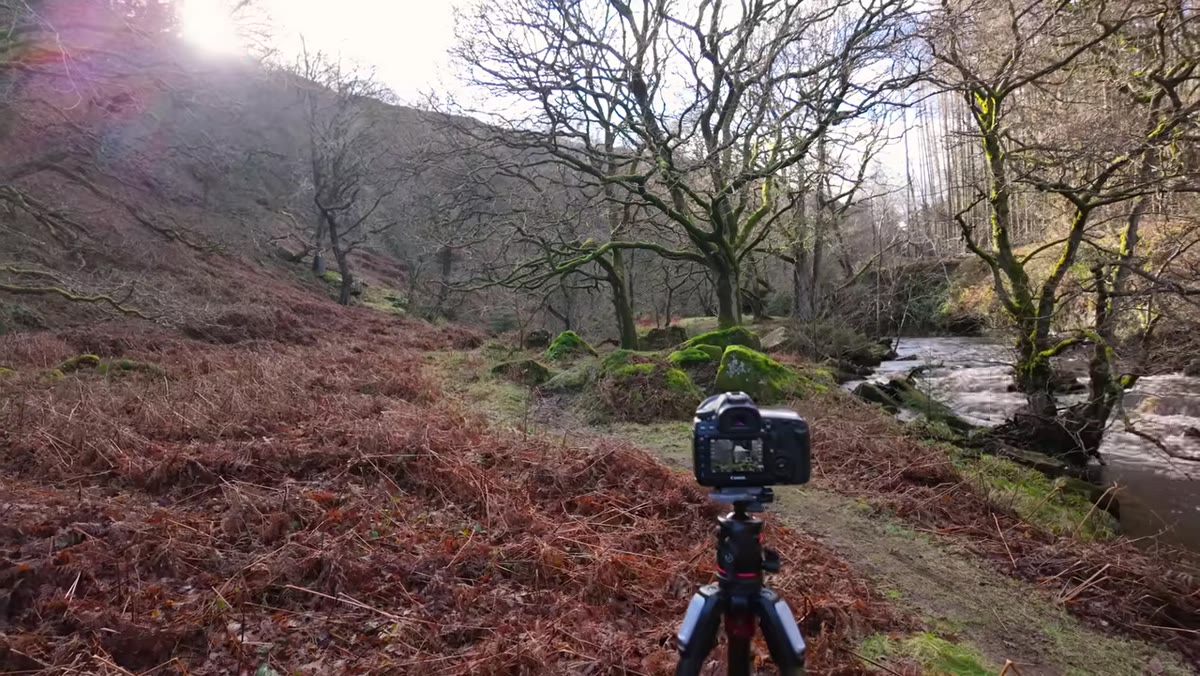 Camera lowered and zoomed to 70mm, path excluded from frame
Once he finds the woodland tree composition, there’s a problem: a path cuts through the scene and pulls the eye away from the subject. Rather than wait for it to disappear or look for a different angle entirely, he solves it with two adjustments. First, he lowers the camera position. Second, he zooms in to 70mm. Both moves change what the lens sees without him moving his feet more than a few inches. The path drops out of frame. The mossy bark and the soft, misty background fill the image.
This is a technique worth burning into your muscle memory. Before you move to a completely different spot, ask whether a change in height or focal length solves the compositional problem in front of you. Often it does.
Step 4: Read the Light Before You Set Your Exposure
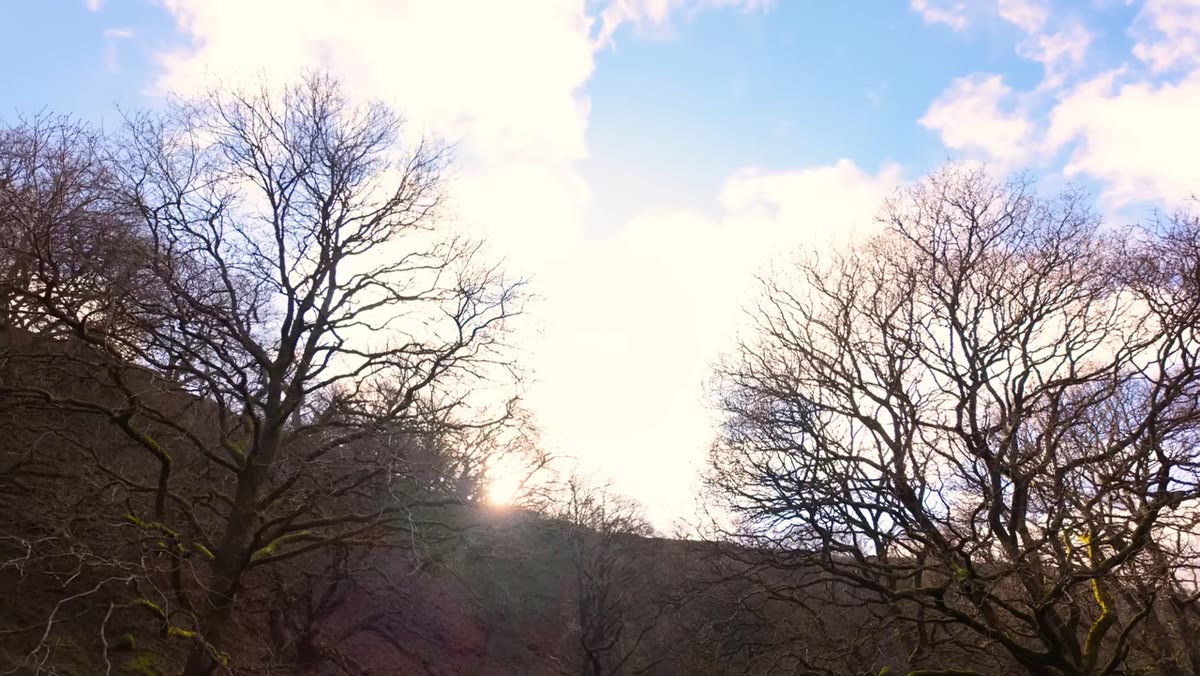 Soft directional light creating separation between tree and dark background bank
He’s shooting at f8, 1/6 of a second, ISO 100 with a 2-second timer release. But those numbers mean nothing without the light observation that precedes them. The sun is coming over a hill and creating separation between the subject tree and the darker bank behind it, almost a misty quality that gives the image depth without any post-processing trickery. He reads that quality of light first, then sets his exposure to preserve it.
The practical habit here is to pause before you set anything on the camera and ask what the light is actually doing. Where is it coming from? What is it separating? What would be lost if you overexpose by half a stop? Answering those questions first makes every setting choice more intentional.
Step 5: Know When to Walk Past a Shot
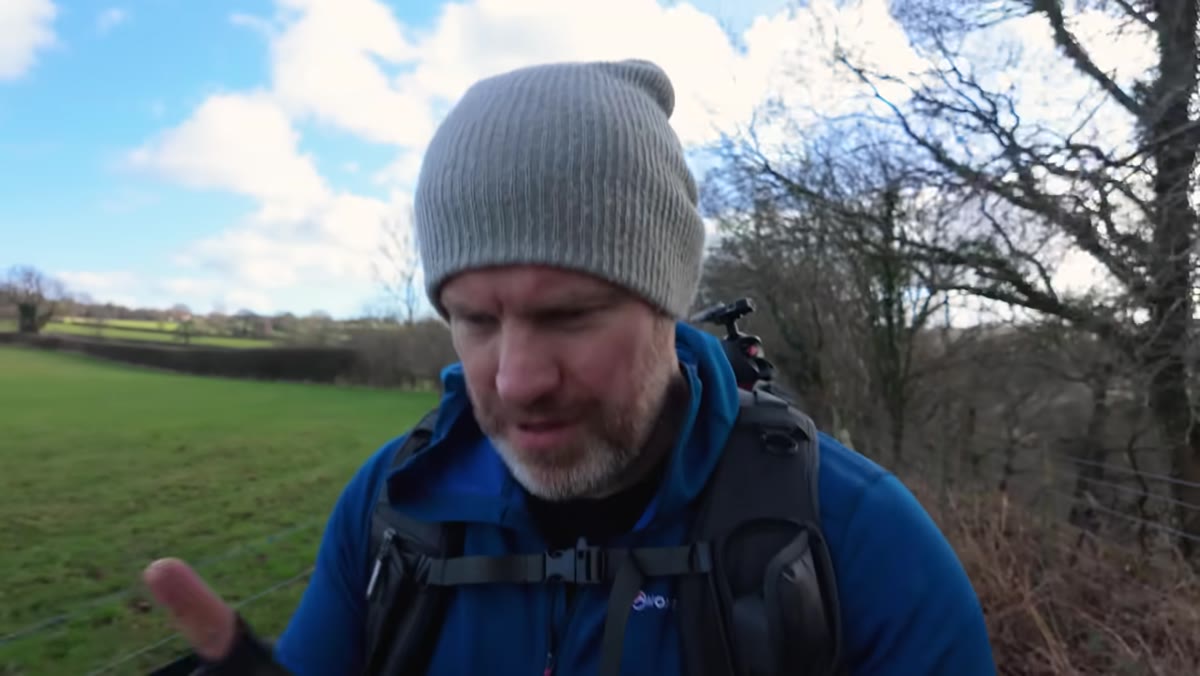 Waterfall visible in background as photographer continues walking
There’s a waterfall on the route. He doesn’t stop. He’s photographed it before under better conditions, with sunlight creating a double rainbow, and he knows today’s version won’t improve on that image. So he keeps walking.
This is harder than it sounds. Waterfalls, in particular, have a gravitational pull on landscape photographers. They feel like mandatory subjects. But if you’ve already made a strong image of a location and today’s conditions aren’t offering anything new, passing it by is the right call. Selective attention is part of what separates edited work from a travel album. You don’t owe every subject a photograph.
Step 6: Set Your Ambitions for the Day, Then Stay Open
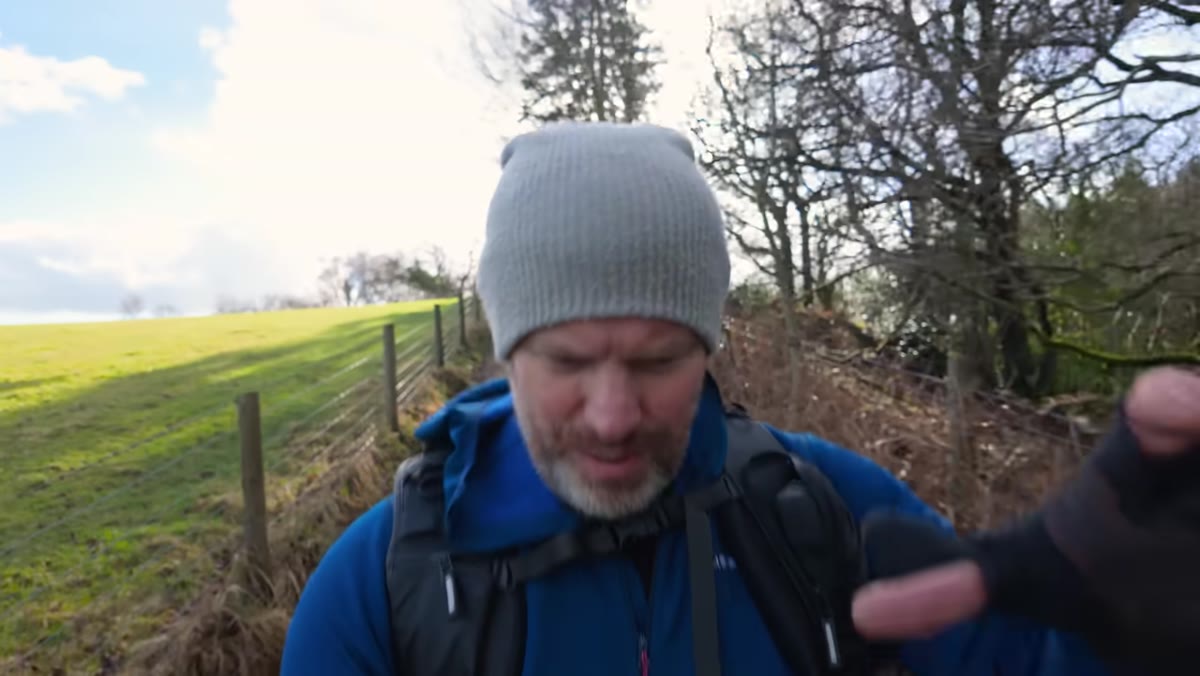 Open countryside vista opening up beyond the woodland
As he moves out of the woodland and into more open ground, he articulates what he’s hoping the day contains: woodland shots, water, and a big open vista. Not specific locations or compositions, just categories of experience and image type. This is a useful middle ground between rigid planning and total improvisation. Having a loose sense of the kinds of images you want to come home with gives you something to move toward without locking you into a fixed route.
Think of it as setting the emotional range of the day rather than the itinerary.
A Note from My Own Shooting Practice
I tried a version of this approach last autumn in the Cascades, deliberately leaving my usual location pins at home and just driving a road I’d never taken. I was skeptical enough about it that I brought a backup plan in my jacket pocket. I didn’t need it. By letting the landscape show me what was worth stopping for, I found a frost-covered meadow at low angle light that I would have driven straight past if I’d been focused on reaching a pre-planned destination. That image has since sold more prints than almost anything I shot that season with a detailed plan.
The structured approach still has its place. But the unplanned day builds something that spreadsheets can’t: the habit of seeing.
The single most important thing from this tutorial isn’t a camera setting or a compositional rule. It’s the idea that treating the walk as the point, and the photography as what happens along the way, removes the performance pressure that so often tightens creative vision. Get one shot early. Read the light before you touch the dial. Walk past subjects that don’t deserve your best work. And trust that good images show up when you stop hunting for them quite so hard.
Watch the full tutorial on YouTube to follow the complete day in real time, including the open moorland and valley shots that come later in the walk.
Comments
Leave a Comment