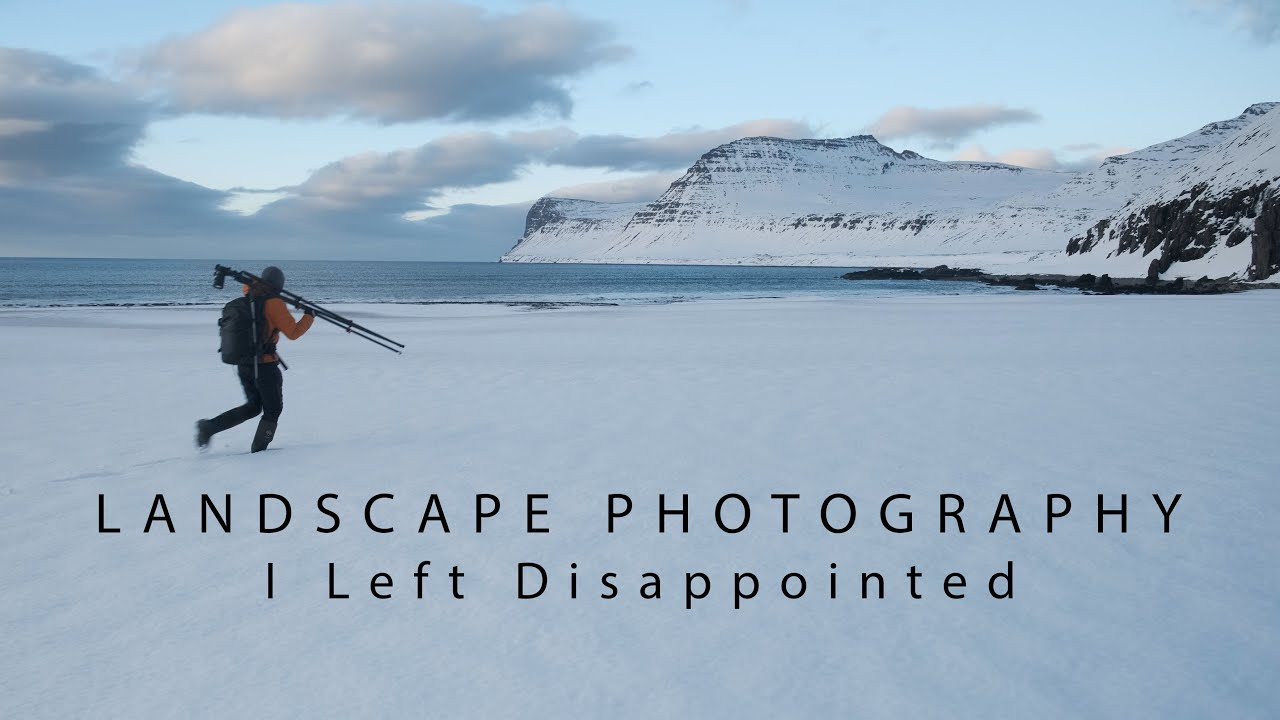
There’s a specific kind of frustration that every landscape photographer knows but rarely admits out loud. You’re standing inside a jaw-dropping scene, light is doing something remarkable, and every frame you make feels flat, disconnected, or just plain wrong. The place is extraordinary. Your images are not. I’ve stood in that gap more times than I care to count, usually somewhere cold and expensive to get to. It’s humbling in a way that no amount of technical knowledge seems to fix.
That’s why this Watch the full tutorial on YouTube video from Thomas Heaton stopped me mid-scroll. Heaton, a landscape photographer with a deeply honest way of documenting his process, traveled to Hornstrandir Nature Reserve in Iceland for a wildlife trip and found himself unable to photograph the landscape around him in a way that felt true to it. He’s not a beginner fumbling with settings. He’s a working pro who simply couldn’t crack this particular visual problem. That honesty is worth sitting with.
What he works through, both in the field and in his reflections, gets at something I think about constantly in my own practice: the difference between photographing a place and conveying what it actually felt like to be there. Scale, isolation, drama. These things resist the lens. Here’s how Heaton approached the problem, step by step.
Step 1: Accept the Conditions and Work Inside Them
 Blizzard-covered landscape viewed through a frosted window
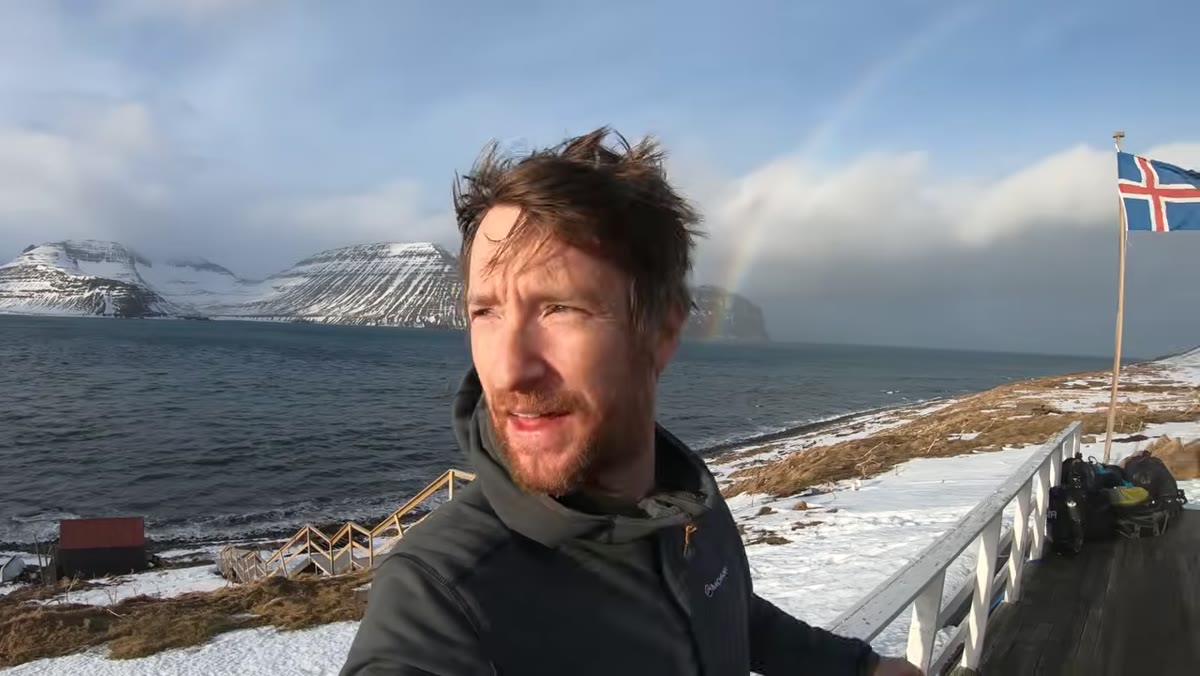
Hornstrandir is one of those places that doesn’t care about your itinerary. Freezing rain, 40-mile-an-hour winds, a camera glazed over with ice. Heaton’s first lesson is less about technique and more about posture. He doesn’t fight the conditions. He waits, stays alert, and keeps his gear close. When weather locks you down, your job shifts from active shooting to patient observation. You’re scouting with your eyes. You’re studying how light moves across the terrain, where shadows pool, where the interesting shapes are. That mental mapping pays off the moment a gap opens.
Practically: dress in layers that let you move quickly, keep your camera accessible but protected, and resist the urge to pack it in when nothing seems to be happening. The best frames of a trip often come in the five-minute window between one storm system and the next.
Step 2: Let Unexpected Proximity Rewrite Your Lens Plan
 Arctic fox walking close to the photographer on a snowy landscape
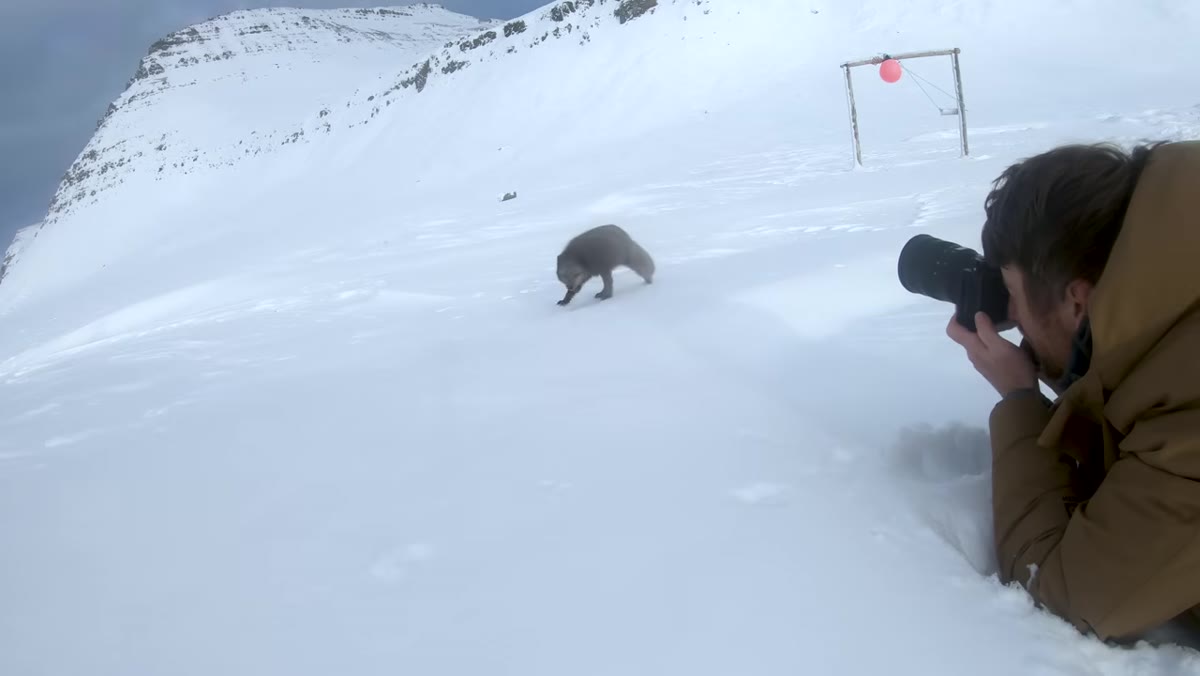
Heaton brought a 600mm lens to this trip for fox encounters. What he got was a fox at 24mm distance, walking directly toward him across pristine snow with cliffs in the background. His instinct to stay still and let the animal close the gap produced a frame he never anticipated. This is a lesson that crosses over into pure landscape work: the shot you planned for rarely outperforms the one you’re present enough to catch.
When something unexpected happens in front of your lens, resist the urge to dial in the “correct” focal length or exposure. Work with what’s on the camera right now. The 24mm fox portrait, cliffs and all, is a stronger environmental image than any tight telephoto isolation could have been. Versatility in the field means accepting the camera in your hands as the right tool for the moment.
Step 3: Put on the Snowshoes and Go Find the Landscape
 Thomas Heaton strapping on snowshoes to head into snowy terrain
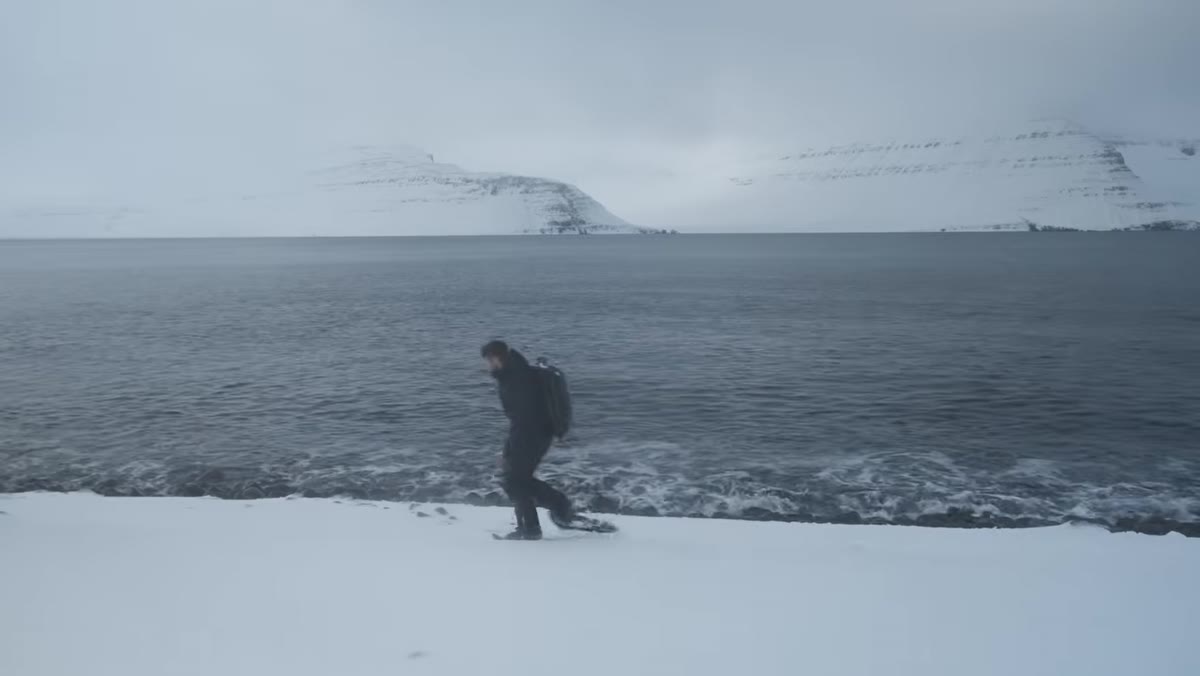
Once the immediate wildlife action settled, Heaton strapped on snowshoes and moved into the landscape intentionally. This step sounds obvious, but it’s not. A lot of photographers shoot from wherever they happen to be standing. Heaton commits to the terrain, covering ground physically to find a relationship between himself and the elements around him. Movement reveals compositions that are invisible from a fixed position.
In deep snow or difficult terrain, this kind of exploration takes real energy. But it’s the only way to understand a place three-dimensionally. Walk the beach. Walk up the hill. Turn around and look back. The scene changes with every twenty meters of ground you cover.
Step 4: Find the Stripped-Down Composition When Drama Won’t Compress
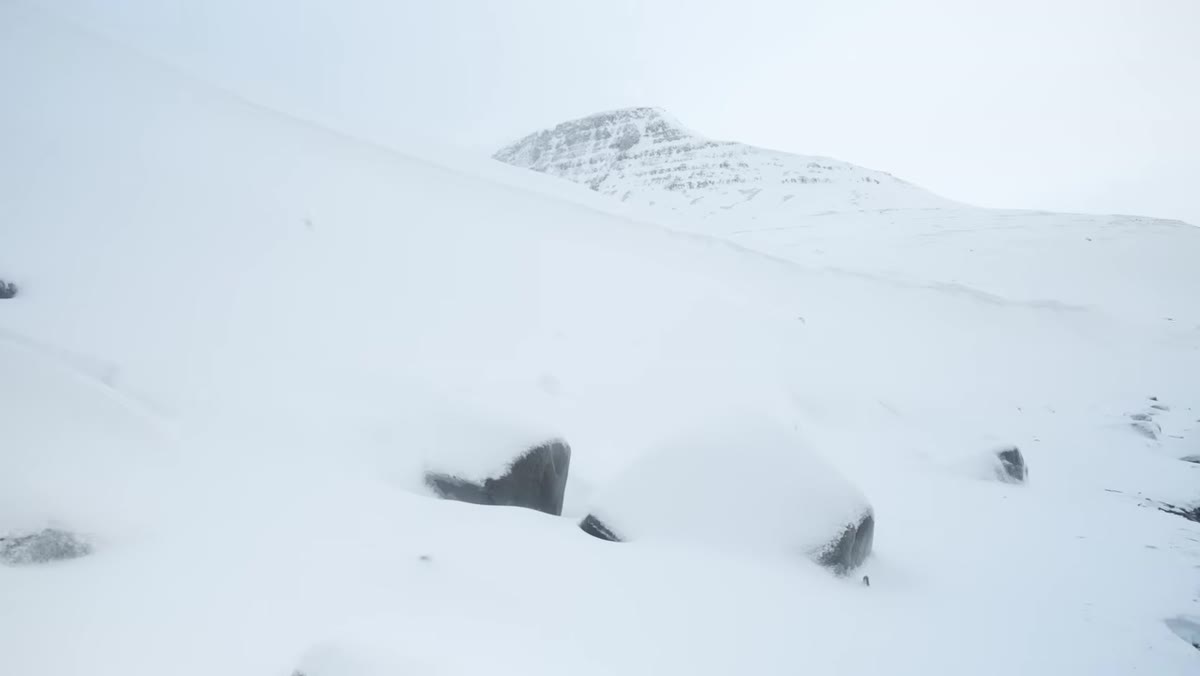 Boulders emerging from snow with mountain backdrop, minimal elements
This is where the video earns its title. Heaton could not figure out how to compress the massive scale of Hornstrandir into a frame that communicated its drama. So he pivoted. He found a small group of boulders barely protruding through the snow, arranged naturally against the mountain, and spent serious time with that composition. Snow, rock, peak, sky. Nothing extra. He called it monochrome in character, and that word is the key: he removed every element that didn’t contribute to the feeling he wanted.
When scale defeats you, simplicity often wins. Strip the frame down to three or four components with a clear visual hierarchy. This requires moving closer to a foreground anchor, choosing a focal length that excludes clutter, and waiting for the sky to cooperate. The resulting image may not show the full grandeur of the place, but it tells a true thing about it, which is usually more interesting anyway.
Step 5: Use Telephoto Isolation as a Diagnostic Tool, Not a Solution
 Telephoto compression of distant cliffs and snowy ridgeline
Heaton reached for his 100-400mm to isolate the dramatic cliff sections he found so compelling in person. The image he made is technically pleasing, with beautiful compression and tonal range. But he was honest about what it lacked: context. Without the surrounding environment, the compressed telephoto shot became a portrait of one element rather than a portrait of a place. He acknowledged it doesn’t do the landscape justice.
This is a useful diagnostic move. If you can’t solve a wide composition, try the telephoto. Not to find the final image necessarily, but to understand which elements are actually doing the visual work. Then take that understanding back to the wide lens and rebuild the composition around those elements.
Step 6: Return to Proven Locations Based on Observed Behavior
 Fox running down the beach toward the photographer’s position
Heaton returned to a stretch of beach where he had been watching fox movement over two days. He anticipated behavior, positioned himself accordingly, and waited. When the fox ran the beach directly toward him against a clean backdrop of snow, he was ready. Preparation based on observation is the whole game in remote locations where you only get a few chances.
For landscape work, this translates to revisiting a location at different times of day once you’ve identified its bones. You’re not hoping for something new. You’re returning to a known stage and waiting for the light to finish setting it.
What I’d Add From My Own Experience
Scale is the hardest thing to photograph. Not technically, but philosophically. After 20 years of this work, I still sometimes stand in a place and feel the camera reducing it to something manageable and therefore wrong. A mentor once told me that the mountain doesn’t care about my schedule, and I’d extend that: it doesn’t care about my sensor size either. Sometimes the place simply won’t compress into a rectangle, and the answer isn’t a better lens or a different focal length. It’s a different question. Instead of asking how do I capture all of this, ask what one thing about this place do I most want a stranger to understand. That narrowing usually leads somewhere honest.
The central takeaway from Heaton’s video is this: struggling with a landscape is not a sign that you’re doing something wrong. It may be a sign that the place is genuinely complex, and your instinct to resist easy answers is exactly right. The images that come from that kind of honest difficulty tend to outlast the ones that came easily.
Watch the full tutorial on YouTube to see Heaton’s footage, the fox encounters, and the final images that came out of one of the most remote photography trips I’ve seen documented in a long time.
Comments
Leave a Comment