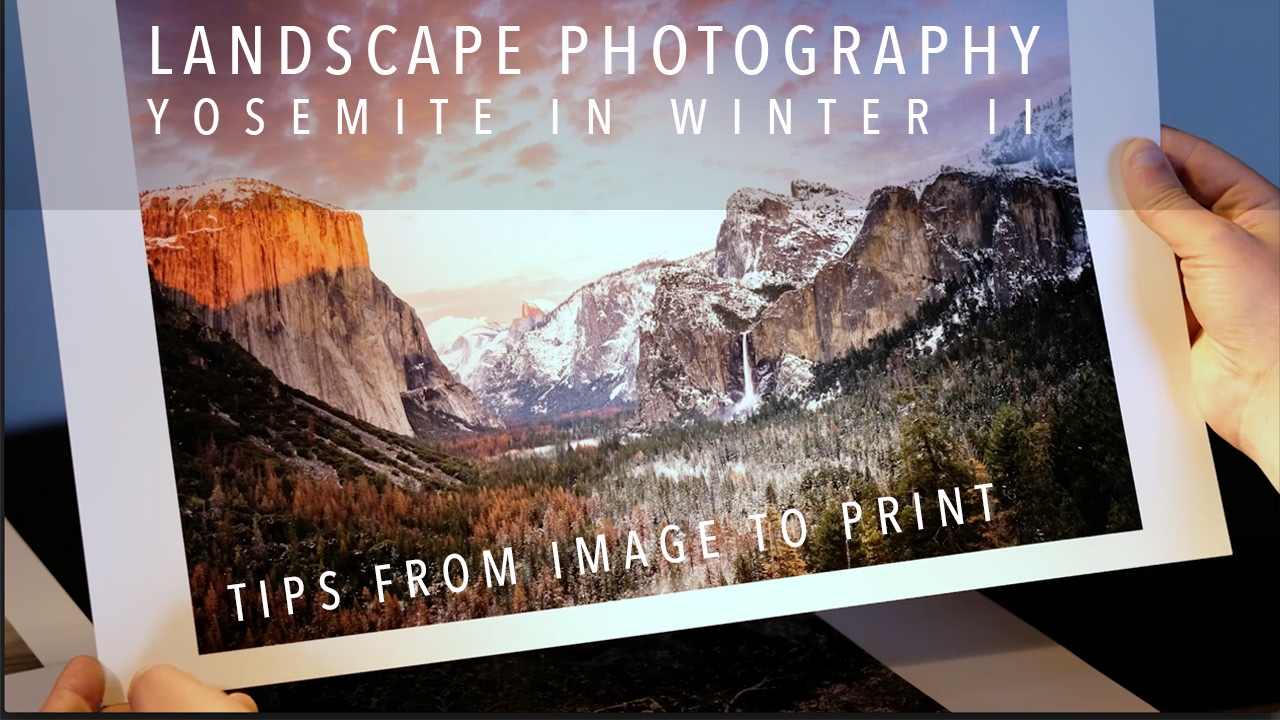
There’s a version of every iconic location that exists in your head before you arrive, and then there’s the version that greets you at minus eleven degrees at dawn. I’ve been doing this for twenty years, and the gap between those two versions is still where most of my best work happens. The problem isn’t the cold or the crowds or the flat light. The problem is rigidity. When you show up locked into one composition, one viewpoint, one expected outcome, you miss what’s actually in front of you.
That’s exactly why this Nigel Danson tutorial on shooting Yosemite in winter stopped me mid-scroll. Watch the full tutorial on YouTube before or after you read this, because watching a working photographer think out loud in the field is worth more than any classroom breakdown. What Danson demonstrates here isn’t just technique. It’s a decision-making framework for adapting when the conditions refuse to cooperate. That’s the skill most tutorials skip entirely.
What struck me most is how quickly he pivots. He drives out to Tunnel View, sees a hundred photographers and no clouds, and simply turns around. No drama. He finds something better. That pivot is the whole lesson, and the steps below unpack how he gets there.
Step 1: Leave Earlier Than You Think You Need To
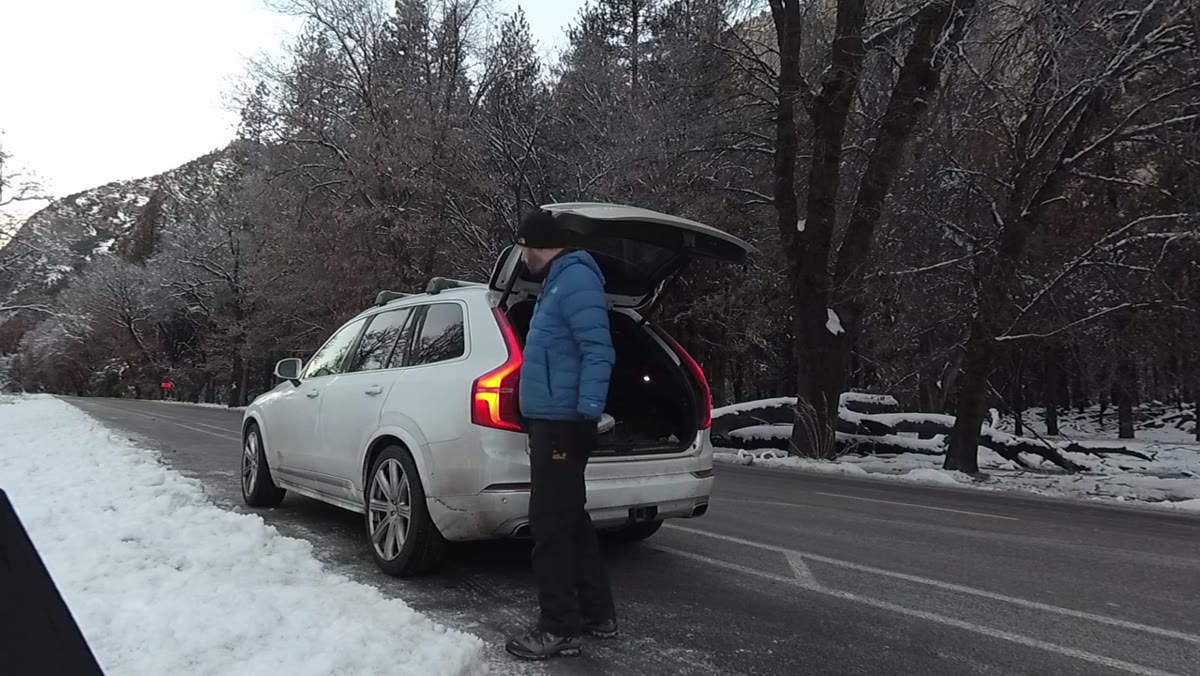
 Photographer in dark, stating the temperature is minus 11
Danson mentions it’s 11:00 a.m. and he’s already slightly behind where he wanted to be. Even in his own admission of being unprepared, the underlying habit is clear: he’s still out there in sub-zero temperatures before the light peaks. In winter, especially at high elevations, the window between the first reflected alpenglow and full flat light can be as short as twenty minutes. You need to be in position before you know what you’re getting, not after.
Pack your bag the night before. Charge your batteries and then put one inside your sleeping bag or jacket pocket overnight. Cold kills battery life faster than almost anything else in the field. Danson mentions this explicitly, and it’s a habit I enforced in my own kit years ago after missing a shot at Crater Lake because my camera died before the light did.
Step 2: Scout First, Shoot Second
 Driving toward Tunnel View in early morning light
Danson frames this entire outing as a reconnaissance mission. He’s not under pressure to come home with a final image. He’s building a mental map of what works, what doesn’t, and what he wants to return to with better conditions. That framing changes everything about how you move through a location.
When I run workshops out of Bend, this is the single hardest habit to install in participants. Everyone wants to shoot the moment they arrive. But if you spend the first thirty to forty-five minutes just walking, observing, and not touching the camera, you almost always find a better composition than the one you came in with. Treat your first visit to any location as research, even if you’ve been there before.
Step 3: Read the Crowd as a Light Meter
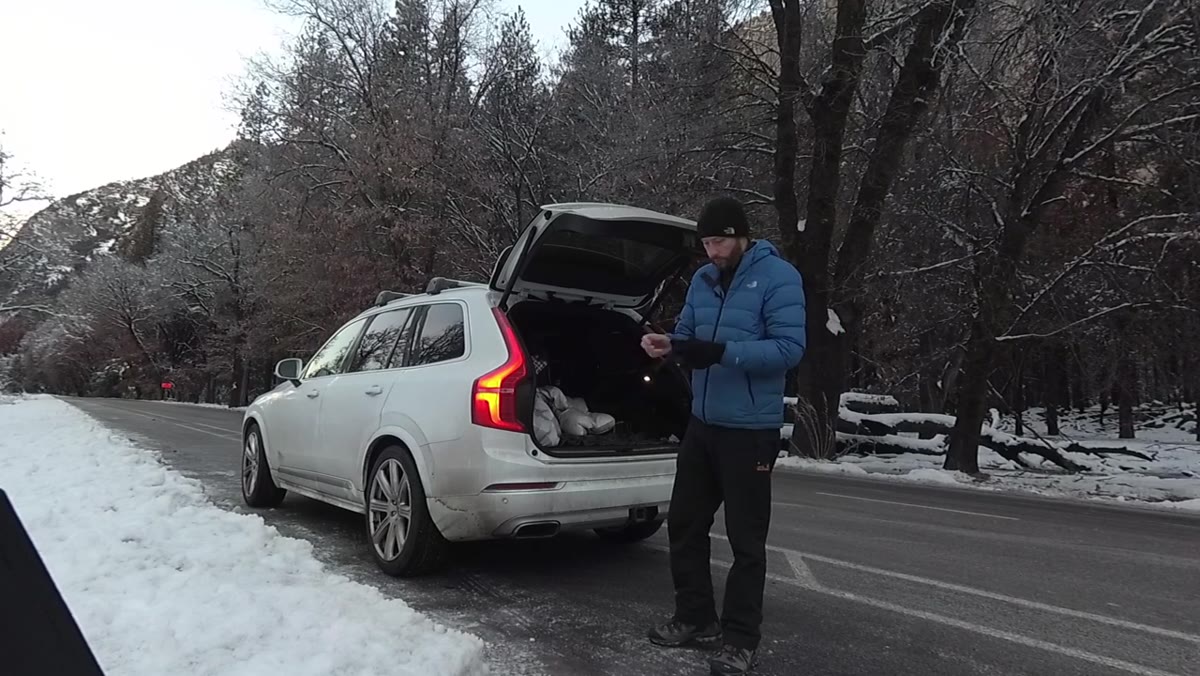 Arriving at El Capitan Meadow after leaving Tunnel View
When Danson arrives at Tunnel View and sees roughly a hundred photographers already set up, he doesn’t fight for position. He reads that crowd as information. A hundred photographers at a single viewpoint on a cloudless morning means one thing: the shot isn’t going to be as interesting as the location’s reputation suggests. The conditions aren’t there.
This sounds simple, but it requires real confidence to act on. The pull of a famous viewpoint is strong, especially when you’ve traveled to get there. The skill is knowing when the location is working and when it isn’t, and being willing to walk away from a spot that isn’t earning your time. Danson drives to El Capitan Meadow instead, and that decision leads him directly to a better composition.
Step 4: Find the Light Before You Find the Composition
 Looking at snow-covered trees near El Capitan Meadow
Once at the meadow, Danson immediately starts looking at where the reflected light will land when the sun clears the ridge. He’s not composing yet. He’s tracking light. He identifies that the cliff face above will catch the first warm light and sets up to capture that reflection alongside snow-laden trees in the foreground.
This is the correct order of operations in winter shooting. Light first, then composition. In summer you have more flexibility because the light lingers. In winter, especially below the valley walls, reflected light can be your only warm source for the first hour after sunrise. Position yourself to intercept it rather than stumbling across it by accident.
Step 5: Lock in Exposure for the Shadows, Not the Sky
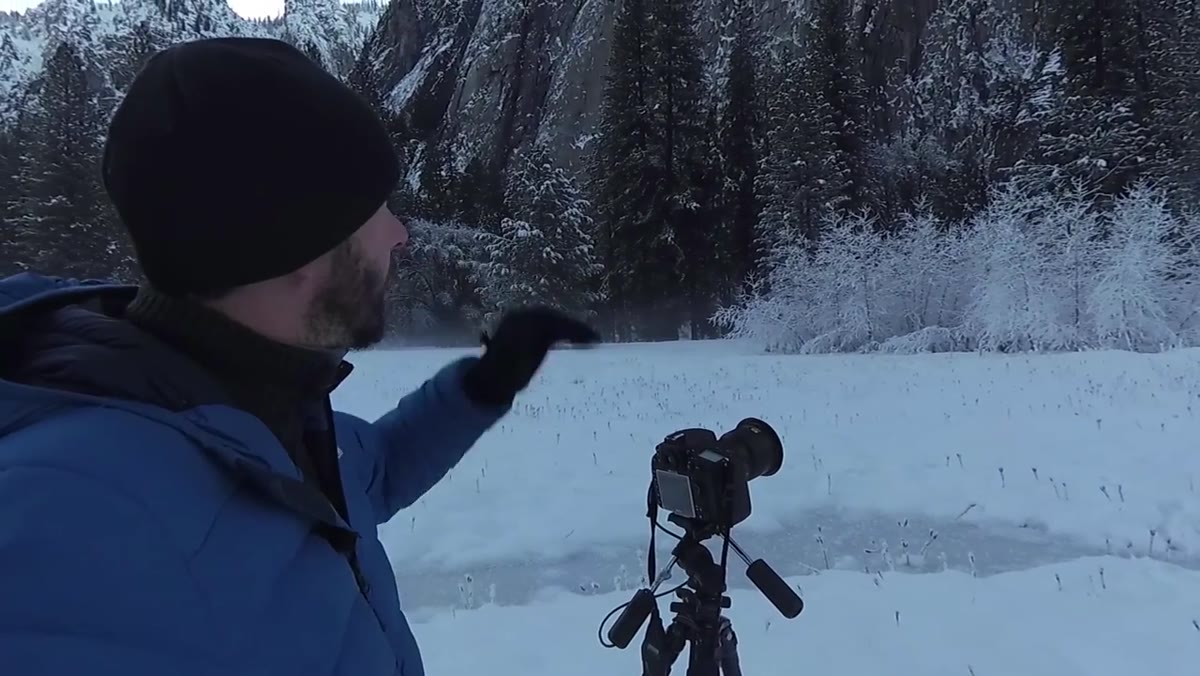 Camera settings being described at the base of the snow-covered trees
Danson describes shooting at his lowest ISO, 35mm focal length, and around f/6 to maximize sharpness across the frame. He’s metering for the base of the trees, where the detail in the snow matters most, and letting the exposure fall where it will above that. This is practical winter exposure logic: snow-covered foreground elements blow out easily, and the shadowed rock face above will have enough luminosity range to handle.
In high-contrast winter scenes like this, I’ll often take a test exposure, check the histogram for any clipping in the snow, and then dial back exposure compensation by a third to two thirds of a stop. You can recover shadow detail in post. You cannot recover a blown-out snow texture, and that texture is frequently the reason the image works.
Step 6: Work the River for Reflection Compositions
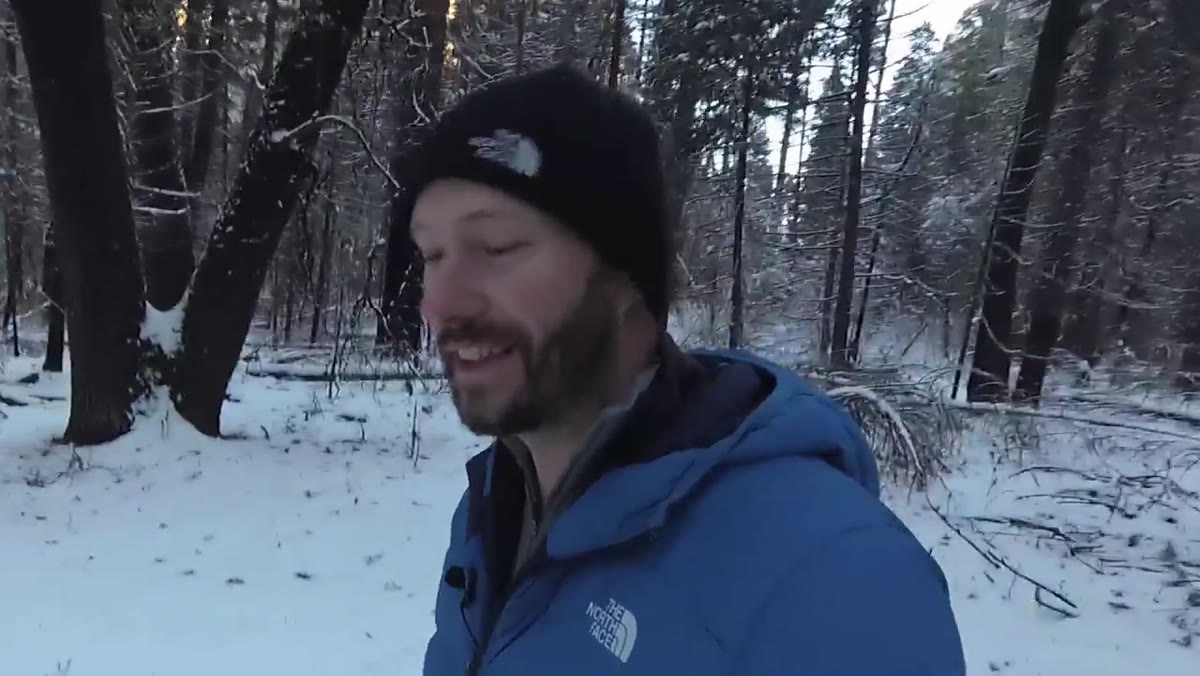 Moving to the south side of the Merced River to find El Capitan reflection
After the tree composition, Danson crosses to the south side of the Merced River looking for a reflection of El Capitan in the slower-moving water. He’s thinking in terms of multiple images from a single outing, not just protecting one shot. He explores the bend in the river for slow-shutter water movement and a clean reflection angle.
For reflection shots in winter, look for areas where the current slows at bends or where ice forms along the edges, which can add a natural frame to the water’s surface. A polarizing filter at certain angles will cut glare and deepen the reflection. Shutter speeds of one to four seconds in low light will smooth any surface ripple without losing the reflection entirely.
What I’d Add From My Own Experience
Danson’s approach here mirrors something a mentor told me years ago: the mountain doesn’t care about your schedule. Yosemite in winter is particularly good at teaching that lesson. I’ve stood at El Capitan Meadow in similar temperatures and watched the light do something completely unexpected, arriving from an angle I hadn’t predicted because a thin cloud layer caught it and redirected it. The photographers locked into Tunnel View missed it entirely.
The habit I’d layer on top of everything Danson demonstrates here is this: after your scouting session, write down three things you want to try the next morning before you sleep. Not vague goals like “get a better angle.” Specific things. A particular bend in the river. A certain tree grouping. A window of time when the light should hit a specific face. That small act of planning turns a scouting day into a shooting plan, and it means you’re not making decisions in the dark at minus eleven degrees when your brain is running on cold air and stubbornness.
The most important thing Danson models in this tutorial is that adapting to conditions isn’t failure. It’s the actual skill. Arriving at Tunnel View and pivoting to El Capitan Meadow isn’t settling. It’s reading the situation clearly and responding with experience. That combination of flexibility and preparation is what separates landscape images that feel alive from ones that feel like they were taken by someone following a list.
Watch the full tutorial on YouTube and pay attention to the moments between the shots. That’s where the real instruction lives.
Comments
Leave a Comment