There’s a particular kind of frustration that every landscape photographer knows: you’ve hauled your gear to one of the most photographed places on earth, the alarm goes off at 4am, and the sky is completely, stubbornly blank. No clouds, no color, no drama. Just a pale gradient that’s going to turn into harsh white light in about forty minutes. I’ve stood in that exact situation more times than I care to count. The instinct is to pack up and wait for another day. The better move is to rethink what you’re actually shooting.
That’s the core lesson inside this Mark Denney tutorial filmed during a family trip to Yosemite National Park. Watch the full tutorial on YouTube — Denney is shooting under real pressure: limited time, crowded iconic overlooks, and a sunrise that doesn’t deliver. What unfolds is a practical masterclass in reading conditions honestly and pivoting your approach without wasting the morning. I’ve been doing this for twenty years and I still picked up useful reminders watching him work through it.
Step 1: Assess the Sky Before You Commit to a Composition
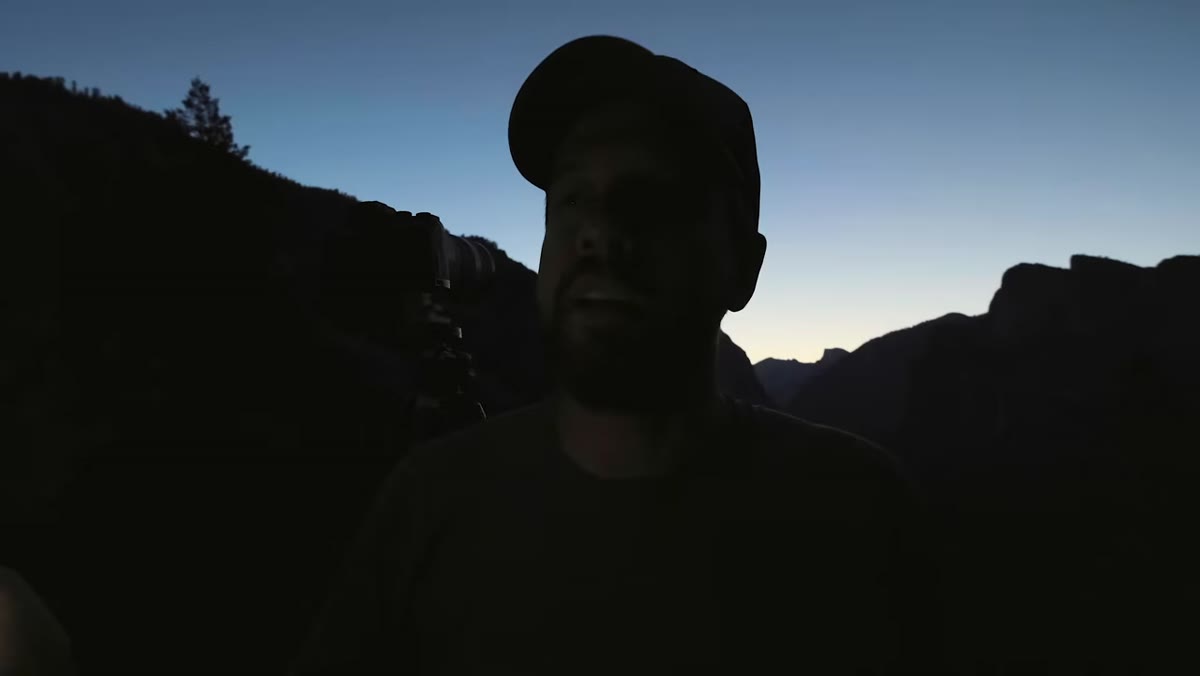 Photographer at Tunnel View before sunrise, overcast flat sky
Arrive at your location before sunrise and spend the first few minutes looking up, not through the viewfinder. Denney is at Tunnel View around 5am and immediately recognizes that without clouds or moisture in the atmosphere, the sunrise is going to be unremarkable. That diagnosis, made early, is what allows everything that follows to work. If you walk straight to the tripod position you scouted on Google Maps and start composing without reading the actual conditions, you’re going to waste golden hour chasing a shot that isn’t there.
The habit I’d add: look at where the mist or atmospheric haze is sitting in the scene. That becomes your subject when the sky can’t carry the image.
Step 2: Switch to Telephoto to Remove a Weak Sky
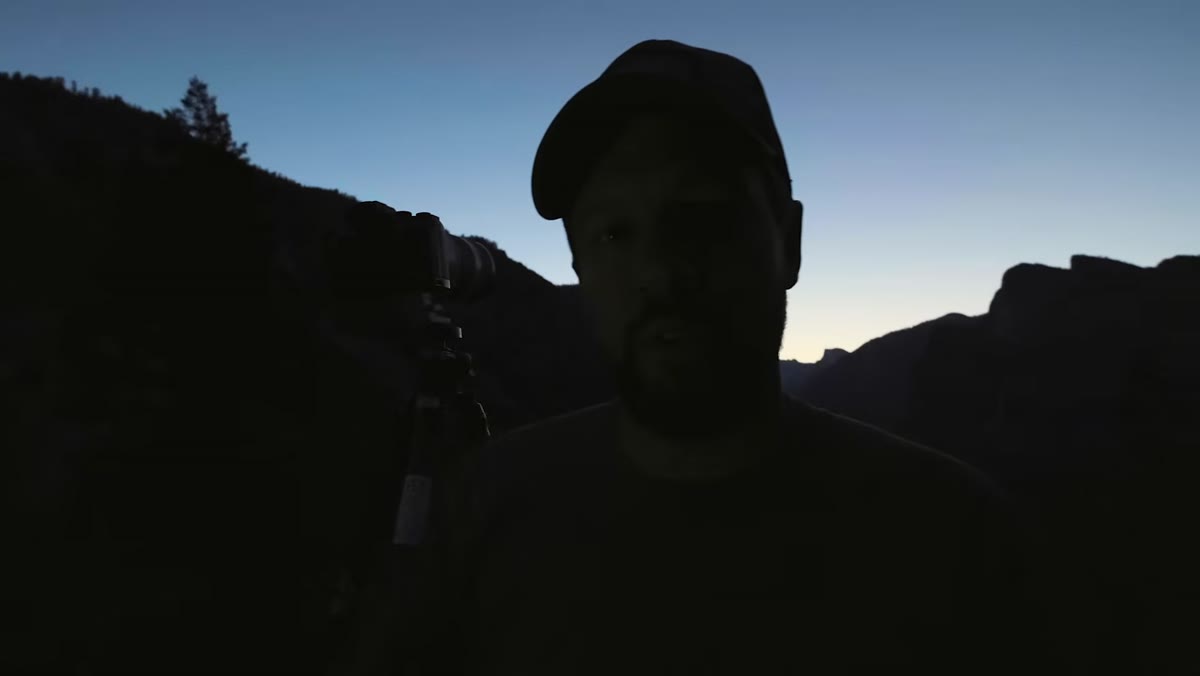 Sony 100-400mm lens mounted, pointing toward Yosemite Valley
When the sky is flat, stop including it. Denney makes a deliberate choice to mount a Sony 100-400mm telephoto lens at Tunnel View specifically to compress the scene and cut the bland upper portion of the frame out of the composition. This is a mindset shift that took me years to fully adopt. Wide angle is the default for landscape, but telephoto lets you isolate the interesting geography and eliminate everything that isn’t contributing.
At this location, he’s looking for sunrays breaking into the valley and mist catching early light below. The telephoto lets him frame just that story. If you’re used to shooting wide, start at the long end of your zoom and work backward. You’ll often find the frame tightens into something more powerful before you ever get to 24mm.
Step 3: Use Atmospheric Haze as a Substitute for Sky Drama
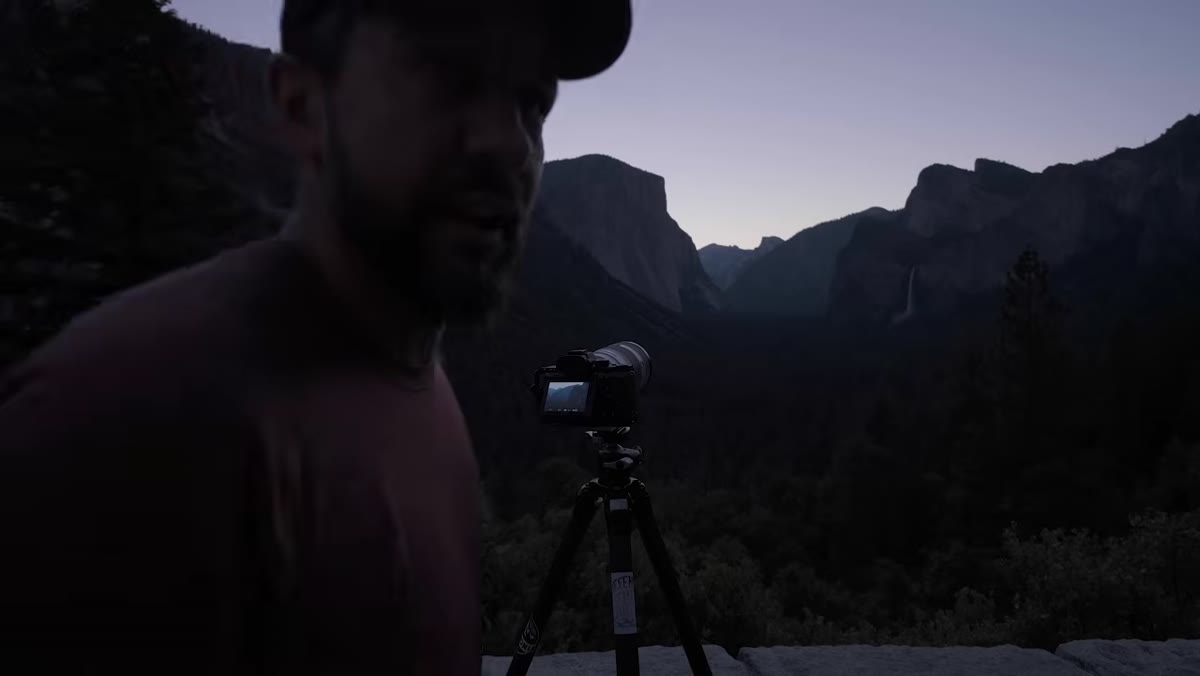 Valley mist visible below Tunnel View in soft pre-dawn light
When clouds aren’t available to create visual interest in the upper frame, valley mist and atmospheric depth can do the same work lower in the scene. Denney notes the mist building in the valley and actively hopes it will continue to develop as light increases. This is the kind of conditional thinking that separates photographers who get shots from photographers who go home empty-handed. You identify what the scene is offering and you position yourself to use it.
Mist behaves differently than clouds. It’s often most useful in the minutes just after direct light hits it, when you get that luminous glow. Set up early enough to watch it evolve rather than arriving when it’s already burning off.
Step 4: Know When to Abandon a Location and Move
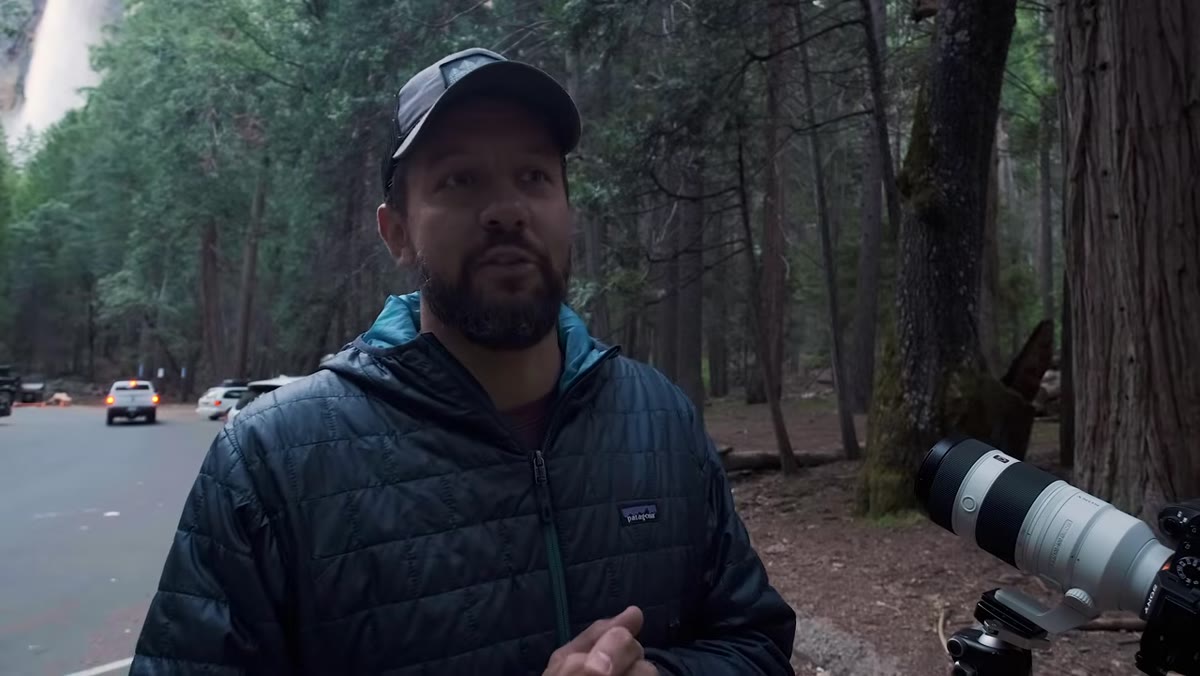 Crowded Tunnel View overlook, many visitors present
Denney makes the call to leave Tunnel View when crowds make filming impractical. But the decision applies equally to pure photography. If the conditions at one location aren’t yielding images and a better option is fifteen minutes away, move. There’s a tendency to anchor yourself to a spot because you scouted it, drove to it, and set up your tripod there. Sunk cost is not a photography strategy.
He drives to Bridalveil Fall and finds softer, more workable light specifically because the waterfall sits in shadow at that time of morning. The lesson: know which locations stay shaded longest and treat them as your backup plan when open overlooks go harsh.
Step 5: Shoot Waterfalls in Shade, Not Direct Sun
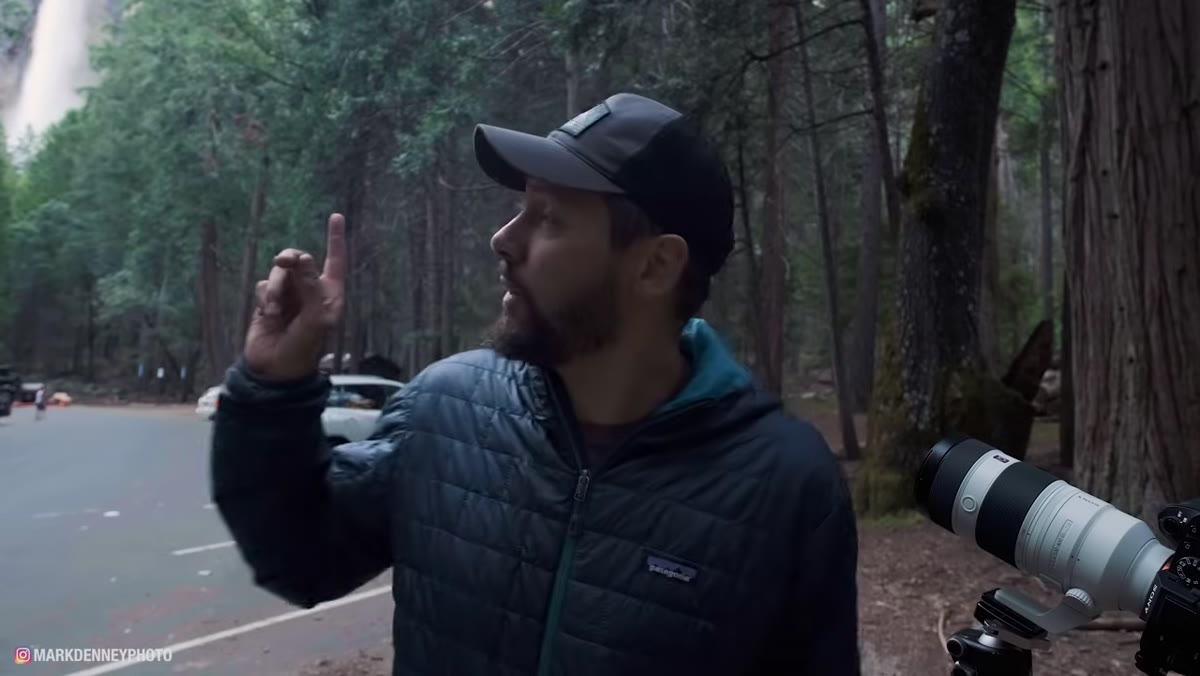 Bridalveil Fall framed with telephoto, soft diffused light on water
Direct sunlight on white water creates blown highlights and kills texture. At 6:45am with no cloud cover, direct light is already too harsh for most waterfall compositions. Denney positions himself at Bridalveil specifically because the falls are still in open shade, which gives him even, diffused light across the full height of the water. That’s the quality of light you want for waterfalls. It renders detail in both the brightest water and the darkest surrounding rock without requiring exposure gymnastics in post.
If you arrive at a waterfall and it’s in direct sun, don’t force it. Note the time and come back on a different day, or wait for clouds to roll through as natural diffusion.
Step 6: Dial Shutter Speed to Control the Character of Moving Water
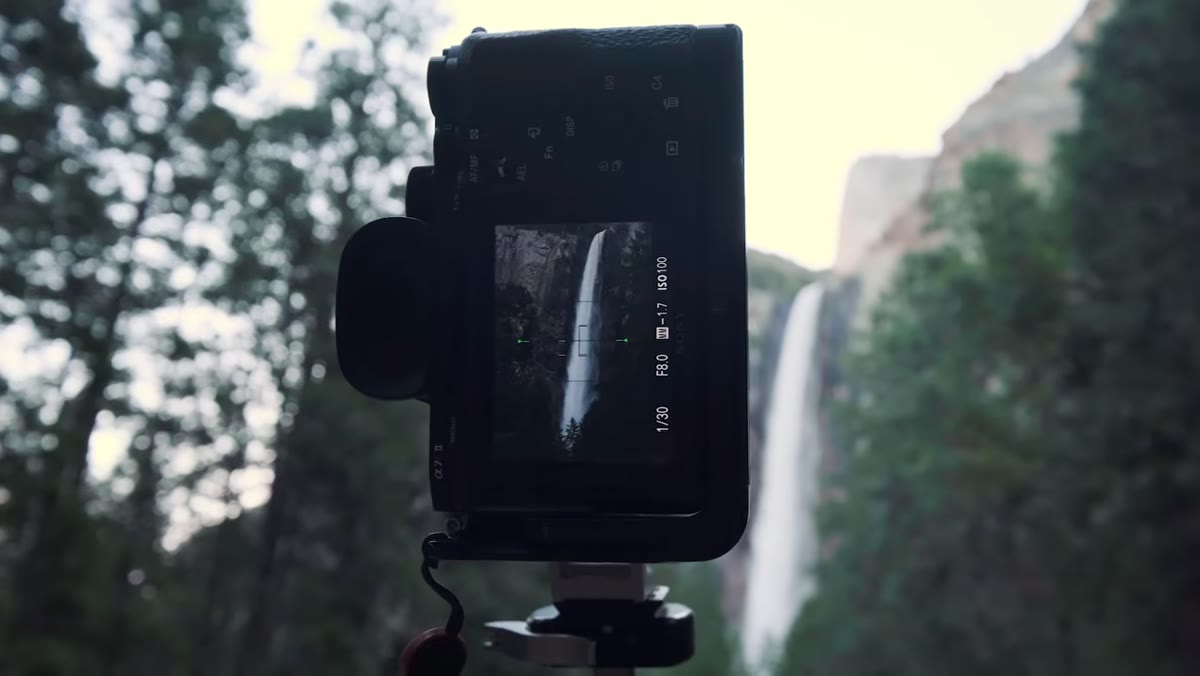 Camera LCD showing settings: f/8, 1/50 sec, ISO 160
This is the most technically instructive moment in the tutorial. Denney is working around f/8 and experimenting between 1/30 and 1/50 of a second, with ISO nudged up to 160 to maintain that shutter speed without opening the aperture further. The goal is to freeze enough motion in the falling water to preserve its sense of weight and volume, while still conveying movement. Full smoothing at long exposures can make powerful waterfalls look decorative rather than forceful.
The practical approach: shoot a sequence of frames at 1/15, 1/30, 1/60, and 1/125 of a second, then compare at full zoom on your laptop. The right shutter speed for a waterfall depends on its volume and drop height. Bridalveil is tall and heavy. It needs more freeze than a small cascade to read as powerful.
What I’d Do Differently in the Same Conditions
I’d bring a circular polarizer even if I didn’t expect to use it. On a clear morning at a waterfall, a polarizer cuts surface reflections on wet rock and saturates the surrounding foliage without any post-processing. It also costs you one to two stops of light, which at Bridalveil in shade could slow your shutter speed into more interesting water-motion territory without raising ISO. I almost never shoot waterfalls without one.
The other thing I’ve learned from mornings exactly like the one Denney describes: resist the pressure to leave early just because the headline shot didn’t materialize. Some of my strongest work came from the second and third locations I found after the primary plan fell apart. The flat-sky morning often produces quieter, more intimate images that hold up better over time than the obvious sunrise-over-the-valley frame.
The single most important takeaway from this tutorial is the early sky assessment. Before you touch your camera, look at what the light is actually doing and let that reading drive every decision that follows: lens choice, location, shutter speed, all of it. That one habit prevents most of the wasted mornings I see photographers complain about. Watch the full tutorial on YouTube to see Denney work through each of these decisions in real time at one of the most demanding locations in American landscape photography.
Comments
Leave a Comment