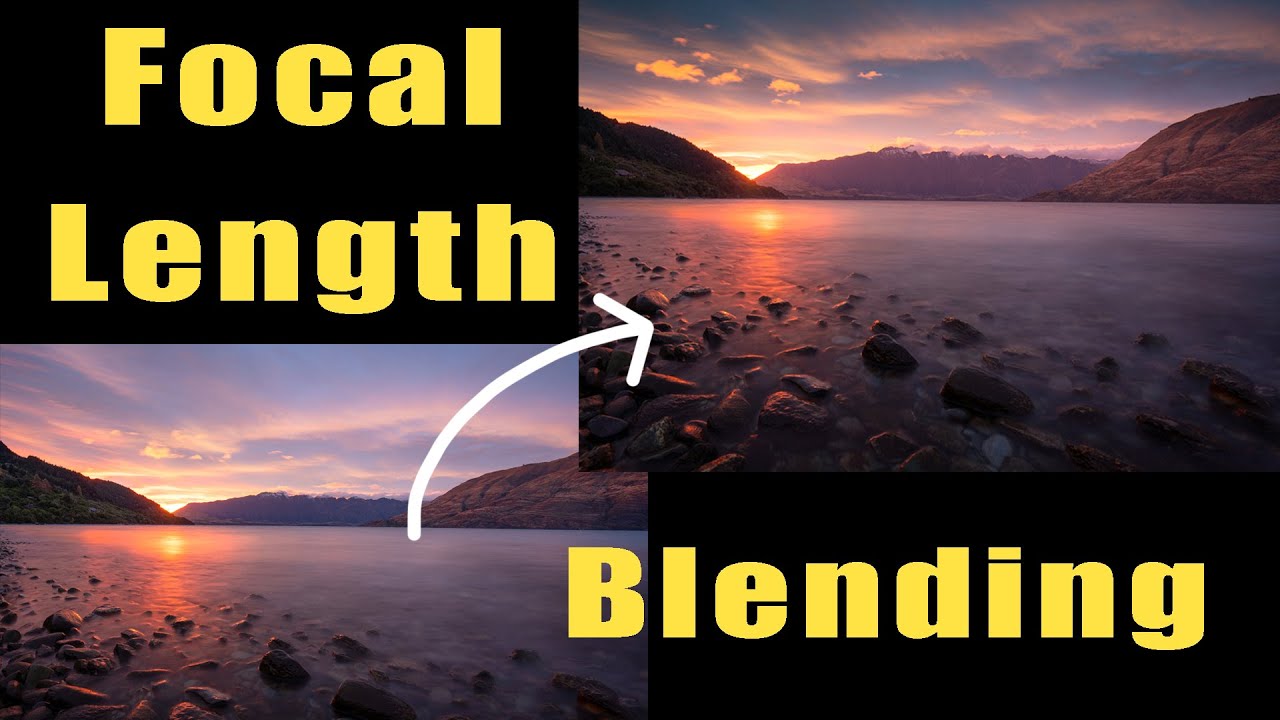
Wide angle lenses are a gift and a curse. I’ve been shooting landscapes for twenty years, and I still feel the pull of that 16mm frame, the way it swallows a rocky foreground and drags the viewer straight into the scene. But there’s a cost. That same curvature that makes a foreground sing will compress and shrink whatever sits at the center of the frame. A mountain range that stopped your breath at dawn ends up looking like a gentle suggestion in the background. You know it looked bigger. You were standing there. The lens just didn’t agree.
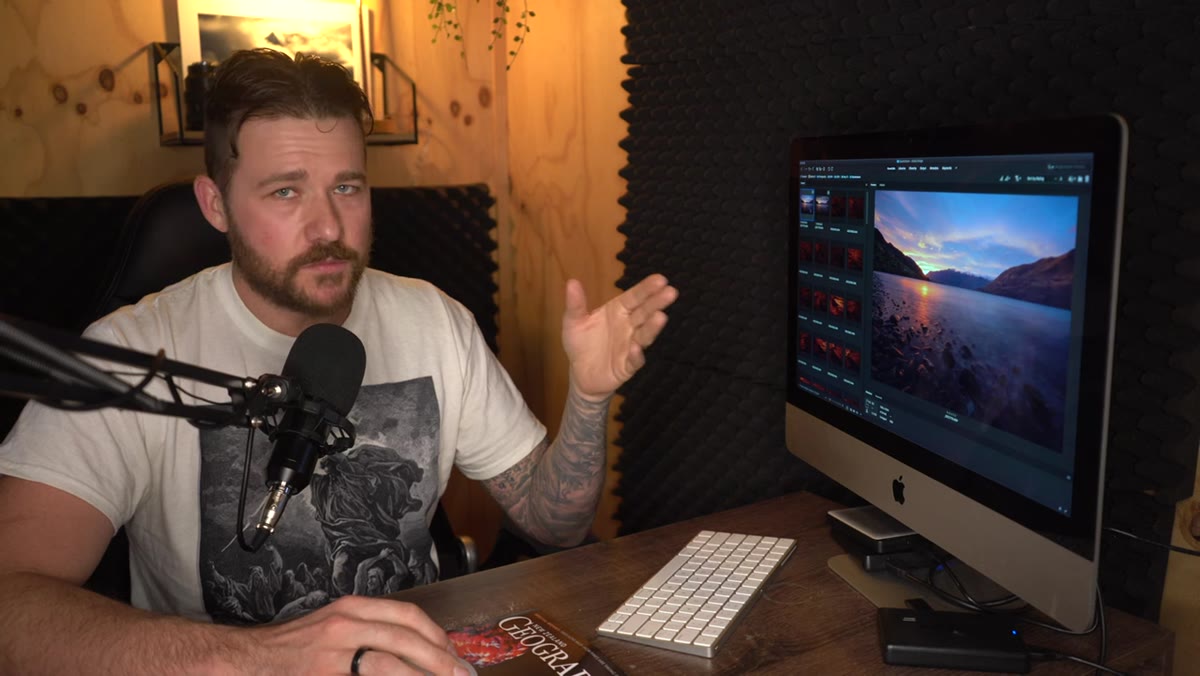
I’ve been chewing on this problem for years, and I’ve tried a few workarounds, none of them fully satisfying. So when I came across this William Patino tutorial on focal length blending, I paid attention. The technique is straightforward in concept: shoot the scene twice from a tripod, once at a wider focal length to capture foreground detail and framing, once at a tighter focal length to render the background subject more true to life, then blend the two in post. The result is a composite that feels honest rather than manufactured. You’re not inventing drama that wasn’t there. You’re recovering the drama you actually witnessed. Watch the full tutorial on YouTube
Patino is careful to flag the ethical edge of this technique, and I respect that. The goal isn’t to inflate a molehill into a Himalayan peak. It’s to give the background subject the visual weight it actually had when you were standing there. That framing keeps the work honest.
Step 1: Shoot Both Frames in the Field
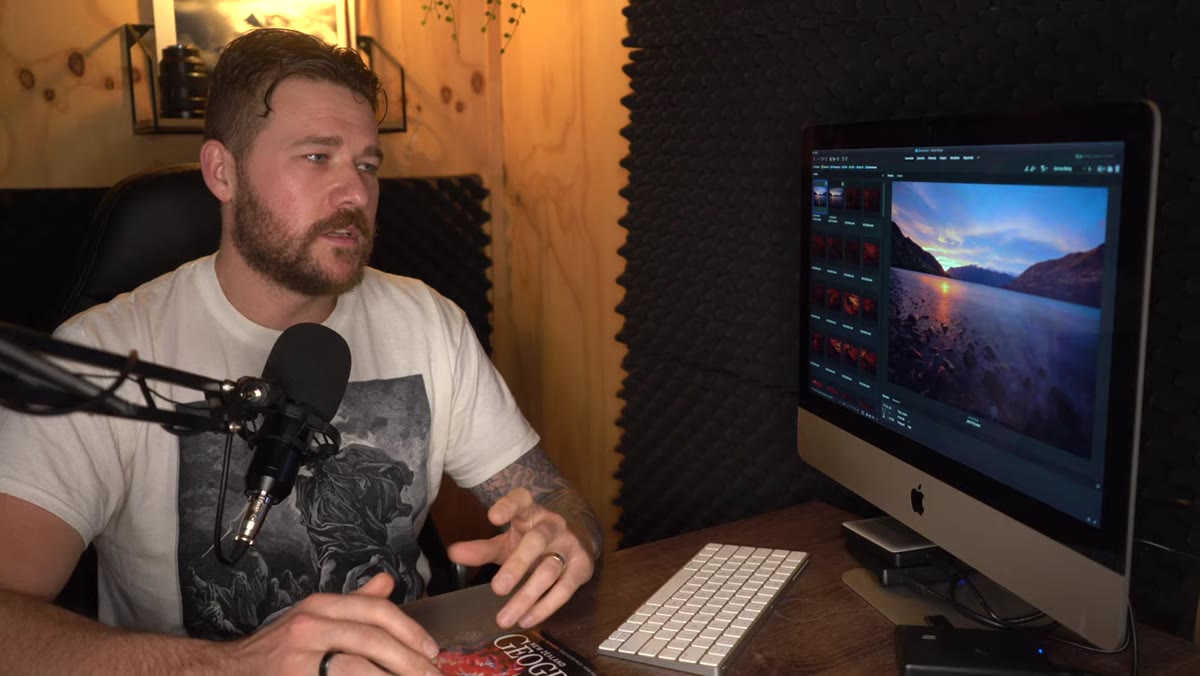 Two raw files side by side in Adobe Bridge
Before you open Photoshop, the technique lives or dies in the field. You need two exposures from the exact same position on a tripod, without moving your feet between shots. The first frame is your wide angle composition, say 16mm, locked in for foreground framing, texture, and lead-in. The second frame is tighter, something like 24mm, captured to give the background subject more presence in the frame. What matters most here is that the horizon line sits in roughly the same place in both images. On a seascape or a lake scene, that clean shoreline becomes your natural blend point later. More complex foregrounds like rock arches or tree frames are doable, but they require more precise masking in Photoshop.
Two raw files side by side in Adobe Bridge
Before you open Photoshop, the technique lives or dies in the field. You need two exposures from the exact same position on a tripod, without moving your feet between shots. The first frame is your wide angle composition, say 16mm, locked in for foreground framing, texture, and lead-in. The second frame is tighter, something like 24mm, captured to give the background subject more presence in the frame. What matters most here is that the horizon line sits in roughly the same place in both images. On a seascape or a lake scene, that clean shoreline becomes your natural blend point later. More complex foregrounds like rock arches or tree frames are doable, but they require more precise masking in Photoshop.
Step 2: Open Both Raws in Adobe Camera Raw
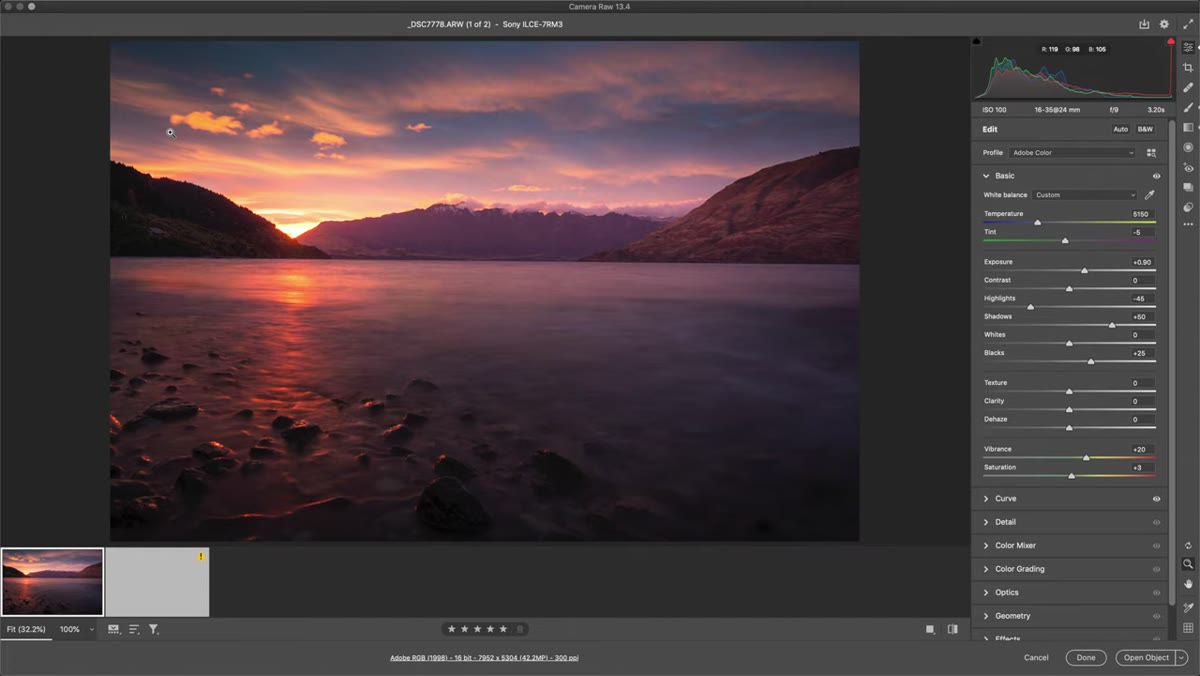
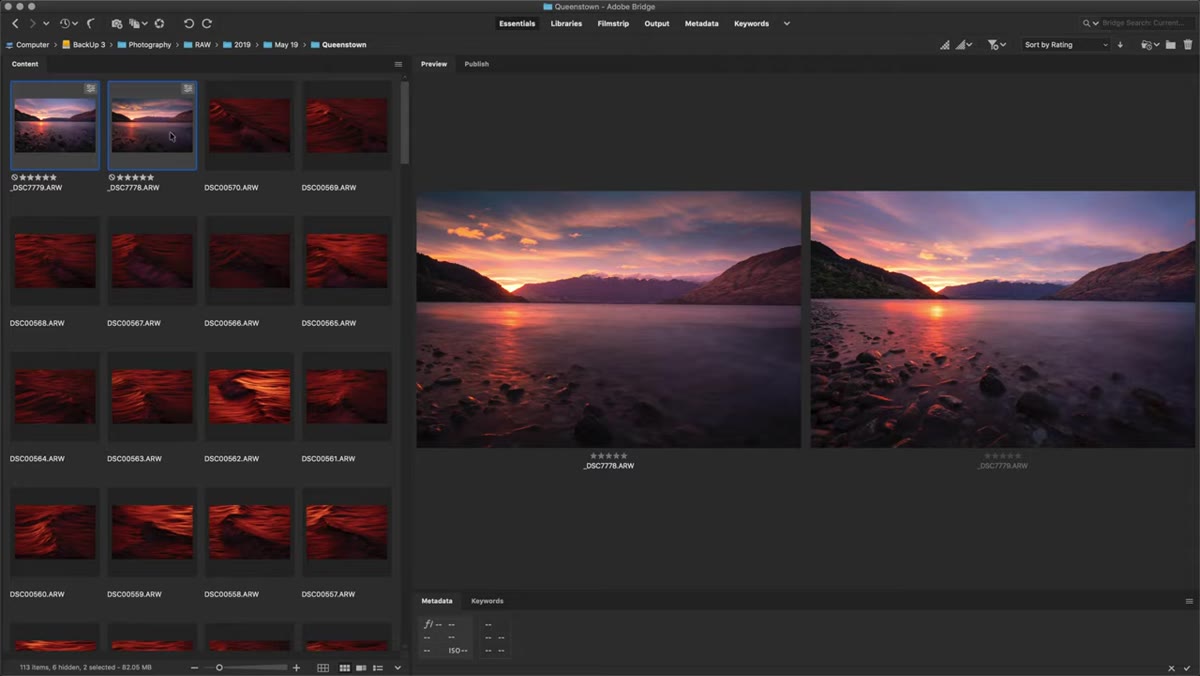 Both raw files open simultaneously in Adobe Camera Raw
Select both raw files in Adobe Bridge and double-click to open them together in Adobe Camera Raw. Patino’s approach here is to apply a consistent base edit across both files so the tones feel unified before any blending begins. He pulls up the shadows and brings the highlights down, a standard move for high-contrast sunrise and sunset light. The point is not to do a final polish at this stage, just to get the two frames into a similar tonal neighborhood. If one file looks dramatically warmer or brighter than the other before you start blending, the seam will give you away. Match white balance and exposure roughly, then move on.
Both raw files open simultaneously in Adobe Camera Raw
Select both raw files in Adobe Bridge and double-click to open them together in Adobe Camera Raw. Patino’s approach here is to apply a consistent base edit across both files so the tones feel unified before any blending begins. He pulls up the shadows and brings the highlights down, a standard move for high-contrast sunrise and sunset light. The point is not to do a final polish at this stage, just to get the two frames into a similar tonal neighborhood. If one file looks dramatically warmer or brighter than the other before you start blending, the seam will give you away. Match white balance and exposure roughly, then move on.
Step 3: Place Both Images into a Single Photoshop Document
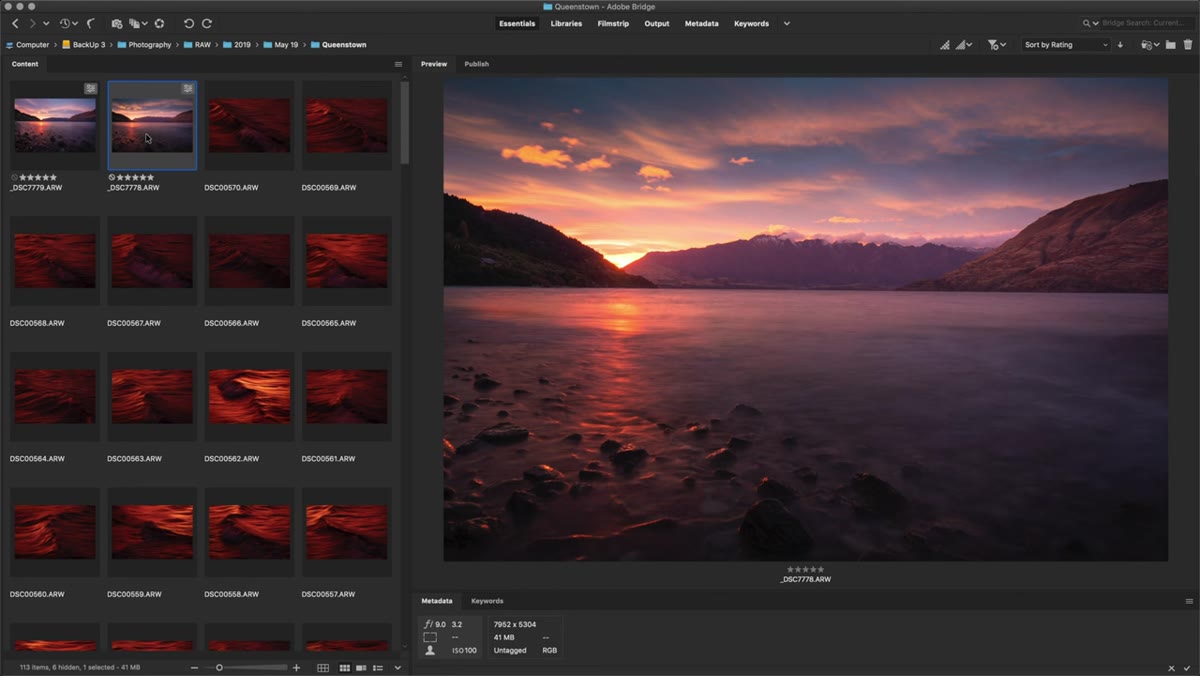 Wide angle and telephoto frames loaded as layers in Photoshop
Open both files into Photoshop so they land as separate layers in the same document. Your wide angle frame goes on the bottom. Your tighter focal length frame sits on top. The reasoning here is spatial: you’re going to mask away the foreground of the top layer, revealing the wide angle foreground beneath, while keeping the top layer’s background and sky intact. If you have them stacked the other way, the logic of the mask reverses and gets confusing fast. Get the layer order right before you touch a mask.
Wide angle and telephoto frames loaded as layers in Photoshop
Open both files into Photoshop so they land as separate layers in the same document. Your wide angle frame goes on the bottom. Your tighter focal length frame sits on top. The reasoning here is spatial: you’re going to mask away the foreground of the top layer, revealing the wide angle foreground beneath, while keeping the top layer’s background and sky intact. If you have them stacked the other way, the logic of the mask reverses and gets confusing fast. Get the layer order right before you touch a mask.
Step 4: Align the Two Layers
 Two layers visible with slight positional offset before alignment
Even with a tripod, a small shift between shots can happen, especially if there was any wind or you bumped the tripod changing focal lengths. Set the top layer to a blending mode like Difference temporarily, which turns areas of agreement nearly black and highlights any misalignment in bright tones. Use the Move tool with arrow keys to nudge the top layer into alignment until the image goes as dark and uniform as possible across the horizon zone. Switch the blending mode back to Normal once you’re aligned. This two-minute step will save you from a ghost edge along your blend line that no amount of feathering will fully fix.
Two layers visible with slight positional offset before alignment
Even with a tripod, a small shift between shots can happen, especially if there was any wind or you bumped the tripod changing focal lengths. Set the top layer to a blending mode like Difference temporarily, which turns areas of agreement nearly black and highlights any misalignment in bright tones. Use the Move tool with arrow keys to nudge the top layer into alignment until the image goes as dark and uniform as possible across the horizon zone. Switch the blending mode back to Normal once you’re aligned. This two-minute step will save you from a ghost edge along your blend line that no amount of feathering will fully fix.
Step 5: Add a Layer Mask and Paint the Blend
 Horizon line used as natural blend point between two focal lengths
Add a layer mask to the top layer, the tighter focal length frame. Select a large, soft black brush and paint over the foreground portion of that top layer, starting from the bottom of the frame and working up toward the horizon. What you’re revealing underneath is the wide angle foreground with its texture and lead-in detail. What you’re preserving on the top layer is the background subject, rendered larger and with more visual weight. On a lake scene like the one Patino uses, the shoreline is your guide. Keep your brush stroke horizon-parallel and let the feathering do the work of softening the transition. If the blend line shows, lower your brush opacity and make a few lighter passes right along that edge.
Horizon line used as natural blend point between two focal lengths
Add a layer mask to the top layer, the tighter focal length frame. Select a large, soft black brush and paint over the foreground portion of that top layer, starting from the bottom of the frame and working up toward the horizon. What you’re revealing underneath is the wide angle foreground with its texture and lead-in detail. What you’re preserving on the top layer is the background subject, rendered larger and with more visual weight. On a lake scene like the one Patino uses, the shoreline is your guide. Keep your brush stroke horizon-parallel and let the feathering do the work of softening the transition. If the blend line shows, lower your brush opacity and make a few lighter passes right along that edge.
Step 6: Refine and Do Your Final Edit
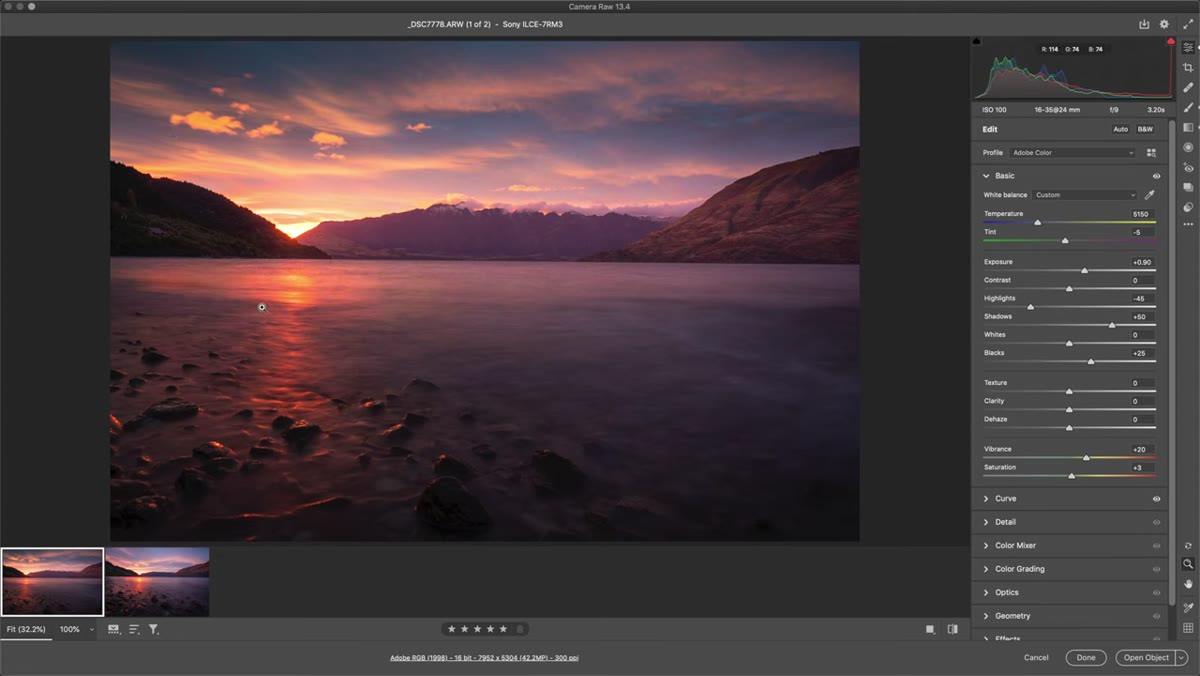 Quick shadow and highlight adjustments applied in Adobe Camera Raw
Once the blend feels clean, flatten or merge the layers and bring the composite back into Camera Raw or Lightroom for final grading. Any remaining tonal mismatch between the two frames will become visible now, and small targeted adjustments with a gradient mask or radial filter can iron those out. Patino keeps his edit grounded, protecting the color that was already there in the raw files rather than pushing it somewhere artificial. The real fireball was already in the sky. The job of the edit is just to let it breathe.
Quick shadow and highlight adjustments applied in Adobe Camera Raw
Once the blend feels clean, flatten or merge the layers and bring the composite back into Camera Raw or Lightroom for final grading. Any remaining tonal mismatch between the two frames will become visible now, and small targeted adjustments with a gradient mask or radial filter can iron those out. Patino keeps his edit grounded, protecting the color that was already there in the raw files rather than pushing it somewhere artificial. The real fireball was already in the sky. The job of the edit is just to let it breathe.
A Note on When This Technique Earns Its Keep
I want to be direct about something: this technique is most useful and most defensible when the location actually demanded it. Some of the shots I’m proudest of came from mornings where I drove three hours before first light, stood in cold water for two hours, and still felt like the lens wasn’t representing what I saw. That gap between what your eye registers and what a 16mm frame records is real, and closing it responsibly is part of good craft.
Where I’d urge restraint is if you’re tempted to use focal length blending to recover a scene that was simply underwhelming. If the light was flat and the mountain was ordinary on that particular morning, making the mountain fill the frame isn’t going to save the image. The technique serves authenticity. It doesn’t create it.
The single most important takeaway from this tutorial is the field discipline it requires. You have to think about the blend before you shoot, not after. Know where your horizon line is. Lock your tripod and don’t move it. Capture both focal lengths while the light is still doing what brought you there. Everything Patino does in Photoshop is clean and replicable, but it only works because the two source frames were captured with intention.
Watch the full tutorial on YouTube and follow along with your own files. The technique clicks fast once you see the blend come together on screen.
Comments (2)
Wow, I had no idea you could do this. Mind blown.
Solid advice. Especially the part about taking your time with it.
Leave a Comment