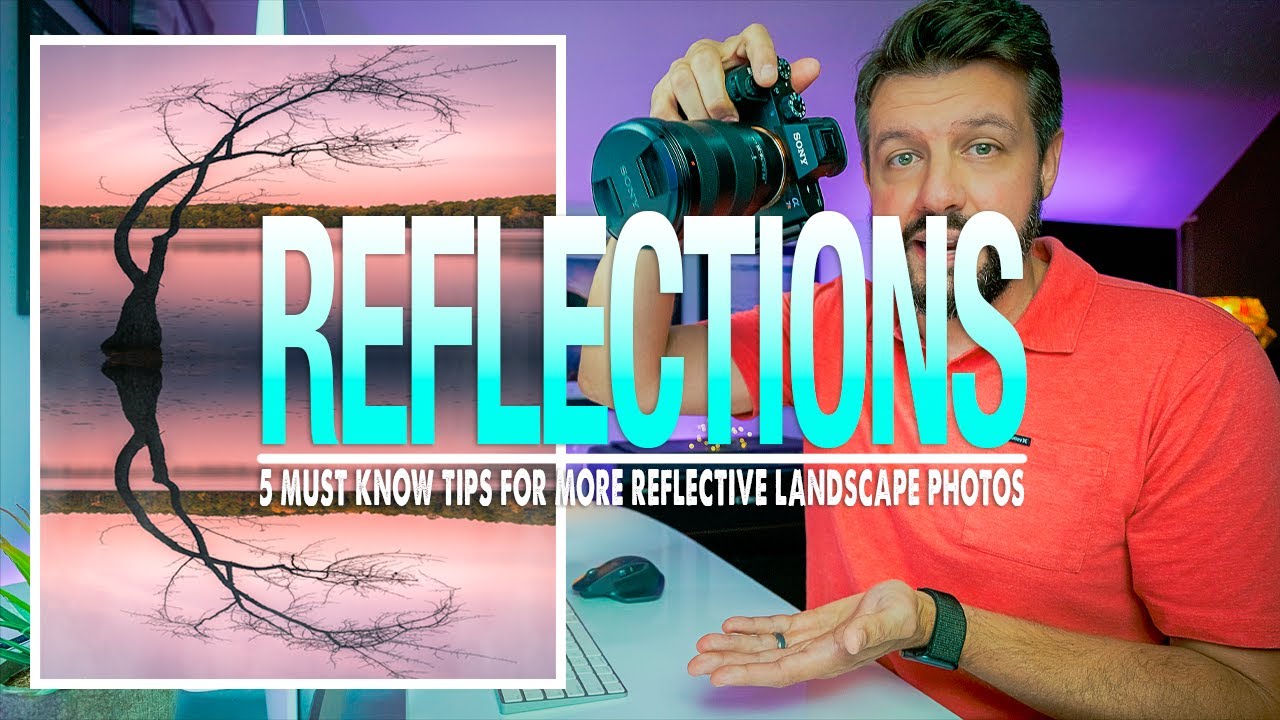
There’s a particular kind of frustration that hits when you’re standing in front of a genuinely beautiful scene and you just cannot crack the composition. The foreground is boring, the frame feels lopsided, and nothing you try resolves the tension. I’ve been chasing light for two decades now, and I still run into that wall more often than I’d like to admit. What saves me, time and again, is water. Specifically, what the water is doing.
In this Mark Denney tutorial, Denney breaks down five ranked tips for getting more out of reflections in landscape photography, from orientation choices to filter decisions to where you actually plant your feet. What I appreciate about his approach is that he treats reflections not as a lucky accident but as a compositional tool you can actively deploy. That reframing alone is worth your time. He also delivers a bonus tip at the end that has some real nuance to it, so stick with the full video. What follows is my walkthrough of his framework, filtered through what I’ve seen work and fail across a lot of mornings in the field.
Reflections solve two of the hardest problems in landscape composition simultaneously. They give you a foreground element when you can’t find one, and they create a visual balance that almost no other technique can replicate as naturally. When both of those problems are solved at once, you’re free to focus on light, timing, and the quieter decisions that separate a good photograph from a great one.
Step 1: Rotate to Portrait Orientation
 Example portrait orientation image capturing tree and full reflection
Most photographers default to landscape orientation because the name tells them to. Denney’s first practical tip is to fight that instinct when water is in front of you. Portrait orientation gives you more vertical real estate, which means you can capture both the subject above the waterline and a full read of the reflection below it without cropping either short.
Think about what that means practically. A tall stand of aspens or a sandstone cliff reflected in a still pool needs room to breathe in both directions. Flipping to vertical lets the full scene stack into the frame naturally. Denney shows a simple example with a tree and its reflection where the portrait crop makes the image feel complete, while a landscape crop would force you to sacrifice either the top of the tree or the bottom of the reflection. Try both orientations at every reflective shot before you commit. It takes ten seconds and the difference is often immediately obvious in the viewfinder.
Step 2: Know What Your Polarizer Actually Does to Reflections
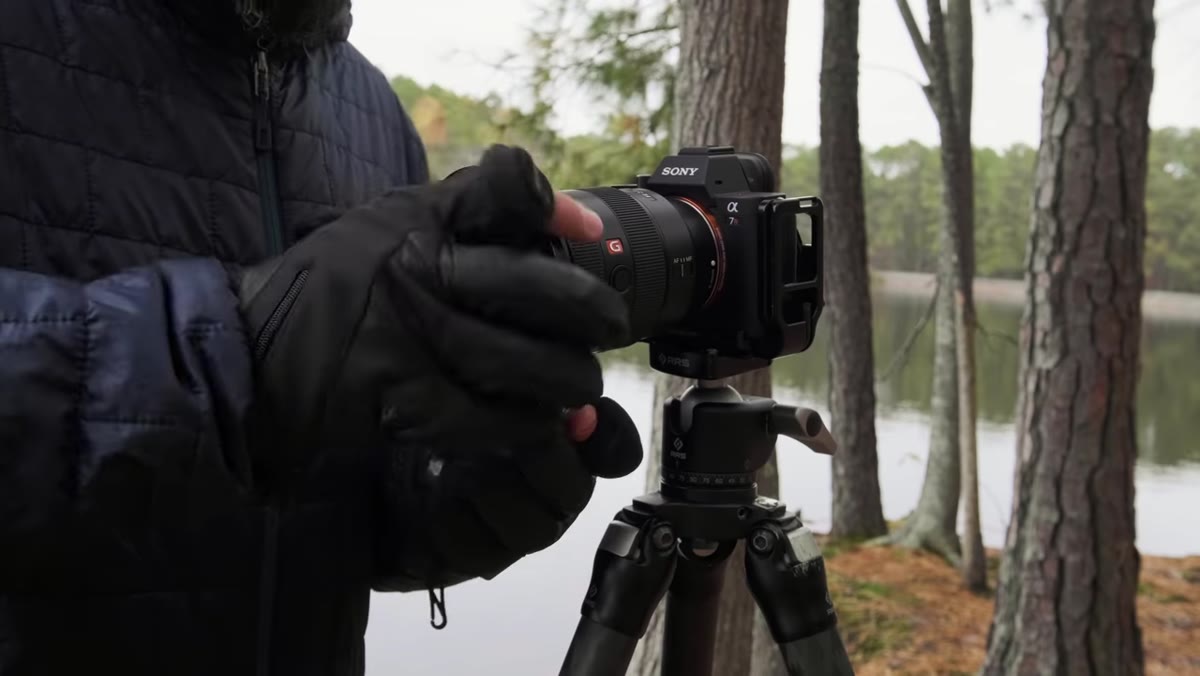 Demonstration of polarizer effect on water surface reflection
This is where things get interesting, and where Denney is honest about the trade-offs in a way a lot of tutorials skip. A polarizing filter does eliminate glare and surface haze from water, which is useful in many situations. But here is the catch: that glare you’re removing is often the reflection itself. Rotating a polarizer to cut surface reflection can effectively erase the very element you came to photograph.
The practical guidance is to treat your polarizer as a variable tool, not a fixed setting. Rotate it all the way through its range and watch what happens to the water. At one end you might lose the reflection almost entirely and see straight through to the bottom. At the other end the reflection becomes rich and defined. Depending on the image you’re after, either extreme or somewhere in the middle might be right. The mistake is mounting the filter and forgetting to check. I keep mine set to neutral until I’m actively looking through the viewfinder at how it’s affecting the specific water in front of me.
Step 3: Get Your Camera Low
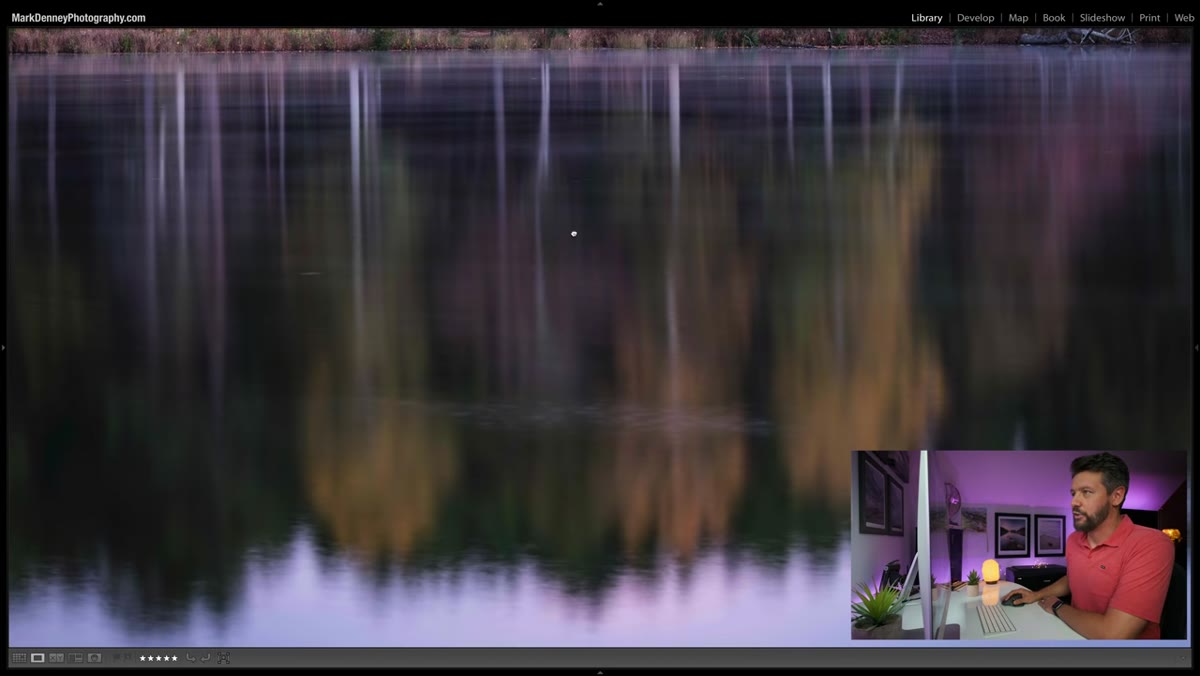 Camera positioned low to the ground at water’s edge
Camera height changes everything with reflections. The higher you stand, the more you’re looking down at an angle into the water, which compresses the reflection and shrinks it in the frame. Drop your tripod legs and get the camera as close to the water’s surface as conditions allow, and the reflection expands, often dramatically.
I’ve had shoots where I went from a ho-hum composition standing upright to something genuinely arresting just by dropping to my knees and repositioning the tripod at ankle height. Denney reinforces this with examples that show the before-and-after shift in perspective. Low angles also make ripples more visible and give the water a sense of texture and depth. Pack a ground-level plate or a low-rider tripod head if this is a regular part of your shooting. Getting your knees wet is not optional sometimes.
Step 4: Wait for Calm Water
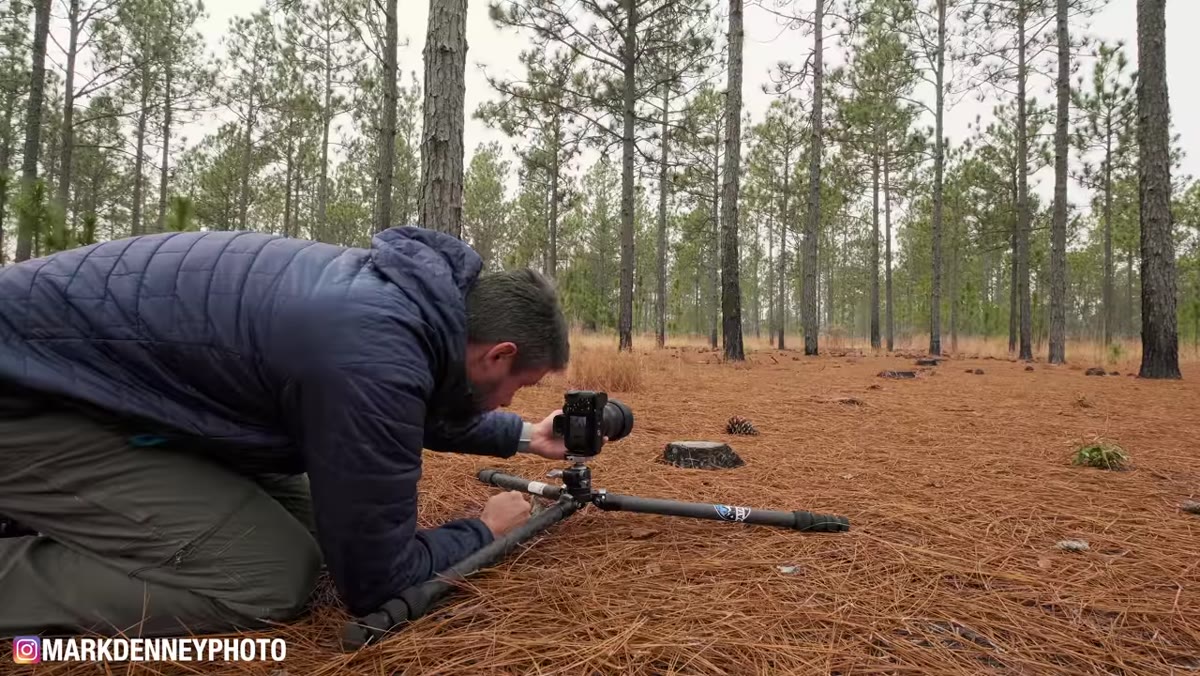 Still water surface with sharp, undistorted mountain reflection
Wind is the enemy. Even a light breeze introduces enough surface movement to break up a reflection into something abstract, and while that can occasionally be its own kind of interesting, if you want a clean mirror image you need patience. Denney’s advice here is simple but easy to underestimate: wind tends to drop off during the transition periods, early morning especially, and again near sunset.
This is not just calendar knowledge. You need to feel it on location. I sometimes arrive at a spot an hour before I plan to shoot specifically to watch how the water behaves. Is it glassing off? Is there a thermal wind coming down the canyon? Those observations shape when I press the shutter. A scene that’s slightly disappointing in decent wind can become extraordinary in the ten-minute window when the air goes completely still. Build that patience into your field process.
Step 5: Place Your Horizon Deliberately
 Horizon positioned at center frame for perfect symmetrical reflection
Conventional compositional wisdom says to keep the horizon away from the center of the frame. With reflections, Denney makes the case for breaking that rule intentionally. Centering the horizon creates a symmetrical image that can have a meditative, almost abstract quality. The reflection and the subject become equals in the frame, and the viewer’s eye moves between them without a clear hierarchy.
The key word is deliberately. Don’t center the horizon because you forgot to think about it. Center it because you decided it was the right choice for that specific scene. Denney also notes that if the sky is the stronger element, give it more room. If the reflection is more compelling, let it dominate. Treat the horizon placement as an active decision every single time.
What I’d Add From Two Decades of Chasing Still Water
One thing Denney doesn’t dig into, probably because the tutorial focuses on capture, is how seasons affect reflective conditions. The clearest, most reliable reflections I’ve ever shot were in shoulder seasons, late October in the Pacific Northwest, early spring before the wind patterns pick up. Summer afternoons are almost always hopeless. If reflection photography is something you want to pursue seriously, start building a mental calendar of when the calm windows tend to occur at your most-visited locations. That knowledge compounds over years and starts to feel like a sixth sense.
The single most transferable idea from this tutorial is that reflections are a compositional decision, not a weather report. You choose how much of the reflection appears, how it’s framed, and whether it anchors or transforms the image. Every tip Denney shares flows from that underlying principle. Watch the full tutorial on YouTube for the bonus tip and the specific visual examples he walks through. Worth the full runtime.
Comments
Leave a Comment