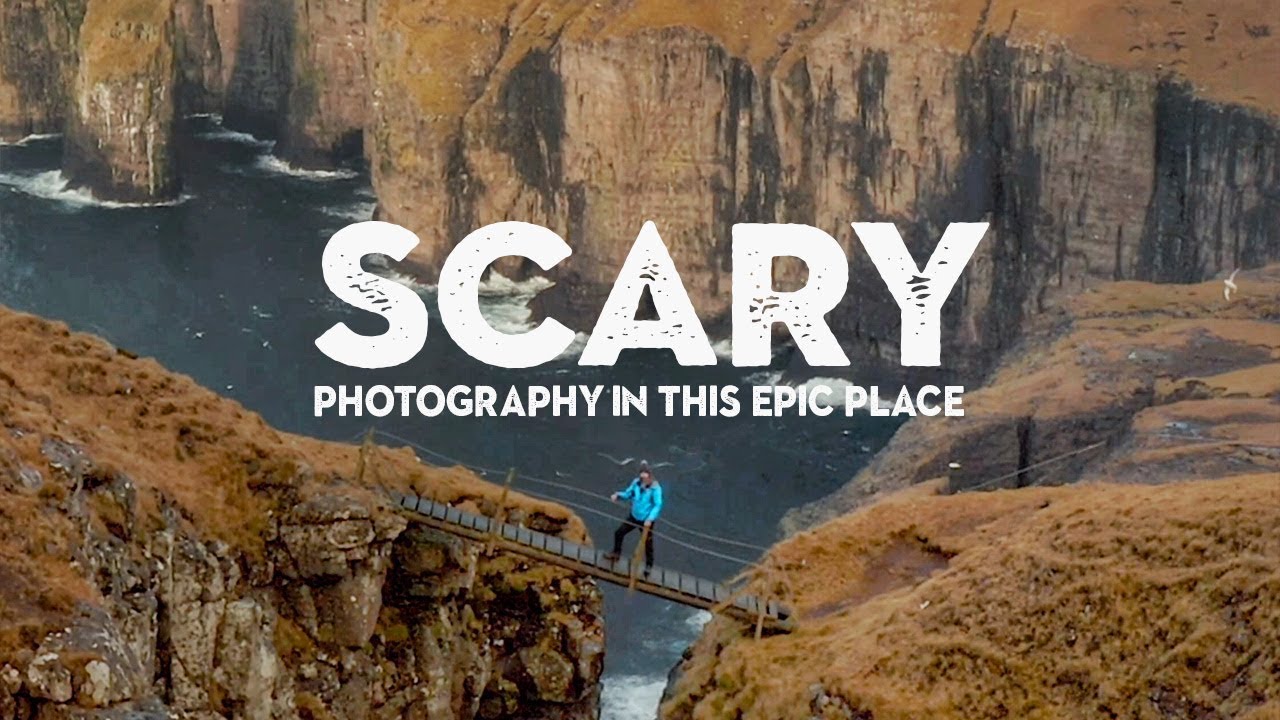
There’s a particular kind of photographer’s stubbornness that separates a good shoot from a forgettable one. It’s not gear, and it’s not weather luck. It’s the willingness to commit fully to a location, even when your body is telling you to turn around. A mentor of mine put it plainly once: “The mountain doesn’t care about your schedule.” I’ve carried that thought into nearly every shoot I’ve done since, from the high desert outside Bend to river gorges in the Pacific Northwest. Which is why, when I came across this Faroe Islands tutorial by Nigel Danson, I felt an immediate recognition. Here was a photographer doing exactly what the craft demands: showing up, staying uncomfortable, and working through it.
Watch the full tutorial on YouTube
In this Nigel Danson tutorial, he travels by ferry to Suðuroy, the southernmost island of the Faroe Islands, accompanied by a local Faroese photographer. The trip itself is two hours each way, the sea cliffs are enormous, the bridge he photographs from is genuinely terrifying, and the light is extraordinary. What I want to break down here isn’t just the drama of the location. It’s the repeatable decision-making underneath it, the approach any landscape photographer can borrow regardless of where they’re shooting.
Step 1: Build Local Knowledge Into Your Trip Planning
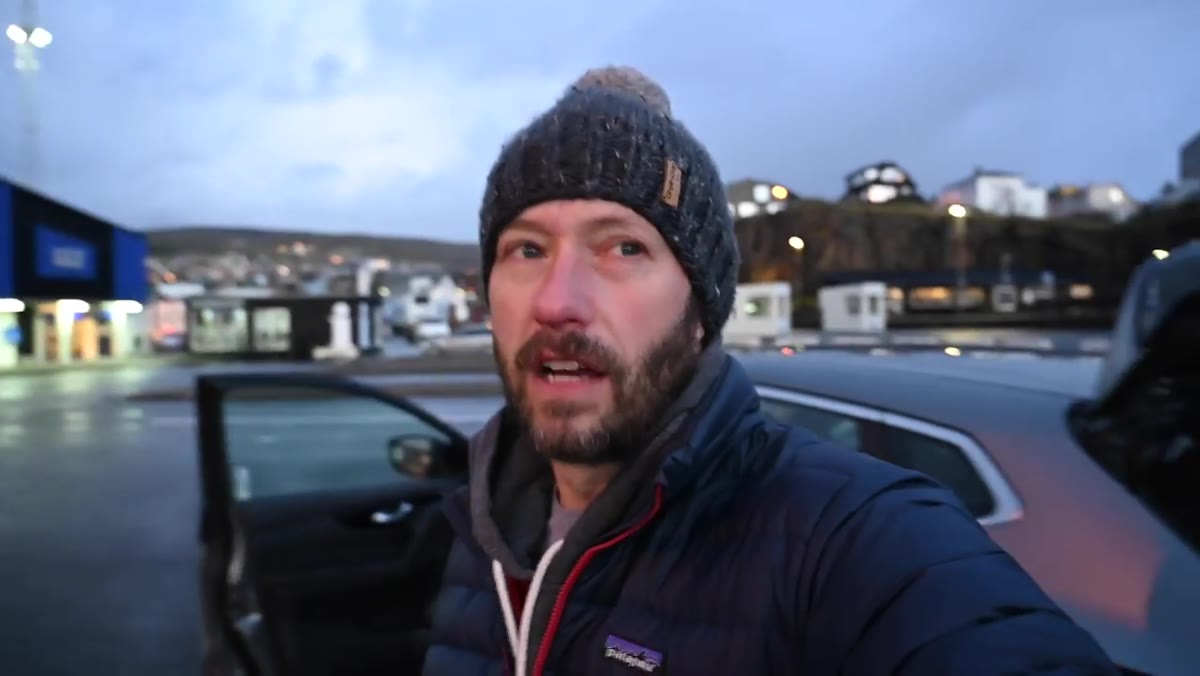 Nigel on the ferry terminal mentioning local Faroese photographer
Nigel doesn’t show up to Suðuroy alone. He’s traveling with a local photographer who knows the islands. This is worth pausing on. The Faroe Islands have roughly 58,000 residents spread across remote terrain with notoriously unpredictable weather. No amount of Google Maps preparation replaces someone who has stood at these cliffs in different seasons and knows which roads are actually passable.
If you’re shooting somewhere unfamiliar, the fastest way to compress your learning curve is to connect with someone local before you go. This doesn’t mean you need a hired guide. It can be a photography forum contact, an Instagram DM to a local landscape photographer, or even a conversation with a hiking club. Local knowledge shapes your shot list, your timing, and your safety decisions. It is not optional when the terrain is serious.
Step 2: Use the Travel Time to Read the Light
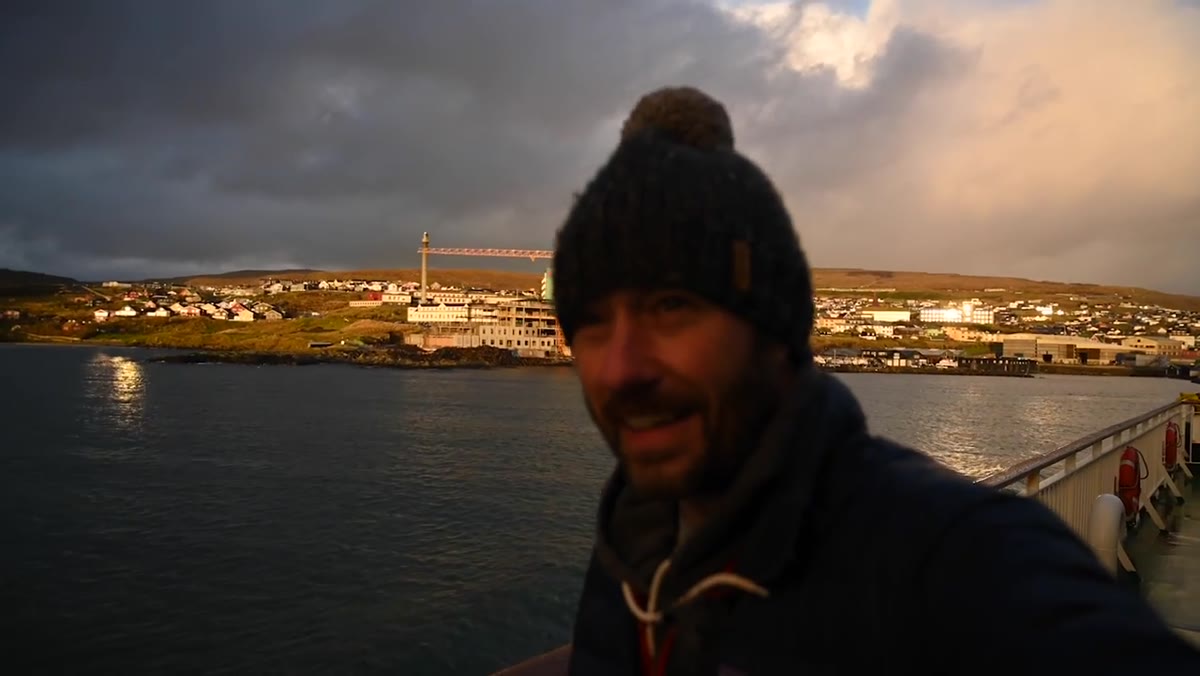 Nigel on the ferry deck watching sunrise light over the water
On the two-hour ferry crossing, Nigel is already working. He’s watching the quality of light at sunrise, noting the color, the softness, the way it falls across the water and the distant cliffs of Tórshavn behind him. He spots a rainbow in the mist and documents it. None of this is wasted time.
Travel to a remote location is pre-visualization time. I use long drives to a shoot the same way. What’s the sun angle doing when I arrive? What’s the cloud cover suggesting about the next few hours? By the time I’m at the trailhead, I want a working theory of how the light will behave at golden hour. The ferry crossing gave Nigel a two-hour weather briefing for free. Pay attention to what the conditions are doing in transit, and you’ll arrive with a plan instead of a blank slate.
Step 3: Make a Quick Stop for a Foreground-Led Composition
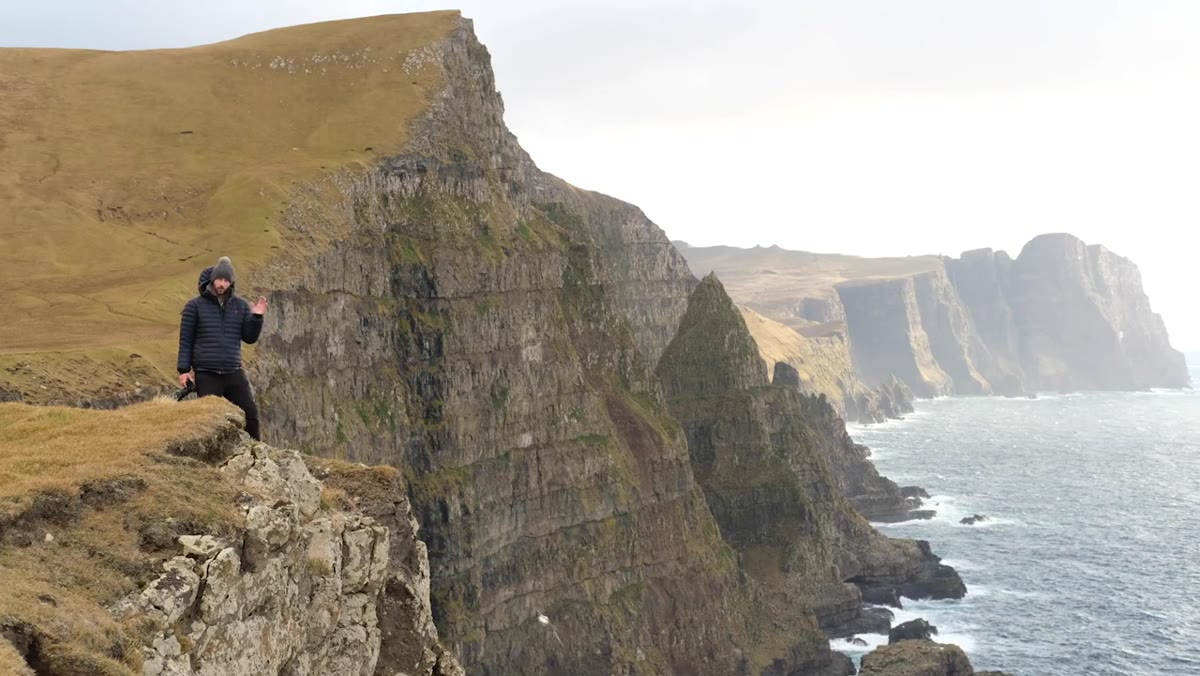 Nigel positioning camera low to use foreground rock leading into cliff distance
Before heading to the main location, Nigel pulls over at the coastal cliffs on Suðuroy for a quick shot. What he’s doing here is deliberate: he positions the camera low to use a rough, textured foreground rock as an entry point into the frame, with the dramatic cliffs and mountains receding into the distance behind it.
This is a technique that works in almost any open landscape. A strong foreground gives the viewer’s eye somewhere to land before the scene pulls them back into depth. The mistake most photographers make is shooting from standing height, which flattens the relationship between near and far. Get low. Find a rock, a patch of sea grass, a line of tide pools. Even dropping to one knee can change the foreground geometry enough to create genuine depth. Nigel spends only a few minutes here, but the compositional instinct is sharp and fast because he’s practiced it enough that it’s automatic.
Step 4: Commit to the Main Location With Enough Time to Work It
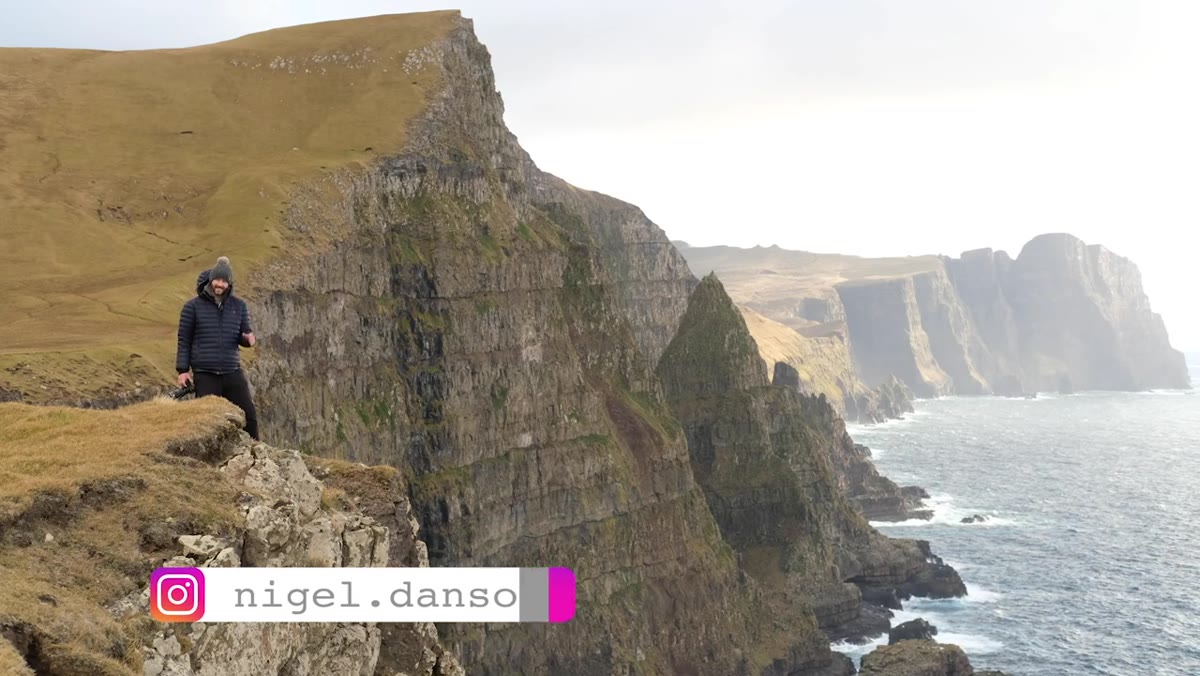 Nigel describing plan to stay three to four hours until sunset
Nigel’s plan for the main bridge location is to arrive and stay for three to four hours through to sunset. This is the decision that separates a documentary snapshot from a considered photograph. He isn’t planning to show up, shoot for twenty minutes, and leave.
I’ve said this in workshops for years: most photographers leave a location right before the best light arrives. You drove out there. You hiked in. Stay. The light at a sea cliff location like this will change dramatically from midday to golden hour to the last minutes before dark. Each phase gives you different shadow geometry, different color temperature, different mood. Nigel’s commitment to staying the full block of time is the reason he’ll come home with something worth keeping.
Step 5: Cross the Terrifying Bridge (Face the Risk, Shoot Anyway)
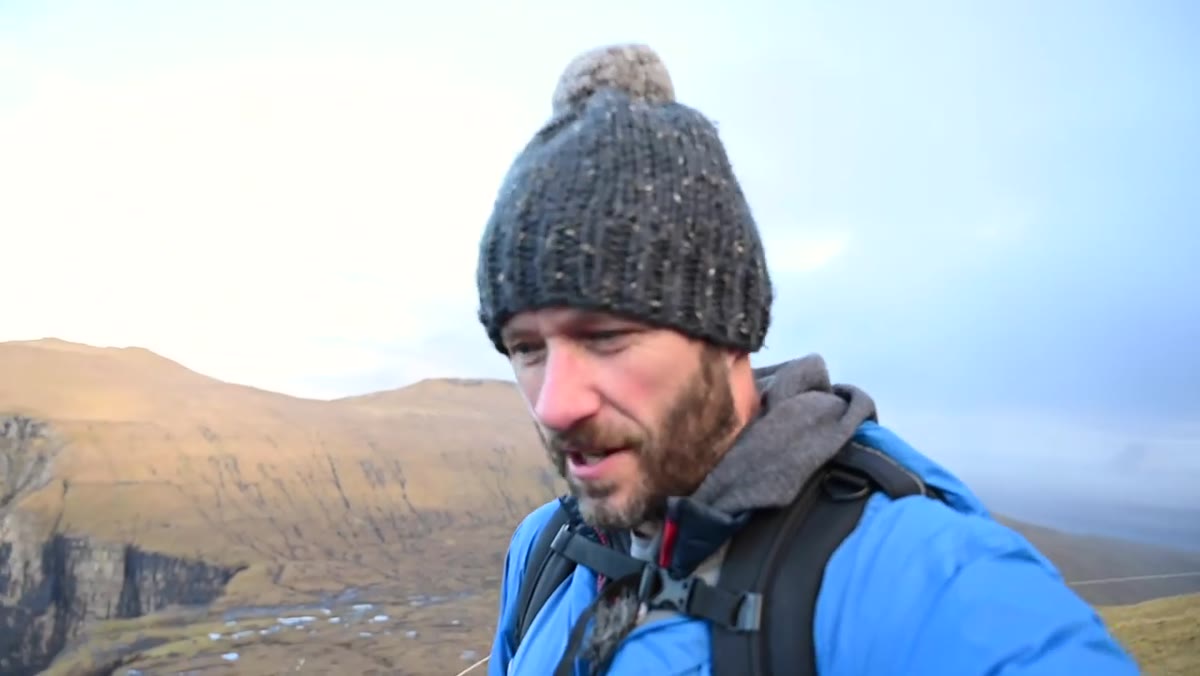 Nigel on the narrow slippery bridge over the sea cliff drop
The bridge at this location is narrow, wet, extremely slippery, and suspended above a cliff with a very long drop. Nigel crosses it, documents the experience honestly, and then crosses back. He’s not cavalier about it. He uses both hands, moves slowly, and acknowledges out loud that it’s genuinely frightening.
The field lesson here isn’t “take stupid risks.” It’s “don’t let fear make your creative decisions for you.” There is a threshold where a location becomes genuinely unsafe and you turn around. But there’s also a much lower threshold where discomfort masquerades as danger and sends photographers back to the car prematurely. Know the difference. Wet rock on a narrow bridge with good handrails is uncomfortable. It is not the same as an unprotected cliff edge in high wind. Assess accurately, then move.
Step 6: Let the Location Speak Before You Force a Shot
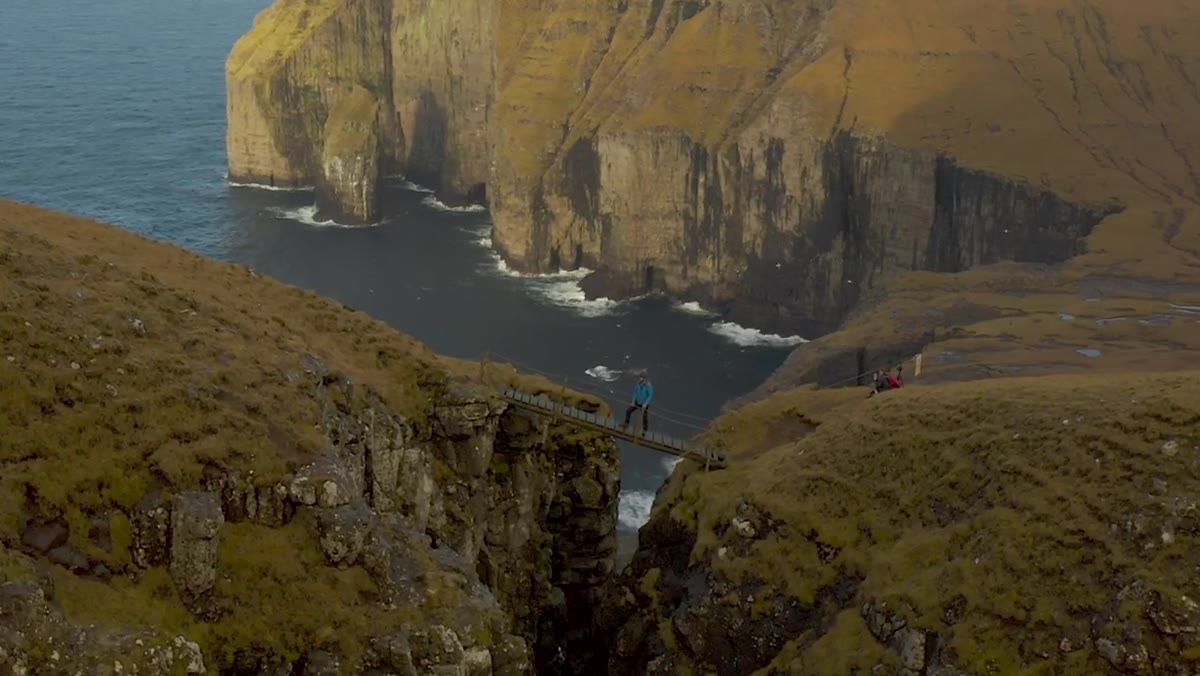 Nigel standing on the bridge, pausing, taking in the view
At the bridge, Nigel admits he can barely speak photographically. He’s absorbing the scale of what’s in front of him. He doesn’t immediately raise the camera. He stands there, takes it in, and lets the scene settle before he starts making decisions about what to photograph.
This is something I started doing deliberately after years of arriving at locations and shooting reactively. Now I give myself five minutes of just looking when I get somewhere new. No camera, no phone, no screen. Just eyes. The shape of the light, the movement of water, the relationship between the horizon and the foreground. By the time I lift the camera, I already know roughly what I’m after. It makes every subsequent decision faster and cleaner.
From My Own Experience: Remote Locations Demand a Buffer of Time
Twenty years of shooting landscapes has taught me that the difficulty of getting somewhere is usually proportional to the reward waiting there. A two-hour ferry followed by a rough dirt road and a nerve-testing bridge crossing filters out everyone who isn’t serious. That filtering is part of why the location is still photogenic. The Faroe Islands, like many truly spectacular natural landscapes, are genuinely inconvenient to reach. Build that inconvenience into your planning, and add buffer time on either side. Nigel’s last-day urgency was real. I’ve felt it on trips where I miscalculated how much time the logistics would eat. Give yourself more time than you think you need. The light will use it.
The single most important thing Nigel demonstrates in this video isn’t his crossing of that terrifying bridge. It’s the full commitment to the location: local knowledge, a long travel window, a planned multi-hour stay through sunset, and the physical willingness to go where the shot actually is. That combination is what makes the difference between a tourist photograph and a landscape photograph. Everything else is technique layered on top of that foundation.
Watch the full tutorial on YouTube to see the bridge, the cliffs, and the light for yourself. It’s worth every minute.
Comments
Leave a Comment