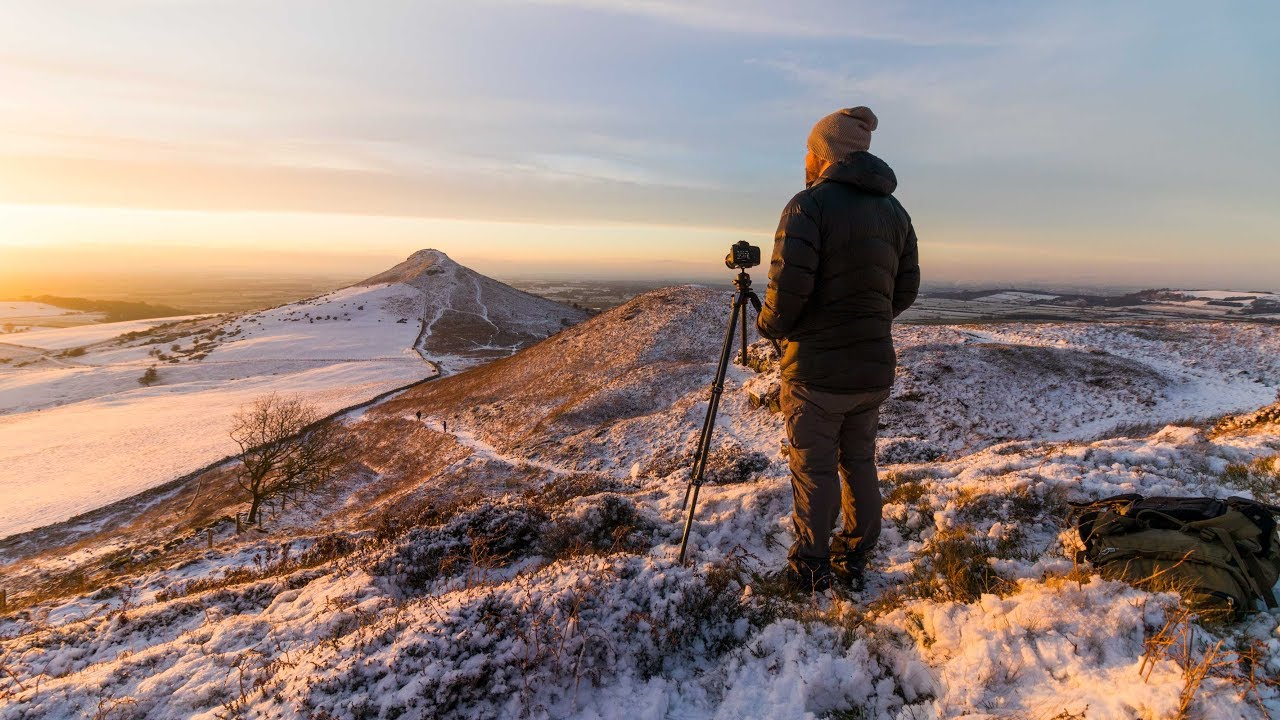
There is a particular kind of cold that gets into your hands about twenty minutes into a snow shoot, right around the time you’re convinced you’ve nailed the composition and your fingers have stopped cooperating with your focus ring. I’ve stood in that cold more times than I can count, from the Cascades to the coast of Oregon, and I still find snow one of the most technically tricky and emotionally rewarding conditions to shoot in. So when I came across a recent tutorial from First Man Photography, documenting a full winter day of landscape shooting in North Yorkshire, I watched it twice. Not because it told me things I’d never heard, but because watching a skilled photographer work through the same problems I face, in real time and in real weather, is always worth an hour of my morning.
Watch the full tutorial on YouTube
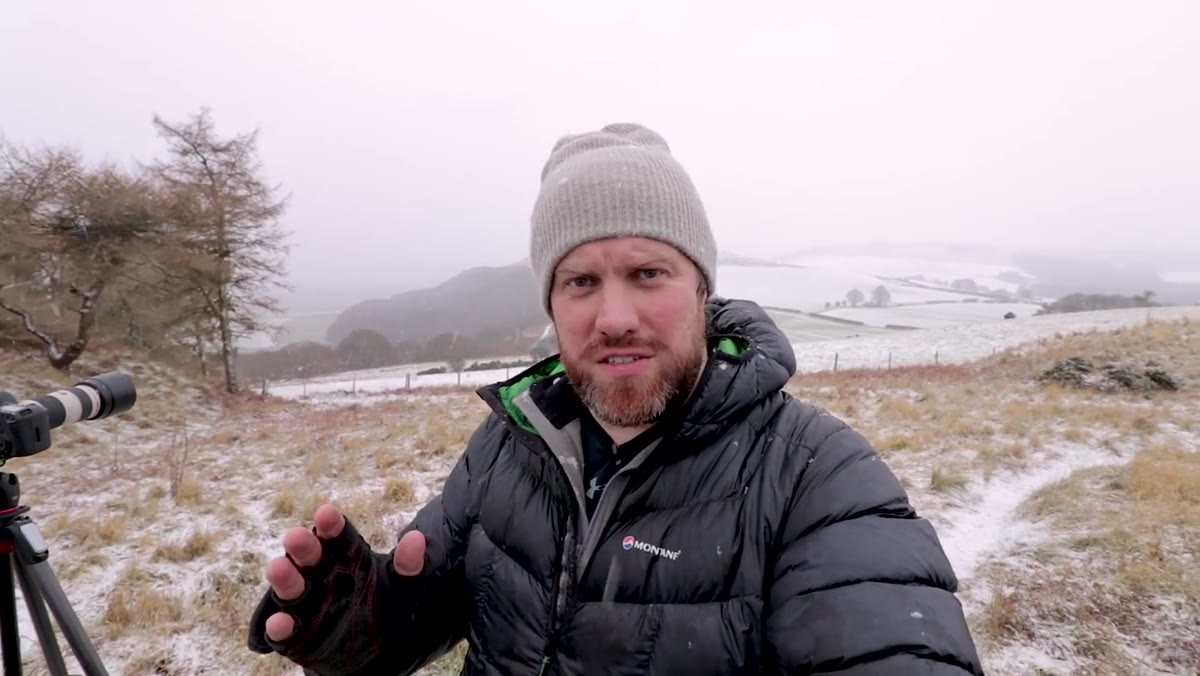
What the video does well is show the thinking behind the decisions, not just the settings. That’s the gap most photography writing leaves open. You can read that snow throws off your meter a thousand times and still blow your histogram the first time you’re standing in a white field at 7am. Seeing someone work through it in the field, explaining why they’re doing what they’re doing while snow hits them in the face, closes that gap faster than any gear review. Here’s my breakdown of the technique, expanded with what I’d do in the same situations.
Step 1: Choose Your Subject and Commit to It Before You Set Up
 Photographer set up with Roseberry Topping visible in background
The first location in the tutorial is an open field with Roseberry Topping dominating the horizon. Before touching the tripod, the photographer identifies the single subject: the hill. Everything else in the frame, the plowed field lines, the woodland, the distant track, exists to serve that subject. This sounds obvious until you’re standing in a beautiful snowy landscape and you want to include everything. Pick one anchor. Build outward from it.
In snow especially, scenes can feel visually chaotic because the white flattens depth. Naming your subject before you compose forces you to think about how every other element either supports or dilutes it.
Step 2: Use a Telephoto to Compress the Scene and Strengthen the Foreground Lines
 Photographer shooting with 70-200mm lens across snowy field
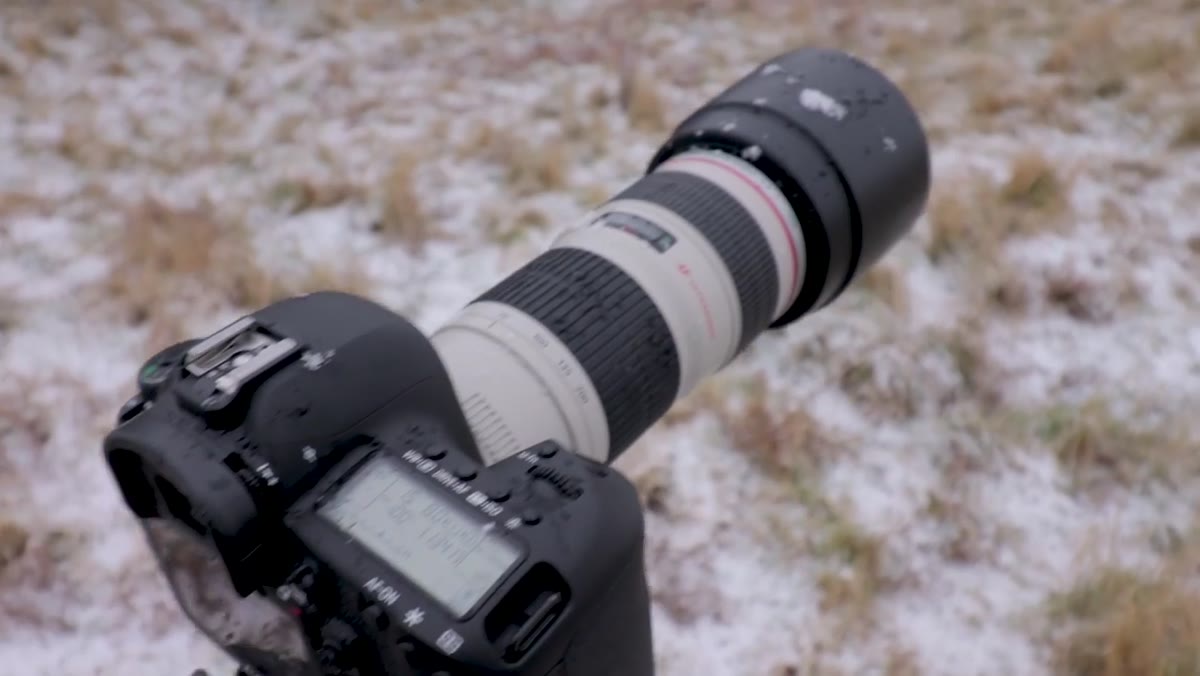
The tutorial uses a 70-200mm lens set to roughly 70mm for this first composition. That might feel counterintuitive when you’re looking at a wide, open landscape, but compression is working for the image here. By stepping back and using the longer end, the plowed field lines in the foreground are drawn closer to Roseberry Topping in the background, making the hill feel more immediate and dominant.
The key move is positioning yourself far enough back that those foreground lines, tractor tracks, field furrows, small paths, read as clear leading lines rather than distorted curves. At wider focal lengths and close range, lines like these can bend and lose their pull. Step back, zoom in slightly, and let the compression do the work.
Step 3: Shoot Two Photographers, Two Compositions, Same Location
 Second photographer framing shot with snow-covered trees included
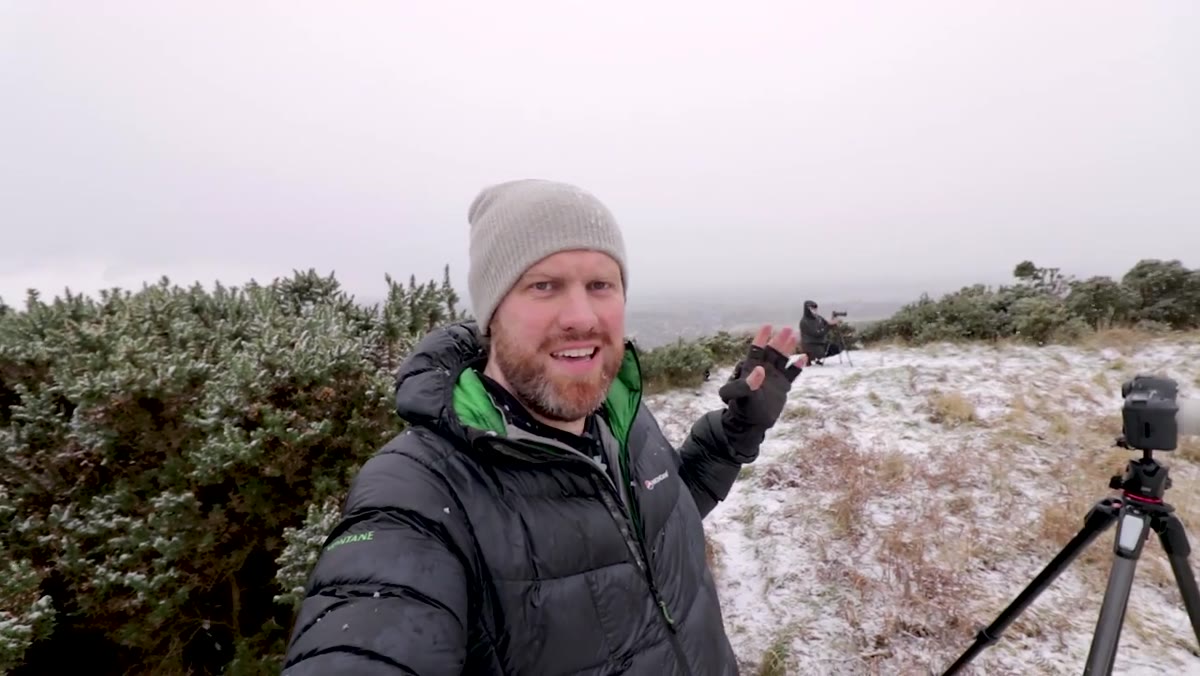
One of the most useful moments in the tutorial is when the camera swings around to show a second photographer at the same location, working a completely different composition. Where the main photographer is going tight and clean with the hill as anchor, his companion is pulling in snow-covered trees to frame the same background subject. Two strong images, same 10-foot radius.
When I run workshops, I ask participants to shoot the same scene from three different compositions before moving their feet. It sounds like a drill, but it breaks the habit of settling for the first angle that looks decent. Snow days are expensive in time and effort. Squeeze the location before you move on.
Step 4: Expose for Snow Manually and Trust Your Live View Over Your Meter
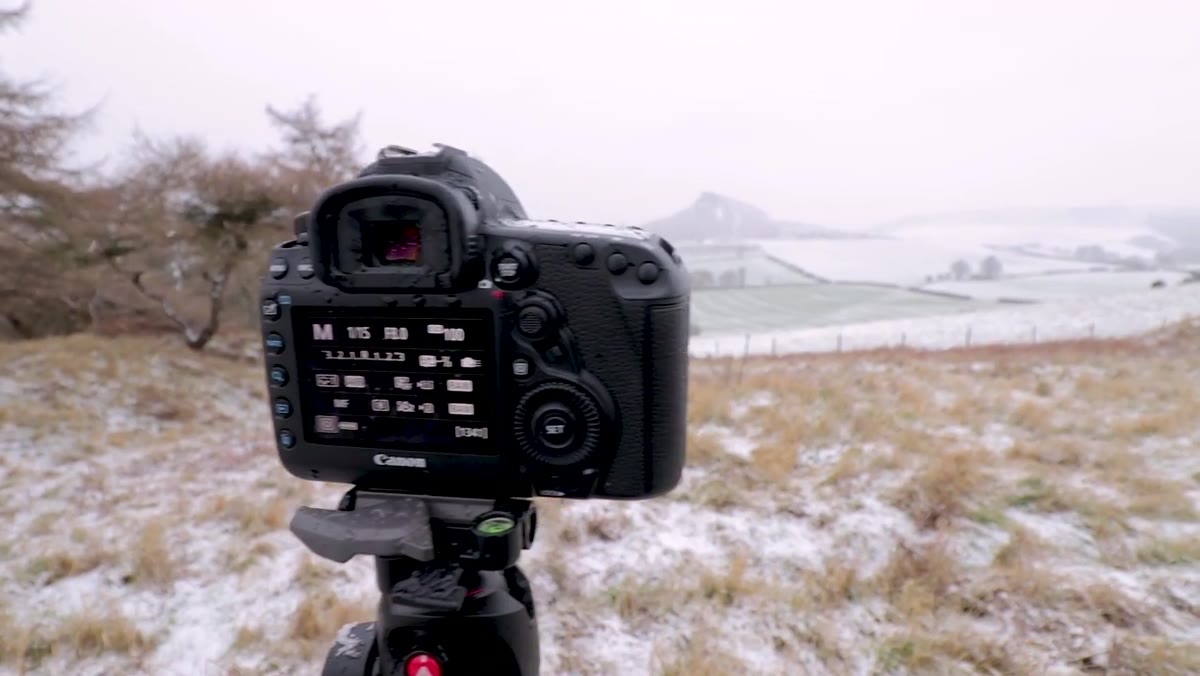 Camera settings visible — f/8, 1/15th second shutter speed
The camera settings at the first location are f/8, 1/15th of a second. More important than the numbers is the reasoning. Snow reflects so much light that in-camera meters consistently underexpose it, rendering it gray. The photographer’s solution is to treat the meter reading as a starting point and then rely on the live view screen to judge the actual result.
If you’re shooting RAW, you have some recovery room, but don’t use that as an excuse to be lazy with exposure. Blown highlights in snow are gone. I set my camera to display a histogram and blinkies simultaneously, dial in what the meter suggests, then add between 1 and 2 stops of positive exposure compensation until the snow reads as white on the histogram without clipping. Check after every few frames as the light shifts.
Step 5: Find Woodland Compositions That Only Work Because of the Snow
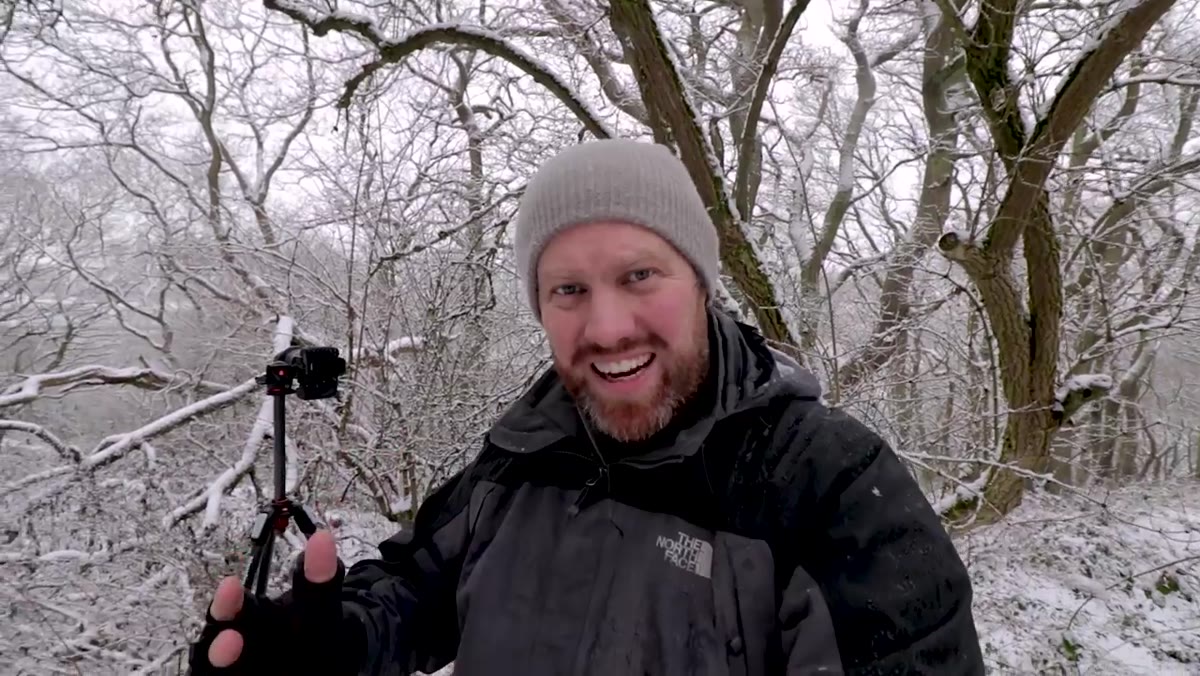 Snow-covered woodland with fallen branch in foreground
The second location is a woodland, and the tutorial makes an honest admission: this photographer does not usually shoot trees. But snow changes the calculus. A fallen branch in the foreground, coated in white, provides contrast and a visual entry point. The clearing between the trees creates a corridor that pulls the eye toward a larger tree at the back of the frame.
The instruction here is to look for scenes where snow is doing compositional work that nothing else could do. That fallen branch without snow is just clutter. With snow, it has shape, contrast, and weight. Ask yourself, before you frame any woodland shot in winter, whether the snow is actually necessary to the composition or just decorative. If it’s necessary, you have a shot worth making.
Step 6: Consider Converting Snow Scenes to Black and White in the Field
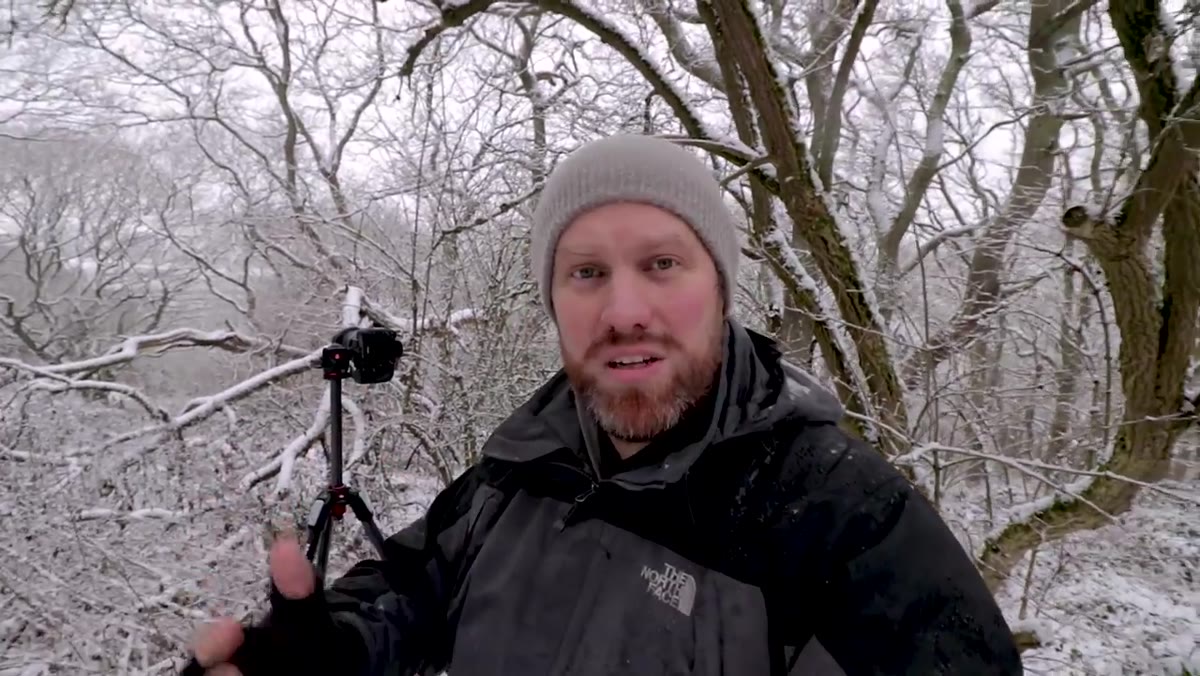 Dark tree branches contrasting sharply against white snow
The tutorial notes, while shooting the woodland, that the scene already looks close to black and white because of the high contrast between dark branches and white snow. This is a useful field signal. When a scene is already reading as near-monochrome to your eye, it’s telling you something about its tonal structure.
I switch my camera’s picture profile to monochrome while composing, even when shooting RAW color files. It strips away the color distraction and lets me evaluate the scene purely on contrast, shape, and light. Snow scenes with strong branching structures and dark trunks often work better in black and white than in color, where a gray winter sky can make the whole image feel muddy.
What I’d Add From My Own Experience
Snow exposure gets harder, not easier, as light changes through the day. My standard approach now is to bracket three exposures on every snow frame: metered, plus one stop, plus two stops. In post I choose the best and blend if necessary. Twenty years in, I still do it. The mountain doesn’t care about your histogram confidence.
I’d also push back gently on moving too quickly between locations on snow days. The light on a snowy landscape can shift dramatically in fifteen minutes when clouds thin or thicken. Some of my best snow images came from sitting with one location longer than felt comfortable, waiting for the light to do something unexpected. Patience is a technique too.
The single thing I’d carry away from this tutorial is the reminder that two photographers in the same spot will make two different images, and both can be good. Stop trying to find the one correct composition. There isn’t one. Work the location, trust your eye, and let the snow do what it does.
Watch the full tutorial on YouTube
Comments
Leave a Comment