
There is a particular kind of video I look for when I want to sharpen my thinking rather than just my technique. Not a tutorial built around a single dramatic image, but something messier and more honest: a working photographer fielding real questions from people in the trenches. That is exactly what Mark Denney delivers in his landscape photography Q&A session. Watch the full tutorial on YouTube before or after reading this, because the way he thinks out loud is worth hearing in his own words.
I have been making photographs in the field for twenty years, and I still find myself defaulting to habits I have never actually examined. Watching someone else articulate their decision process, even on topics I think I have figured out, has a way of surfacing assumptions I did not know I was carrying. This video did that for me in several spots. What follows is a breakdown of the questions I found most useful, expanded with the way I actually apply these ideas when I am standing in a river at first light with cold water around my ankles.
Step 1: Choose Your Focus Method Deliberately
 Photographer discussing autofocus versus manual focus preference
Denney’s approach to focusing is a hybrid that a lot of photographers stumble onto eventually but rarely articulate clearly. He uses autofocus to establish the focus point, then switches his lens to manual mode to lock it in place before shooting. The logic is sound: autofocus is fast and accurate, but it can hunt or shift if you half-press the shutter again or if something moves through the frame.
Photographer discussing autofocus versus manual focus preference
Denney’s approach to focusing is a hybrid that a lot of photographers stumble onto eventually but rarely articulate clearly. He uses autofocus to establish the focus point, then switches his lens to manual mode to lock it in place before shooting. The logic is sound: autofocus is fast and accurate, but it can hunt or shift if you half-press the shutter again or if something moves through the frame.
For astrophotography specifically, he abandons autofocus entirely. Instead, he focuses manually on the brightest star in the frame, watching the star’s apparent size in the viewfinder. An out-of-focus star blooms into a soft disc. As focus tightens, the disc shrinks. When the star is as small and sharp as you can make it, you are there. I have used this exact method for years and I will tell you it is more reliable than trying to use live view zoom on a pitch-dark horizon.
Step 2: Know When to Shoot Wide and When to Go Tight
 Discussion of choosing focal length based on surrounding environment
This is the question that could fill an entire workshop, and Denney gives it the honest short answer it deserves. If the area surrounding your subject is visually interesting, pull back and include it. If the surroundings are cluttered or distracting, move in and simplify. The subject itself does not change. The decision is about context.
Discussion of choosing focal length based on surrounding environment
This is the question that could fill an entire workshop, and Denney gives it the honest short answer it deserves. If the area surrounding your subject is visually interesting, pull back and include it. If the surroundings are cluttered or distracting, move in and simplify. The subject itself does not change. The decision is about context.
I make this call constantly in the juniper and pine country around Bend. A lone tree against a clean ridgeline asks to be isolated. That same tree with a wildflower meadow rolling out in front of it asks to be given room. What I would add from my own experience: if you are unsure which approach is right, shoot both. The answer usually becomes obvious when you are back at the computer and you see which frame stops you scrolling.
Step 3: Never Shoot JPEG for Landscape Work
 Direct answer on shooting format — JPEG versus RAW
Denney’s answer here is a flat no. He does not shoot JPEG, period. I feel the same way, and I want to give you the practical reason rather than just the philosophical one. In landscape work, you are often dealing with high-contrast scenes, skies that are three or four stops brighter than your foreground, subtle gradations in shadow detail that matter. RAW files give you the latitude to recover that information in post. JPEG files discard it at the moment of capture, permanently.
Direct answer on shooting format — JPEG versus RAW
Denney’s answer here is a flat no. He does not shoot JPEG, period. I feel the same way, and I want to give you the practical reason rather than just the philosophical one. In landscape work, you are often dealing with high-contrast scenes, skies that are three or four stops brighter than your foreground, subtle gradations in shadow detail that matter. RAW files give you the latitude to recover that information in post. JPEG files discard it at the moment of capture, permanently.
I still shoot the occasional roll of film because it forces me to commit to each frame. But even then, the discipline is about slowing down and thinking, not about limiting recovery options. RAW is the format of a photographer who wants choices. Keep your choices.
Step 4: Use Lightroom’s Targeted Tools to Guide the Eye
 Explanation of vignette, gradient, and adjustment brush options in Lightroom
Denney addresses three common tools for drawing viewer attention in post: the vignette, the graduated filter, and the adjustment brush. His key insight is that all three work by the same underlying principle, darkening what is unimportant so the eye travels naturally toward what is. The difference is precision.
Explanation of vignette, gradient, and adjustment brush options in Lightroom
Denney addresses three common tools for drawing viewer attention in post: the vignette, the graduated filter, and the adjustment brush. His key insight is that all three work by the same underlying principle, darkening what is unimportant so the eye travels naturally toward what is. The difference is precision.
A vignette is blunt and symmetrical. A graduated filter is linear, useful for skies or foregrounds. The adjustment brush is surgical. You can paint a dodge-and-burn pass across the exact shapes in your image, brightening your subject and darkening everything pulling attention away from it. Denney calls this the strongest overall approach, and I agree. I spend more time on targeted luminosity adjustments than on any other part of my edit. Done carefully, no one can see the work. They just feel pulled into the frame without knowing why.
Step 5: Find Your Landscape Hierarchy
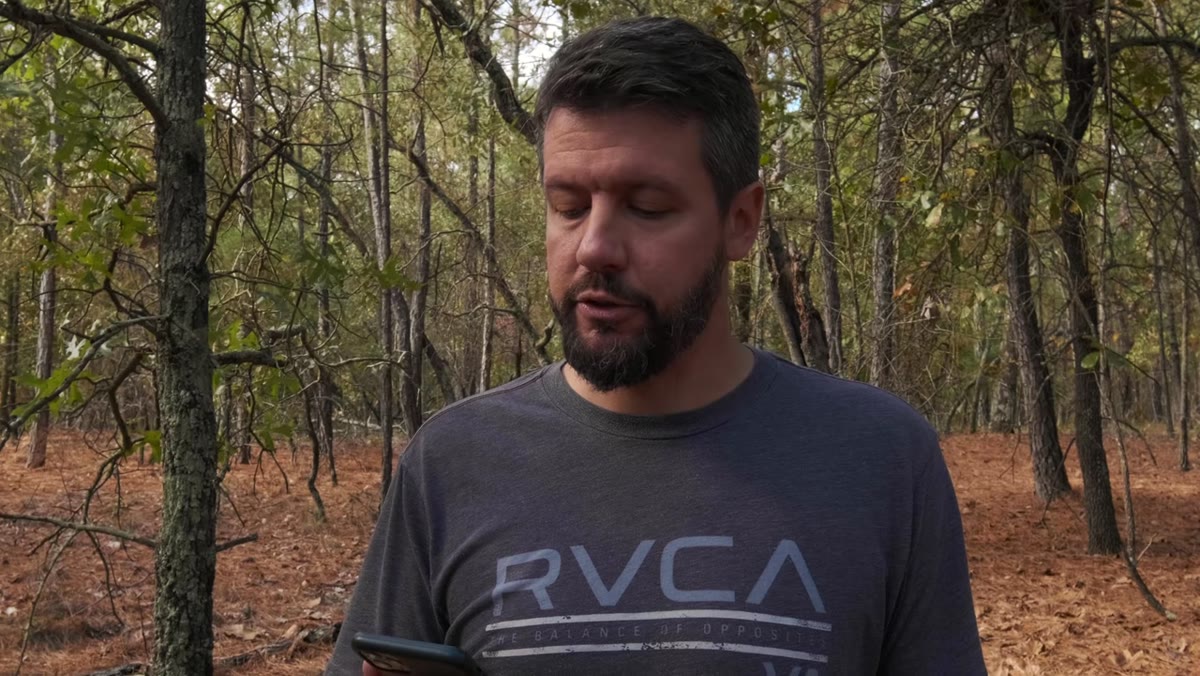 Question about mountains, forests, oceans, and deserts as inspiration sources
This one is less about technique and more about self-knowledge, which matters more than most photographers admit. Denney names mountains first, then forests, then oceans, with deserts last simply because he has less experience there. He is honest that unfamiliarity, not lack of interest, accounts for the ranking.
Question about mountains, forests, oceans, and deserts as inspiration sources
This one is less about technique and more about self-knowledge, which matters more than most photographers admit. Denney names mountains first, then forests, then oceans, with deserts last simply because he has less experience there. He is honest that unfamiliarity, not lack of interest, accounts for the ranking.
Knowing which environments genuinely move you is not a small thing. I have driven six hours to a coastal location, sat in fog for two days, and come home with a single usable frame. That image is my best-selling print. It exists because I care enough about certain kinds of light and water and atmosphere to wait them out. You will wait longer and work harder in landscapes that mean something to you. Figure out which those are.
From the Field: The Habit Denney Didn’t Mention
Every practical technique in this video rests on something Denney touches around the edges but never states directly: deliberateness. Whether it is switching to manual focus after autofocus locks in, or reaching for the adjustment brush instead of slapping a vignette on the image, every recommendation he makes is a rejection of the automatic response in favor of the considered one.
A mentor told me years ago that the mountain does not care about your schedule. I think about that more than almost anything else when I am in the field. The habit of slowing down and asking why before acting, why this lens, why this tool, why this frame, is what separates photographs that were made from photographs that were taken.
The single thing I want you to walk away with from this video: autofocus and manual focus are not rivals. They are a sequence. Let the camera find the point. Then take control and lock it. It is a small shift in workflow that costs you nothing and saves you the frame.
Watch the full tutorial on YouTube for the complete set of questions, including Denney’s Sony lens recommendation and his thoughts on the YouTube community specifically. There are good moments in there that reward the full watch.
Comments
Leave a Comment