There’s a particular kind of frustration that comes from hiking two miles before sunrise, nailing the light, composing exactly what you envisioned, and then pulling the image up on your monitor to find it soft. Not blurry in an obvious way. Just… not sharp. After twenty years of doing this for a living, I still think that’s one of the most deflating moments in photography. The variables are stacked: shutter speed, aperture, ISO, focus distance. Get one wrong and the whole thing falls apart.
Watch the full tutorial on YouTube
That’s why William Patino’s tutorial on shooting tack-sharp landscape images caught my attention. He works through four specific, frequently overlooked causes of soft images in a way that’s practical and sequenced well. He also shoots handheld for most of his work, which is a position I respect and have come to share over the years. What follows is my walkthrough of his four-part framework, expanded with field context that should help you put each technique to use immediately.
Step 1: Understand Your Shutter Speed Limits Before You Reach for the Tripod
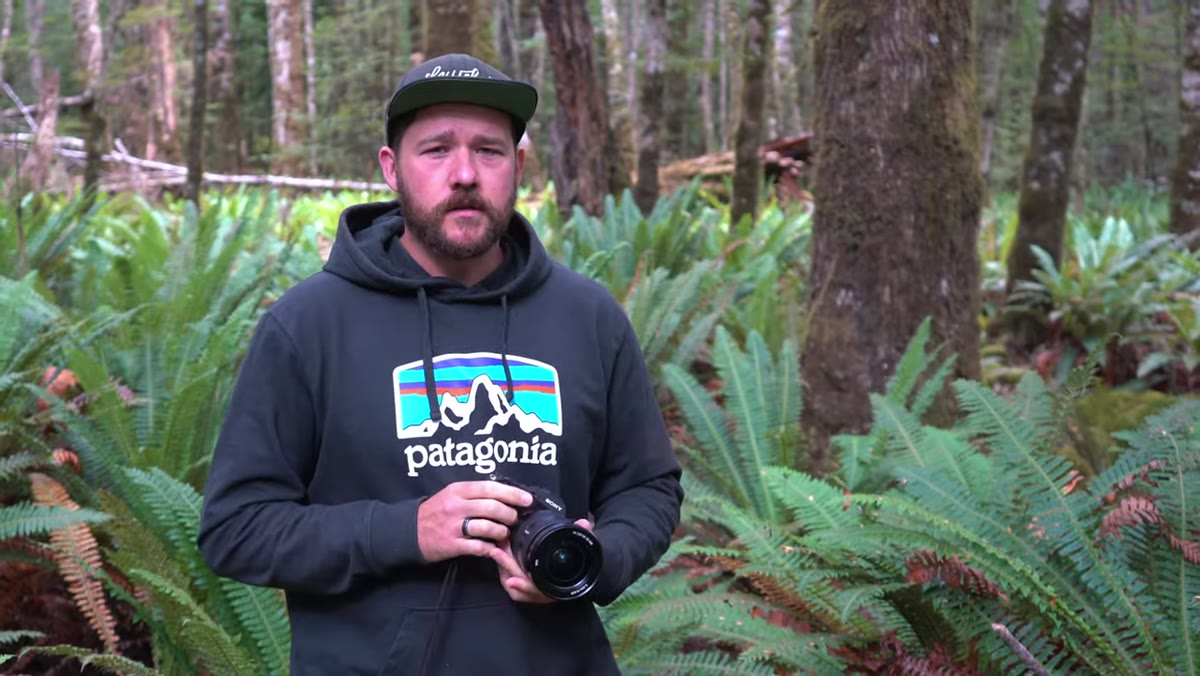 Handheld camera demonstration at slow shutter speeds in forest
The conventional advice is to always use a tripod for landscape photography. Patino pushes back on this directly, and he’s right to do it. A tripod is a tool, not a rule. The real question is whether your shutter speed is fast enough to freeze the movement in your hands. The guideline he describes is straightforward: match your shutter speed denominator to your focal length, or go faster. Shooting at 20mm means staying at 1/20s or above. Shooting at 200mm means staying at 1/200s or above.
Handheld camera demonstration at slow shutter speeds in forest
The conventional advice is to always use a tripod for landscape photography. Patino pushes back on this directly, and he’s right to do it. A tripod is a tool, not a rule. The real question is whether your shutter speed is fast enough to freeze the movement in your hands. The guideline he describes is straightforward: match your shutter speed denominator to your focal length, or go faster. Shooting at 20mm means staying at 1/20s or above. Shooting at 200mm means staying at 1/200s or above.
The logic behind this is that wider focal lengths compress apparent motion. A small shake at 16mm barely registers. That same shake at 200mm is magnified significantly. If you’re on a mirrorless body with in-body image stabilization, you can push past those limits. Patino mentions shooting wide at 16mm as slow as 1/6s handheld with sharp results. I’ve had similar experiences with my own stabilized bodies. The point is to test your personal floor rather than defaulting to the tripod the moment light gets low.
Step 2: Close Down Your Aperture to Extend Depth of Field Across the Frame
 Aperture and depth of field concept explained in the field
Depth of field is where a lot of landscape shots lose sharpness in ways that feel mysterious at first. You focused carefully, the subject looks sharp on the back screen, but the foreground or background is soft when you zoom in on the desktop. The fix is usually in the f-stop. For landscapes where you want front-to-back sharpness, Patino recommends closing your aperture down enough so that the depth of field extends across the full depth of your composition.
Aperture and depth of field concept explained in the field
Depth of field is where a lot of landscape shots lose sharpness in ways that feel mysterious at first. You focused carefully, the subject looks sharp on the back screen, but the foreground or background is soft when you zoom in on the desktop. The fix is usually in the f-stop. For landscapes where you want front-to-back sharpness, Patino recommends closing your aperture down enough so that the depth of field extends across the full depth of your composition.
The specific f-stop depends on the scene. A standard approach for most landscape work is to shoot somewhere between f/8 and f/16. The wider the focal length, the more depth of field you get at any given aperture, which is another advantage of shooting wide in the field. Pay attention to where you’re actually focusing, not just how much you’re stopping down. Focus too close and the far background falls outside your depth of field. Focus too far and your foreground goes soft. The goal is to find the focus distance that places the sharpest zone across the greatest useful range of your frame.
Step 3: Keep ISO as Low as the Conditions Allow
 ISO noise impact on image clarity discussed in forest setting
High ISO is a sharpness killer that often goes unrecognized because the damage isn’t motion blur. It’s noise, and with noise comes a loss of fine detail and micro-contrast. Patino points to this as one of the four main culprits for soft-looking images, and it’s worth taking seriously even if modern sensors handle high ISO better than they used to.
ISO noise impact on image clarity discussed in forest setting
High ISO is a sharpness killer that often goes unrecognized because the damage isn’t motion blur. It’s noise, and with noise comes a loss of fine detail and micro-contrast. Patino points to this as one of the four main culprits for soft-looking images, and it’s worth taking seriously even if modern sensors handle high ISO better than they used to.
The practical field habit is to set your ISO last, after you’ve committed to a shutter speed that works for your focal length and a depth of field that covers your composition. Then raise ISO only as much as you need to get a proper exposure. If you’re working in low light at dawn and the numbers aren’t cooperating, that’s the moment to consider the tripod, not as a default but as a specific solution to a specific problem. Keeping ISO controlled isn’t about being conservative. It’s about preserving the detail in the file that makes a large print actually hold up.
Step 4: Recognize When Your Foreground Distance Requires a Focus Stack
 Close foreground element demonstrating depth of field limitation
The fourth issue Patino raises is one that catches photographers off guard: getting physically too close to a foreground element. When your foreground is right at the edge of your lens, no amount of stopping down will produce a single frame with everything sharp. The depth of field simply cannot span that distance, no matter what f-stop you choose.
Close foreground element demonstrating depth of field limitation
The fourth issue Patino raises is one that catches photographers off guard: getting physically too close to a foreground element. When your foreground is right at the edge of your lens, no amount of stopping down will produce a single frame with everything sharp. The depth of field simply cannot span that distance, no matter what f-stop you choose.
The solution is focus stacking. You take two or more frames focused at different distances, then blend them in post using software like Lightroom, Photoshop, or Helicon Focus. One frame captures the near foreground sharp. Another captures the mid-to-background sharp. Combined, they give you the edge-to-edge clarity that a single exposure can’t. This is not a workaround. It’s a standard technique that working landscape photographers use routinely. If you’re composing with a rock or a patch of wildflowers very close to your lens, plan for a stack rather than hoping a single frame will pull it off.
What Twenty Years in the Field Adds to This
Patino’s four-point framework is solid, and I’d teach it almost exactly as he presents it. The one thing I’d add for photographers who are earlier in their practice is this: these variables interact with each other, and you learn to feel that interaction only through repetition in real conditions.
My mentor once told me that the mountain doesn’t care about your schedule, meaning the light and the scene set the terms, not you. That mindset changed how I approach technical decisions in the field. When conditions are bright, everything is easy. The real test is at the edges: low light before sunrise, deep forest shade, moving water in a canyon. Those are the moments when you need to know instinctively which of these four variables to adjust first. Practice the framework in easy conditions so it’s automatic when the light is difficult and you have maybe four minutes before it’s gone.
The single most important takeaway from Patino’s tutorial is that sharpness is a system, not a single setting. Correcting one variable while ignoring the others gets you partway there. Work through all four, in the order he presents them, and front-to-back clarity becomes repeatable rather than lucky.
Watch the full tutorial on YouTube to see Patino demonstrate each technique with real example shots in the field.
Comments
Leave a Comment