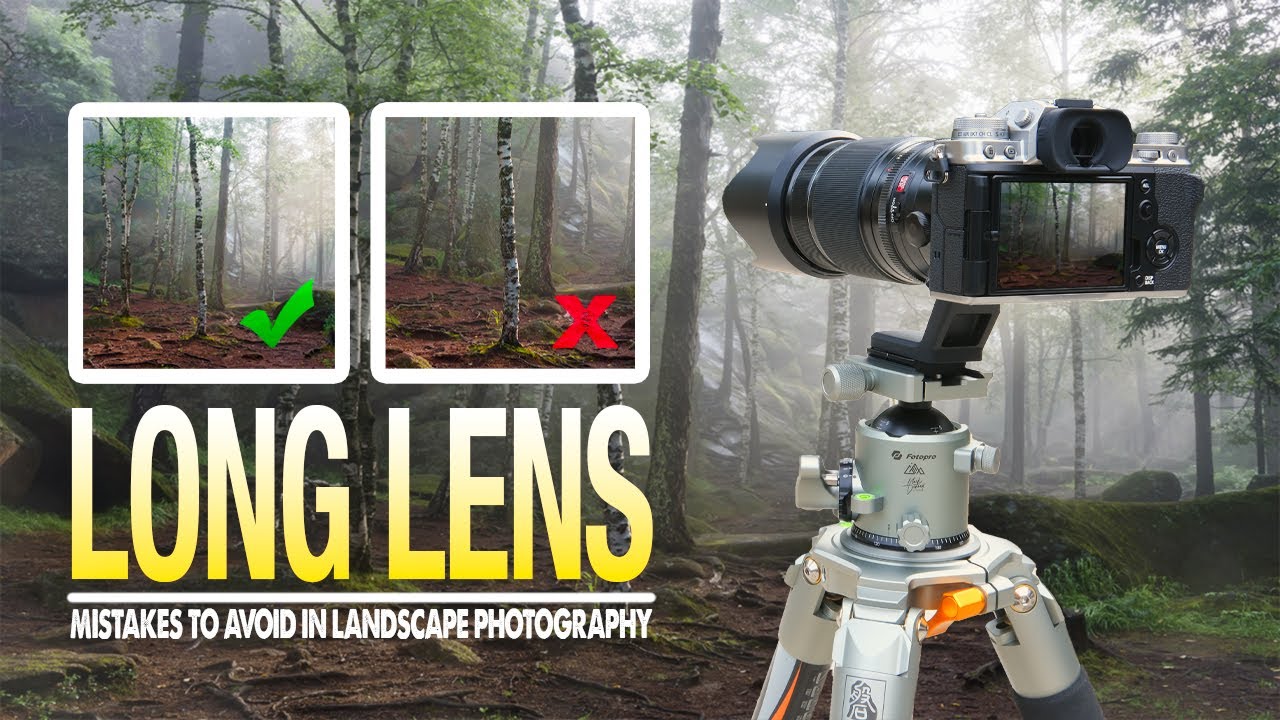
There is a particular kind of frustration that comes from driving two hours into the Cascades before dawn, setting up in the dark, waiting for first light to break across a ridgeline, and then getting home to find your images are just slightly, maddeningly soft. Not blurry in an obvious way. Soft. The kind of soft that only shows up at 100% zoom, after you’ve already started mentally writing the caption. I spent a embarrassing portion of my early telephoto years losing shots exactly like that, and I didn’t fully understand why until I started being honest with myself about the mistakes I was making in the field.
That’s why I appreciate when experienced photographers pull back the curtain on the unglamorous stuff. In this Mark Denney tutorial on beginner telephoto mistakes in landscape photography, Mark walks through four specific errors that most telephoto guides never bother to address. He filmed it on location in a local forest while testing two Fujifilm telephoto lenses, which gives it an immediacy that classroom-style videos lack. Watch the full tutorial on YouTube – it’s worth your time before or after reading this breakdown.
What follows is my attempt to unpack those four mistakes with enough practical detail that you can act on them the next time you’re in the field, whether you’re shooting with a Fujifilm, a Sony, or anything else with a long focal length attached.
Step 1: Understand Why Micro-Vibration Is Your Biggest Enemy at Long Focal Lengths
 Handheld telephoto lens showing visible shake through viewfinder
Anyone who has pressed their eye to a viewfinder at 200mm or longer knows what micro-vibration looks like. The frame shimmers. Even when your hands feel still, the image is dancing. Mark calls this “micro-shaking,” and it is fundamentally different from the camera shake you get with a wide-angle lens because telephoto lenses magnify everything, including movement you cannot feel in your hands.
The fix is not simply putting the camera on a tripod, though that is the starting point. The critical detail Mark adds is the self-timer setting. With a wide-angle lens, a 2-second delay between pressing the shutter and the exposure firing is usually sufficient. With a telephoto, he extends that to 5 or even 10 seconds. The reason is simple: pressing the shutter button introduces vibration into the system, and long lenses take longer to settle after that disturbance. I’ve adopted this habit completely. On windy mornings in the high desert outside Bend, I’ll go all the way to 10 seconds and sometimes still come home with frames I have to discard because a gust hit at exactly the wrong moment.
Step 2: Use the Lens Hood Strategically, Not Automatically
 Removing lens hood from telephoto lens in field setting
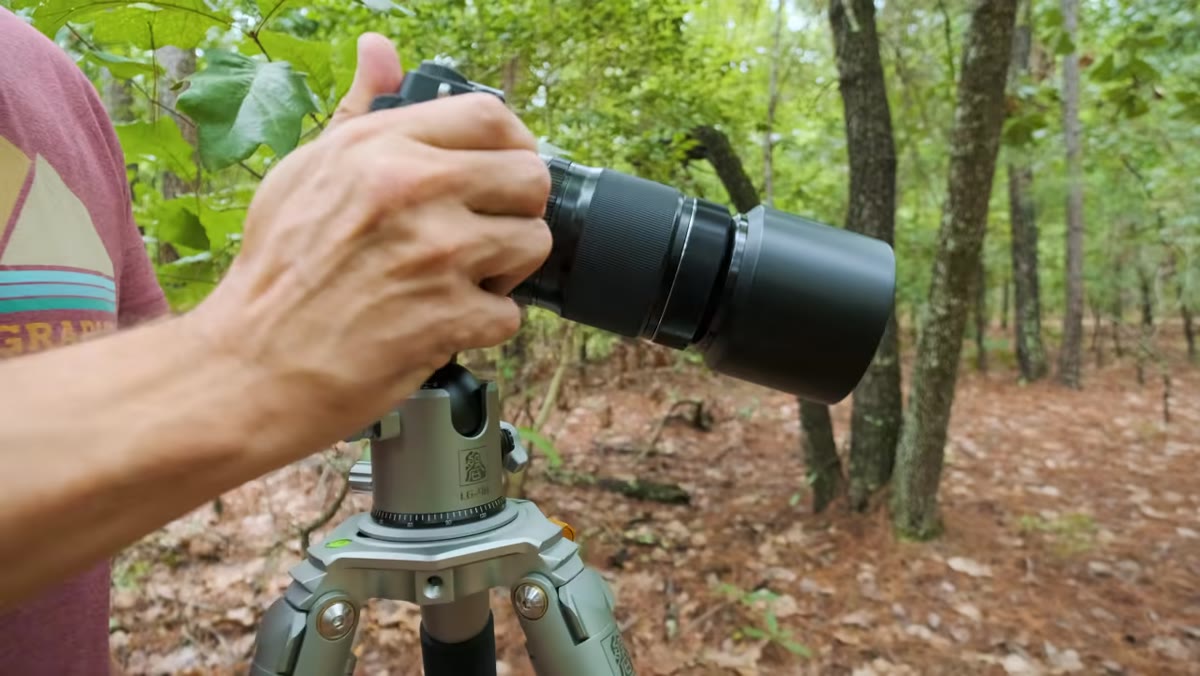
This one surprised me when I first heard it, and it changed a small but real part of my workflow. The instinct is to always shoot with the lens hood attached because that’s what you’re told when you buy the lens. It blocks flare, it protects the front element, it makes you look serious at the trailhead. But Mark points out that in certain conditions, the hood itself can create a problem.
When wind is a factor, the hood acts like a sail. It catches air and transmits that movement directly into the camera body, which amplifies vibration at the sensor. If the sun is not hitting your front element directly, and you are already on a tripod, removing the hood eliminates one source of wind-induced shake. This is a situational call, not a blanket rule. I still use my hood whenever there’s any chance of direct light on the front glass, but on overcast mornings or when I’m shooting away from the sun, the hood comes off.
Step 3: Rethink How You Frame With a Telephoto Lens
 Telephoto lens compressing distant landscape elements in forest
The compression a telephoto lens produces is part of its appeal. It stacks layers, flattens backgrounds, pulls distant mountains closer to foreground subjects. But that compression also makes composition harder, not easier, especially for photographers who learned to shoot wide. Mark’s point here is that the compressed perspective requires more deliberate subject isolation. With a wide-angle lens, you can get away with a messy background because distance naturally separates elements. At 200mm, everything is pushed together, and a cluttered background becomes a genuinely distracting problem.
The practical step is to slow down before you raise the camera. Walk the scene and look specifically at what will fall behind your main subject at your intended focal length. Move laterally. Even a few feet of lateral movement with a telephoto changes the relationship between foreground and background dramatically, far more than it would with a wide lens. I make this a deliberate part of my pre-shoot routine now, the same way I check the horizon line before every exposure.
Step 4: Stop Treating Telephoto Like a Wide-Angle Lens When It Comes to Depth of Field
 Aperture settings shown on camera display for telephoto landscape shot
This is the mistake I see most often in workshop students, and it’s the one I made the most myself in my early telephoto years. We learn landscape photography with the mantra of small apertures: f/11, f/16, everything sharp from foreground to infinity. That logic applies when you have foreground elements close to the lens. With a telephoto, you are rarely shooting subjects that are physically close to you, which means depth of field works differently.
Stopping down to f/16 or f/22 with a telephoto lens often introduces diffraction before it delivers any meaningful depth of field gain, because your subjects are already at a distance where they fall within the depth of field at more moderate apertures. Mark recommends testing your specific lens to find its sharpest aperture, which for most telephoto lenses falls somewhere between f/5.6 and f/11. Shooting wide open introduces its own problems with subject isolation and focus accuracy, but mindlessly stopping all the way down because “that’s what landscapes need” costs you sharpness you’re not getting anything in return for.
What Twenty Years in the Field Added to This Conversation
The one thing I’d layer on top of Mark’s framework is the patience problem specific to telephoto work. Wide-angle landscape photography rewards bold light because the entire scene transforms. Telephoto landscape photography rewards waiting for a specific thing to happen within a specific slice of the world. The light on a distant ridgeline, the moment fog lifts through a gap in the trees, the way a single shaft of sun moves across a canyon wall. These are telephoto moments, and they often require standing in one place, behind one composition, for a long time.
My mentor told me once that the mountain doesn’t care about your schedule. I think about that constantly when I’m shooting telephoto. The tendency is to get fidgety, to change focal lengths, to wander looking for something new. But the compressed frames that telephoto makes possible often only reveal themselves to the photographer who commits to a single angle and waits. Set up correctly, stabilize everything, and then be still. The camera doesn’t need to move. You need to let the light move.
The single most useful thing to take from Mark’s tutorial is this: telephoto landscape photography demands a more controlled, more patient version of your existing technique. The same mistakes you’ve learned to manage at wide focal lengths are amplified at 200mm, and new ones appear that you won’t encounter any other way. Work through them one at a time, starting with vibration control, and your keeper rate will improve before you change a single setting.
Watch the full tutorial on YouTube to see Mark demonstrate each of these points on location. It’s the kind of honest, practical teaching that the telephoto conversation badly needs more of.
Comments (1)
Quality content like this is rare. Keep it up.
Leave a Comment