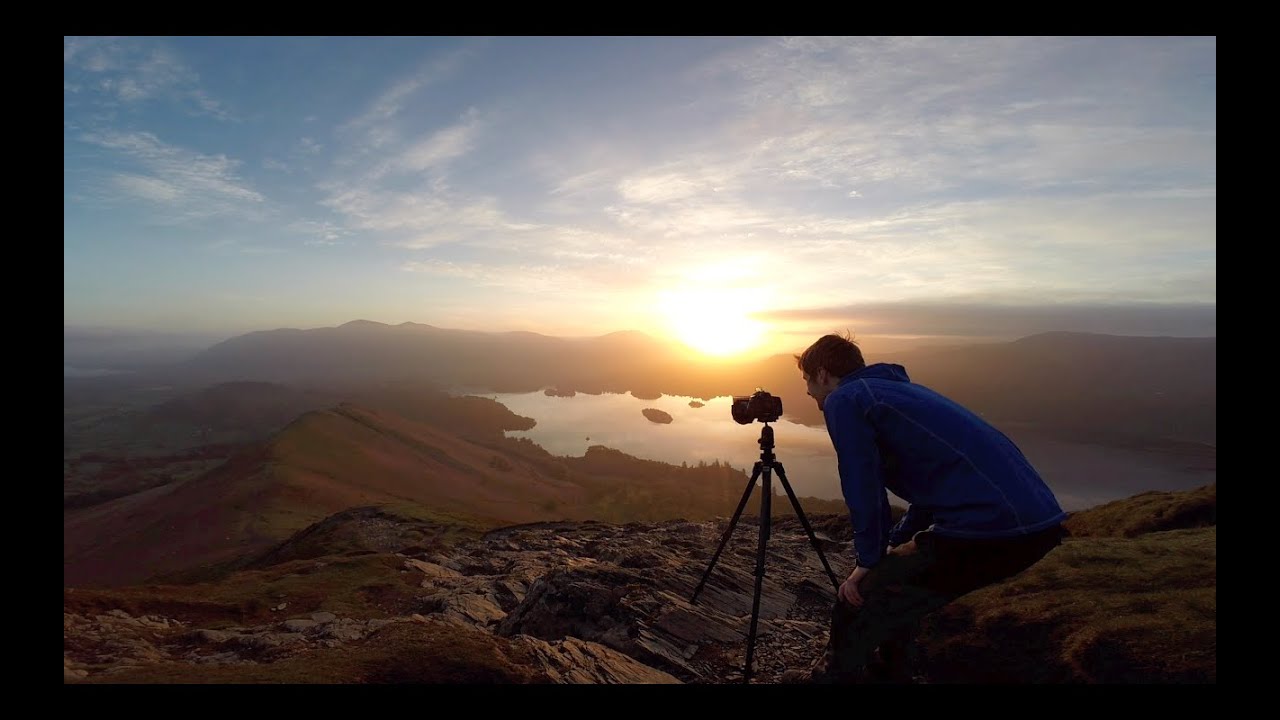
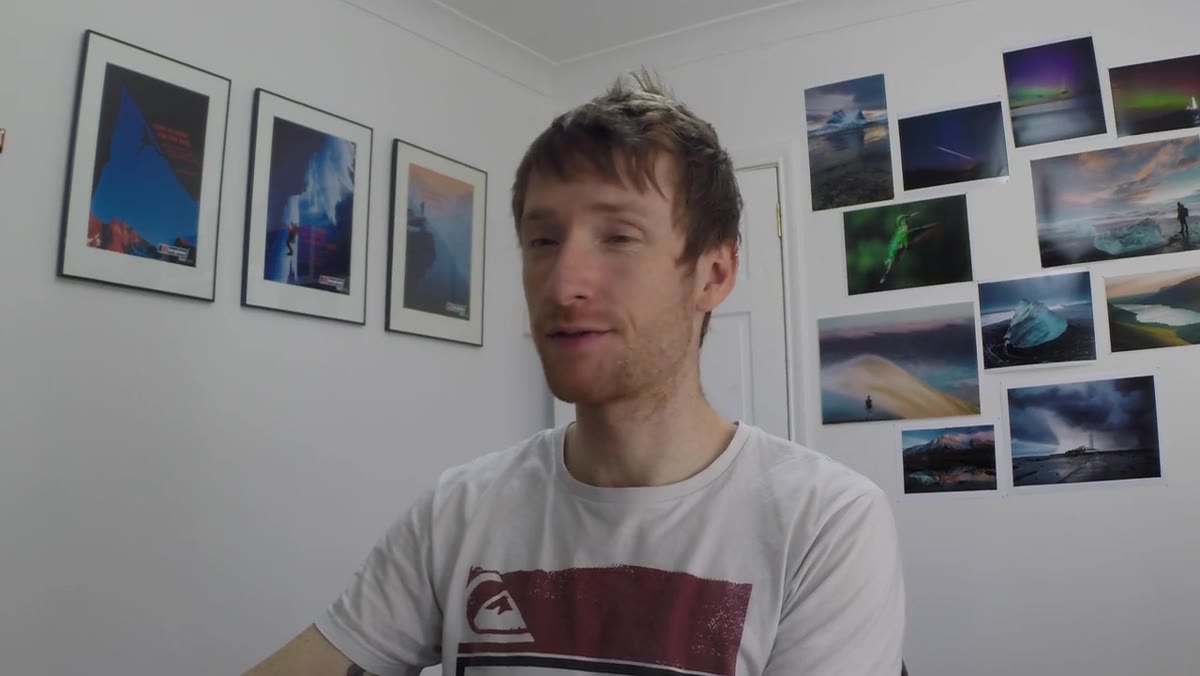
There’s a specific kind of doubt that hits around 4am when you’re standing in the dark and the sky looks like a wet paper bag. I’ve been doing this for twenty years and it still gets me. You drove out, you checked the charts the night before, you picked the spot carefully — and now you’re standing there wondering if you’ve wasted the morning. That feeling is exactly why I keep returning to this Watch the full tutorial on YouTube by Thomas Heaton, filmed at Derwent Water in the Lake District. He doesn’t sanitize the uncertainty. He shows you the whole thing: the doubt, the gradual light, the filter stack, and the editing room afterward.
What makes this tutorial genuinely useful for working photographers is its honesty about process. Heaton isn’t presenting a highlight reel. He shows up when conditions are murky, commits to the shot anyway, and walks you through every decision from location planning to the final print. That end-to-end view is rare, and it maps closely to how a real shoot actually unfolds. Here’s how to take what he demonstrates and apply it to your own work.
Step 1: Plan Around Sun Position, Weather Pressure, and the Map Together
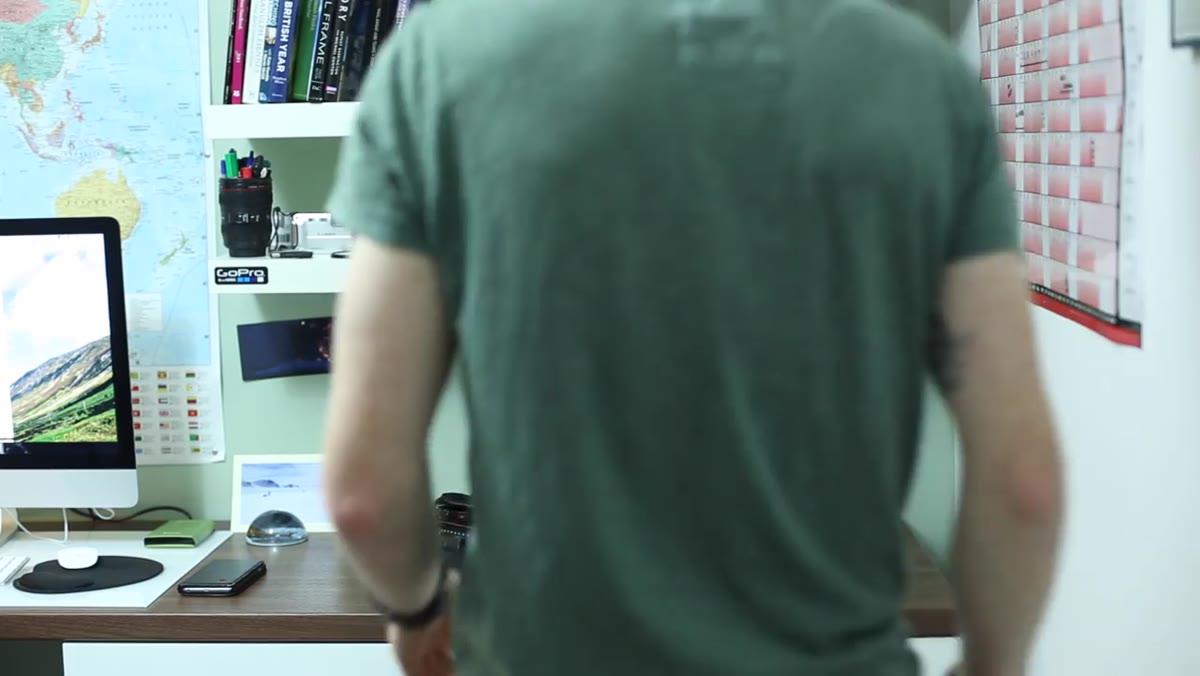 Thomas checking weather charts and map before the shoot
The planning phase isn’t glamorous, but it determines whether you have a shot worth taking. Heaton’s approach combines three inputs: weather forecasts, atmospheric pressure charts, and a map showing the sun’s position at the target time. The pressure charts matter because they tell you whether clearing conditions are likely or whether the forecast is unstable. A clear forecast on a falling pressure day is often wrong. A clearing forecast on rising pressure is worth betting on.
Thomas checking weather charts and map before the shoot
The planning phase isn’t glamorous, but it determines whether you have a shot worth taking. Heaton’s approach combines three inputs: weather forecasts, atmospheric pressure charts, and a map showing the sun’s position at the target time. The pressure charts matter because they tell you whether clearing conditions are likely or whether the forecast is unstable. A clear forecast on a falling pressure day is often wrong. A clearing forecast on rising pressure is worth betting on.
Once you know where the sun will rise relative to your location, you can previsualize the composition before you ever leave home. For a lake or river location, this means identifying whether you’ll have sidelight hitting a foreground element while the water catches the sky. Work that geometry out on a planning app, then commit to it. Don’t arrive and improvise your composition in the dark.
Step 2: Get There Early and Read the Conditions Without Panicking
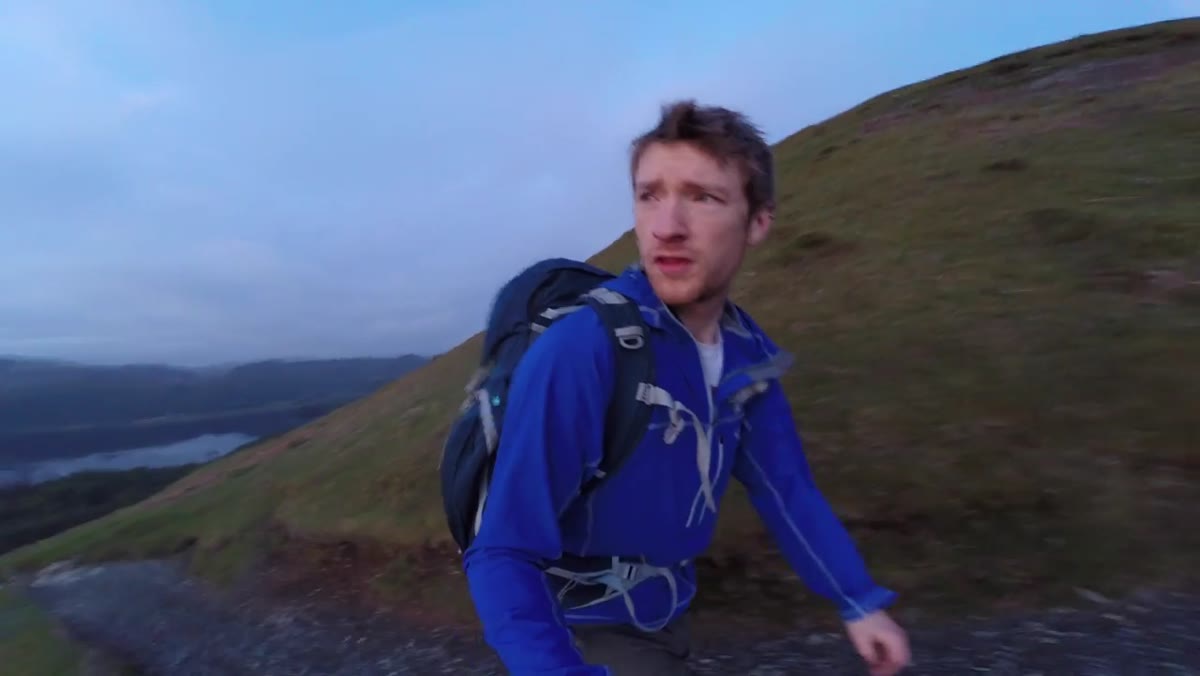 Dark road, halfway to location at 4:30am
Heaton is on location by 4:30am, halfway to his spot, and already acknowledging the conditions could go either way. This is normal. The skill is in reading the sky progressively rather than making one judgment call and retreating. Watch for color developing at the horizon. Watch for wind. A calm surface on a lake changes everything because you get a mirror reflection of whatever light arrives.
Dark road, halfway to location at 4:30am
Heaton is on location by 4:30am, halfway to his spot, and already acknowledging the conditions could go either way. This is normal. The skill is in reading the sky progressively rather than making one judgment call and retreating. Watch for color developing at the horizon. Watch for wind. A calm surface on a lake changes everything because you get a mirror reflection of whatever light arrives.
Give yourself enough time at location to respond to what’s actually happening. If you arrive fifteen minutes before sunrise, you’re reactive. If you arrive an hour before, you can move, adjust your composition, and be set up when the light breaks. I’ve learned, sometimes painfully, that the difference between a mediocre shot and a keeper often comes down to having twenty extra minutes to reframe.
Step 3: Build Your Filter Stack to Control a High-Contrast Scene in One Exposure
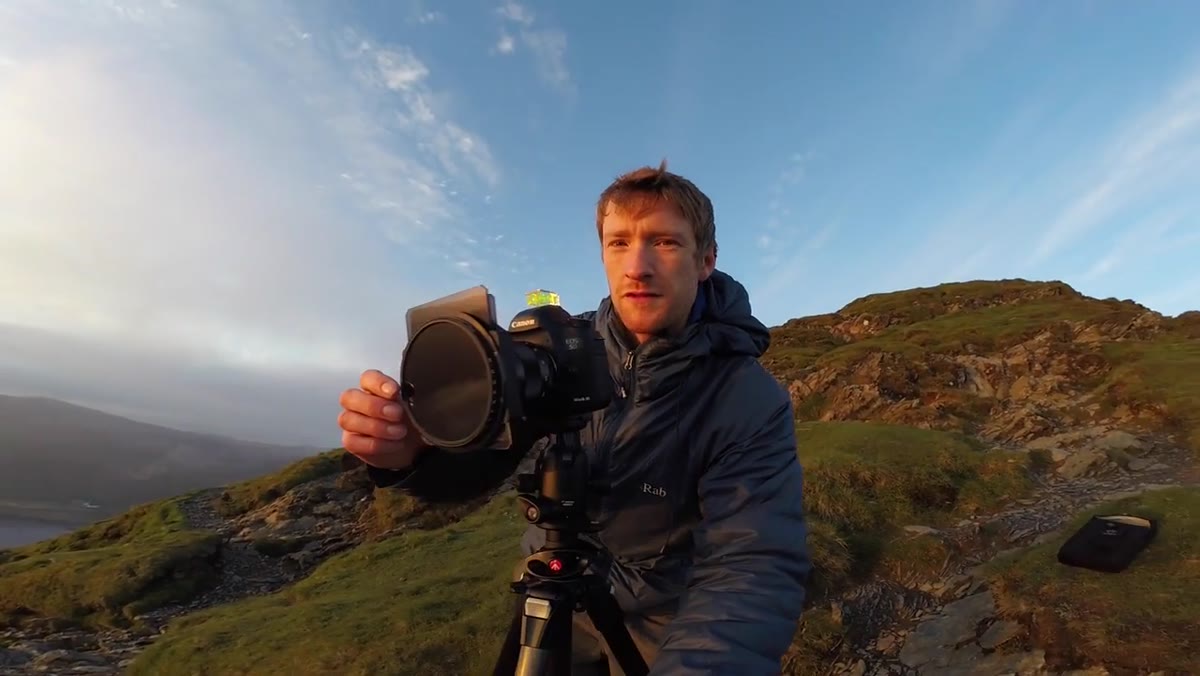 Filter stack on lens showing polarizer and two ND grads
Hazy sunrise conditions create a deceptive problem. The sky is bright and diffused, the foreground is still in relative shadow, and the contrast between them can exceed what a single raw file captures cleanly. Heaton uses three filters simultaneously: a circular polarizer and two graduated ND filters, one hard edge and one soft edge, both two stops each.
Filter stack on lens showing polarizer and two ND grads
Hazy sunrise conditions create a deceptive problem. The sky is bright and diffused, the foreground is still in relative shadow, and the contrast between them can exceed what a single raw file captures cleanly. Heaton uses three filters simultaneously: a circular polarizer and two graduated ND filters, one hard edge and one soft edge, both two stops each.
The polarizer reduces glare off the water and cuts atmospheric haze slightly. The hard-edge grad handles a clean horizon line. The soft-edge grad blends the transition where the land meets the sky more gradually. Stacking both grads lets you fine-tune the exposure balance across the frame without bracketing. The goal is to capture the full tonal range in a single frame with correct exposure from foreground rocks to the bright hazy sky. This saves time in post and keeps the image looking natural.
Step 4: Add a Human Element to Give the Scene Scale and Story
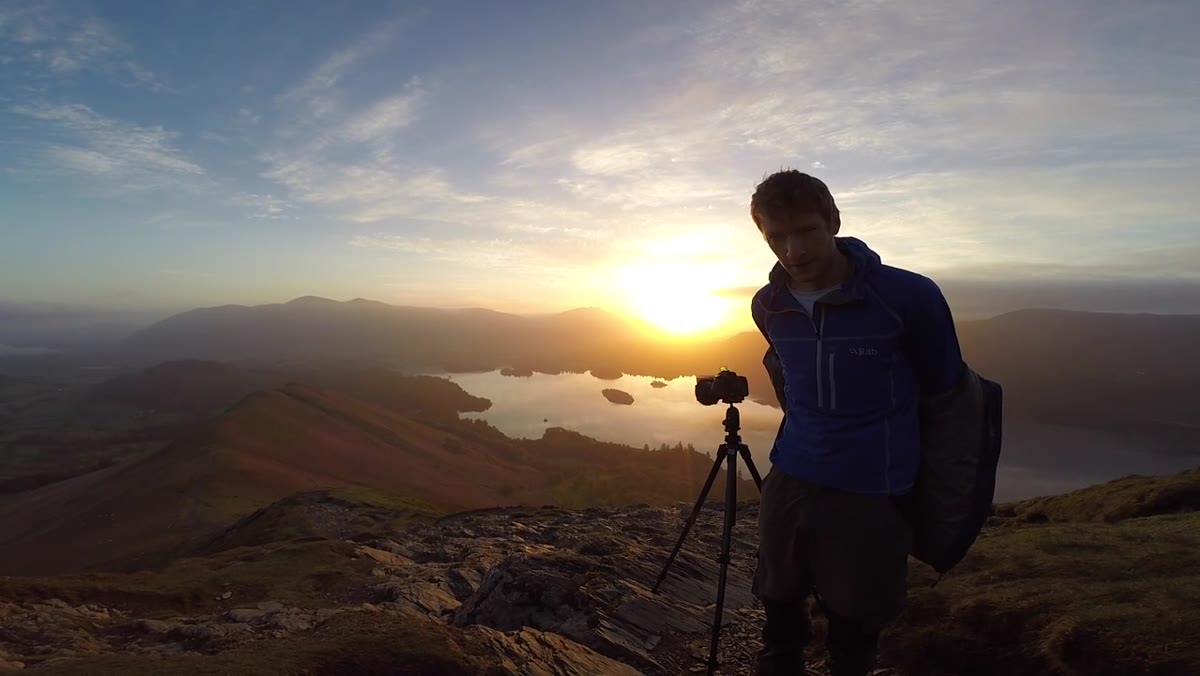 Thomas walking into the frame to stand among the foreground rocks
Once the technical exposure is dialed in, Heaton makes a compositional move that’s easy to overlook: he walks into his own frame. Standing among the foreground rocks, he becomes a figure against the glowing hazy light, which does two things at once. It gives the viewer a sense of scale against the landscape, and it shifts the emotional register from documentation to experience.
Thomas walking into the frame to stand among the foreground rocks
Once the technical exposure is dialed in, Heaton makes a compositional move that’s easy to overlook: he walks into his own frame. Standing among the foreground rocks, he becomes a figure against the glowing hazy light, which does two things at once. It gives the viewer a sense of scale against the landscape, and it shifts the emotional register from documentation to experience.
This works especially well in wide, open landscapes where the grandeur can feel abstract. A human silhouette anchors the viewer and creates an entry point. If you’re shooting solo, use a remote shutter release and set your camera to a short burst. Take several frames with yourself in different positions. You’ll want options in post.
Step 5: Remove the Filter Color Cast and Dirt Spots Before Anything Else
 Lightroom open, adjusting tint to remove purple color cast from filter
Back in Lightroom, the first thing Heaton addresses is a purple color cast introduced by the filter stack. This is common with stacked glass, especially cheaper graduated NDs. His fix is straightforward: pull the Tint slider away from the magenta-purple side until the sky reads as neutral. Don’t try to correct this with white balance alone. The Tint slider is the right tool.
Lightroom open, adjusting tint to remove purple color cast from filter
Back in Lightroom, the first thing Heaton addresses is a purple color cast introduced by the filter stack. This is common with stacked glass, especially cheaper graduated NDs. His fix is straightforward: pull the Tint slider away from the magenta-purple side until the sky reads as neutral. Don’t try to correct this with white balance alone. The Tint slider is the right tool.
Before touching anything else, he also removes a dust spot on the sensor. This step gets skipped more than it should. Do it first, before you start adjusting exposure and contrast, because brighter edits will make sensor dust more visible and harder to catch.
Step 6: Warm the White Balance, Then Work Highlights, Shadows, and Contrast
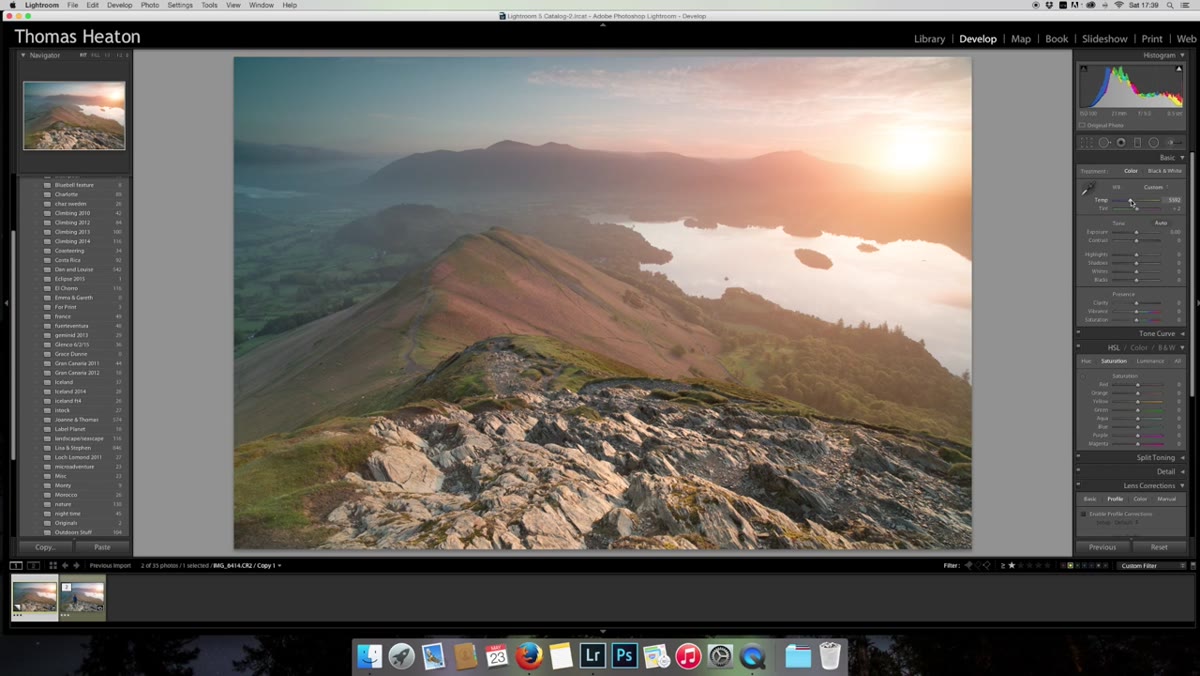 Adjusting white balance, highlights, shadows, and contrast in Lightroom
With the color cast fixed and the dust gone, Heaton shifts the white balance warmer to reinforce the sunrise tones. He then brings the highlights down to recover detail in the bright sky, lifts the shadows slightly to open up the darker foreground rocks, and adds contrast to keep the image from looking flat. These four moves work as a linked set for sunrise images: warmer temp, lower highlights, lifted shadows, added contrast.
Adjusting white balance, highlights, shadows, and contrast in Lightroom
With the color cast fixed and the dust gone, Heaton shifts the white balance warmer to reinforce the sunrise tones. He then brings the highlights down to recover detail in the bright sky, lifts the shadows slightly to open up the darker foreground rocks, and adds contrast to keep the image from looking flat. These four moves work as a linked set for sunrise images: warmer temp, lower highlights, lifted shadows, added contrast.
Think of it as shaping the light rather than correcting it. The goal isn’t a technically perfect histogram. The goal is an image that feels like it was shot in that moment.
Step 7: Sync Your Settings Across Versions and Adjust the Human Element
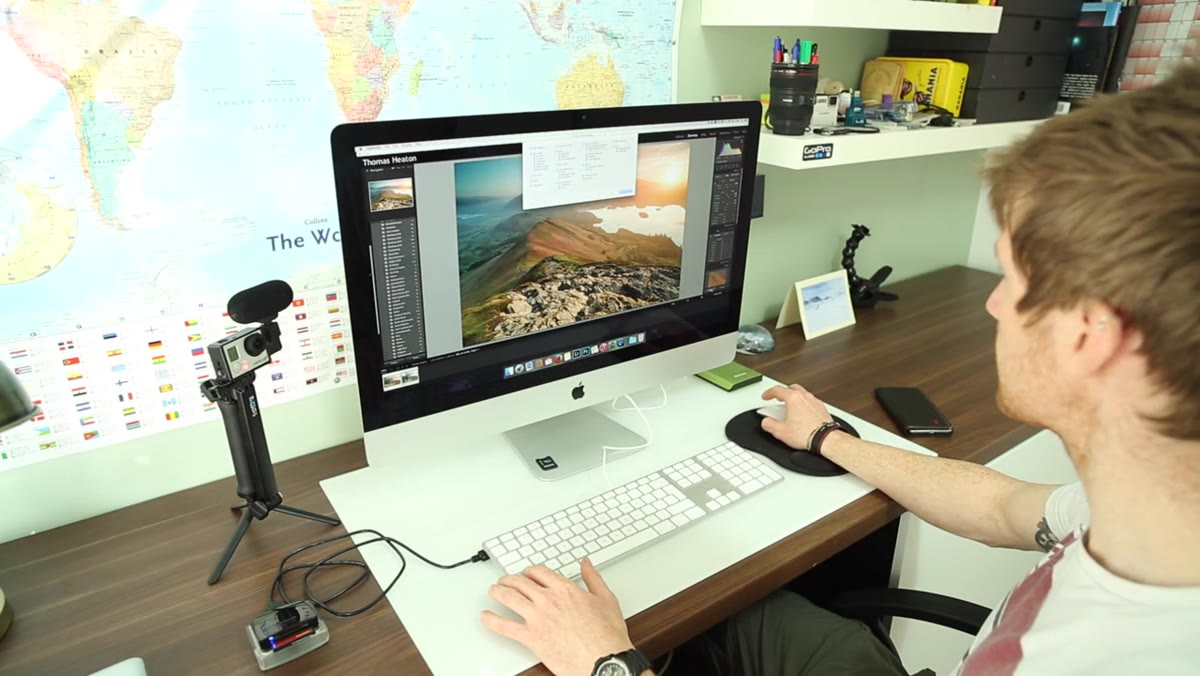 Syncing edits across both image versions in Lightroom
Because Heaton shot two identical frames (one with himself in frame, one without), he syncs his edit settings across both images in one step. He selects both, syncs all settings, and then evaluates the figure separately. The human element in the frame sits in shadow and needs a small local exposure lift. He brightens that area independently using a local adjustment tool.
Syncing edits across both image versions in Lightroom
Because Heaton shot two identical frames (one with himself in frame, one without), he syncs his edit settings across both images in one step. He selects both, syncs all settings, and then evaluates the figure separately. The human element in the frame sits in shadow and needs a small local exposure lift. He brightens that area independently using a local adjustment tool.
This is the practical argument for shooting multiple versions of a frame. One works as a clean landscape. One works as a more narrative, human-scale image. They can serve different purposes: editorial, print, licensing, or social media.
What I’d Add from My Own Experience
Heaton wraps the tutorial by noting the image with the figure might work well as a stock file. That’s smart thinking. But I’d push one step further: decide before the shoot which version you’re prioritizing. When I have a composition I believe in, I’ll shoot a dedicated sequence of frames with myself in the scene, varying my position and silhouette. The improvised “let me try stepping in” approach works sometimes. The deliberate “I planned for a figure as part of this composition” approach works more reliably. My mentor once told me the mountain doesn’t care about your schedule. That’s true. But the mountain doesn’t care about your afterthoughts either. Plan the figure into the frame from the start if it’s part of your vision.
The single most important thing Heaton demonstrates in this entire tutorial isn’t a filter technique or a Lightroom move. It’s showing up in the dark when you’re not sure it will pay off, reading the conditions with patience, and staying long enough to see what the light actually does. That skill is the one you can’t replicate indoors.
Watch the full tutorial on YouTube and follow along with Heaton from the dark walk to the finished print. It’s one of the more honest end-to-end shoots you’ll find.
Comments
Leave a Comment