Twenty years of pre-dawn departures from Bend teaches you something that no gear catalog ever will: what you don’t carry matters as much as what you do. Every extra pound in that bag is a decision you’ll second-guess at mile four of a trail in the dark. So when I came across Mark Denney’s holiday gift guide framed entirely around gear he wouldn’t recommend, I felt a genuine pull of recognition. Watch the full tutorial on YouTube before reading on, or use this breakdown as your field notes afterward.
In this Mark Denney tutorial, he works through seven pieces of photography equipment he actually purchased, used in the field, and ultimately found wanting. Not because the brands failed him, but because the gear didn’t solve the problems he bought it to solve. That framing matters. This isn’t armchair criticism. It’s the kind of honest reckoning that comes from standing in bad weather with tools that let you down, which is exactly the kind of experience worth paying attention to.
I’ve made most of these same purchases at one point or another. Seeing them laid out in order, from most expensive down to least, clarified something I’d felt but hadn’t articulated cleanly: a lot of beginner and intermediate gear spending is really just anxiety spending. You’re trying to buy certainty in situations that reward patience and simplicity instead.
Step 1: Reconsider the UV Filter
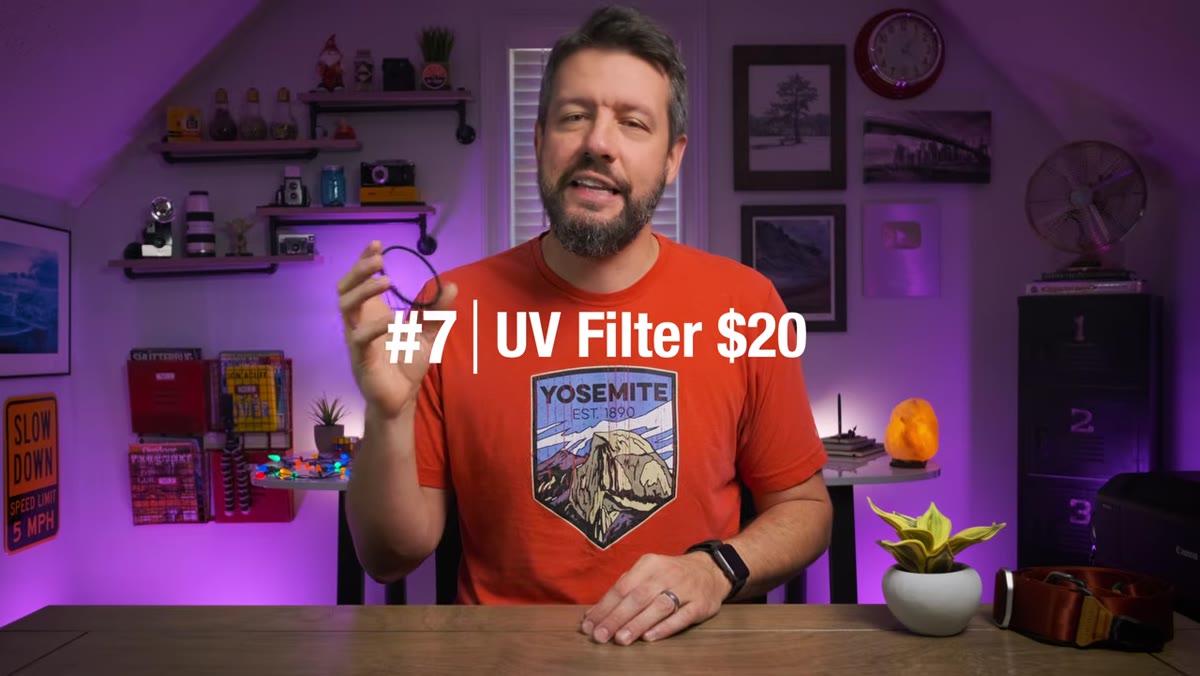 UV filter held up toward camera, price range visible
The first item Mark flags is the UV filter, and I’ll be honest, this one surprised me when I first heard it questioned years ago. The pitch for UV filters is protection. Ultraviolet light, the story goes, can degrade your lens or sensor over time, and a cheap filter stands between your expensive glass and that invisible threat. Mark points out that he’s never actually experienced that problem, and after two decades in the field, neither have I.
UV filter held up toward camera, price range visible
The first item Mark flags is the UV filter, and I’ll be honest, this one surprised me when I first heard it questioned years ago. The pitch for UV filters is protection. Ultraviolet light, the story goes, can degrade your lens or sensor over time, and a cheap filter stands between your expensive glass and that invisible threat. Mark points out that he’s never actually experienced that problem, and after two decades in the field, neither have I.
What UV filters do accomplish is adding another piece of glass in front of your lens. Every additional glass element reduces contrast slightly and creates more surfaces for flare and ghosting to develop, especially when you’re shooting into the sun at golden hour, which is exactly when you want maximum image quality. If you genuinely want lens protection, a good lens hood and a cap when you’re not shooting will take you further than a filter will. Save the filter slot for glass that actually changes what the image looks like.
Step 2: Skip the Dedicated Camera Rain Cover
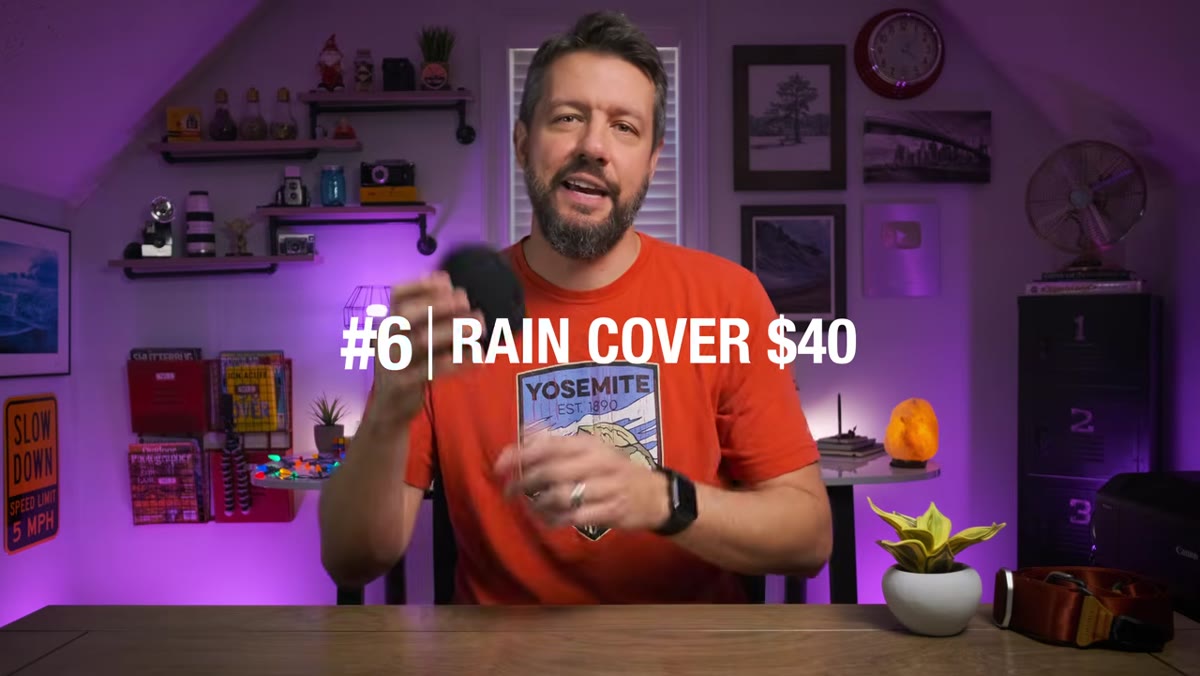 Peak Design rain cover shown folded in hand
Mark spends time on a Peak Design rain cover priced around forty dollars. The design is genuinely clever, it folds flat, tucks into a bag pocket, and deploys to wrap around your camera body and lens. On paper it’s elegant. In a real rainstorm, with cold hands and a camera already getting wet, fumbling with something that requires careful alignment and attachment is a different experience entirely.
Peak Design rain cover shown folded in hand
Mark spends time on a Peak Design rain cover priced around forty dollars. The design is genuinely clever, it folds flat, tucks into a bag pocket, and deploys to wrap around your camera body and lens. On paper it’s elegant. In a real rainstorm, with cold hands and a camera already getting wet, fumbling with something that requires careful alignment and attachment is a different experience entirely.
His solution, and it’s one I’ve heard from other working photographers, is a simple shower cap. The kind hotels leave in the bathroom. It costs almost nothing, lives rolled up in a corner of your bag without taking real estate, and goes on in under three seconds. Inelegant, yes. Effective, absolutely. The best rain protection is the one you can actually deploy before your gear gets soaked, not the one still in your pocket while you’re wrestling with a sleeve.
Step 3: Question Whether You Need a Remote Shutter Release
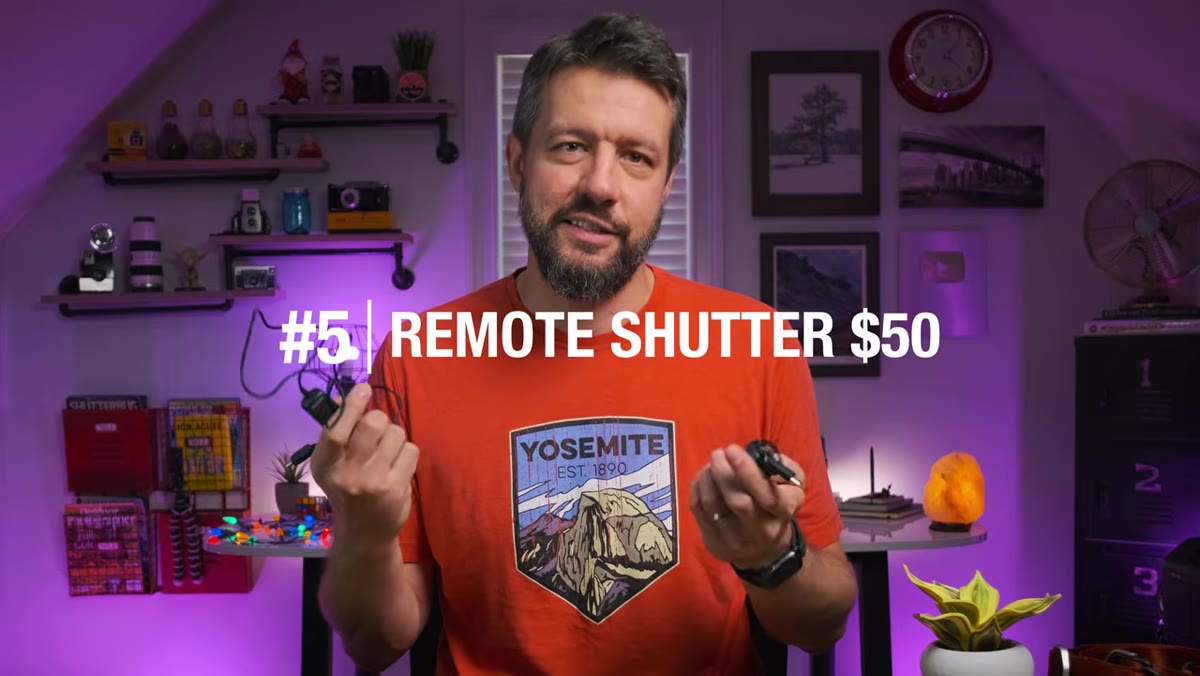 Two remote shutter releases shown side by side on table
Remote shutter releases sit in a genuinely useful middle ground, which is exactly what makes this one worth thinking through carefully rather than dismissing outright. Mark calls it a controversial pick, and he’s right to. There are photographers who swear by them, especially for long exposures and astrophotography. He used to rely on them specifically for beach work, where timing a wave perfectly meant pressing the shutter at the exact moment, not two seconds after pressing it.
Two remote shutter releases shown side by side on table
Remote shutter releases sit in a genuinely useful middle ground, which is exactly what makes this one worth thinking through carefully rather than dismissing outright. Mark calls it a controversial pick, and he’s right to. There are photographers who swear by them, especially for long exposures and astrophotography. He used to rely on them specifically for beach work, where timing a wave perfectly meant pressing the shutter at the exact moment, not two seconds after pressing it.
What changed his approach was burst mode combined with the camera’s built-in 2-second timer. Trip the shutter, step back, and let the camera fire a sequence of frames as the wave builds and recedes. You’ll capture the peak moment somewhere in that sequence without needing a cable or wireless trigger in your hand. For most landscape work, where your subject isn’t changing in fractions of a second, the 2-second self-timer eliminates mirror slap and vibration just as effectively as a remote release would. One less thing to charge, one less thing to lose in a coat pocket at the trailhead.
From My Own Kit: The Pattern Behind the Pattern
Here’s what I kept thinking while working through Mark’s list. Every item on it was purchased to solve a problem that turned out to have a simpler solution, or turned out not to be a real problem at all. The UV filter addressed damage that wasn’t happening. The rain cover addressed weather protection that a shower cap handled better. The remote release addressed timing problems that burst mode and the self-timer could absorb.
I learned early in my career, from a mentor who had more patience than I’ll probably ever develop, that the instinct to add gear is often the instinct to add control. And landscape photography is fundamentally about relinquishing control, showing up, reading what the light is doing, and responding to the scene in front of you rather than the scene you planned for. I’ve stood in fog for two days waiting for a shot I drove six hours to get. The gear in my bag didn’t determine whether I came home with something worth keeping. My willingness to stay and wait did.
The practical upshot is this: before adding anything to your kit, ask whether the problem it solves actually costs you images. Most of the time, it doesn’t. The UV filter has never cost me a shot. Neither has the absence of a rain cover. The remote release, maybe occasionally, but burst mode and a timer cover most of that gap.
The single most important idea in Mark Denney’s tutorial is also the simplest: gear you don’t use well, or don’t use at all, actively works against you by adding weight, complexity, and cost to a practice that rewards clarity. Every redundant item in your bag is a decision you’ll make at 4am in the dark when you’d rather be thinking about the light.
Watch the full tutorial on YouTube for Mark’s complete list, including the higher-ticket items he covers at the top of the guide. Well worth the time, especially before the next round of holiday shopping begins.
Comments
Leave a Comment