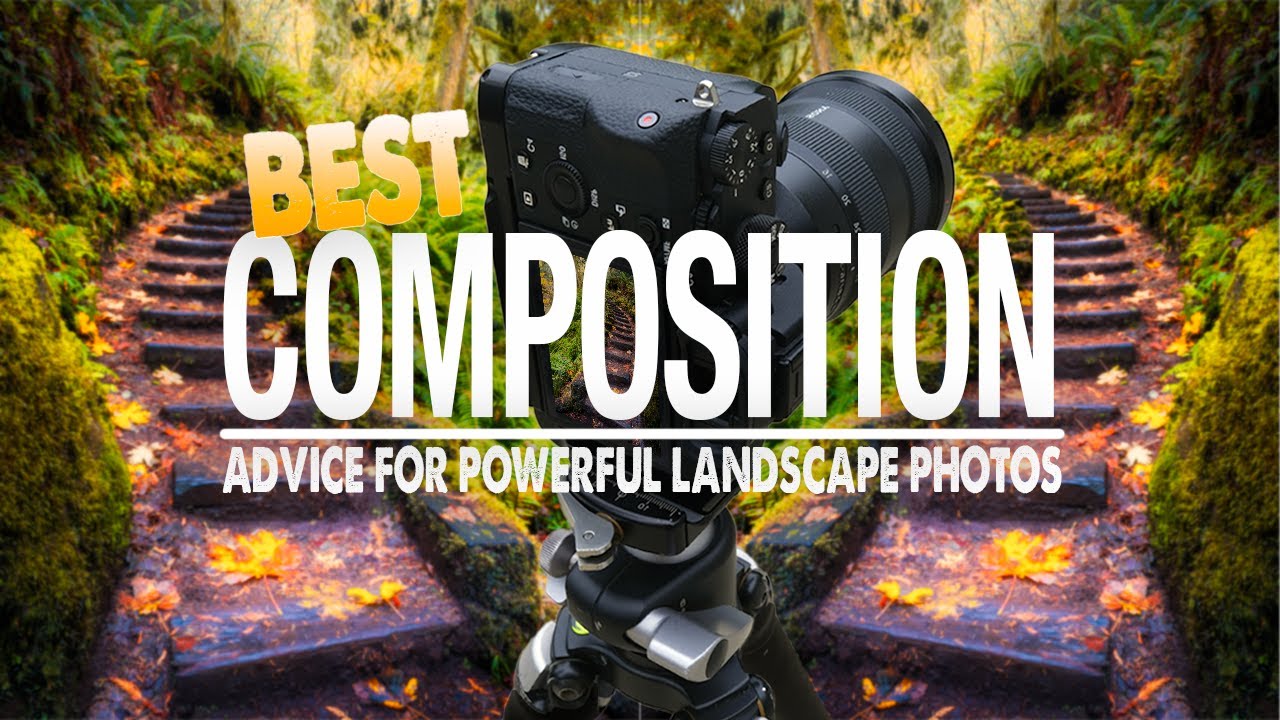
I spent the better part of my first five years as a serious landscape photographer drowning in composition theory. Rule of thirds. Golden ratio. Leading lines. Foreground interest. Layers and depth. I had notebooks full of it. And when I finally arrived at a location, often after a 4am wake-up and a long drive through the dark, I would stand there with my tripod and freeze. Too many rules competing for space in my head. Photography, for a stretch, started to feel less like seeing and more like solving a puzzle I didn’t fully understand.
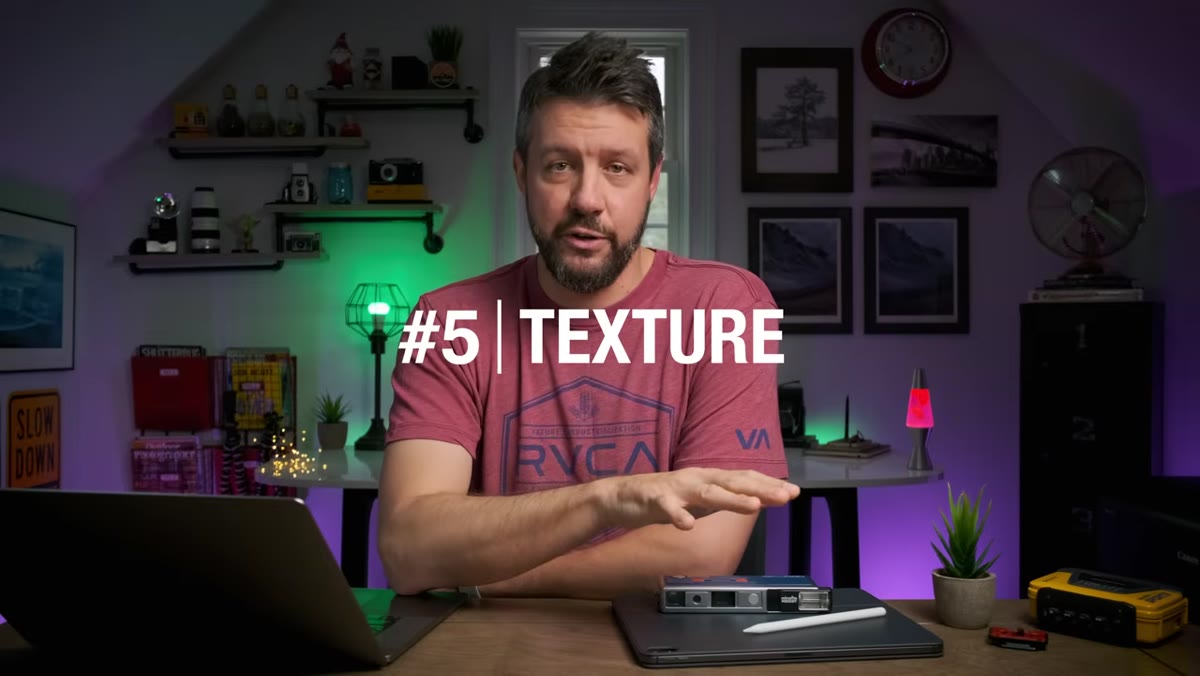
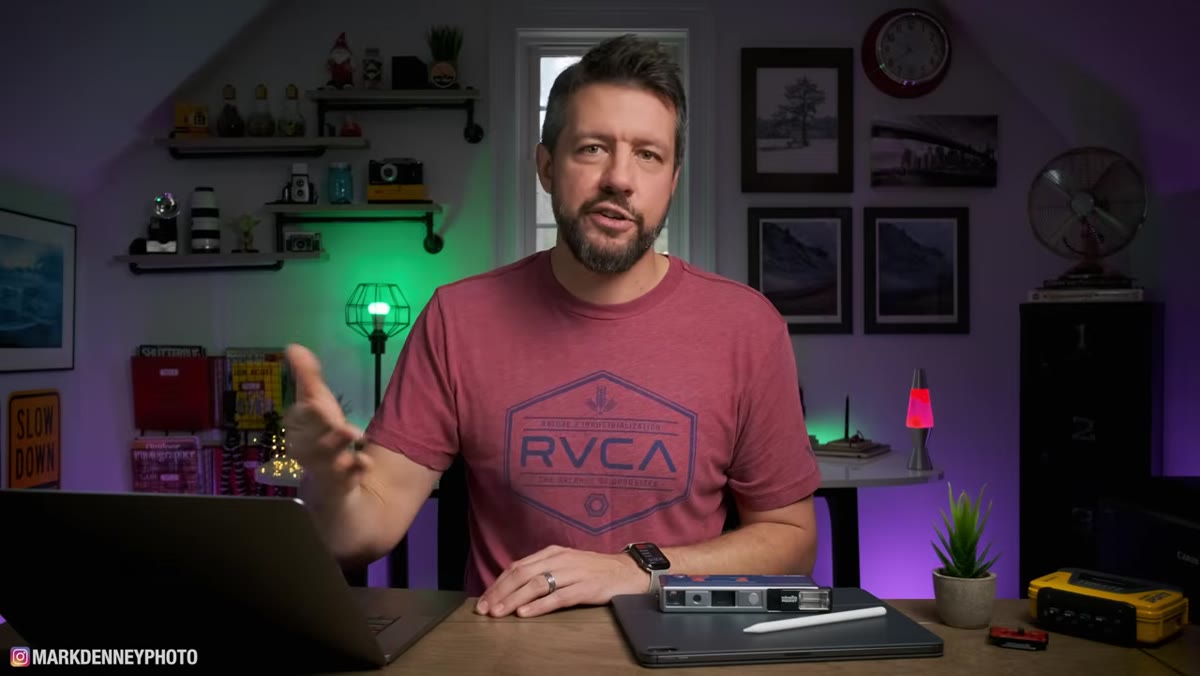
That’s why a recent tutorial from Mark Denney landed so cleanly for me. Watch the full tutorial on YouTube - it’s called “The Best COMPOSITION Advice I’ve EVER HEARD” and it centers on a single directive: find your focal point and get low. Denney breaks down not just the technique itself but the specific situations where it actually works, and that distinction matters more than most composition advice I’ve encountered in two decades of doing this work.
The core insight is that getting low is not a gimmick or a stylistic choice. It’s a structural decision that changes the geometry of your frame, expands your foreground, compresses your background, and draws the viewer into the scene rather than letting them observe it from a comfortable distance. Here’s how Denney walks through it, and what I’d add from my own time in the field.
Step 1: Recognize When Foreground Texture Justifies the Move
 Sand dunes with raking sidelight revealing fine grain texture
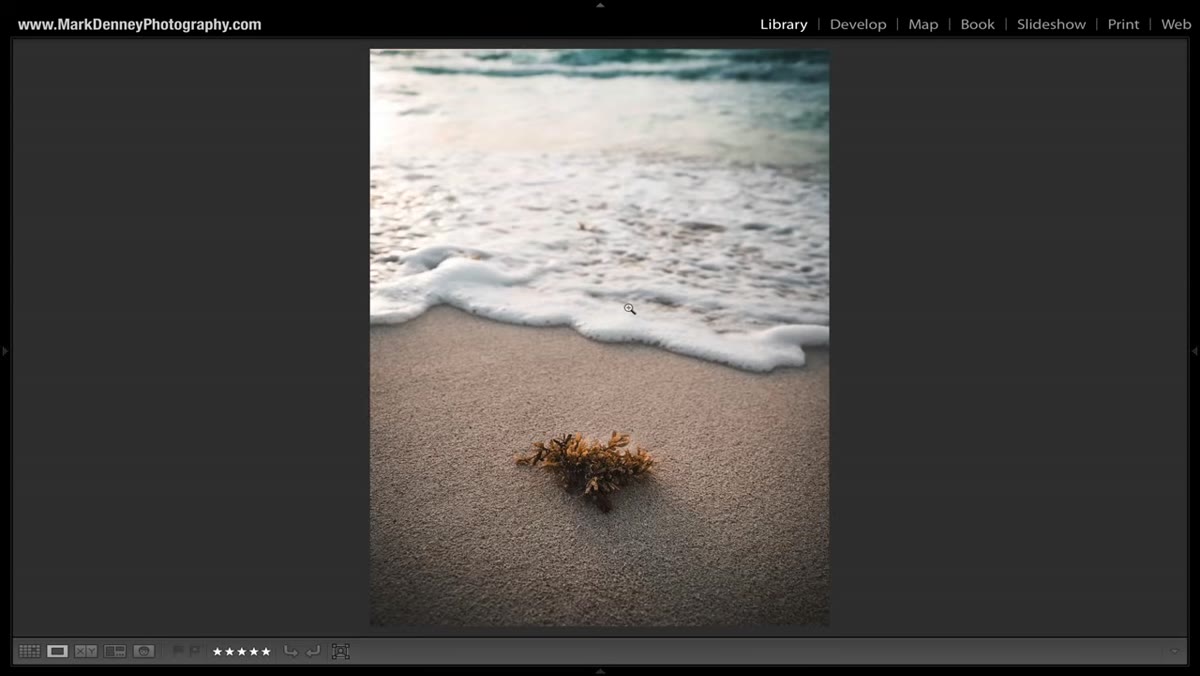
The first situation Denney identifies is foreground texture. When the ground in front of you has genuine visual interest, whether sand, moss, frost, cracked mud, or river pebbles, dropping your camera low is how you make that texture speak. Sidelight is your ally here. A low angle with warm raking light across a sand flat will reveal every ripple and grain in a way that standing at eye level simply cannot.
Sand dunes with raking sidelight revealing fine grain texture
The first situation Denney identifies is foreground texture. When the ground in front of you has genuine visual interest, whether sand, moss, frost, cracked mud, or river pebbles, dropping your camera low is how you make that texture speak. Sidelight is your ally here. A low angle with warm raking light across a sand flat will reveal every ripple and grain in a way that standing at eye level simply cannot.
The critical point Denney makes is about tactile suggestion. A photograph is a flat surface, but a well-captured texture can make a viewer feel like they could reach in and touch it. That’s not a small thing. It’s one of the ways a still image creates a physical, emotional response.
Step 2: Use Close Foreground Elements to Create Scale and Depth
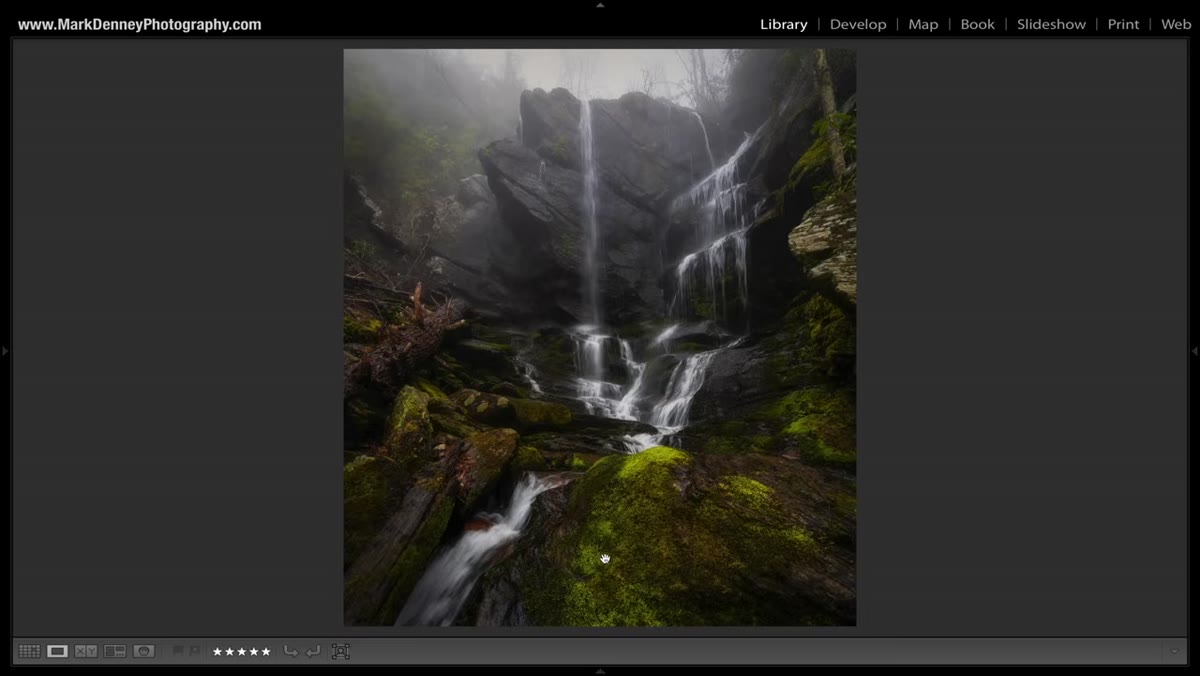 Low camera angle on mossy green ground cover with landscape beyond
Getting low amplifies depth by forcing a strong size relationship between the foreground and the background. A wildflower that reads as a small detail from standing height becomes a bold anchor when your lens is six inches from the ground. The mountain in the distance stays the same size, but now it exists in a world, not just on a backdrop.
Low camera angle on mossy green ground cover with landscape beyond
Getting low amplifies depth by forcing a strong size relationship between the foreground and the background. A wildflower that reads as a small detail from standing height becomes a bold anchor when your lens is six inches from the ground. The mountain in the distance stays the same size, but now it exists in a world, not just on a backdrop.
This is the step where most beginners hesitate because it feels extreme. It isn’t. Go lower than you think you need to, then evaluate. I’ve shot from flat on my stomach more times than I can count, my lucky hat stuffed in my jacket pocket so it doesn’t blow away, and those images consistently outperform the ones where I was still thinking about my knees.
Step 3: Find Your Focal Point Before You Commit to the Low Position
 Photographer scanning scene before lowering camera to ground level
Denney is specific about the order of operations: identify your focal point first, then get low. This matters because getting low without a clear subject just gives you a confusing foreground and a weaker composition than you started with. The focal point determines where you position yourself, and that position determines how low makes sense.
Photographer scanning scene before lowering camera to ground level
Denney is specific about the order of operations: identify your focal point first, then get low. This matters because getting low without a clear subject just gives you a confusing foreground and a weaker composition than you started with. The focal point determines where you position yourself, and that position determines how low makes sense.
Think of it as a two-step anchor. Once you know what the image is about, the low angle becomes a tool for connecting the viewer to that subject. Without the anchor, you’re just lying on the ground hoping something interesting happens.
Step 4: Look for Leading Lines That Get Stronger From Ground Level
 River edge or path viewed at ultra-low angle pulling toward background
Natural leading lines, rivers, shorelines, fence rows, tire tracks, rows of crops, behave differently depending on your camera height. From standing height, a river curving into the background reads as a compositional device. From ground level, that same river becomes an experience. The viewer doesn’t just follow the line, they feel like they’re entering the frame.
River edge or path viewed at ultra-low angle pulling toward background
Natural leading lines, rivers, shorelines, fence rows, tire tracks, rows of crops, behave differently depending on your camera height. From standing height, a river curving into the background reads as a compositional device. From ground level, that same river becomes an experience. The viewer doesn’t just follow the line, they feel like they’re entering the frame.
The geometry shifts because you’re compressing the near portion of the line and stretching the scene behind it. I’ve shot the same bend in the Deschutes River at three different heights. The low version is the one that sells prints. The others are technically fine photographs of a pretty place.
Step 5: Match the Situation to the Technique, Not the Other Way Around
 Photographer adjusting tripod height based on scene conditions
This is where Denney’s framework separates itself from generic advice, and where I want to add emphasis. He spent 12 to 18 months after first hearing the “get low” instruction trying to figure out when to actually use it. The technique isn’t universal. There are scenes where a low angle muddies the composition, obscures the actual subject, or competes with a stronger sky that needs breathing room.
Photographer adjusting tripod height based on scene conditions
This is where Denney’s framework separates itself from generic advice, and where I want to add emphasis. He spent 12 to 18 months after first hearing the “get low” instruction trying to figure out when to actually use it. The technique isn’t universal. There are scenes where a low angle muddies the composition, obscures the actual subject, or competes with a stronger sky that needs breathing room.
Flat, cluttered foregrounds with nothing interesting underfoot don’t improve when you get close to them. They just look like flat, cluttered foregrounds with a camera in the dirt. The skill is learning to read the scene before you set up. Walk the location. Crouch down in a few spots. See what changes and what doesn’t. The field diagnosis is the job.
What Twenty Years Adds to This
I still occasionally shoot film, partly for the discipline it requires. You get 36 frames on a roll and every one costs you something, so you think before you press the shutter. That habit has carried over into how I evaluate a low angle before committing to it. I ask: what does the foreground give the viewer that they wouldn’t have from standing height? If I don’t have a clear answer, I stand back up.
The other thing I’d add is patience with the position itself. Getting low often means waiting. Your angle of view is narrow, so timing becomes more critical. A wave that looks fine from eye level might blow out your foreground entirely when your lens is eight inches off the wet sand. You need to see a few cycles, understand what’s coming, and be ready. That’s not a weakness of the technique. It’s what makes the frames count.
The single most important thing Mark Denney’s tutorial gives you is permission to stop treating composition as a rulebook and start treating it as a set of tools you reach for when the scene calls for them. Getting low is one of the most powerful tools in that kit, but it earns its power from specificity. Know your focal point. Read your foreground. Then commit.
Watch the full tutorial on YouTube to see all five situations Denney walks through, with his own images as examples. It’s one of the more honest and practically useful composition videos I’ve come across, and worth your time before your next early morning in the field.
Comments (3)
Quality content like this is rare. Keep it up.
I've watched a dozen tutorials on this and yours is the clearest by far.
Couldn't agree more. I've seen this make a huge difference in business work specifically.
Leave a Comment