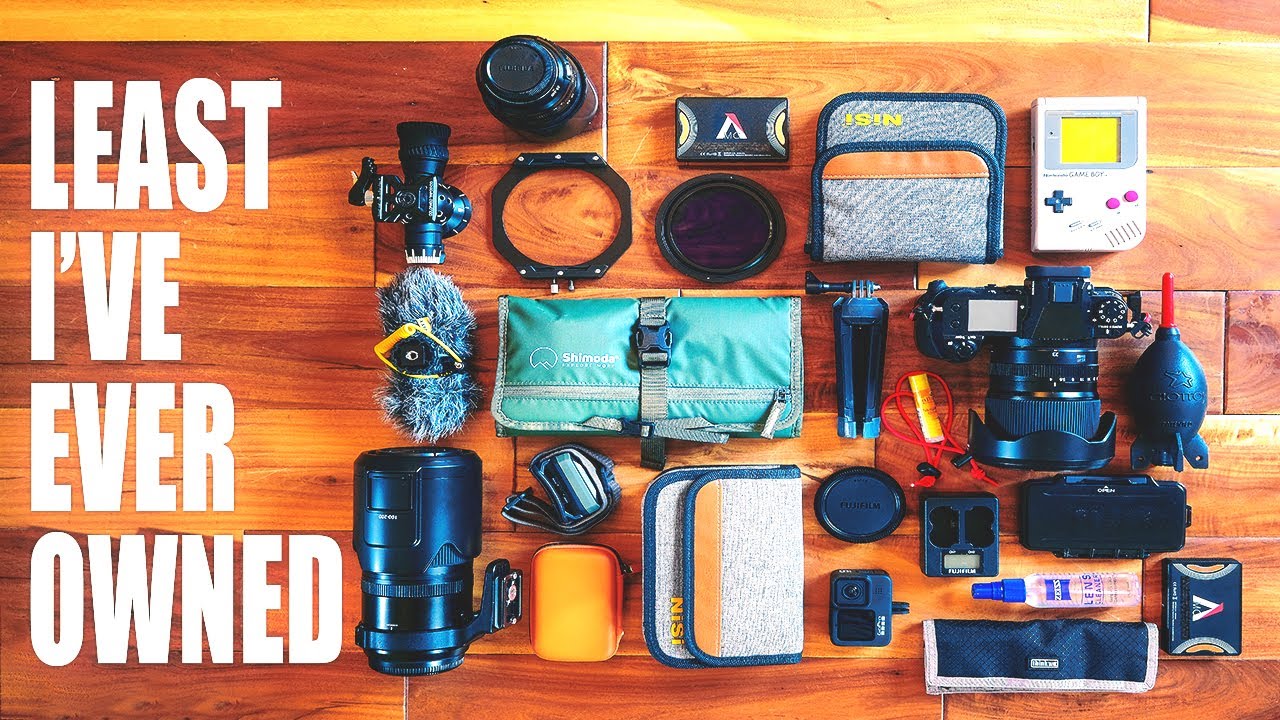
Every August, I spread everything I own onto my studio floor and ask myself the same question: what can I leave behind? After two decades of hauling gear up ridgelines and into cold Oregon rivers before the sun comes up, I’ve learned that a heavy bag isn’t a sign of preparedness. It’s usually a sign of indecision. The photographers I respect most carry less than you’d expect.
That’s why I kept coming back to this particular gear rundown from Mark Denney. In this Mark Denney tutorial on his minimalist landscape camera setup, he walks through every piece of kit he brings into the field, and more importantly, explains the thinking behind why each item made the cut. It’s not just a gear list. It’s a philosophy of reduction, and after watching it, I made a few changes to my own kit that I should have made years ago.
What struck me most is that Denney lands on a two-lens system by working backward from how he actually shoots, not forward from a spec sheet. That kind of honest self-assessment is rarer than it sounds. Most of us buy lenses hoping we’ll find a use for them. He’s doing the opposite.
Step 1: Start With the Bag and Build Around It
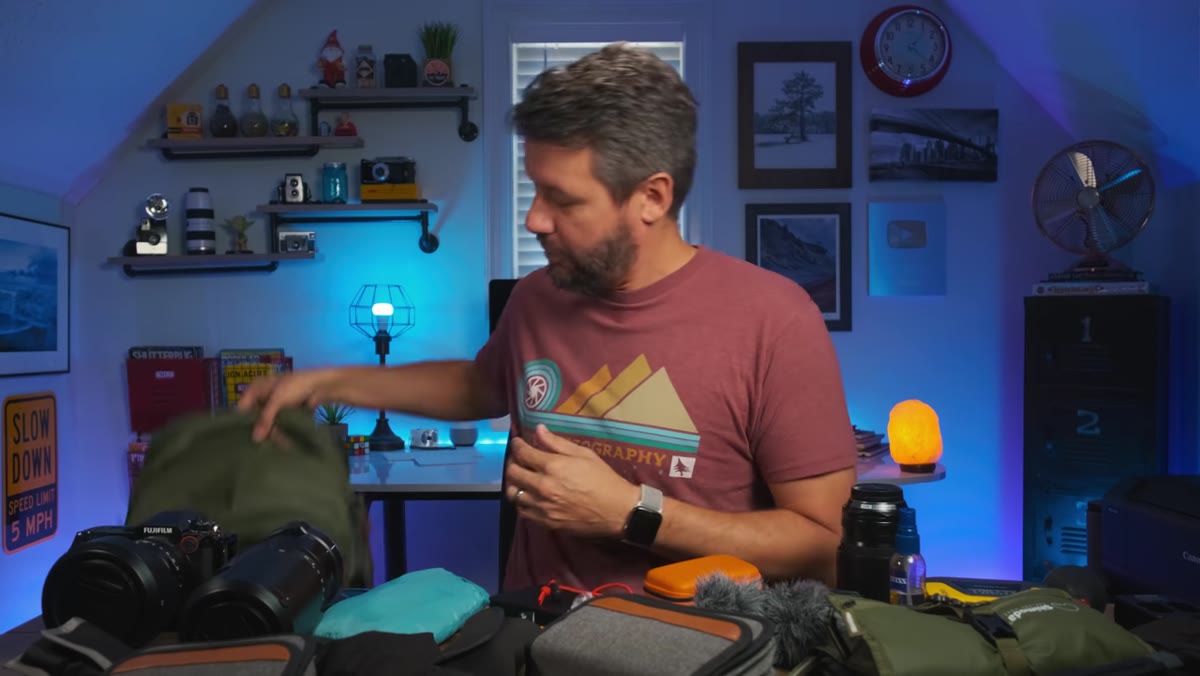 Shimoda Explore V2 bag sitting on desk
Denney’s bag of choice is the Shimoda Explore V2, and he’s been using it long enough that the endorsement carries weight. The key principle here isn’t brand loyalty. It’s that your bag should dictate the upper limit of what you carry. If you choose a bag that holds twelve lenses, you’ll fill it with twelve lenses. Choose something with intentional capacity and your kit gets leaner by default.
Shimoda Explore V2 bag sitting on desk
Denney’s bag of choice is the Shimoda Explore V2, and he’s been using it long enough that the endorsement carries weight. The key principle here isn’t brand loyalty. It’s that your bag should dictate the upper limit of what you carry. If you choose a bag that holds twelve lenses, you’ll fill it with twelve lenses. Choose something with intentional capacity and your kit gets leaner by default.
When I switched to a smaller pack several seasons ago, I stopped bringing the 70-200 “just in case” and started making real decisions at the door. Your bag is your first editorial choice of the day.
Step 2: Choose a Tripod Built for the Long Haul
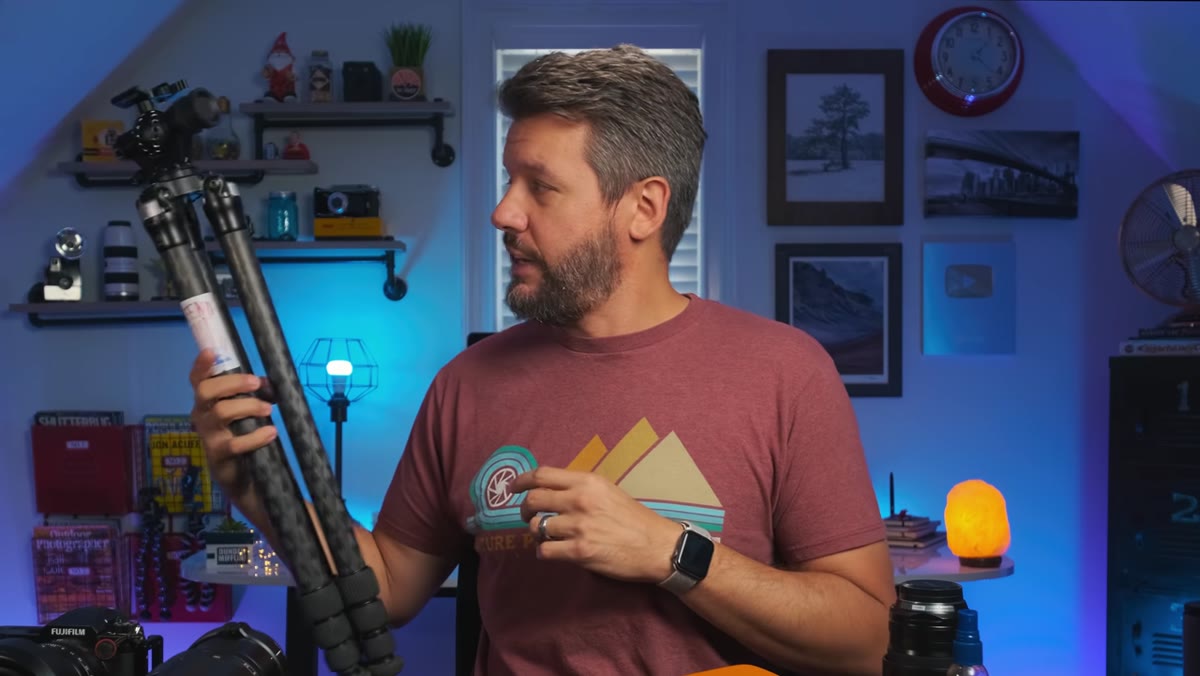 Really Right Stuff TVC 34L tripod beside the desk
Denney runs two tripods. His primary is the Really Right Stuff TVC 34L, a carbon fiber workhorse that handles serious weight without complaint. He also references the Photo Pro tripod as a secondary option. The takeaway isn’t that you need to own both. It’s that tripod quality directly affects image sharpness, and cutting corners here costs you in post.
Really Right Stuff TVC 34L tripod beside the desk
Denney runs two tripods. His primary is the Really Right Stuff TVC 34L, a carbon fiber workhorse that handles serious weight without complaint. He also references the Photo Pro tripod as a secondary option. The takeaway isn’t that you need to own both. It’s that tripod quality directly affects image sharpness, and cutting corners here costs you in post.
After blowing out my knees on a bad tripod leg collapse in the Columbia River Gorge years ago, I’ve never questioned spending real money on a tripod again. Buy it once, buy it right.
Step 3: Upgrade Your Ball Head Separately
 Colorado Tripod Company Aspen ball head close-up on desk
One detail that often gets glossed over in gear videos: the ball head matters as much as the legs. Denney has been using the Colorado Tripod Company Aspen ball head, and he’s enthusiastic enough about it to have made a dedicated video on the subject. A ball head that slips under a heavy medium format camera isn’t just frustrating. It can ruin a shot you waited hours for.
Colorado Tripod Company Aspen ball head close-up on desk
One detail that often gets glossed over in gear videos: the ball head matters as much as the legs. Denney has been using the Colorado Tripod Company Aspen ball head, and he’s enthusiastic enough about it to have made a dedicated video on the subject. A ball head that slips under a heavy medium format camera isn’t just frustrating. It can ruin a shot you waited hours for.
If you’re upgrading your tripod system, treat the head as a separate purchase decision. Match the load rating to your heaviest body-and-lens combination, then add some margin.
Step 4: Commit to a Camera System Built for Output Quality
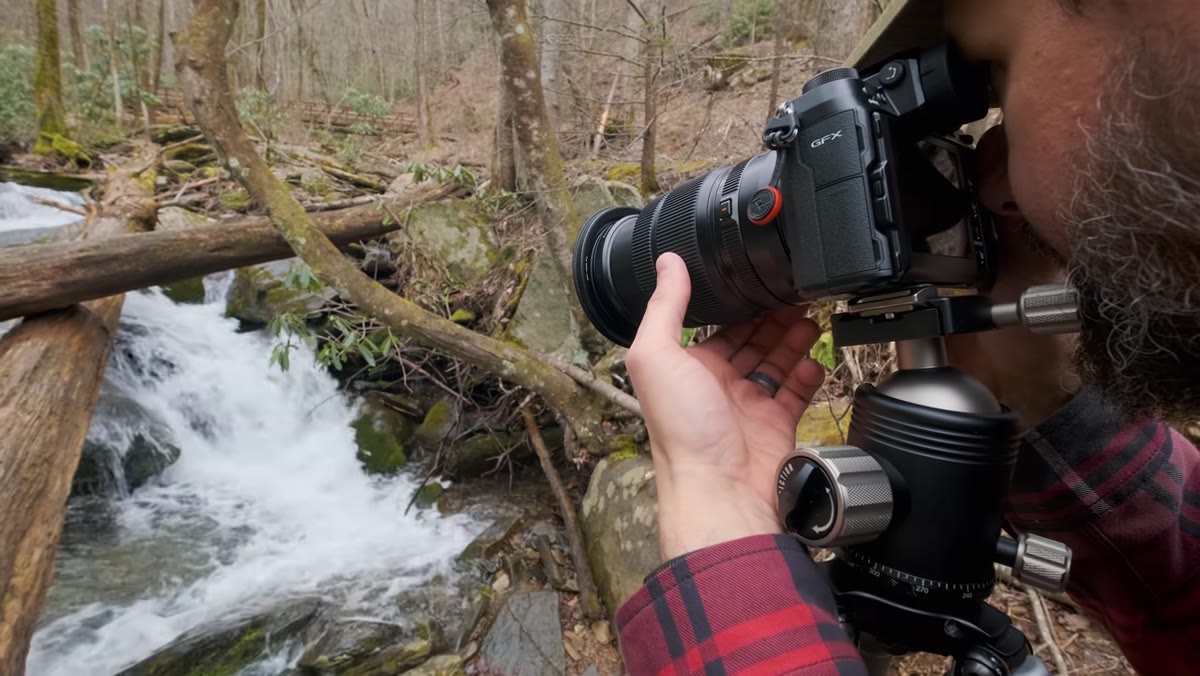 Fujifilm GFX 100S body on the desk
The camera Denney has moved to is the Fujifilm GFX 100S, a medium format mirrorless body with 102 megapixels. For landscape and nature work where large prints and serious cropping are part of the workflow, medium format delivers a different quality of file than full frame. The dynamic range and tonal depth in the shadows and highlights reward careful exposures in a way that changes how you think in the field.
Fujifilm GFX 100S body on the desk
The camera Denney has moved to is the Fujifilm GFX 100S, a medium format mirrorless body with 102 megapixels. For landscape and nature work where large prints and serious cropping are part of the workflow, medium format delivers a different quality of file than full frame. The dynamic range and tonal depth in the shadows and highlights reward careful exposures in a way that changes how you think in the field.
I still occasionally pull out a film camera for the same reason. When you know every frame costs you something, whether money or resolution headroom, you slow down and look harder before pressing the shutter.
Step 5: Reduce Your Lens Kit to Two Focal Lengths
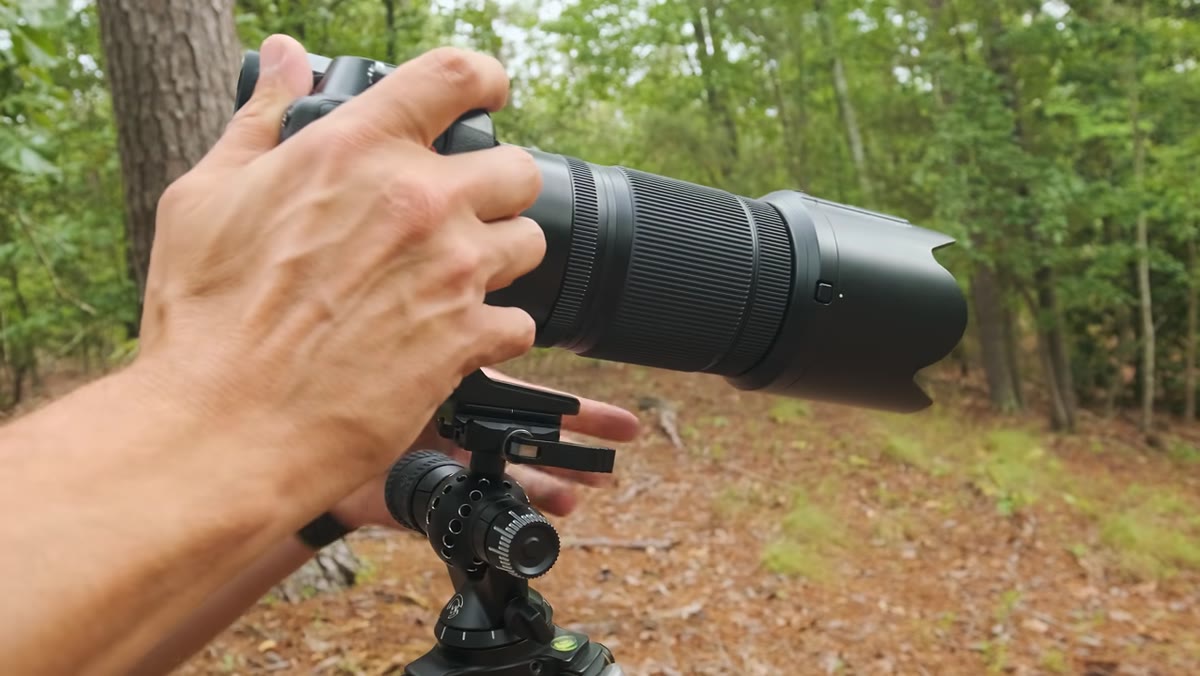
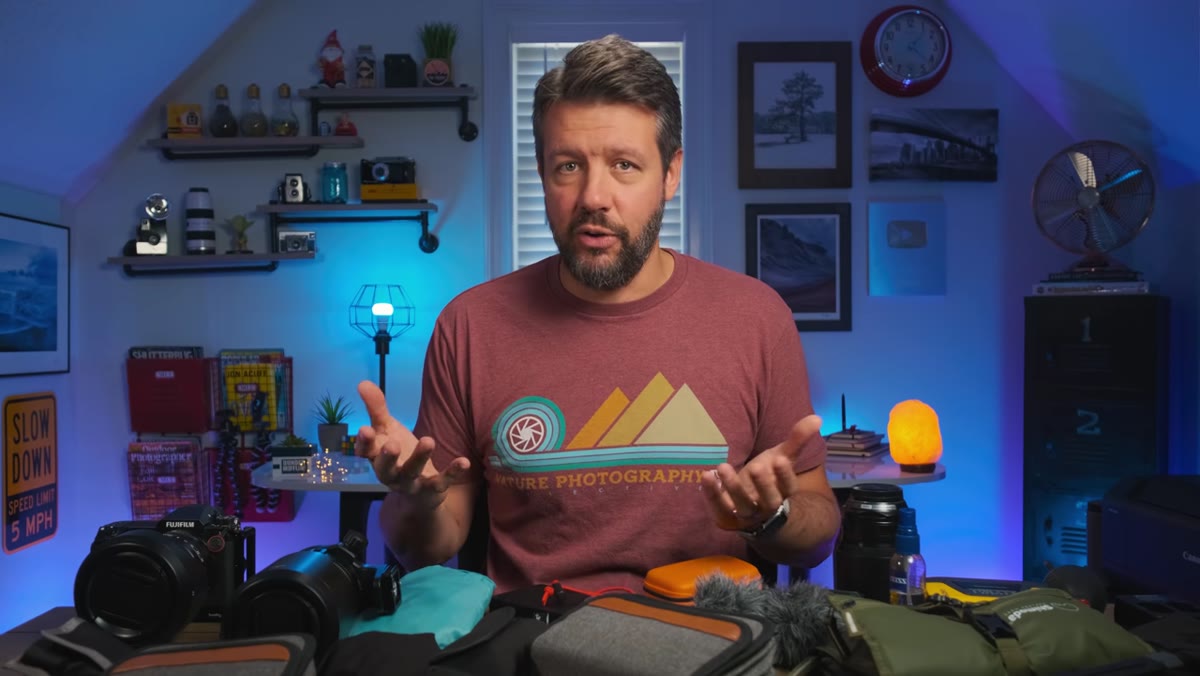 Two lenses: 23mm prime and 100-200mm on the desk
This is the core of Denney’s system and the step worth sitting with longest. After testing multiple lenses for the GFX 100S, he kept only two: a 23mm prime, which translates to roughly a 18mm equivalent field of view on medium format, and a 100-200mm zoom. He tried a 32-70mm zoom and genuinely liked it, but it didn’t fit his shooting style. He works wide or long. Nothing in the middle.
Two lenses: 23mm prime and 100-200mm on the desk
This is the core of Denney’s system and the step worth sitting with longest. After testing multiple lenses for the GFX 100S, he kept only two: a 23mm prime, which translates to roughly a 18mm equivalent field of view on medium format, and a 100-200mm zoom. He tried a 32-70mm zoom and genuinely liked it, but it didn’t fit his shooting style. He works wide or long. Nothing in the middle.
The discipline here is knowing your own tendencies well enough to make a cut. Most photographers who carry a mid-range zoom use it because it’s comfortable, not because it’s what the scene needs. Forcing yourself to choose between wide and long changes your compositional instincts in useful ways.
Step 6: Add a Rain Cover and Don’t Apologize for It
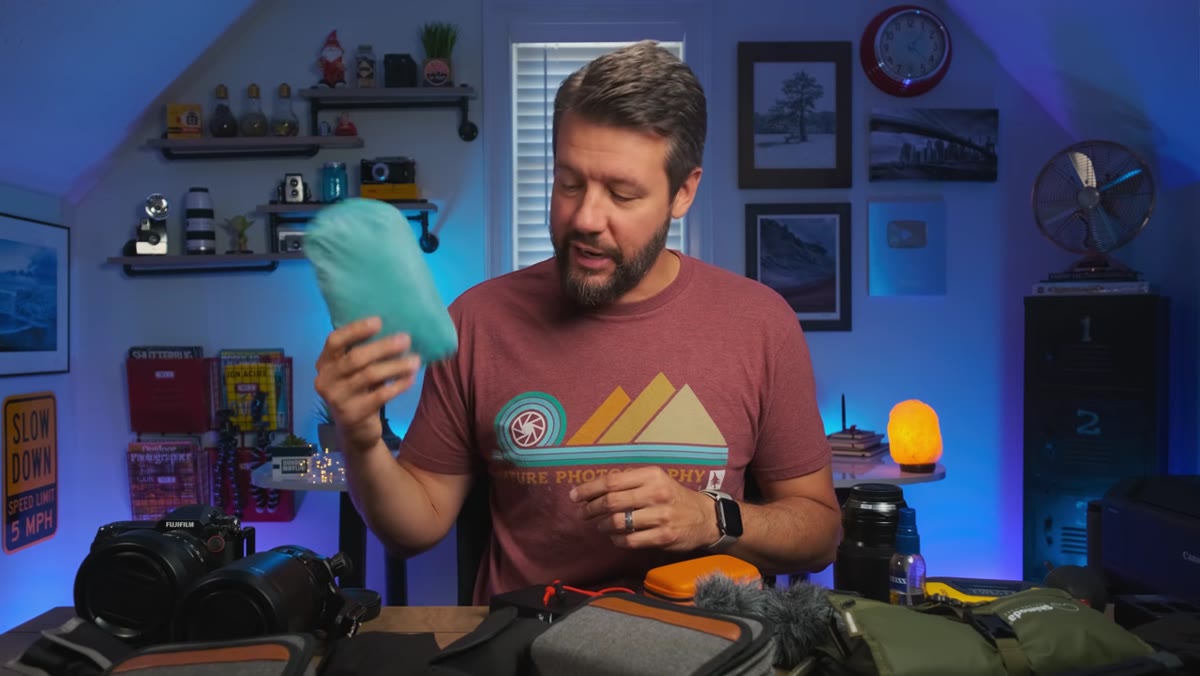 Shimoda bag rain cover laid out on desk
The Shimoda Explore V2 ships with a rain cover, and Denney keeps it in the bag every single trip. This is the kind of unglamorous detail that separates photographers who shoot in real conditions from those who wait for perfect ones. Weather moves fast in the mountains and along the coast. By the time you wish you had a rain cover, it’s already too late to go back to the car.
Shimoda bag rain cover laid out on desk
The Shimoda Explore V2 ships with a rain cover, and Denney keeps it in the bag every single trip. This is the kind of unglamorous detail that separates photographers who shoot in real conditions from those who wait for perfect ones. Weather moves fast in the mountains and along the coast. By the time you wish you had a rain cover, it’s already too late to go back to the car.
My lucky hat is waterproof for the same reason. Comfort in bad weather keeps you in the field longer, and longer time in the field means better images.
Step 7: Wire Yourself for Video Without Overcomplicating It
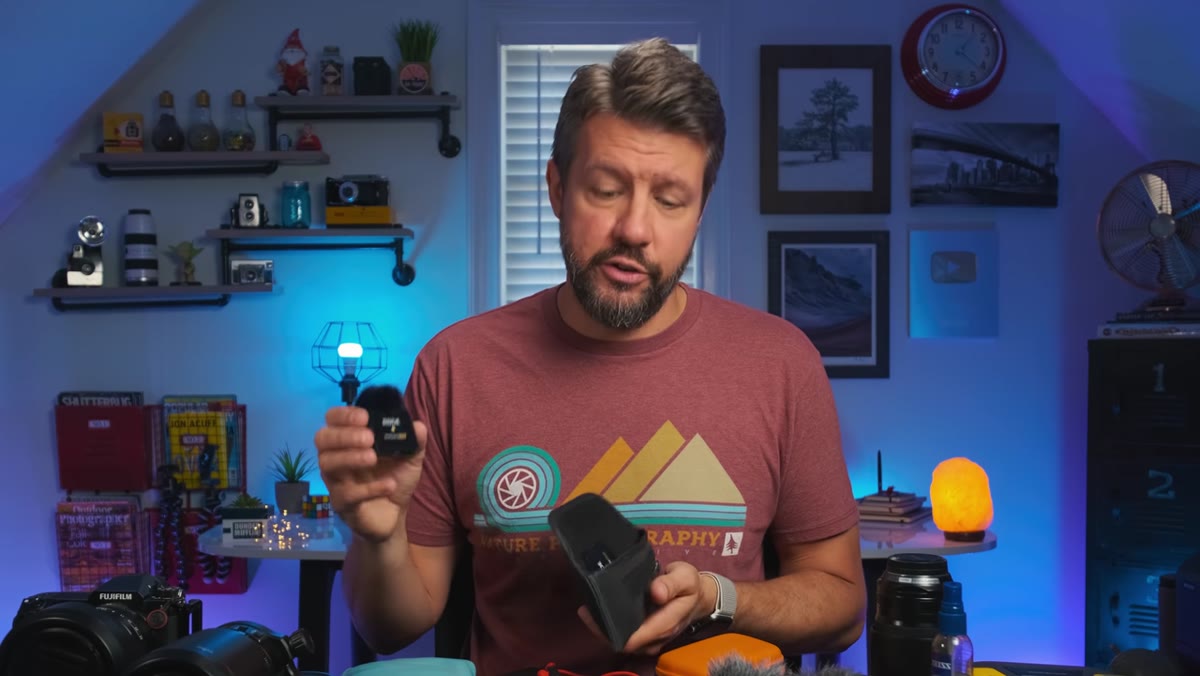 Rode Wireless Go II microphones on the desk
For capturing audio when filming in the field, Denney uses the Rode Wireless Go II system. The kit comes with two transmitters and one receiver, which covers most solo filming situations and leaves room for interviewing a subject if needed. For any photographer building a YouTube presence or documenting their process on location, clean audio matters more than most people expect. Viewers forgive imperfect video far more readily than they forgive bad sound.
Rode Wireless Go II microphones on the desk
For capturing audio when filming in the field, Denney uses the Rode Wireless Go II system. The kit comes with two transmitters and one receiver, which covers most solo filming situations and leaves room for interviewing a subject if needed. For any photographer building a YouTube presence or documenting their process on location, clean audio matters more than most people expect. Viewers forgive imperfect video far more readily than they forgive bad sound.
I resisted adding any video kit to my bag for years. Now I treat it the same way I treat a filter wallet: light, compact, and worth the few ounces it costs me.
What I Do Differently in the Field
Denney’s system is dialed in for someone who works efficiently and knows exactly what they want before they arrive. That works well when you’ve done the location research. Where I’d add a small caveat from my own experience: the two-lens approach rewards pre-visualization. When I was still figuring out my eye, I needed more options to understand my preferences. If you’re earlier in your development, don’t strip your kit so bare that you can’t experiment. Build toward minimalism rather than jumping straight to it.
The reduction is the destination. The experimentation is how you earn it.
The single most important idea in this whole tutorial is also the simplest: carry only what you’ll actually use, not what you might theoretically need. Gear decisions made at home, in the abstract, are where most photographers go wrong. Denney’s system works because it’s built from honest field experience, not aspiration.
Watch the full tutorial on YouTube to see how he walks through each piece of kit and hear his reasoning in his own words.
Comments (1)
Been doing this wrong for years apparently. Thanks for the wake-up call.
Leave a Comment