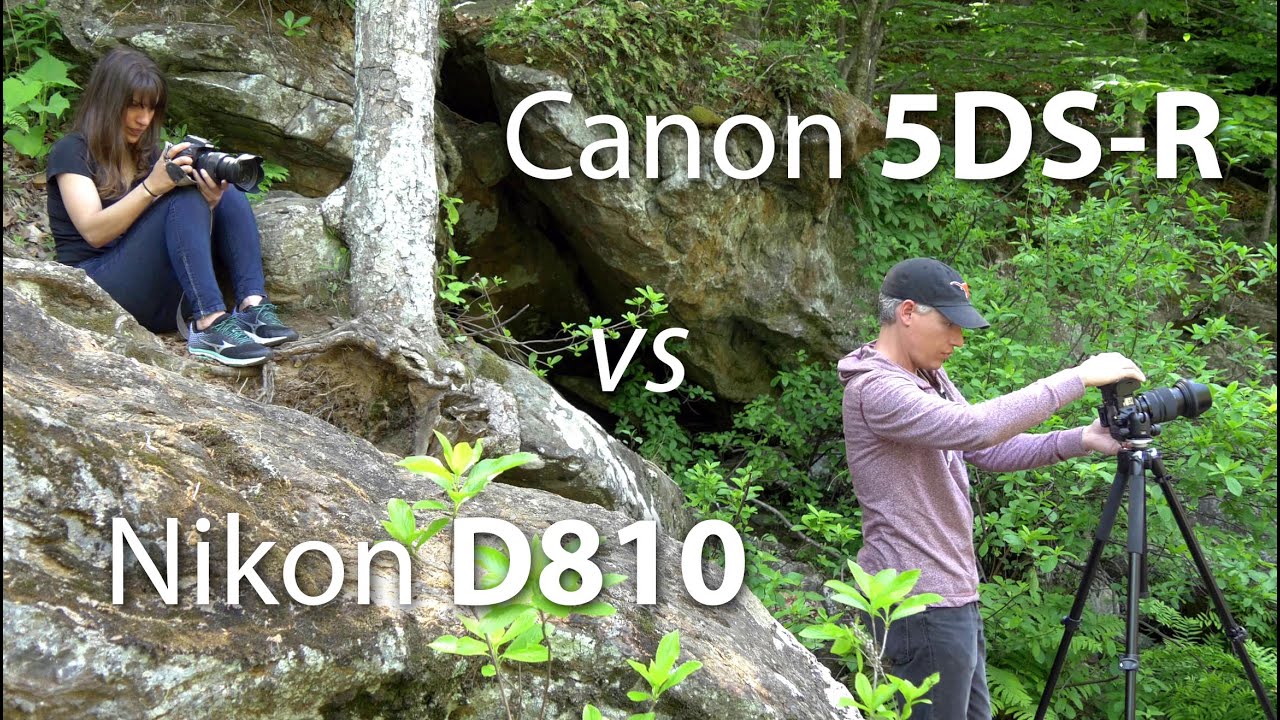
Every few years a new camera comes along promising to change everything, and every few years I find myself standing in the dark at some ungodly hour asking the same question I always do: will this actually help me make a better picture? When the Canon 5DS R landed with its 50-megapixel sensor, that question felt louder than usual. The pixel count was hard to ignore. But so was the skepticism. I’ve been doing this long enough to know that specs don’t survive contact with a cold morning and a fast-moving river.
That’s why I was glad to find this head-to-head comparison from Tony and Chelsea Northrup, who took the 5DS R out of the studio and put it against the 5D Mark III and the Nikon D810 in actual landscape conditions. No controlled lighting. No test charts. Real light, real glass, real shadow recovery. Watch the full tutorial on YouTube and then read on, because I want to walk through what they found and add a few things I’ve learned from years of working in similar situations.
The questions they set out to answer are exactly the right ones: Does a 50-megapixel sensor give you meaningful detail with ordinary glass? How does it handle high ISO noise? And when you’re pulling shadows up in Lightroom after a blown exposure, which sensor holds together and which one falls apart?
Step 1: Set Up for Maximum Sharpness Before You Even Fire
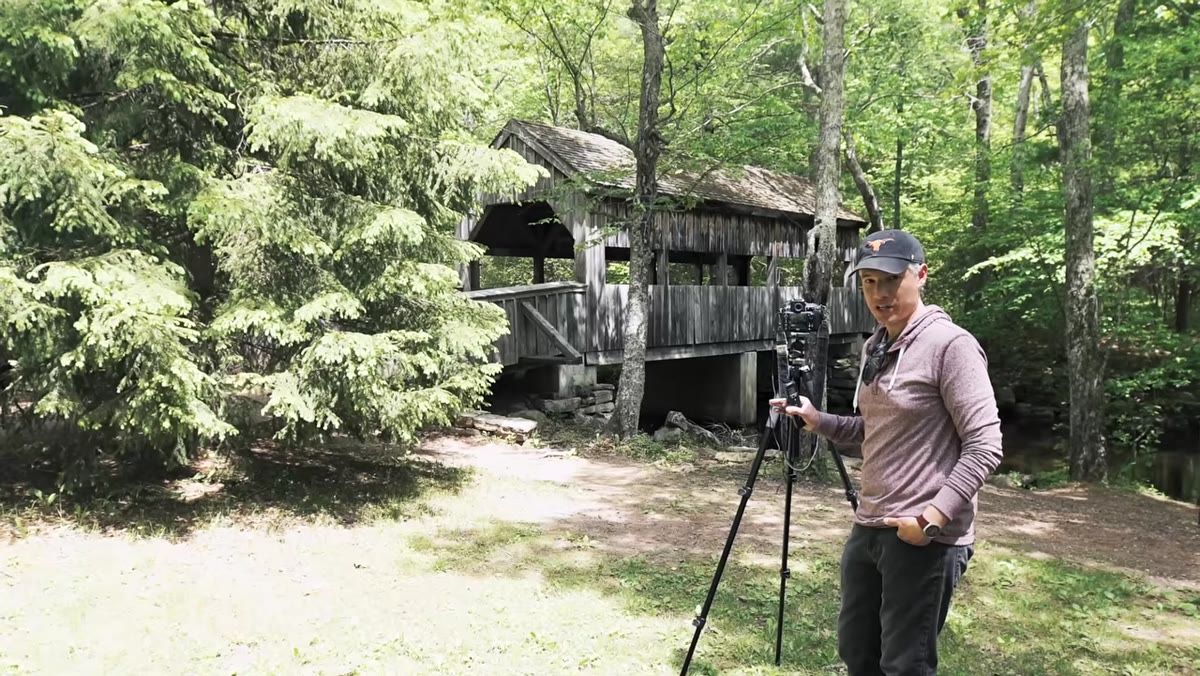 Tripod and mirror lockup setup explained on camera
At high resolution, camera shake that would go unnoticed on a 22-megapixel file becomes visible. Tony addresses this immediately, and it’s worth taking seriously. Get the camera on a solid tripod and engage mirror lockup. What mirror lockup does is move the mirror out of the light path a moment before the actual exposure, so the vibration from that mechanism dissipates before the shutter fires.
Tripod and mirror lockup setup explained on camera
At high resolution, camera shake that would go unnoticed on a 22-megapixel file becomes visible. Tony addresses this immediately, and it’s worth taking seriously. Get the camera on a solid tripod and engage mirror lockup. What mirror lockup does is move the mirror out of the light path a moment before the actual exposure, so the vibration from that mechanism dissipates before the shutter fires.
Here’s the catch: pushing the shutter button physically still shakes the camera. On the Nikon D810, mirror lockup doesn’t include a built-in delay, so you need a remote trigger to avoid introducing your own movement. The 5DS R adds a delay after mirror lockup, which means you can fire the shutter and let the camera do the waiting for you. For a working landscape photographer, the Nikon workflow means one more piece of gear in the bag. Not a dealbreaker, but worth knowing before you’re standing on a riverbank in the dark trying to remember where you packed the cable release.
Step 2: Compare Detail Across Sensors Using a Mid-Grade Lens
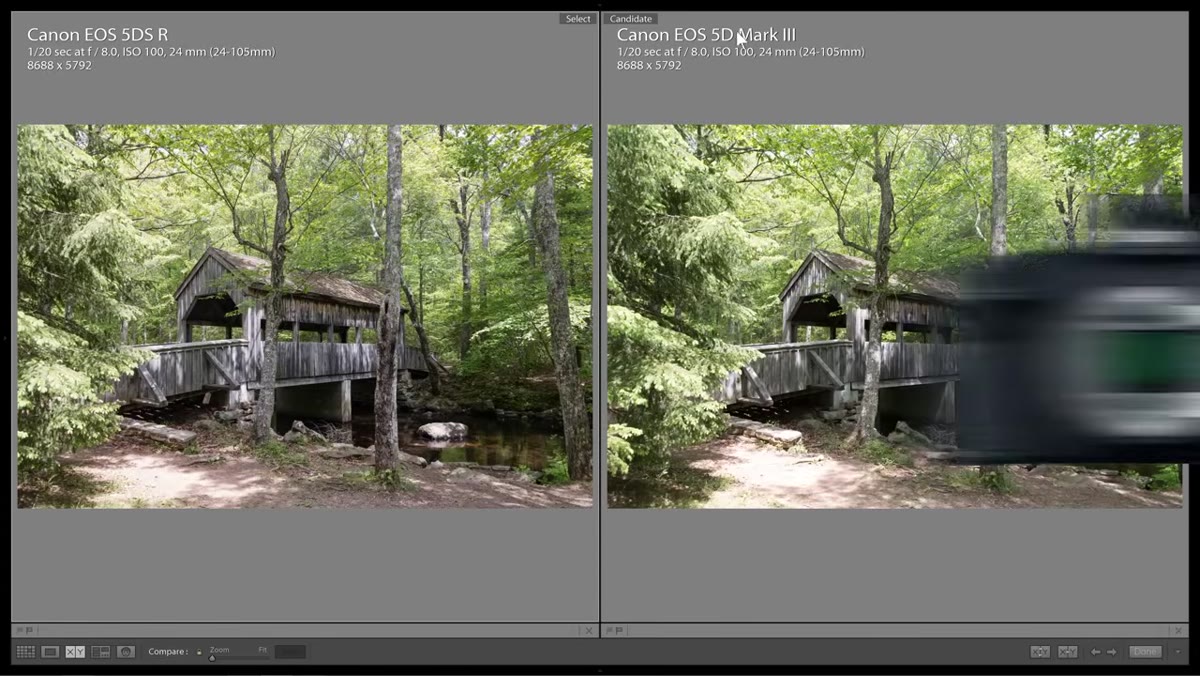 Side-by-side comparison of 5DS R and 5D Mark III detail crop
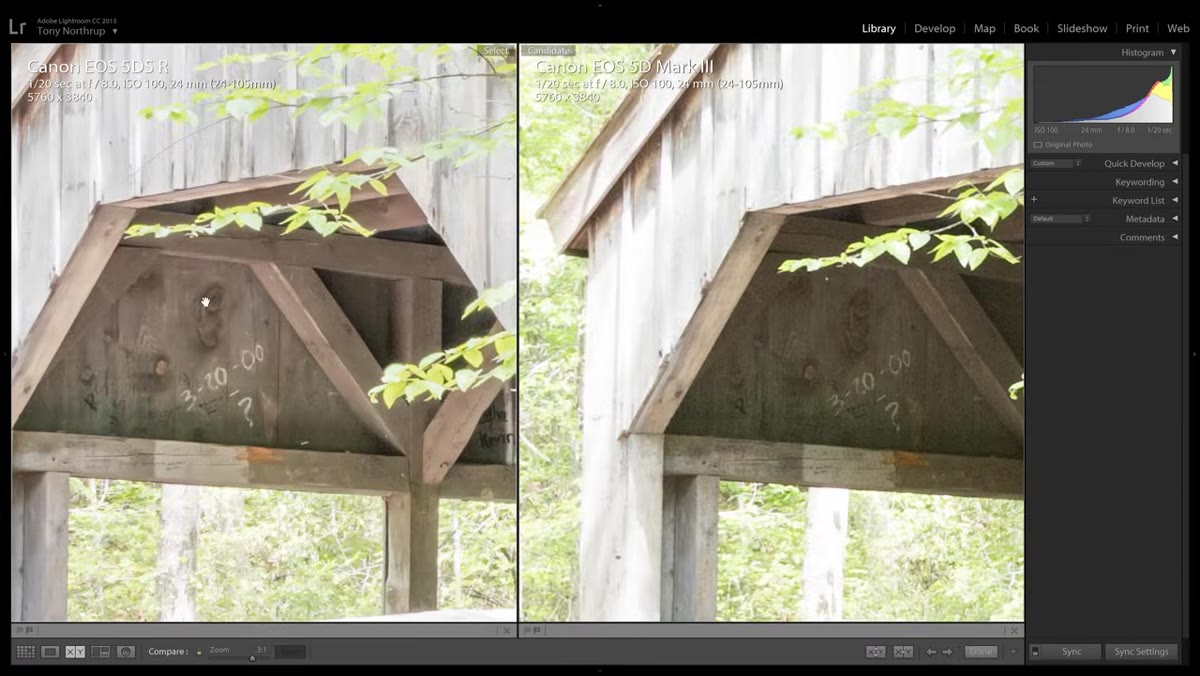
One of the most honest parts of this test is that Tony shoots it with the Canon 24-105mm f/4 rather than a prime optimized for resolving power. That’s the lens most of us actually carry. The result is still a significant detail advantage for the 5DS R over the 5D Mark III, visible even in shadow areas and fine textures like foliage.
Side-by-side comparison of 5DS R and 5D Mark III detail crop
One of the most honest parts of this test is that Tony shoots it with the Canon 24-105mm f/4 rather than a prime optimized for resolving power. That’s the lens most of us actually carry. The result is still a significant detail advantage for the 5DS R over the 5D Mark III, visible even in shadow areas and fine textures like foliage.
The lesson here isn’t that you should ignore lens quality. Better glass will always help at high resolution. But the test suggests that you don’t need to rebuild your entire kit to see returns from a higher-resolution sensor. If you’re using a modern zoom that’s reasonably sharp, the extra megapixels are still doing something useful. Zoom into a detailed scene at 3:1 and the difference becomes hard to argue with.
Step 3: Scale Images to a Common Resolution Before Comparing Noise
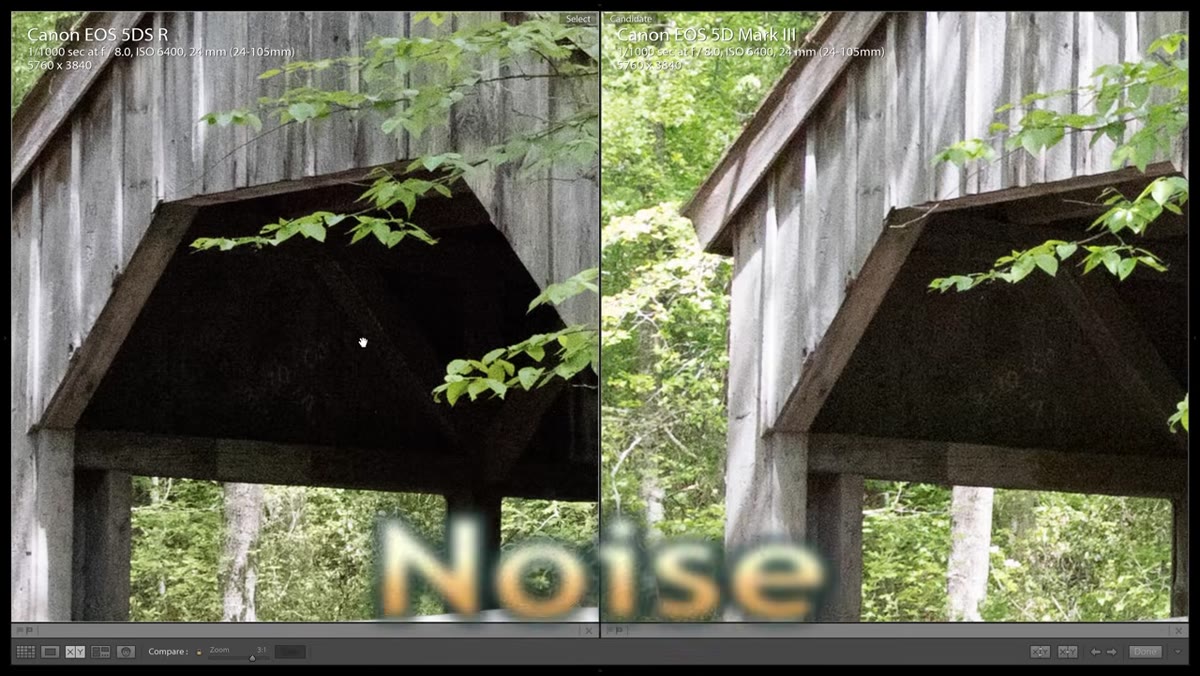 Lightroom panels showing noise comparison at ISO 6400
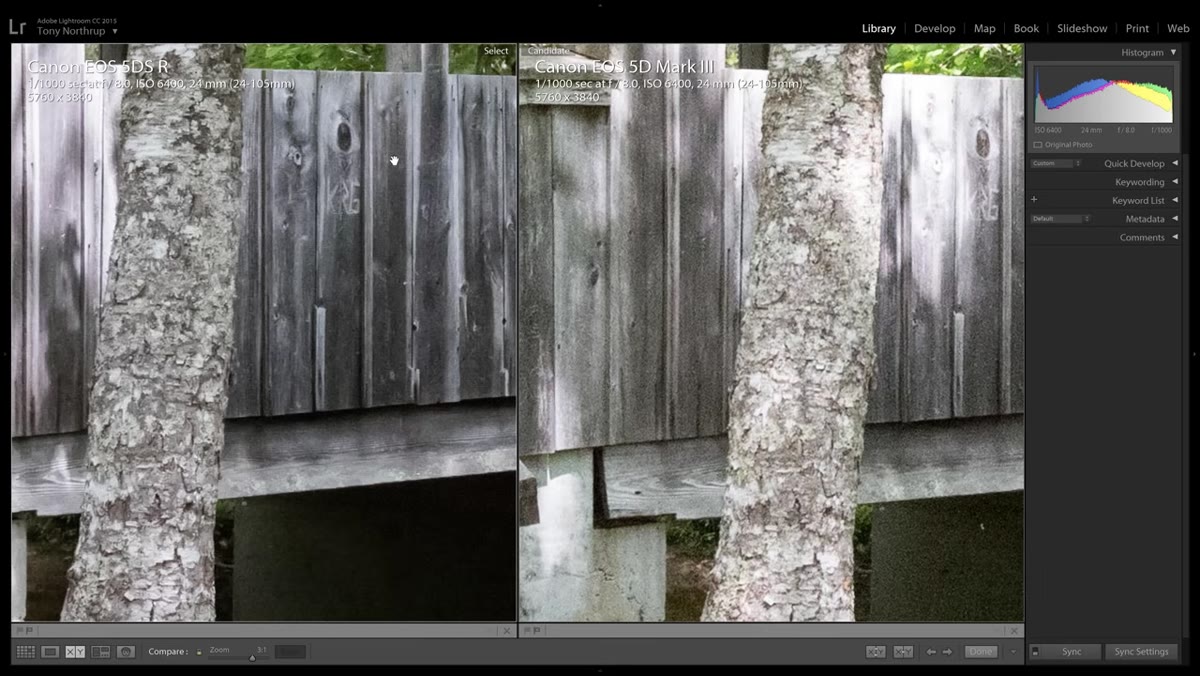
This is the step that most amateur comparisons skip and it matters enormously. When comparing the 5DS R to the 5D Mark III at ISO 6400, Tony scales both files down to the same resolution before evaluating noise. Comparing a 50-megapixel file to a 22-megapixel file at 100% zoom isn’t a fair test because you’re magnifying the larger file much more aggressively.
Lightroom panels showing noise comparison at ISO 6400
This is the step that most amateur comparisons skip and it matters enormously. When comparing the 5DS R to the 5D Mark III at ISO 6400, Tony scales both files down to the same resolution before evaluating noise. Comparing a 50-megapixel file to a 22-megapixel file at 100% zoom isn’t a fair test because you’re magnifying the larger file much more aggressively.
Once both images are at equivalent sizes, the noise levels are broadly similar, with the 5DS R holding a slight edge. But here’s the more useful insight: because the 5DS R file has more underlying detail to begin with, you can afford to push noise reduction harder without the image going soft. You’re trading pixel-level texture for a cleaner overall image, and you’re starting from a position of greater detail than the 5D Mark III could offer even before any noise reduction is applied.
Step 4: Apply Targeted Noise Reduction to Recover Detail in Shadows
 Noise reduction slider raised in Lightroom on 5DS R file
Shadow recovery is where sensors separate themselves quickly, and Tony demonstrates this by boosting exposure under a covered bridge where the shadows were deep. The 5DS R doesn’t show dramatically better dynamic range than the 5D Mark III in raw terms, but what it does show is that the recovered shadows contain significantly more detail. More detail means more room to apply noise reduction while still maintaining a usable image.
Noise reduction slider raised in Lightroom on 5DS R file
Shadow recovery is where sensors separate themselves quickly, and Tony demonstrates this by boosting exposure under a covered bridge where the shadows were deep. The 5DS R doesn’t show dramatically better dynamic range than the 5D Mark III in raw terms, but what it does show is that the recovered shadows contain significantly more detail. More detail means more room to apply noise reduction while still maintaining a usable image.
In practice, this means raising the noise reduction slider in Lightroom’s Detail panel after you’ve done your shadow recovery. Do your exposure work first. Then address noise. The sequence matters because noise reduction applied before shadow recovery will behave differently than noise reduction applied after, and you want to see the final luminosity of the shadow areas before you start smoothing them.
Step 5: Run the D810 Comparison and Account for Native ISO Differences
 D810 vs 5DS R detail comparison scaled to 50 megapixels
When Tony brings the Nikon D810 into the comparison, he does something important: he shoots each camera at its optimal base ISO rather than forcing them to match. The D810 supports a lower native ISO, which gives it an inherent advantage in clean shadow rendering. He then scales the D810 files up to 50 megapixels to make the pixel-level comparison fairer.
D810 vs 5DS R detail comparison scaled to 50 megapixels
When Tony brings the Nikon D810 into the comparison, he does something important: he shoots each camera at its optimal base ISO rather than forcing them to match. The D810 supports a lower native ISO, which gives it an inherent advantage in clean shadow rendering. He then scales the D810 files up to 50 megapixels to make the pixel-level comparison fairer.
At base ISO, the 5DS R shows more fine detail in the scene. But when sharpening is applied to the D810 file in Lightroom, the perceived gap narrows considerably. Sharpening doesn’t manufacture detail that isn’t in the file, but it does affect how detail reads visually, and in a blind test the two cameras become difficult to distinguish. Where the D810 does pull ahead is shadow smoothness. When shadows are lifted aggressively, the D810 files are visibly cleaner. The 5DS R files are noisier in recovered shadows but remain more detailed, and noise reduction can address much of that.
What Two Decades of Landscape Work Adds to This Conversation
There’s something this test doesn’t fully address, and it’s the thing I think about most when I’m choosing which body to bring: how forgiving is this camera when I can’t control the light?
My mentor used to say the mountain doesn’t care about your schedule. He was right. A lot of my best work came from situations where the light showed up fast and left faster, and I had one shot at a correct exposure. In those moments, dynamic range isn’t an abstract spec. It’s the difference between a usable file and a wasted morning. The D810’s shadow performance in this test is a real advantage for photographers who regularly work in high-contrast light and need latitude in post. If most of your shooting is around dawn and dusk with tricky mixed exposures, that matters. If you’re after maximum detail in controlled or soft light, the 5DS R is a serious tool.
The single most important thing this tutorial reinforces is that megapixel counts only tell you part of the story. What happens to those pixels when you add noise reduction, push shadows, and apply sharpening is where the real-world differences live. Know what your actual shooting conditions demand before you let a spec sheet make your decision for you.
Watch the full tutorial on YouTube to see the actual image comparisons side by side. The visual evidence Tony and Chelsea put together is worth your time, especially if you’re sitting on the fence between these systems.
Comments (2)
Solid advice. Especially the part about taking your time with it.
This is the kind of content that keeps me coming back.
Leave a Comment