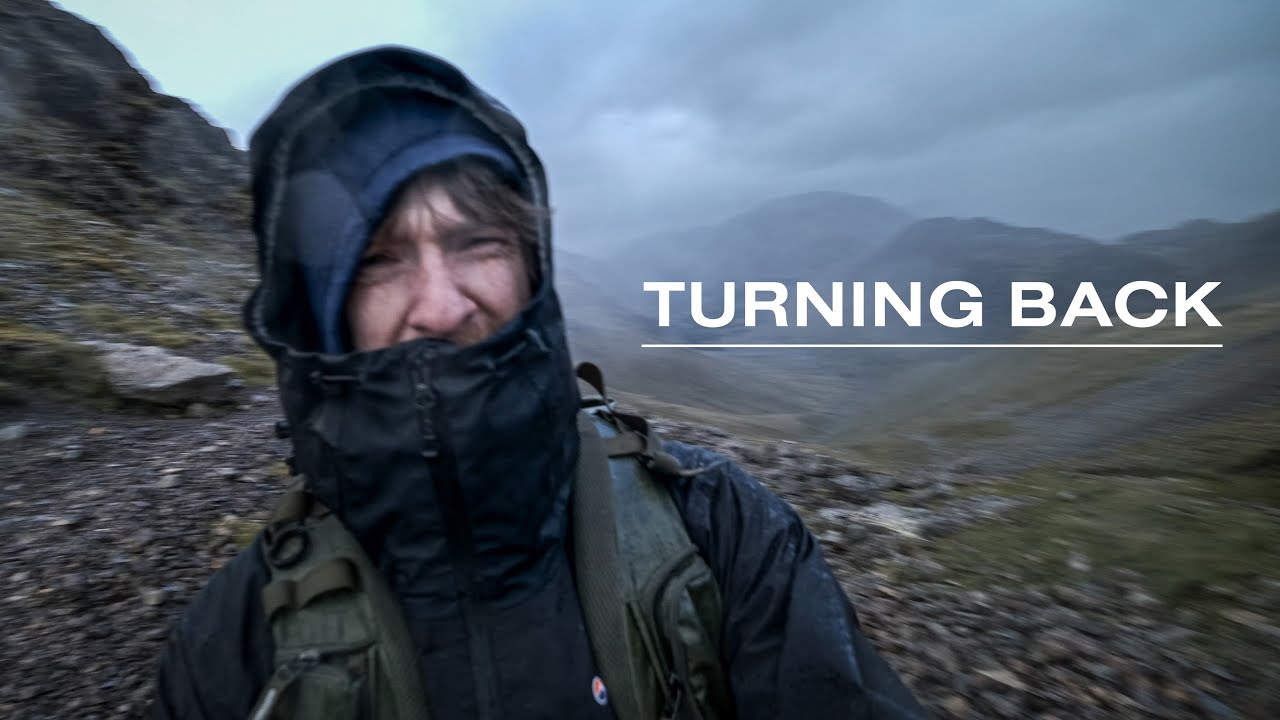
There’s a particular kind of mountain that gets under your skin. Not necessarily the tallest or the most dramatic on paper, but one that rewards obsession. One that earns respect through difficulty. For Thomas Heaton, that mountain is Great Gable in England’s Lake District. In this Thomas Heaton tutorial, he documents a solo overnight trip to photograph from the summit, and from the first few minutes of footage you can already see the decision-making process of someone who has logged serious time in serious terrain. Watch the full tutorial on YouTube
I’ve spent twenty years making images in remote places, and the problems Heaton walks through in this video are problems I still solve imperfectly: where to sleep when you’re shooting overnight, how much glass to carry when your knees are already complaining, and how to stay mentally flexible when the weather ignores every forecast you trusted. A mentor of mine used to say the mountain doesn’t care about your schedule. Heaton doesn’t say that, but this whole video is evidence that he understands it deeply.
What makes this tutorial worth pulling apart isn’t any single technical revelation. It’s the layering of small, practical decisions that add up to a coherent field strategy. Let me walk through the core steps as I see them, and add what twenty years of pre-dawn drives and bad-weather compromises have taught me along the way.
Step 1: Know Your Location’s Personality Before You Commit
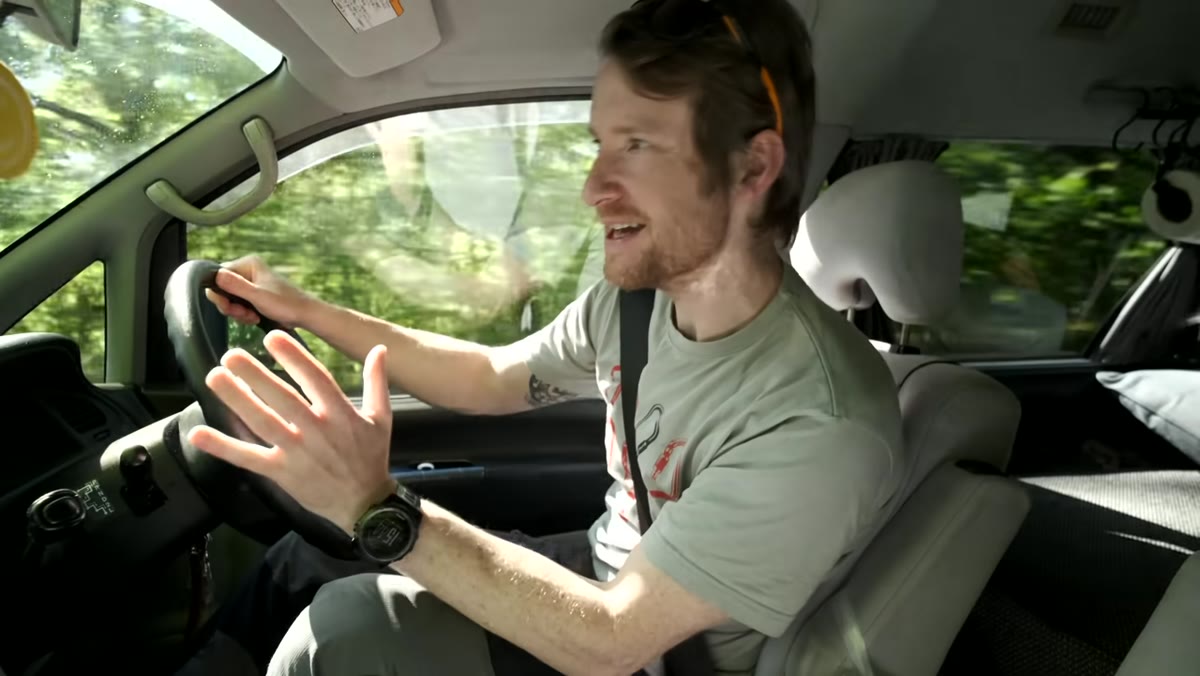 Thomas describing Great Gable’s reputation for cloud cover
Great Gable is, by Heaton’s own account, not the highest mountain in the Lake District but possibly the one with the most dramatic views. More importantly, he knows from repeated experience that this particular peak attracts cloud and weather even when surrounding summits are clear. That location-specific knowledge is not something you get from a weather app. You get it from going back, failing, and going back again.
Thomas describing Great Gable’s reputation for cloud cover
Great Gable is, by Heaton’s own account, not the highest mountain in the Lake District but possibly the one with the most dramatic views. More importantly, he knows from repeated experience that this particular peak attracts cloud and weather even when surrounding summits are clear. That location-specific knowledge is not something you get from a weather app. You get it from going back, failing, and going back again.
Before I drive to any remote location, I keep a running set of notes on each spot: prevailing wind direction, which months tend to produce inversion cloud, where the sun actually rises relative to the key foreground elements rather than what the apps calculate in the abstract. Heaton’s love-hate relationship with Great Gable is a model for how to think about familiar locations. The familiarity doesn’t make you complacent. It makes you honest about the odds.
Step 2: Use Overnight Parking to Protect Your Post-Shoot Energy
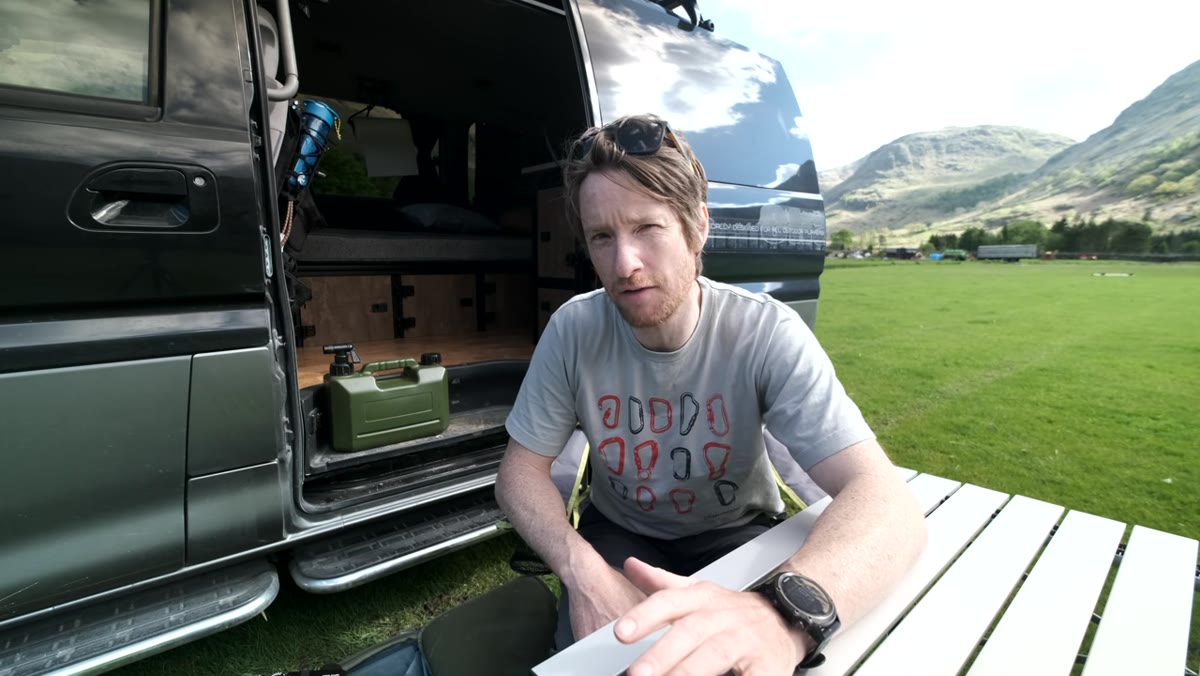
 Van parked at trailhead campsite with honesty box visible
Heaton finds a small campsite right at the trailhead. It operates on an honesty box system, costs him eight pounds for the night, and puts him fifty yards from where he would have parked anyway. The specific win here is not the money saved. It’s that he doesn’t have to solve a logistics problem at the end of a long, physically demanding shoot when his decision-making is at its worst.
Van parked at trailhead campsite with honesty box visible
Heaton finds a small campsite right at the trailhead. It operates on an honesty box system, costs him eight pounds for the night, and puts him fifty yards from where he would have parked anyway. The specific win here is not the money saved. It’s that he doesn’t have to solve a logistics problem at the end of a long, physically demanding shoot when his decision-making is at its worst.
This is something I wish I had internalized earlier in my career. Coming off a mountain at dusk, cold, tired, with heavy pack straps that have been cutting into your shoulders for three hours is not the time to be navigating to a suitable overnight spot. Paying a small fee to camp at the trailhead, or even just scouting a safe pull-off the evening before, is a form of energy management. It lets you focus everything on the photography. It also means, as Heaton notes, that you can spread out your gear, check everything, and get a real night’s rest rather than staying compressed inside a vehicle.
Step 3: Time Your Ascent to Arrive with Light to Spare
 Heaton calculating two and a half hours to summit before sunset
Heaton estimates the climb at around two and a half hours, which gives him roughly two hours of usable pre-sunset light once he reaches the summit. That buffer is intentional and smart. Arriving at a location exactly at golden hour sounds romantic but it’s a bad habit. You need time to read the scene, find your compositions, sort your tripod, calm your breathing after the ascent, and make some test frames before the light you actually came for appears.
Heaton calculating two and a half hours to summit before sunset
Heaton estimates the climb at around two and a half hours, which gives him roughly two hours of usable pre-sunset light once he reaches the summit. That buffer is intentional and smart. Arriving at a location exactly at golden hour sounds romantic but it’s a bad habit. You need time to read the scene, find your compositions, sort your tripod, calm your breathing after the ascent, and make some test frames before the light you actually came for appears.
I aim to arrive at any shooting position at least ninety minutes before the moment I’m targeting. Thirty minutes of that is setup and composition. Sixty minutes is patience. Sometimes the light does something unexpected in that hour before the main event and that’s often where the strongest image actually lives.
Step 4: Match Your Lens Kit to the Terrain, Not to Your Wishlist
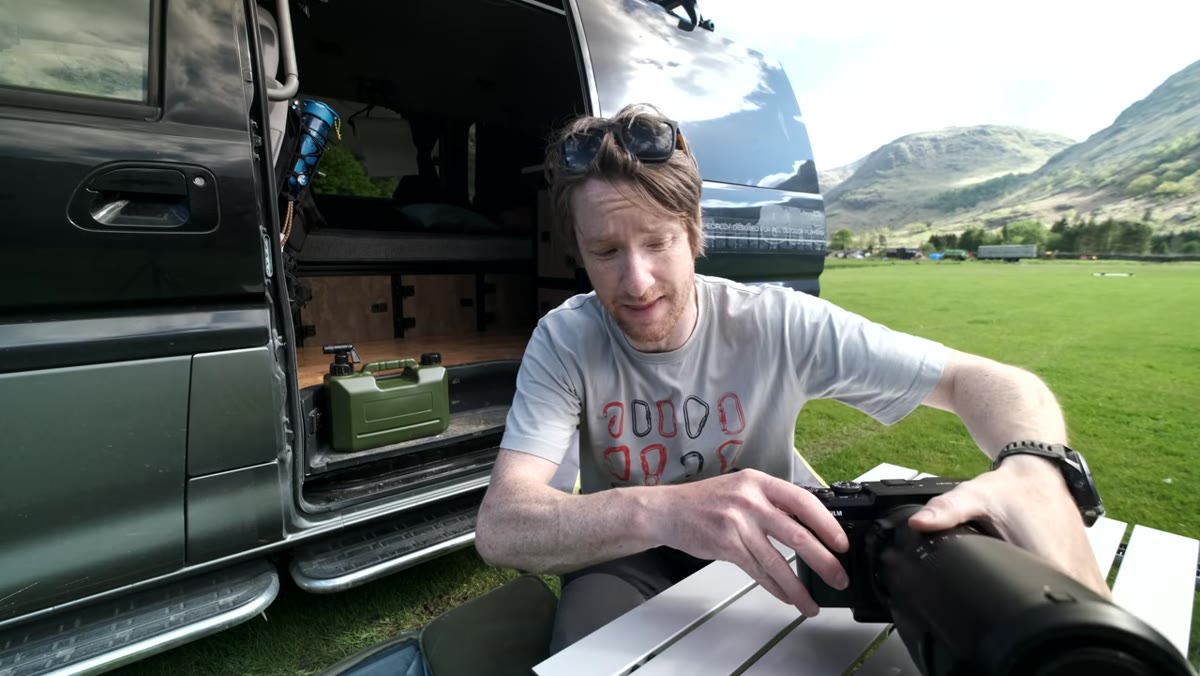 Fuji GFX 50R with 100-200mm lens laid out before the hike
Heaton is shooting a medium format Fuji GFX 50R and he brings two lenses: a 100-200mm and a 32-64mm. In full-frame equivalents those translate to roughly a 70-150mm and a 25-50mm. Notably, he is not bringing extreme wide angles or long telephoto glass. The choice reflects the actual visual character of the location: expansive mountain views that benefit from moderate compression, with a wide option for foreground context when conditions allow.
Fuji GFX 50R with 100-200mm lens laid out before the hike
Heaton is shooting a medium format Fuji GFX 50R and he brings two lenses: a 100-200mm and a 32-64mm. In full-frame equivalents those translate to roughly a 70-150mm and a 25-50mm. Notably, he is not bringing extreme wide angles or long telephoto glass. The choice reflects the actual visual character of the location: expansive mountain views that benefit from moderate compression, with a wide option for foreground context when conditions allow.
This discipline is hard to learn. The temptation is always to bring everything. But every extra pound of glass is a pound that makes you slower, more tired, and more likely to take shortcuts on composition because you just want to get somewhere flat and rest. I’ve settled on a two-lens approach for most mountain work, and I choose based on what I know the landscape demands, not what I might theoretically want.
Step 5: Accept Bad Weather as a Variable, Not a Verdict
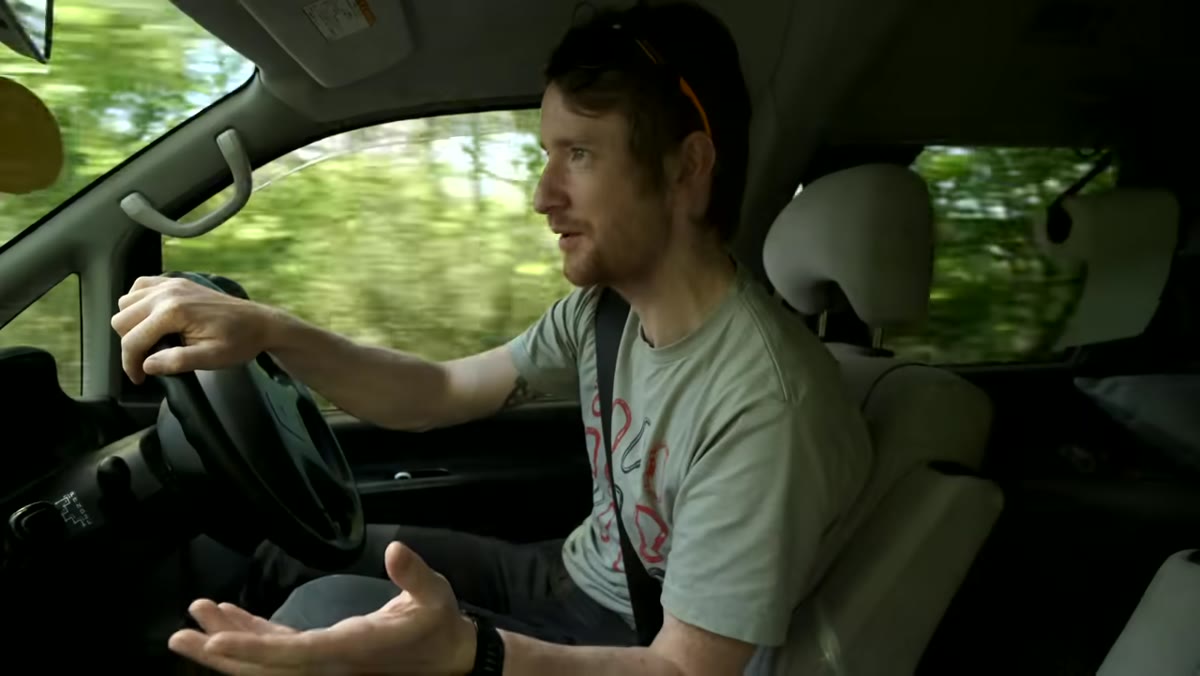 Heaton expressing genuine concern that weather may shut down the hike
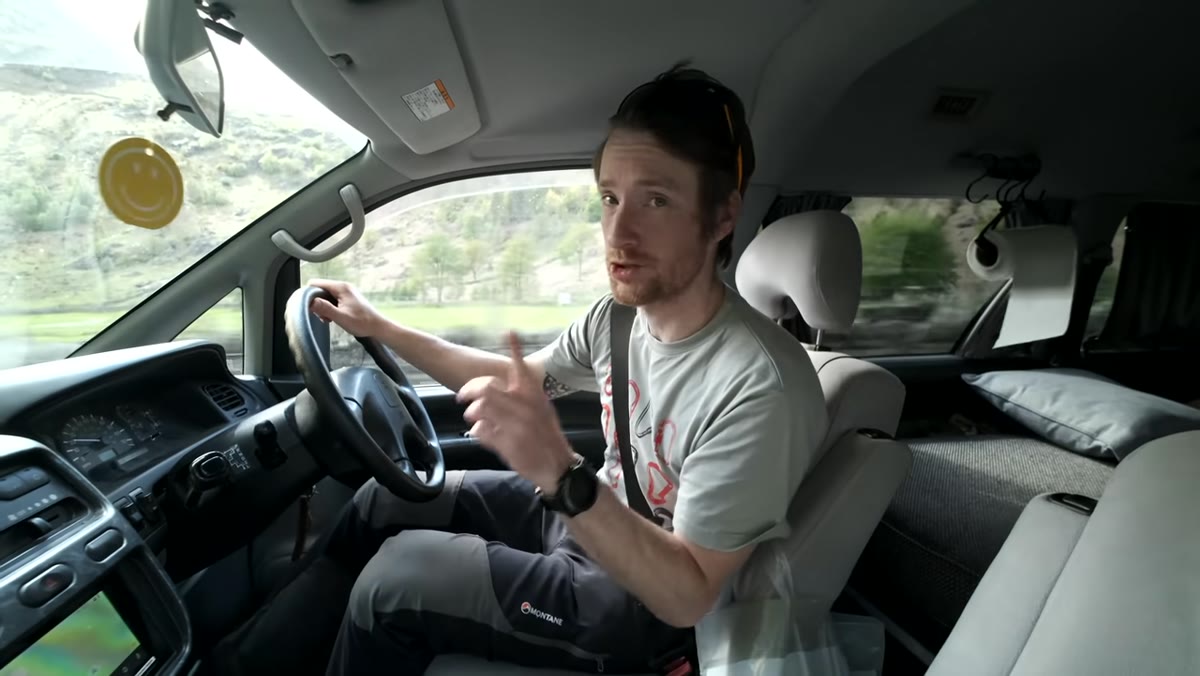
Heaton is openly worried the whole video. He states flat out that there’s roughly a fifty percent chance he won’t make the summit because this mountain pulls weather in. And yet he goes. He drives out, he pays for the pitch, he packs the bag. He treats the bad weather not as a reason to stay home but as a known risk he is managing.
Heaton expressing genuine concern that weather may shut down the hike
Heaton is openly worried the whole video. He states flat out that there’s roughly a fifty percent chance he won’t make the summit because this mountain pulls weather in. And yet he goes. He drives out, he pays for the pitch, he packs the bag. He treats the bad weather not as a reason to stay home but as a known risk he is managing.
The specific skill here is separating the preparation from the outcome. You can control everything up to the moment you press the shutter. The light, the cloud, the wind, whether the mist sits perfectly in the valley below the summit. None of that is yours to control. What you control is showing up prepared, arriving early, and staying longer than feels comfortable. Heaton demonstrating this openly, with genuine uncertainty on camera, is more useful than any tutorial that shows only the triumphant final image.
What I’d Add From My Own Experience
The thing Heaton’s video surfaces for me is the emotional honesty of solo remote work. When you’re alone on a mountain with bad weather moving in, there’s no one to share the doubt with. You have to make the call yourself: keep climbing or turn back. That’s genuinely hard, and it doesn’t get easier with experience. What does get easier is trusting the decision you make, whichever way it goes.
I once drove six hours to a location in eastern Oregon and spent two full days sitting in fog with nothing to show. On the last morning, the cloud broke for forty minutes at first light and I made one frame. That image became my best-selling print. I did not feel like a genius in the fog. I felt foolish. But I stayed, and staying was the only real decision I made correctly.
The single most transferable lesson from this video is logistical: solve your post-shoot problems before the shoot starts. Sleep near the trailhead. Pack for the terrain you know, not the terrain you hope for. Give yourself more time at the summit than you think you need. The photography itself is almost secondary to arriving in a condition where good photography is still possible.
Watch the full tutorial on YouTube and pay attention not just to what Heaton photographs, but to every logistical decision he makes before he takes a single frame.
Comments
Leave a Comment