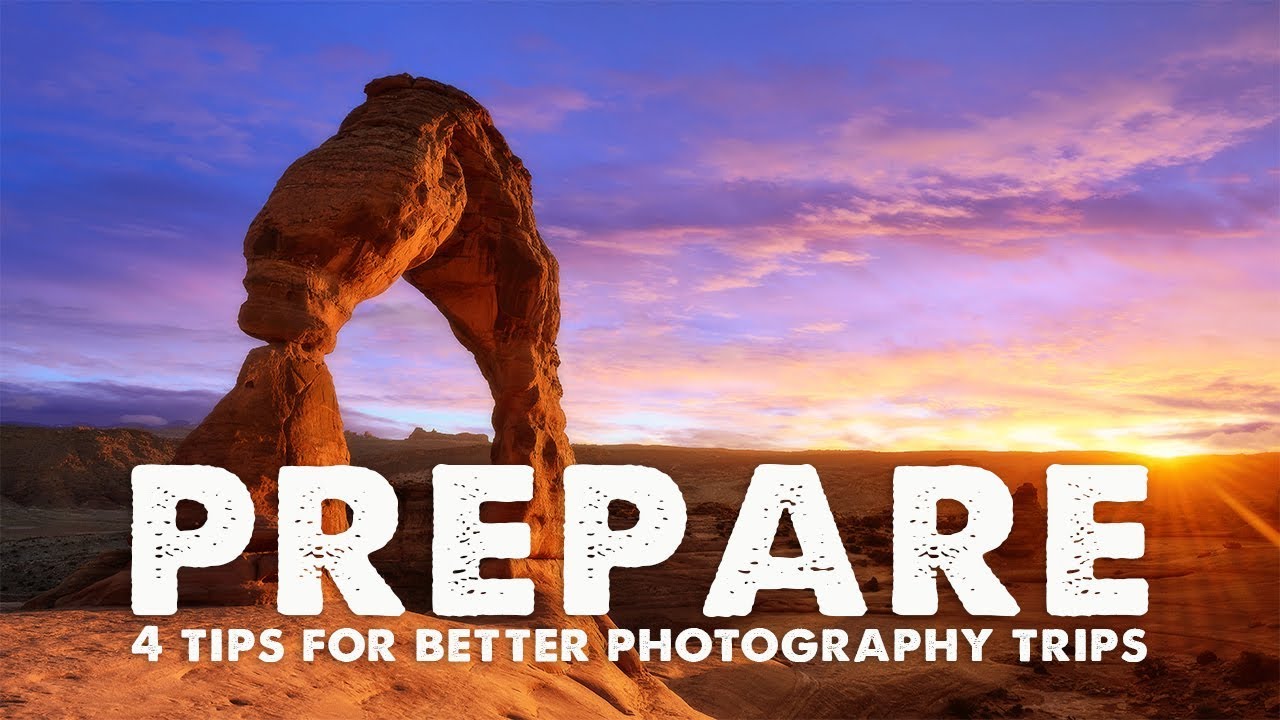
There’s a particular kind of anxiety that comes from arriving at a location you’ve never shot before, watching the golden light begin to move, and realizing you have no idea where to stand. I’ve been doing this for two decades and I still feel it when I skip my prep. The difference between a session where I’m working with intention and one where I’m scrambling is almost never about gear or even experience. It’s about whether I did my homework before I left the house.
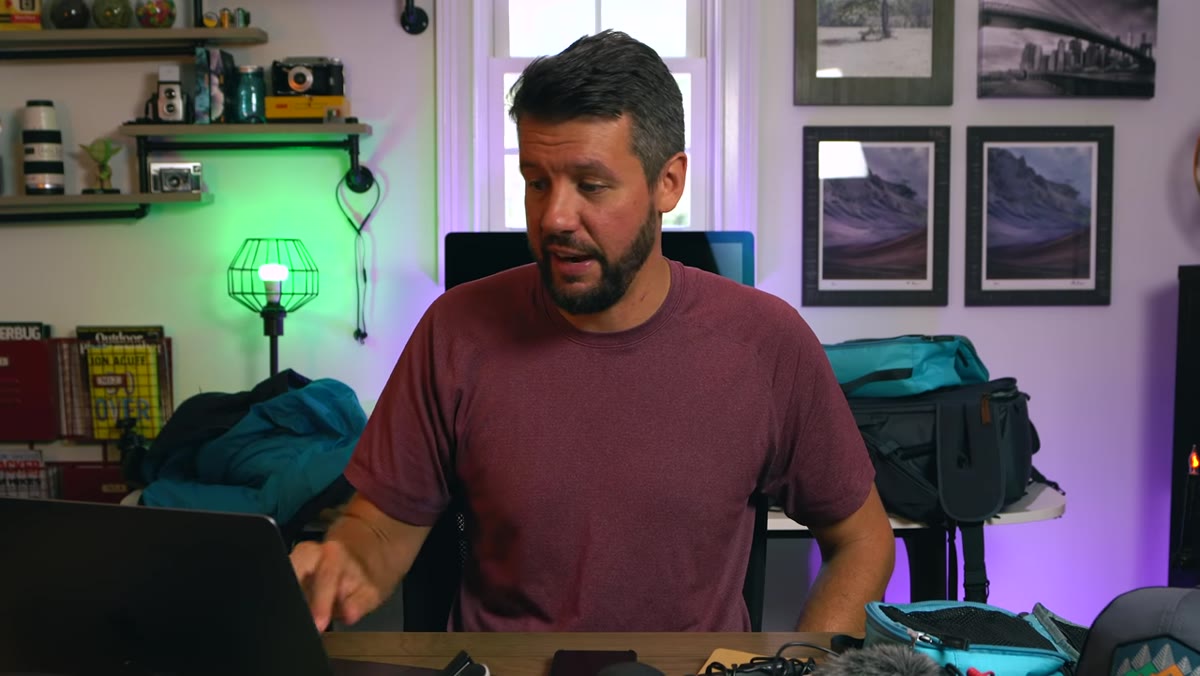
That’s exactly what drew me to this tutorial from Mark Denney, where he walks through the four-step preparation process he uses before every landscape photography trip. He filmed it while getting ready for a conference in Moab, Utah, heading to Arches and Canyonlands for the first time. The fact that he’s an accomplished photographer visiting a world-class location for the first time and still doing this prep work says everything. Watch the full tutorial on YouTube
What he outlines is practical, repeatable, and takes less time than most of us spend scrolling our phones before bed. Here’s a breakdown of each step with enough detail to run the process yourself before your next trip.
Step 1: Search the Location on 500px
 500px search results for Delicate Arch filling the screen
Start by heading to 500px and searching the specific name of your location. Not just “Utah” or “Arches” but the actual feature you plan to photograph. What you get back is a concentrated view of how hundreds of photographers have interpreted that exact place. This does two things at once: it confirms whether the location is worth the drive, and it starts training your eye for what compositions already exist.
500px search results for Delicate Arch filling the screen
Start by heading to 500px and searching the specific name of your location. Not just “Utah” or “Arches” but the actual feature you plan to photograph. What you get back is a concentrated view of how hundreds of photographers have interpreted that exact place. This does two things at once: it confirms whether the location is worth the drive, and it starts training your eye for what compositions already exist.
Don’t skip past the images quickly. Spend five to ten minutes actually looking at what people are doing with light direction, foreground choices, and vantage points. You’re not trying to copy anyone. You’re building a mental map of the visual territory before you set foot on it. Notice the shots that feel tired and overdone, and notice the ones that surprise you. Both pieces of information are useful.
Step 2: Identify the Iconic Shot First, Then Look for Your Own Angle
 Scrolling through multiple Delicate Arch compositions on 500px
Most well-known locations have one composition that dominates the search results. You’ll recognize it immediately because you’ll see it fifteen times in a row. Mark’s advice here is counterintuitive for photographers who pride themselves on being original: shoot that iconic frame first, deliberately, and get it in the bag early. Then go find your own version.
Scrolling through multiple Delicate Arch compositions on 500px
Most well-known locations have one composition that dominates the search results. You’ll recognize it immediately because you’ll see it fifteen times in a row. Mark’s advice here is counterintuitive for photographers who pride themselves on being original: shoot that iconic frame first, deliberately, and get it in the bag early. Then go find your own version.
This approach works because it takes the pressure off. Once the “expected” shot is captured, your mind relaxes and you start seeing differently. You’re no longer chasing something you feel like you might miss. You’re free to move around, experiment with different focal lengths, and respond to what’s actually in front of you rather than what you imagined on the drive in. The 500px research phase is what lets you recognize that iconic composition instantly when you arrive, instead of wasting your best light trying to find it.
Step 3: Use PhotoPills to Plan Your Light
 PhotoPills app open showing sun and moon position data for a specific date
Once you know where you want to be, you need to know when to be there. PhotoPills handles this by letting you enter a specific location and date and showing you exactly where the sun and moon will rise and set, what angle the light will come from, and when golden hour peaks. For a trip like Moab during a new moon cycle, this is the difference between showing up with a plan for a Milky Way shot and just hoping the sky is interesting.
PhotoPills app open showing sun and moon position data for a specific date
Once you know where you want to be, you need to know when to be there. PhotoPills handles this by letting you enter a specific location and date and showing you exactly where the sun and moon will rise and set, what angle the light will come from, and when golden hour peaks. For a trip like Moab during a new moon cycle, this is the difference between showing up with a plan for a Milky Way shot and just hoping the sky is interesting.
Pull up the Planner tool inside the app, drop a pin on your location, and check the ephemeris data for each day you’ll be on location. Look at the sun’s azimuth angle at sunrise and sunset. If you’ve already identified your composition from the 500px research, you can start to visualize whether the light will be coming from the right direction to work with it. If sunrise puts the light behind you on a Tuesday but from the side on Wednesday, that distinction is worth building your schedule around.
Step 4: Check Weather with a Dedicated Forecast App
 Weather forecast app showing cloud cover and precipitation probability by hour
A standard phone weather app is not built for photographers. What you actually need is hourly cloud cover percentages, not just a rain or sunshine icon. Apps like Weather Underground or Windy give you the granular data you need. A partly cloudy morning can produce extraordinary light. A “sunny” forecast can mean flat, harsh light all day. Knowing the difference before you set your alarm matters.
Weather forecast app showing cloud cover and precipitation probability by hour
A standard phone weather app is not built for photographers. What you actually need is hourly cloud cover percentages, not just a rain or sunshine icon. Apps like Weather Underground or Windy give you the granular data you need. A partly cloudy morning can produce extraordinary light. A “sunny” forecast can mean flat, harsh light all day. Knowing the difference before you set your alarm matters.
Look at cloud cover percentages for the specific hours around sunrise and sunset, and pay attention to what’s happening the day before your shoot. A storm system moving through the evening before often sets up dramatic clearing light at dawn. That’s not something you can see in a general forecast. This step takes maybe three minutes once you’re inside the right tool, and it can save you from either sleeping through a spectacular morning or dragging yourself out of bed at 4am for a completely socked-in sky with no texture and no drama.
What I’d Add From My Own Experience
Mark’s four steps form a solid foundation, and I run a similar process myself. The thing I’d layer on top is a notes document for each location that I build during the research phase and add to after the shoot. When I first started doing this kind of prep, I’d do the research, get to the location, and then forget half of what I’d noticed because it was still just ideas in my head. Now I keep a simple running note: the compositions I want to try, the timestamps from PhotoPills for my target light, the weather window I’m banking on, and any specific foreground elements I spotted in other photographers’ images that I want to investigate in person.
This also becomes a reference for future trips. I shot the same stretch of Oregon coast four times before I finally got the image I was after. Having notes from the previous visits meant I wasn’t starting from scratch each time. I knew which tides worked with which compositions, which direction the storm light usually came from, and which foregrounds got interesting when the water moved fast. Preparation doesn’t end when the trip starts. It compounds.
The single most important idea in Mark’s approach is simple: the light doesn’t wait for you to figure out where you’re standing. Twenty minutes of research before you leave gives you the mental clarity to be present when the moment actually arrives. That’s not overthinking it. That’s respecting the work.
Watch the full tutorial on YouTube and see Mark walk through each of these steps live as he preps for Moab.
Comments
Leave a Comment