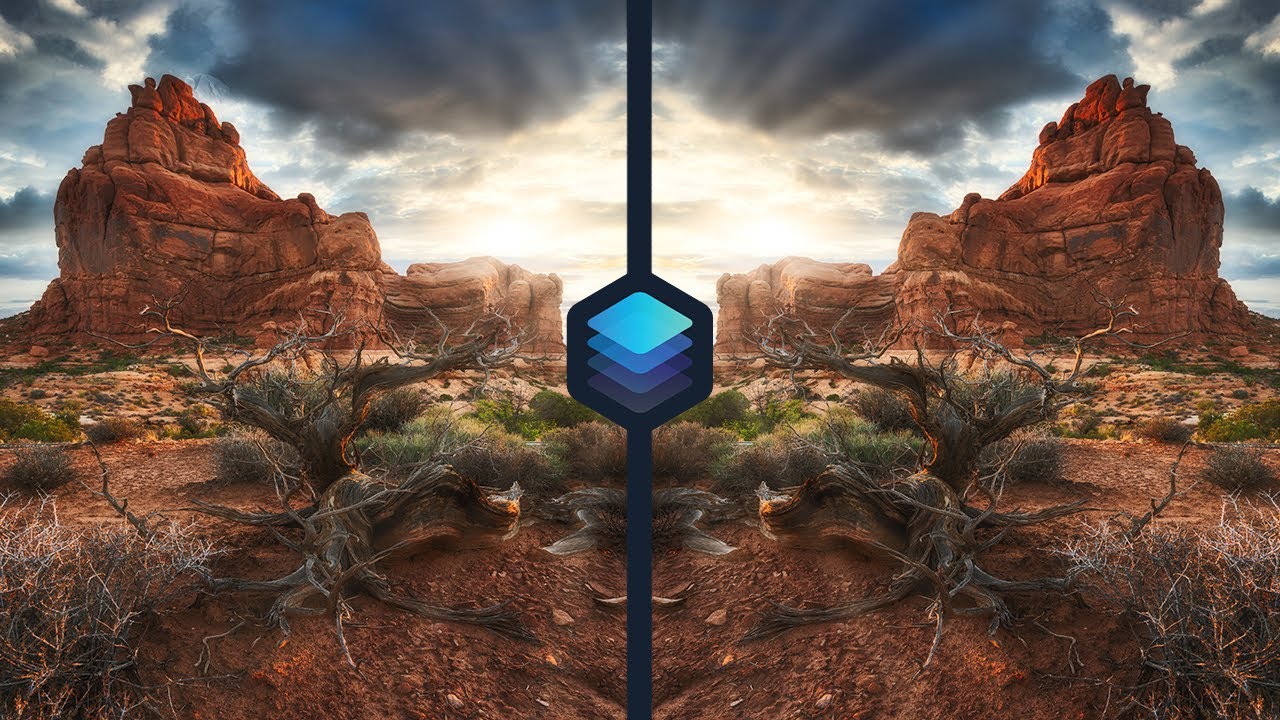
I’ve been editing landscape photos the same way for the better part of two decades. Lightroom for the global adjustments, Photoshop when I need to get surgical. It works. It’s reliable. And honestly, I’d grown comfortable enough with it that I stopped asking whether there was a better way. That comfort is exactly the kind of thing that can quietly stall your growth as a photographer. So when I came across Watch the full tutorial on YouTube - a breakdown by Mark Denney on editing landscape photos inside Luminar 4 - I watched it the same way I’d watch a fellow workshop instructor work: looking for the one thing I hadn’t thought of yet.
What I found was more than one thing. Mark’s tutorial is structured around a deceptively simple question: what if the software could read your image and make intelligent decisions about what needs enhancing? That question cuts right to something I wrestle with every time I bring a raw file back from the field. After standing in a cold river at 5am to nail the light, the last thing I want is to spend two hours pushing sliders around trying to reconstruct what my eyes actually saw. Luminar 4’s AI-driven tools offer a different path, and Mark walks through them with enough practical detail that you can follow along on your own files immediately.
This isn’t a replacement for understanding light or knowing your histogram. But as a complement to an existing workflow - especially one rooted in Lightroom or Photoshop - it’s worth taking seriously.
Step 1: Open Your Image in the Edit Module
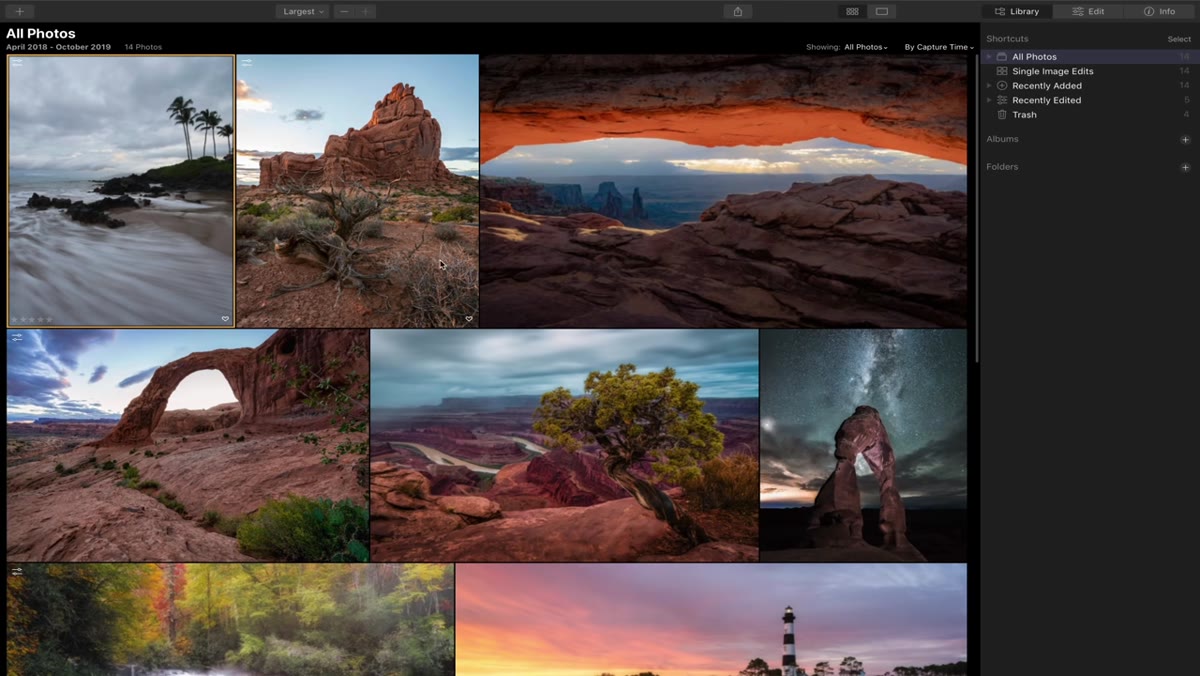 Library module showing a landscape photo selected for editing
Start by importing your images into Luminar 4’s library, then double-click any photo to enter the editing view. If you’re already a Lightroom or Photoshop user, Mark makes a point worth underscoring here: Luminar 4 doesn’t have to replace your current setup. It runs as a plugin inside both applications, which means you can send a file over from Lightroom, do your Luminar work, and come back without breaking your existing catalog structure. That discovery alone made me far more willing to experiment with it.
Library module showing a landscape photo selected for editing
Start by importing your images into Luminar 4’s library, then double-click any photo to enter the editing view. If you’re already a Lightroom or Photoshop user, Mark makes a point worth underscoring here: Luminar 4 doesn’t have to replace your current setup. It runs as a plugin inside both applications, which means you can send a file over from Lightroom, do your Luminar work, and come back without breaking your existing catalog structure. That discovery alone made me far more willing to experiment with it.
Step 2: Start with the Essentials Panel for Traditional Adjustments
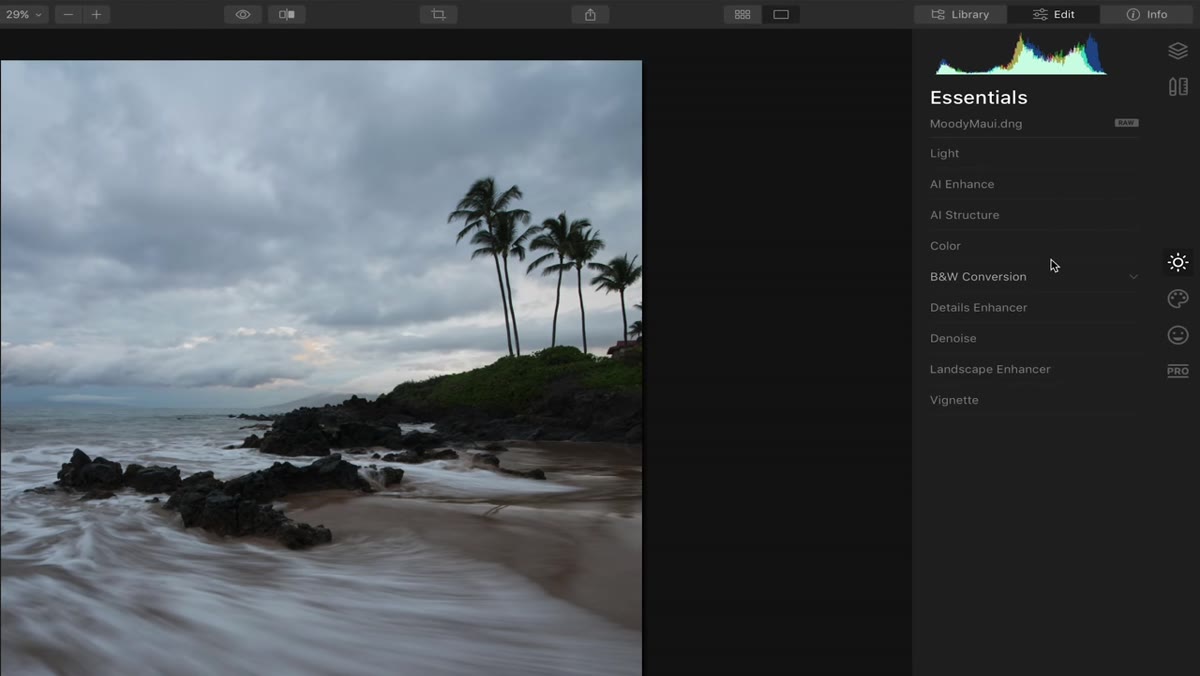 Essentials section open with Light panel visible
The Essentials section is where Mark begins, and it maps closely to what most of us already do in Lightroom. You’ve got exposure, highlights, and shadows controls that behave predictably. He sets the white balance to Cloudy for warmth, pulls the highlights down to recover detail in the brighter areas of the sky, and nudges the shadows up to open the foreground. There’s also a Smart Contrast slider here that behaves differently from standard contrast - it targets midtone relationships rather than stretching the entire tonal range, so you can add or reduce local contrast without blowing out your highlights. For a scene with both bright sky and dark shadow detail, that distinction matters.
Essentials section open with Light panel visible
The Essentials section is where Mark begins, and it maps closely to what most of us already do in Lightroom. You’ve got exposure, highlights, and shadows controls that behave predictably. He sets the white balance to Cloudy for warmth, pulls the highlights down to recover detail in the brighter areas of the sky, and nudges the shadows up to open the foreground. There’s also a Smart Contrast slider here that behaves differently from standard contrast - it targets midtone relationships rather than stretching the entire tonal range, so you can add or reduce local contrast without blowing out your highlights. For a scene with both bright sky and dark shadow detail, that distinction matters.
Step 3: Reset and Switch to the AI Enhance Panel
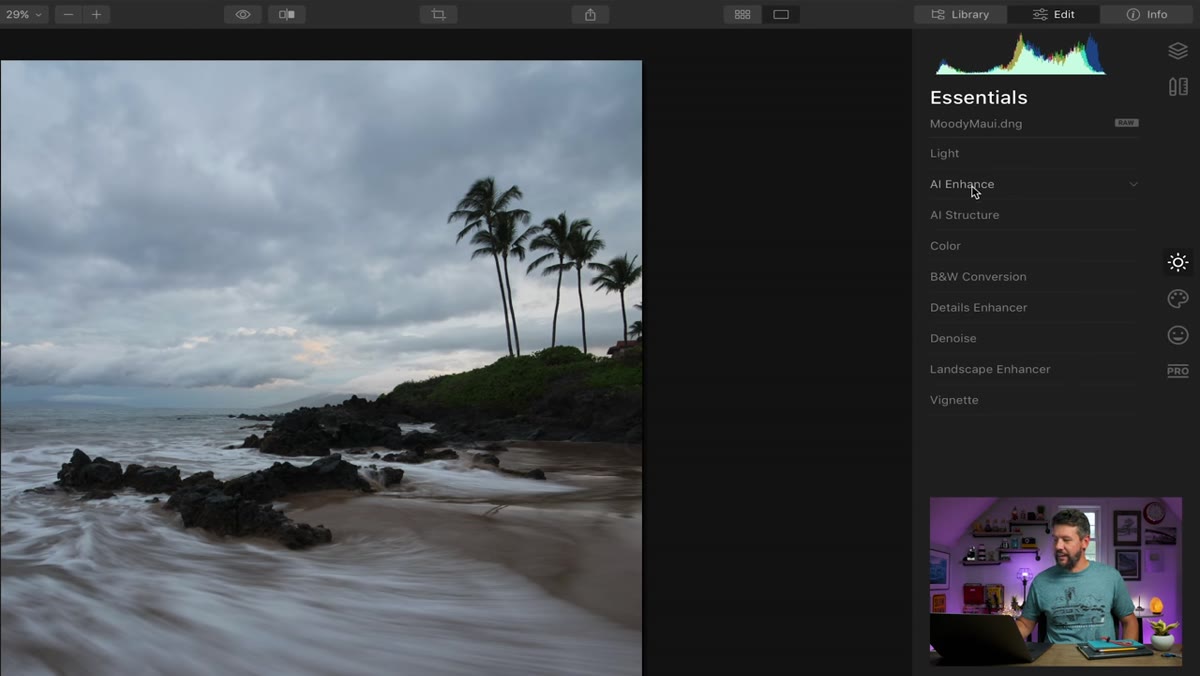 AI Enhance panel opened below the Essentials section
Here’s where the tutorial earns its title. Mark clears the manual adjustments he’d just made and moves down to the AI Enhance panel to show what the software can do starting from scratch. The point isn’t that manual editing is wrong - it’s that seeing both approaches on the same image reveals what the AI is actually doing under the hood. Resetting first gives you a clean baseline so the AI adjustments aren’t compounding on top of your own.
AI Enhance panel opened below the Essentials section
Here’s where the tutorial earns its title. Mark clears the manual adjustments he’d just made and moves down to the AI Enhance panel to show what the software can do starting from scratch. The point isn’t that manual editing is wrong - it’s that seeing both approaches on the same image reveals what the AI is actually doing under the hood. Resetting first gives you a clean baseline so the AI adjustments aren’t compounding on top of your own.
Step 4: Use the AI Accent Slider as Your Starting Point
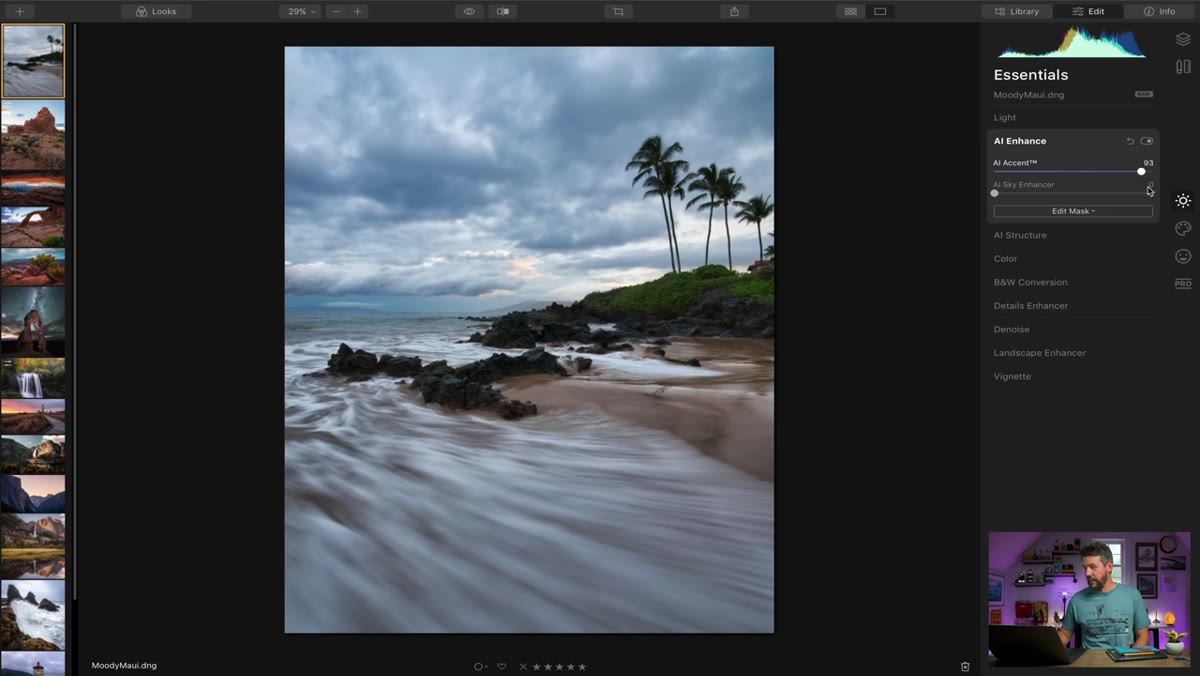 AI Accent slider being pushed toward 100 on a landscape image
The AI Accent slider is Luminar 4’s most distinctive tool, and Mark demonstrates it by pushing it all the way to 100 so the effect is obvious. What happens is genuinely interesting: the software analyzes the image content and simultaneously adjusts highlights, shadows, contrast, saturation, and vibrance - but not uniformly across the whole frame. It appears to weight the adjustments based on what’s in the scene, protecting areas that don’t need work while pushing the ones that do. A sky gets treated differently than a foreground rock face. I wouldn’t run this at 100 on a final image, but seeing it at full strength shows you exactly what levers it’s pulling.
AI Accent slider being pushed toward 100 on a landscape image
The AI Accent slider is Luminar 4’s most distinctive tool, and Mark demonstrates it by pushing it all the way to 100 so the effect is obvious. What happens is genuinely interesting: the software analyzes the image content and simultaneously adjusts highlights, shadows, contrast, saturation, and vibrance - but not uniformly across the whole frame. It appears to weight the adjustments based on what’s in the scene, protecting areas that don’t need work while pushing the ones that do. A sky gets treated differently than a foreground rock face. I wouldn’t run this at 100 on a final image, but seeing it at full strength shows you exactly what levers it’s pulling.
Step 5: Dial the AI Accent Back to a Naturalistic Level
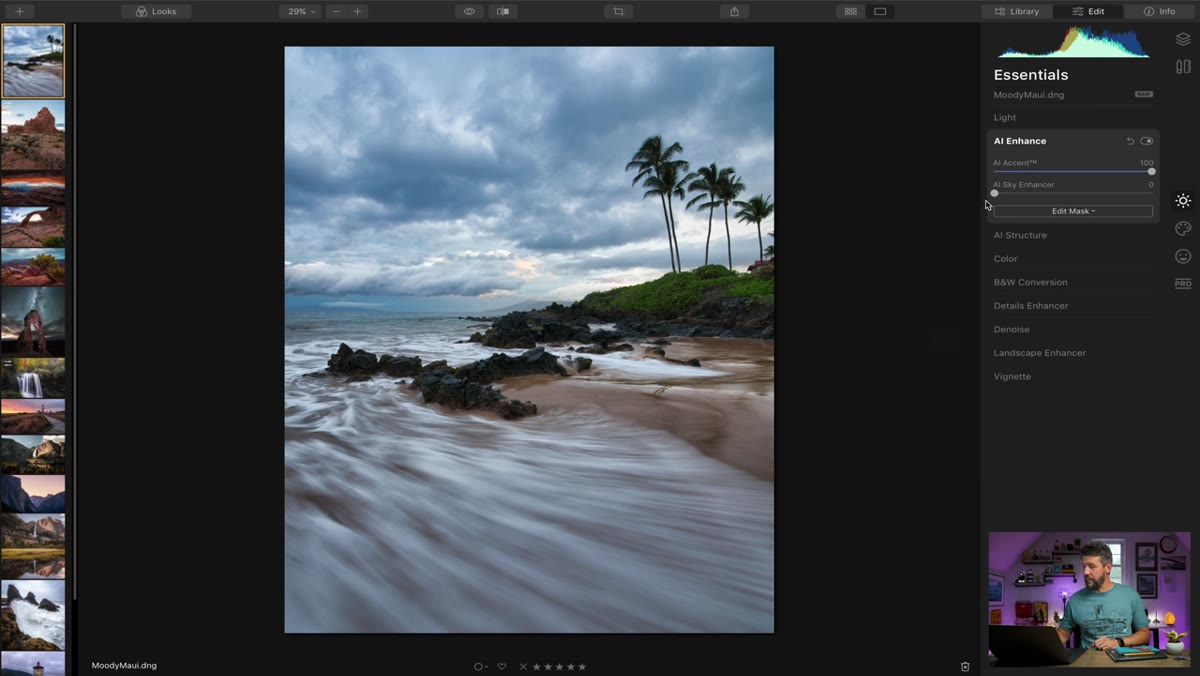 AI Accent slider pulled back to a moderate value on the same image
The practical working range for most landscape images sits somewhere between 30 and 60 on that slider, depending on how much the raw file needs. Mark settles into a value that feels honest to the original scene rather than cinematic or over-processed. This is the same instinct I use when deciding how far to push a graduated filter in Lightroom. The benchmark I always come back to is whether the finished image looks like what I remember seeing, not what I wished the light had been doing. The AI tools in Luminar 4 respect that if you don’t push them past their useful range.
AI Accent slider pulled back to a moderate value on the same image
The practical working range for most landscape images sits somewhere between 30 and 60 on that slider, depending on how much the raw file needs. Mark settles into a value that feels honest to the original scene rather than cinematic or over-processed. This is the same instinct I use when deciding how far to push a graduated filter in Lightroom. The benchmark I always come back to is whether the finished image looks like what I remember seeing, not what I wished the light had been doing. The AI tools in Luminar 4 respect that if you don’t push them past their useful range.
Step 6: Layer in AI Sky Enhancer for Targeted Sky Adjustments
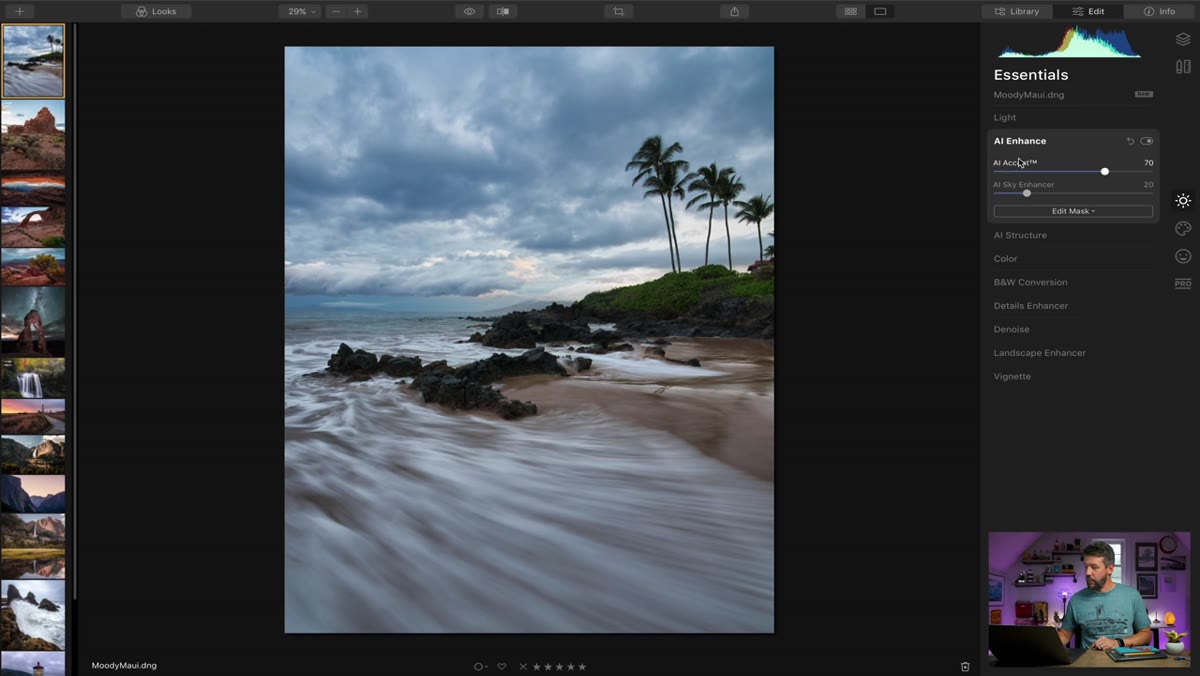 AI Sky Enhancer panel active with adjustments applied to sky region
Luminar 4 includes a separate AI Sky Enhancer that identifies the sky region automatically and applies targeted adjustments only to that area. No masking required. For photographers who’ve spent hours painting luminosity masks to separate sky from land, this is the part that will stop you mid-scroll. Mark shows it boosting color and contrast in the sky without any bleed into the foreground. It’s not perfect on every image - complex tree lines or subjects that intersect the horizon can create edge artifacts - but on clean compositions with clear sky-to-land separation, it’s remarkably clean.
AI Sky Enhancer panel active with adjustments applied to sky region
Luminar 4 includes a separate AI Sky Enhancer that identifies the sky region automatically and applies targeted adjustments only to that area. No masking required. For photographers who’ve spent hours painting luminosity masks to separate sky from land, this is the part that will stop you mid-scroll. Mark shows it boosting color and contrast in the sky without any bleed into the foreground. It’s not perfect on every image - complex tree lines or subjects that intersect the horizon can create edge artifacts - but on clean compositions with clear sky-to-land separation, it’s remarkably clean.
What I’d Add from My Own Experience
I’ve been running Luminar 4 as a Lightroom plugin for a few weeks now, and the place I find it most useful isn’t the AI Accent slider. It’s the combination of AI Sky Enhancer and the traditional tonal controls working together. I’ll do my global exposure and white balance work in Lightroom, send the file to Luminar for sky-specific refinement, and come back. That handoff takes about 30 seconds and it solves a problem I used to spend 20 minutes masking my way around.
One honest caveat: the AI tools reward restraint. I’ve seen other photographers run these sliders hard and end up with images that glow in an uncomfortable way - oversaturated skies, halos around ridgelines. The software gives you the rope. How much you use is still your decision.
The single most important thing Mark’s tutorial clarified for me is that AI-assisted editing isn’t about removing your judgment from the process. It’s about spending less time on the mechanical work so you can spend more time on the interpretive work. That’s a trade I’m willing to make.
Watch the full tutorial on YouTube to see Mark walk through each of these steps on his own Moab landscape files - the before and after comparisons in real time are worth it on their own.
Comments (2)
Solid advice. Especially the part about taking your time with it.
This saved me so much time on my last edit. Wish I'd found this sooner.
Leave a Comment