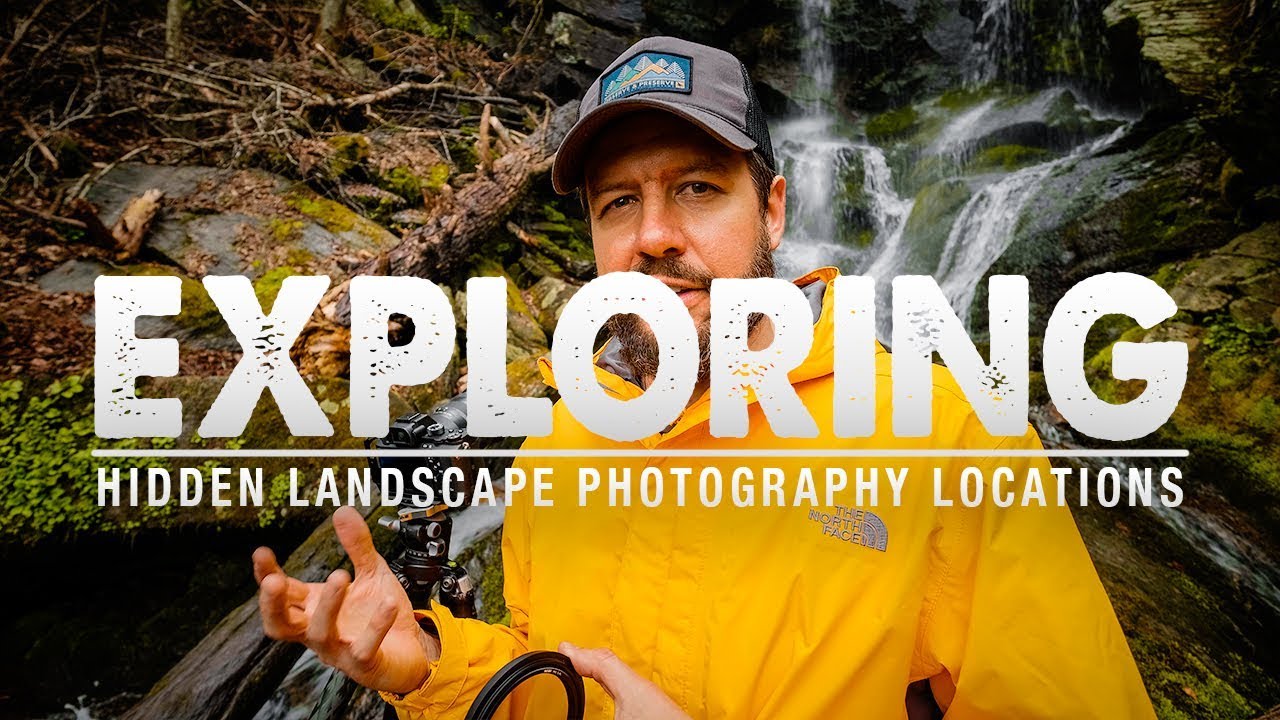
There is a particular kind of obsession that overtakes you when you see a photograph of a place you cannot identify. I know it well. I have spent hours reverse-image searching a single rock formation, cross-referencing trail maps, and cold-messaging strangers on the internet, all because one image refused to leave my head. After twenty years working as a landscape photographer, I still get that itch. It is not a flaw in the process. It is the process.
Watch the full tutorial on YouTube
In this Mark Denney tutorial, he walks through exactly how he tracked down a little-known waterfall in the North Carolina Blue Ridge Mountains after seeing a single Instagram image that stopped him cold. What makes this worth studying is not just the destination he found. It is the repeatable method he used to get there, one that any photographer can apply to any mystery location they stumble across online. I have adapted versions of this approach myself when scouting new territory around the Pacific Northwest and high desert, and watching Mark lay it out step by step clarified habits I had developed intuitively but never fully systematized.
Step 1: Let the Image Hook You Completely
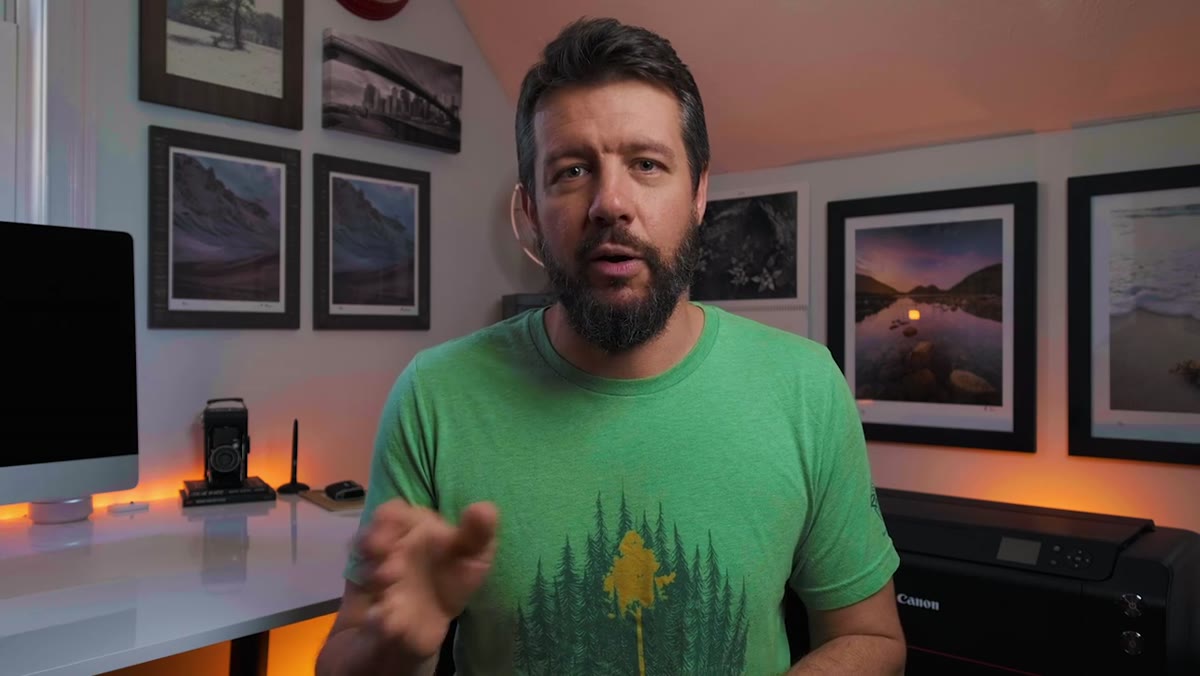 Photographer describing the mysterious Instagram waterfall photo
The first move is deceptively simple: pay attention to what genuinely stops you. Mark did not go looking for a new waterfall. He was scrolling Instagram when an image grabbed him so hard he could not move past it. The waterfall was not massive or famous. It had what he called an otherworldly quality, something distinct enough that he knew instantly he had never seen it before despite being well familiar with North Carolina’s popular locations.
Photographer describing the mysterious Instagram waterfall photo
The first move is deceptively simple: pay attention to what genuinely stops you. Mark did not go looking for a new waterfall. He was scrolling Instagram when an image grabbed him so hard he could not move past it. The waterfall was not massive or famous. It had what he called an otherworldly quality, something distinct enough that he knew instantly he had never seen it before despite being well familiar with North Carolina’s popular locations.
This matters as a working method because it filters out noise. You are not chasing every vaguely interesting location. You are chasing the one image that produces an almost physical reaction. Train yourself to notice that response and trust it. It will tell you which locations are worth the detective work ahead.
Step 2: Make Direct Contact With the Photographer First
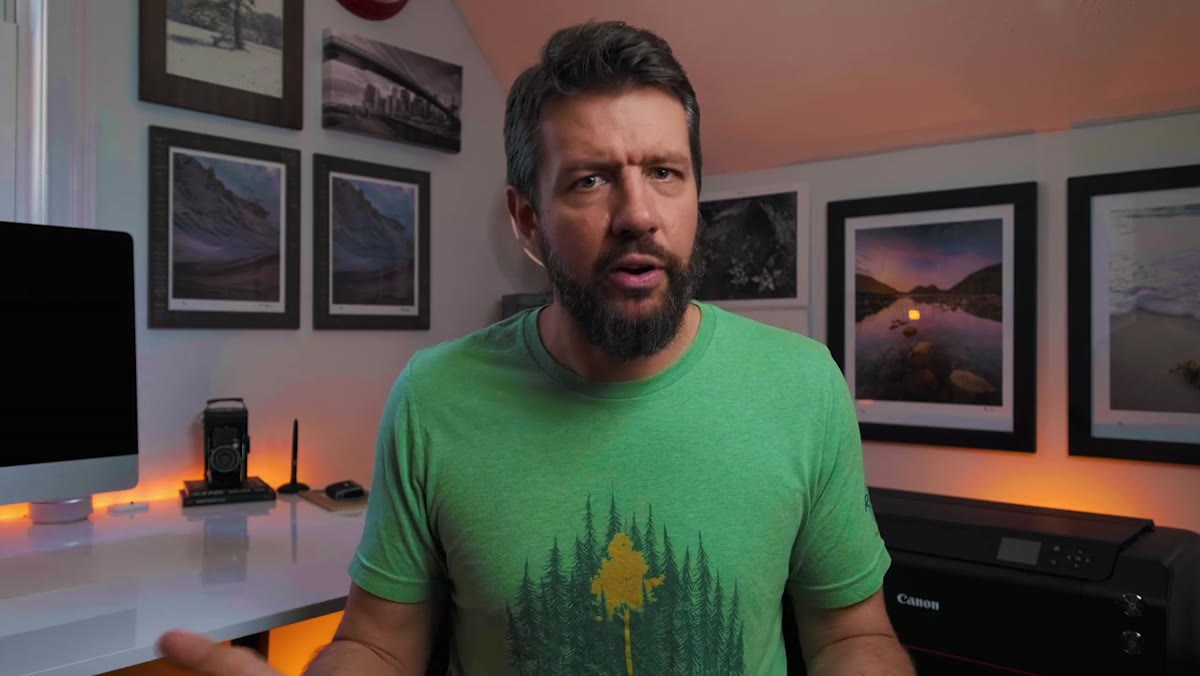 Mark describing his outreach messages to two different photographers
Before you burn time on internet research, go to the source. Mark found the original photographer and sent a direct message. When that got no reply after a week, he found a second photographer who had shot the same waterfall independently and reached out again. His framing here is worth copying: he did not ask “where is this?” He asked whether the person would be comfortable sharing the name of the waterfall. That distinction respects the culture around location sensitivity and increases the chance of an actual response.
Mark describing his outreach messages to two different photographers
Before you burn time on internet research, go to the source. Mark found the original photographer and sent a direct message. When that got no reply after a week, he found a second photographer who had shot the same waterfall independently and reached out again. His framing here is worth copying: he did not ask “where is this?” He asked whether the person would be comfortable sharing the name of the waterfall. That distinction respects the culture around location sensitivity and increases the chance of an actual response.
Two attempts with no reply is not failure. It is simply the opening of the file. You have confirmed that the location is real, that at least two separate photographers have visited it, and that it is obscure enough that people are protective of it. All of that is useful information.
Step 3: Expand Your Search Across Multiple Posts
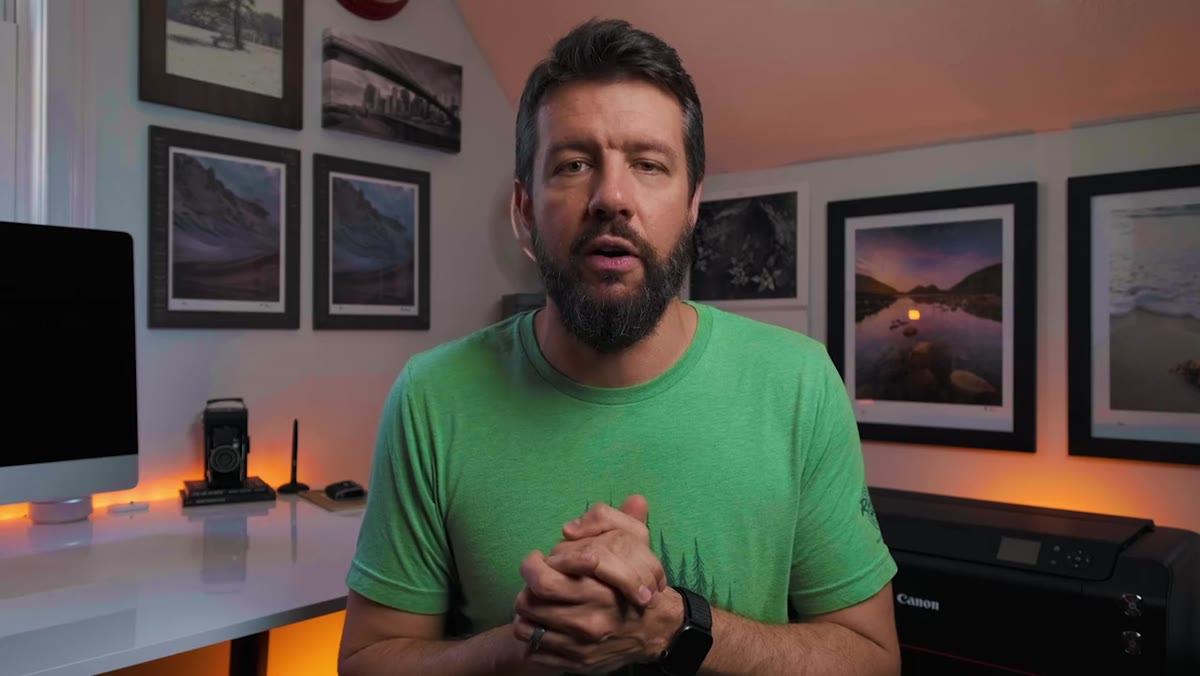 Mark finding a third Instagram post of the same waterfall with many comments
When direct outreach stalls, widen the net. Mark found a third post of the same waterfall on Instagram, this one with over a hundred comments. Instead of treating that comment thread as noise, he read through all of it looking for any fragment of identifying information. A name, a vague regional reference, a trail description, anything.
Mark finding a third Instagram post of the same waterfall with many comments
When direct outreach stalls, widen the net. Mark found a third post of the same waterfall on Instagram, this one with over a hundred comments. Instead of treating that comment thread as noise, he read through all of it looking for any fragment of identifying information. A name, a vague regional reference, a trail description, anything.
The thing about comment threads under popular landscape images is that people talk. Someone always asks “where is this?” and occasionally someone answers, even partially. You are not looking for a complete answer. You are looking for the one comment that cracks the case open enough for a Google search to take over.
Step 4: Extract the Naming Clue and Run It Through Google
 Mark finding the comment with the waterfall name and searching Google
Mark found a comment that referenced the name of the falls. That single fragment was enough. He took it directly to Google and within minutes had located blog articles about the waterfall, confirmed it was in North Carolina, and found GPS coordinates.
Mark finding the comment with the waterfall name and searching Google
Mark found a comment that referenced the name of the falls. That single fragment was enough. He took it directly to Google and within minutes had located blog articles about the waterfall, confirmed it was in North Carolina, and found GPS coordinates.
This step is where specificity in your search terms matters enormously. Do not just search the name alone. Pair it with the state, region, or mountain range if you have any directional sense of where it might be. Add “waterfall hike” or “trail” to filter out unrelated results. Regional hiking blogs and AllTrails entries often surface faster than official park service pages and tend to include practical approach details that matter for photography planning.
Step 5: Vet the Logistics Before You Commit
 Mark reviewing hike details including distance, terrain, and road access
Once Mark had the location confirmed, he did not immediately book a trip. He read everything available about the approach. The hike was listed as a quarter mile, which sounds trivial, but the terrain dropped nearly straight down. Other hikers had left ropes tied to trees to help with the descent. He noted the drive time from home, roughly three and a half hours, and began checking weather windows before packing a single piece of gear.
Mark reviewing hike details including distance, terrain, and road access
Once Mark had the location confirmed, he did not immediately book a trip. He read everything available about the approach. The hike was listed as a quarter mile, which sounds trivial, but the terrain dropped nearly straight down. Other hikers had left ropes tied to trees to help with the descent. He noted the drive time from home, roughly three and a half hours, and began checking weather windows before packing a single piece of gear.
This vetting step separates a productive scouting trip from a wasted one. For a waterfall specifically, you need recent rainfall in the watershed, not rain on the day of your shoot. You need enough flow to make the falls interesting but not so much runoff that the water runs brown and chaotic. Check elevation forecasts if you are shooting in mountains. Know what season the access road closes. These details are almost always buried in the comments of trail blogs if you read carefully enough.
Step 6: Pack and Plan Around What You Don’t Know
 Mark showing his packed gear ready to leave for the location
Mark was packed and ready to drive three and a half hours to a location he had never visited, on a hike he described as difficult, to a falls he had only ever seen in other people’s photographs. That requires a specific kind of preparation. You are planning not just for the shoot but for the variables: wrong trail junction, gear that needs protection from spray, footing that may require trekking poles, and lighting conditions you can only estimate in advance.
Mark showing his packed gear ready to leave for the location
Mark was packed and ready to drive three and a half hours to a location he had never visited, on a hike he described as difficult, to a falls he had only ever seen in other people’s photographs. That requires a specific kind of preparation. You are planning not just for the shoot but for the variables: wrong trail junction, gear that needs protection from spray, footing that may require trekking poles, and lighting conditions you can only estimate in advance.
My own rule for any exploratory trip is to bring one more backup than I think I need, whether that is a memory card, a battery, or an hour of buffer time before golden hour. Locations that are hard to reach are also hard to return to quickly if something goes wrong.
What I’d Add From My Own Experience
The one thing I would layer onto Mark’s method is this: document your research trail as you go. When I am hunting a hidden location and I find that critical comment or that obscure blog post, I screenshot and save it immediately. Threads get deleted. Accounts go private. Blog posts disappear. More than once I have lost the only written record of how to find a place I scouted months earlier, and had to start over. A simple folder on your phone or desktop with screenshots and copied GPS coordinates saves real time and real frustration. The location took hours to find. Losing the record of it should not be an option.
The single most important thing Mark demonstrates here is that persistence across multiple platforms over multiple weeks is itself a photographic skill. The photographers who consistently find compelling and uncommon locations are not lucky. They are methodical. They treat location research the way they treat light: patient, disciplined, and unwilling to settle for what is easy.
Watch the full tutorial on YouTube to follow Mark’s complete process and see the planning that went into the trip itself.
Comments
Leave a Comment