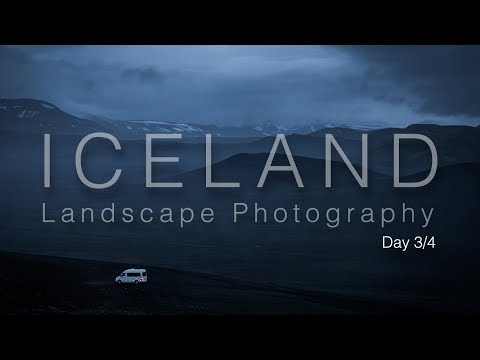
There’s a version of landscape photography that only exists in golden hour highlight reels, and then there’s the version the rest of us actually live. The one where the weather turns, the light goes flat, and you have to decide whether to pack up or figure it out. After twenty years of doing this professionally, I’ve learned that the second choice is almost always the right one. That’s why I keep returning to Thomas Heaton’s on-location work for a reality check. In this Thomas Heaton tutorial shot during a workshop in Iceland, he walks through days three and four of a group trip where day three was a horizontal-rain disaster and day four opened up into something extraordinary. Watch the full tutorial on YouTube
What I find most valuable here isn’t the Iceland scenery, beautiful as it is. It’s watching a working photographer think out loud about light conditions that don’t fit the textbook definition of “ideal,” and then make them work anyway. This is the kind of decision-making that separates photographers who come home with strong images from those who come home with excuses. The specific problem Heaton solves in this video is one I run into constantly: how do you evaluate and shoot a landscape scene when you’re in harsh or midday light, and how do you handle compositional elements that compete with your actual subject?
Here’s a step-by-step breakdown of the field decisions he makes, translated into technique you can take into your own shoots.
Step 1: Push Through the Bad Days Anyway
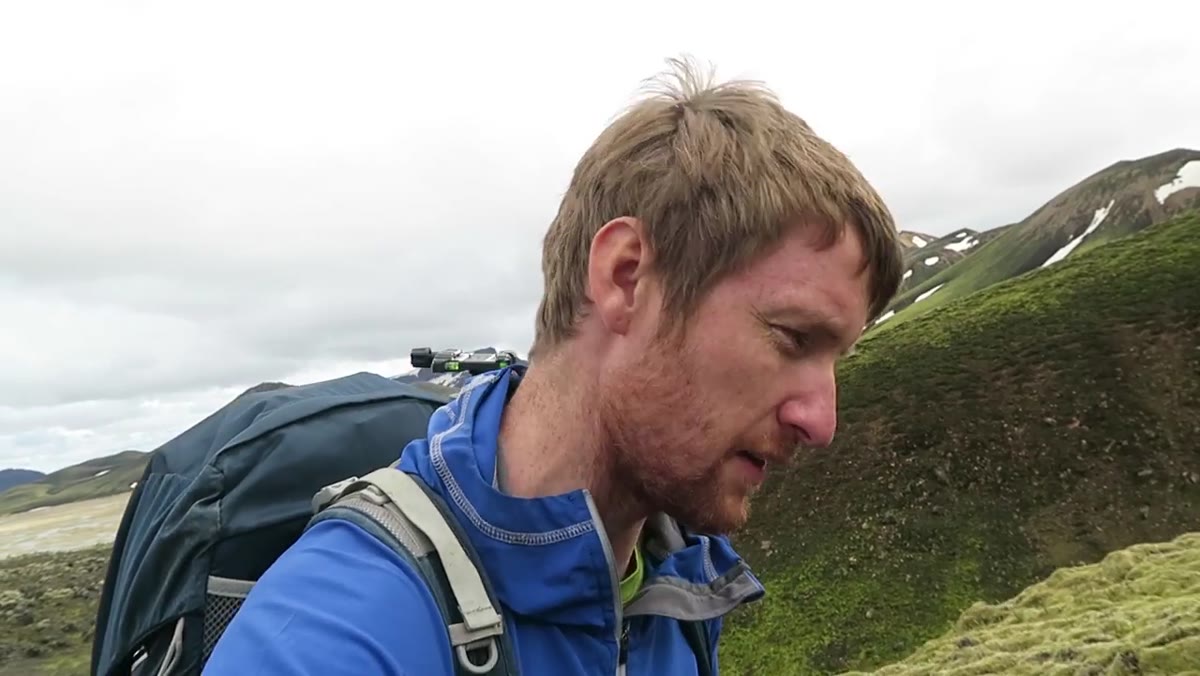 Heaton addressing camera on Day 4, referencing previous day’s storm conditions
Heaton opens by explaining that day three was rough, genuinely rough, and they shot anyway. Horizontal rain, 40 mph winds, wet gear. He doesn’t frame this as heroism. He frames it as the job. If you’re running a workshop or trying to build a consistent body of work, you don’t get to skip the hard days.
The practical takeaway here is to lower your expectations for bad-weather sessions without abandoning them entirely. Go out with the goal of finding one workable frame, not a portfolio piece. Wet conditions change surfaces, skies, and color saturation in ways that clear days don’t. Some of my own strongest prints came from sessions where I almost stayed in the car.
Step 2: Treat Midday Hikes as Reconnaissance With a Camera
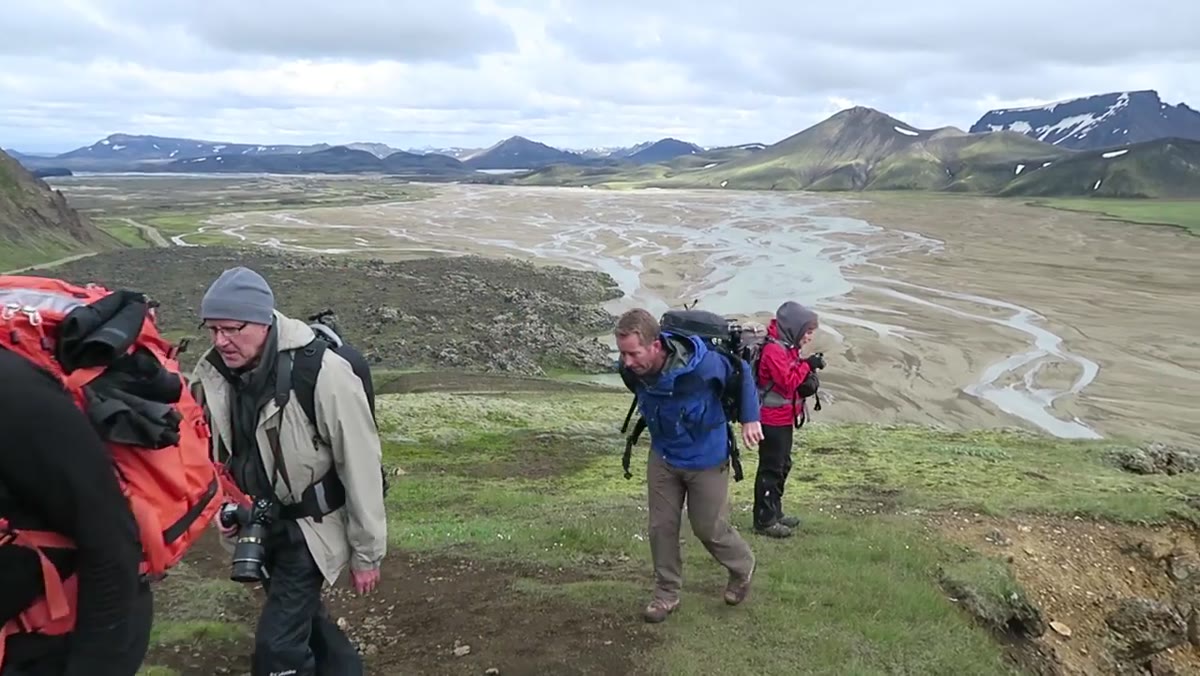 Group hiking uphill toward elevated viewpoint in midday light
When day four arrived with clear conditions, Heaton’s instinct wasn’t to run to a known spot for golden hour. Instead, the group set out on a midday hike with the explicit intention of scouting. He calls it a “recky,” short for reconnaissance. The idea is to explore, map compositions, and identify locations to return to if the light improves later.
This is a habit worth building deliberately. I carry a small notebook on scout hikes and sketch rough compositions with notes about where the sun will be at different times. You’re not wasting the midday hours. You’re investing them. And as Heaton discovers, sometimes the light surprises you mid-hike and the scout becomes the shoot.
Step 3: Recognize When Diffused Midday Light Actually Works
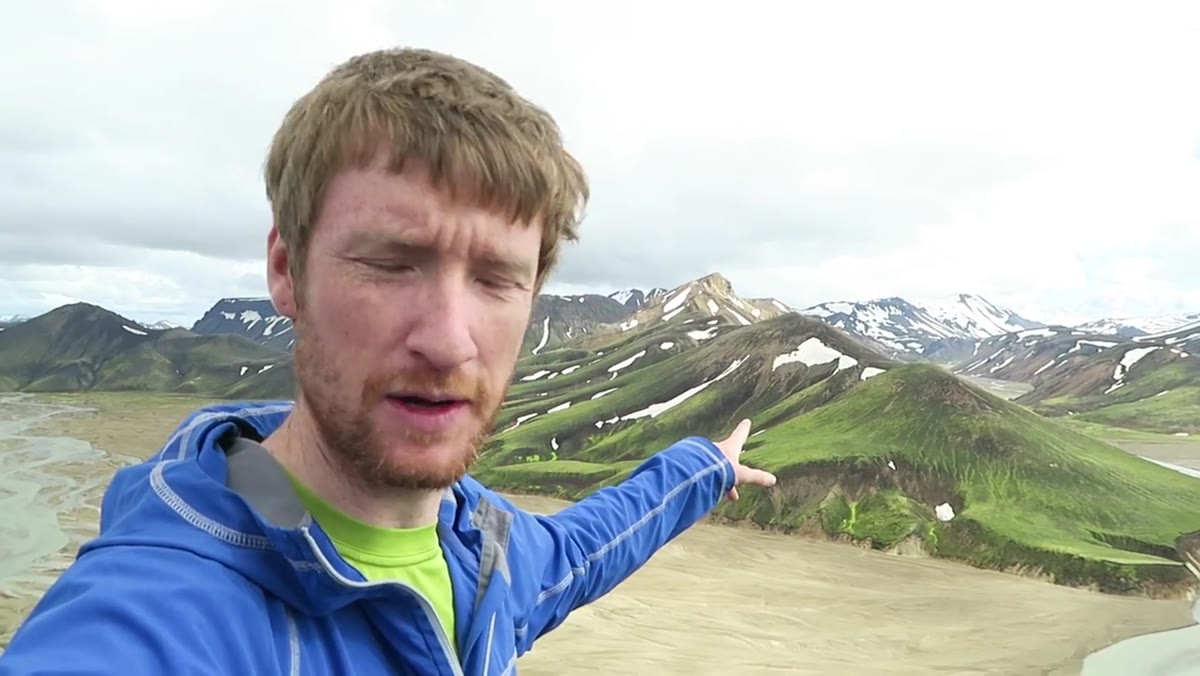 Mountain scene with storm clouds behind peaks, vibrant green foreground
Partway up the trail, Heaton stops the group because the light is working in an unexpected way. Storm clouds sitting behind the mountains are acting as a dramatic backdrop while diffused overcast light from above is hitting the foreground and the mountain faces evenly. He points out that this combination, diffused light plus a dark dramatic sky, produces color saturation and contrast that you simply don’t get from direct sun.
The key distinction he’s making is between bad flat light and usefully diffused light. Direct midday sun on a clear day creates harsh shadows and blows out highlights. But thin cloud cover acts like a giant softbox. When you pair that with moody storm clouds in the background, you get images that feel vivid and contrasty without the blown highlights. If the sky had been plain blue, he says, it wouldn’t have worked. The dark sky is load-bearing.
Step 4: Isolate Your Subject by Eliminating Competing Elements
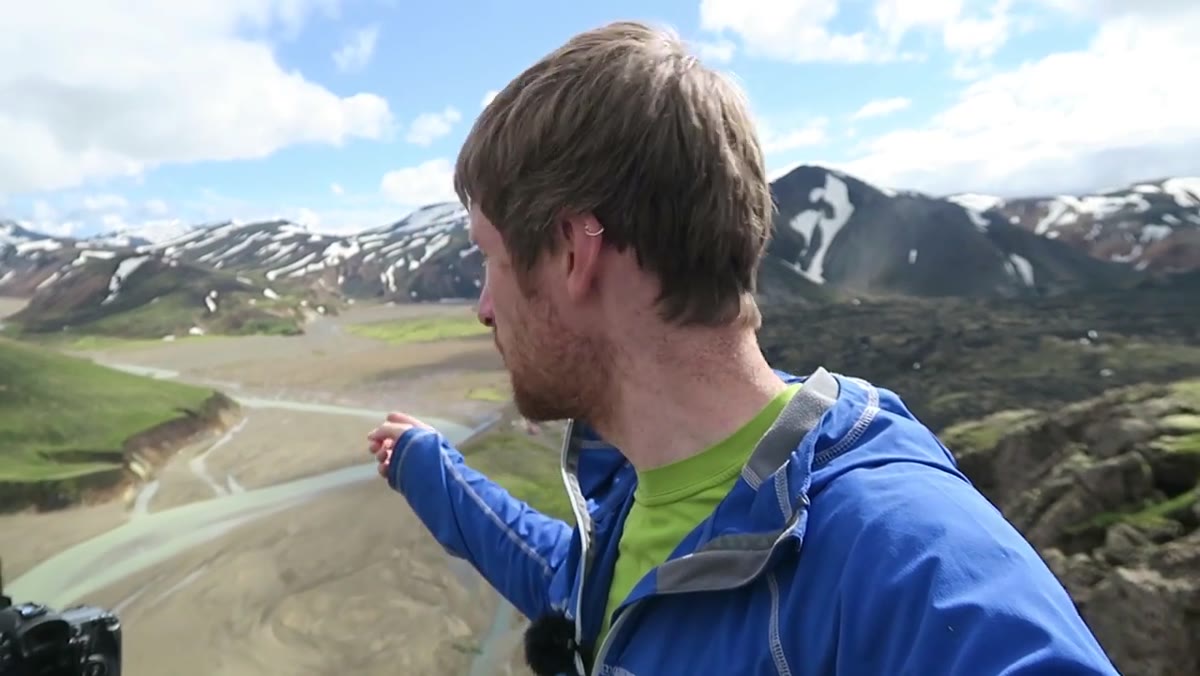 Heaton framing tighter shot excluding river from foreground
One of the most practical moments in the video is when Heaton talks about the river running through the valley below. It’s beautiful. Everyone can see it’s beautiful. And he decides to crop it out. His reasoning is clean: the subject is the mountain, the moss, the color, and the sky behind it. The river, as attractive as it is in person, becomes a lead-away line in the frame. It pulls the eye toward the edge of the image rather than into the subject.
His solution is to zoom in slightly and reframe to eliminate the river from the composition. This is a discipline I had to learn the hard way, letting go of elements that are nice to see in person but that don’t serve the image. When you’re deciding what to include, ask yourself what the actual subject is, not what’s interesting to look at while standing there. Those are two different questions.
Step 5: Use a Soft Grad ND to Balance Sky and Land Exposure
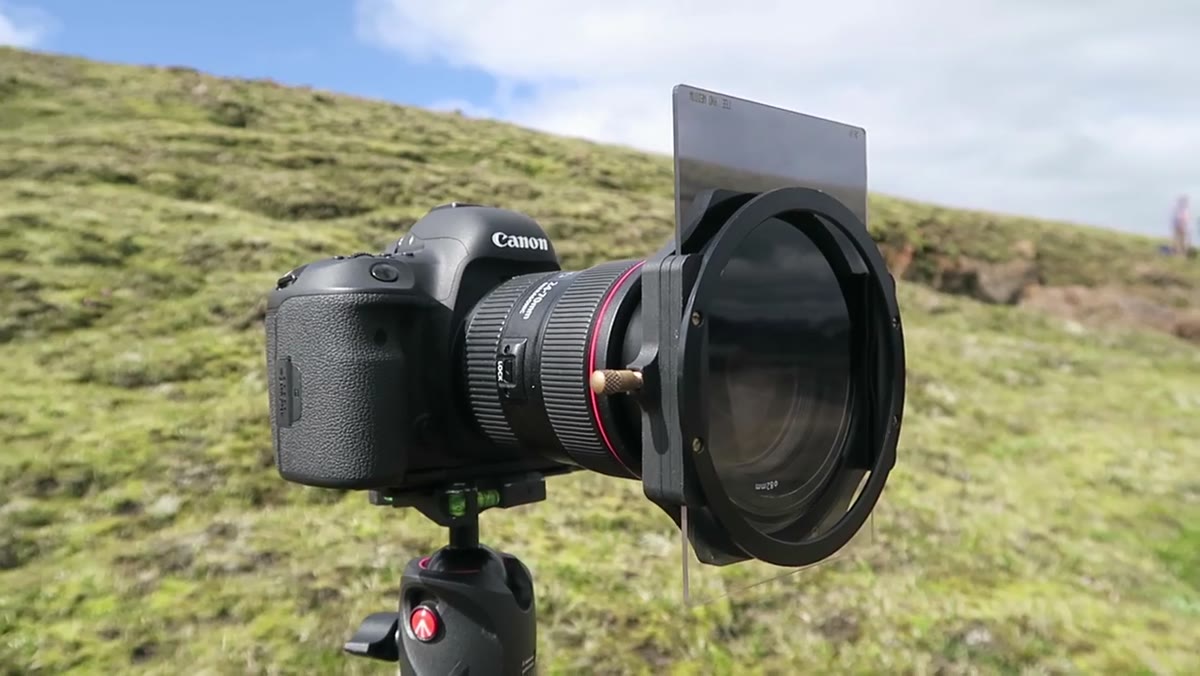 Heaton referencing filter setup: 2-stop soft grad ND, f/11, 2-second timer, ISO 100
For his exposure, Heaton lands on f/11 at ISO 100 with a two-second self-timer to eliminate camera shake. He’s using a two-stop soft graduated ND filter to bring the sky back into a usable exposure range without clipping the highlights. The soft edge of the grad is important here because the horizon line isn’t perfectly flat. A hard grad would create a visible line across the mountains.
If you’re not yet using graduated ND filters in the field, this is a compelling case for adding them. Post-processing can recover some dynamic range, but a physical grad filter means you’re capturing more usable data to begin with. The two-stop soft grad is probably the single most versatile filter in my bag, and it’s the one I reach for whenever the sky is significantly brighter than the land.
Step 6: Consider Black and White Conversion When Contrast Is High
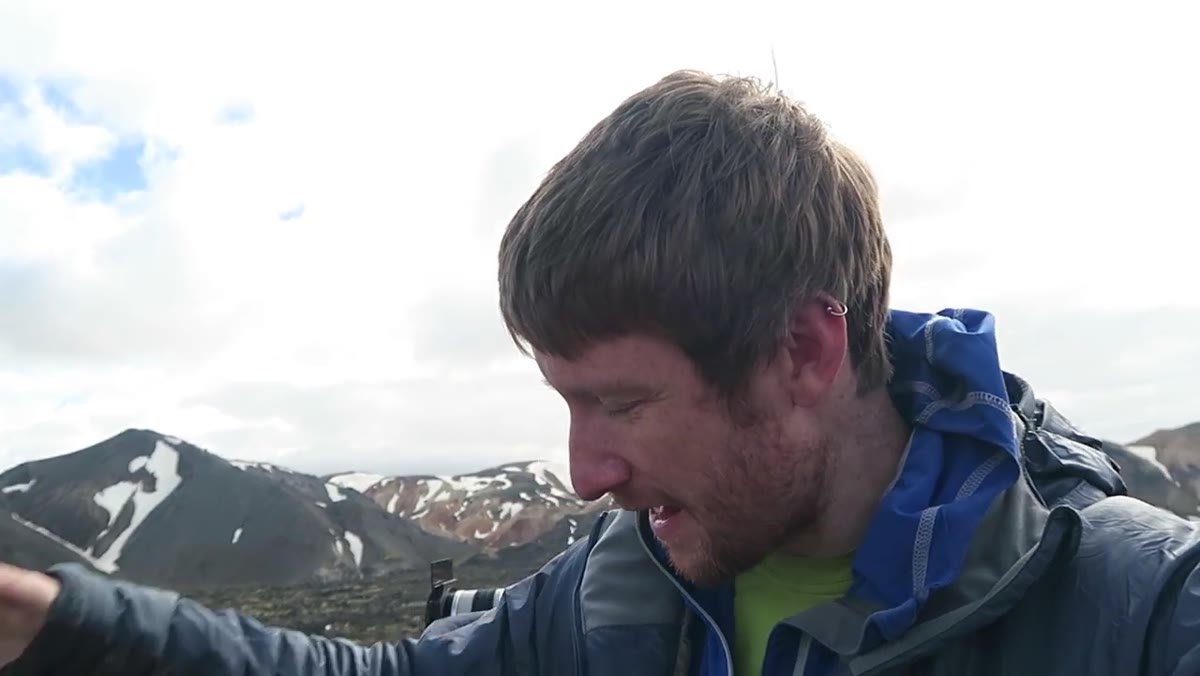 Heaton discussing high-contrast black and white potential of the scene
Near the end of this stretch of the hike, Heaton mentions that despite all the vivid color in the scene, some of the workshop participants have been showing him black and white previews in-camera. The high contrast between the dark clouds and the lit mountain faces is exactly the tonal relationship that makes a strong black and white landscape. He’s visibly considering converting some of his frames.
This is a good habit regardless of whether you shoot color or monochrome. When you’re evaluating a scene, train yourself to see the tonal contrast as a separate layer from the color. High tonal contrast with compelling shapes translates beautifully to black and white. If a scene only works because of color, it’s worth asking whether the underlying composition is as strong as you think.
What I’d Add From My Own Experience
Heaton doesn’t dwell on this, but the moment where the scout hike becomes a real shoot is worth sitting with. It happens because the group wasn’t rigid about the plan. They had an intention, scouting, but they stayed open to what the light was actually doing. I learned something similar from a mentor who told me early in my career that the mountain doesn’t care about your schedule. You can plan the session all you want, but the light will do what it does, and your job is to be present enough to notice when something extraordinary is developing in front of you.
The specific tool for that is simply slowing down during a hike. Heaton’s group keeps stopping, not because they’re inefficient, but because they’re looking. That’s the whole skill, really.
The single most important takeaway from this tutorial is that midday light isn’t automatically bad light. It’s just light that requires more evaluation and more selective composition to use well. Storm clouds, overcast diffusion, and thoughtful framing can transform conditions you’d normally write off into genuinely strong images.
Watch the full tutorial on YouTube to see Heaton work through these decisions in real time, with the Iceland landscape providing some very convincing proof of concept.
Comments
Leave a Comment