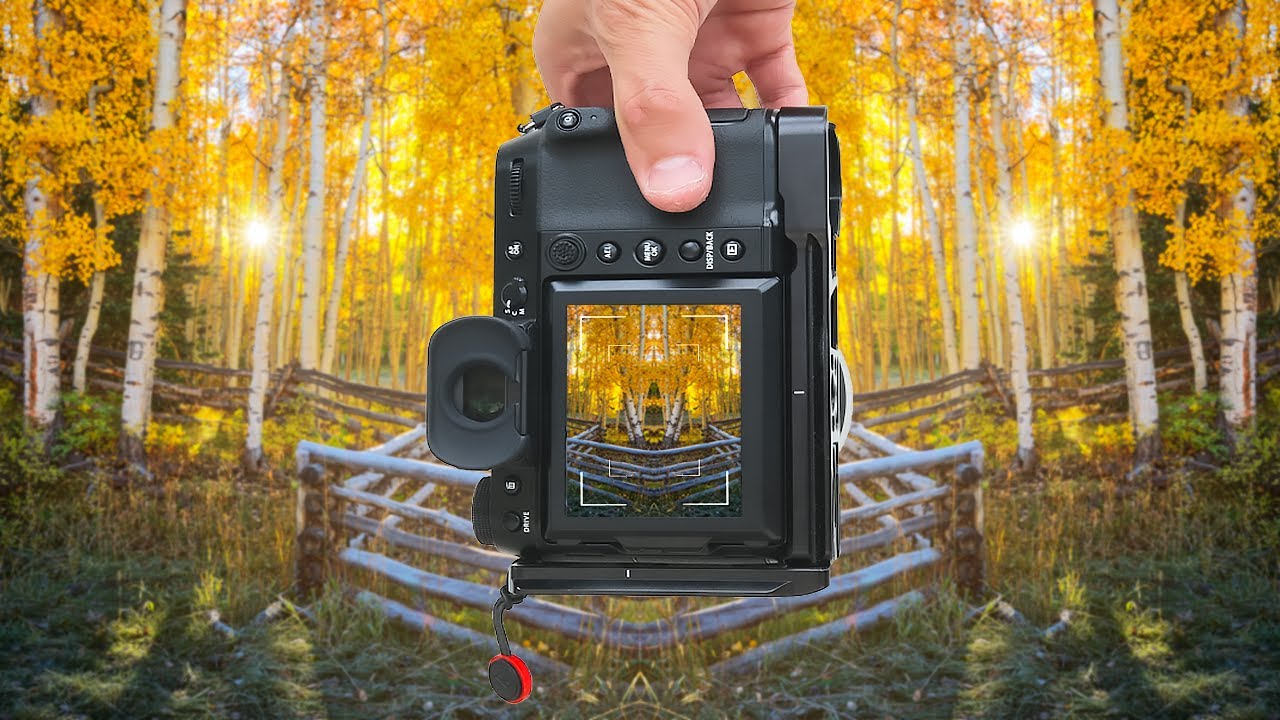
There’s a particular kind of pressure that hits when the light is exactly right and you know you have maybe twelve minutes before it’s gone. No time to second-guess yourself, no time to restart your approach. After twenty years of waking up before the alarm ever goes off, I’ve learned that what separates a productive field session from a forgettable one isn’t gear or location scouting. It’s having a repeatable workflow you can run almost on instinct. That’s why I keep returning to tutorials from photographers who actually show their process in real time, not just the polished results.
Watch the full tutorial on YouTube
In this Mark Denney tutorial, filmed on location in the San Juan Mountains of southern Colorado during fall color season, Mark walks through exactly how he handles a scene when conditions are good but fleeting. What looks like a casual morning shoot is actually a tight, deliberate workflow. The techniques he demonstrates, working with available soft light, testing orientations systematically, and shooting wider than your final crop, are habits I’ve built into my own practice over years of hard-won experience. Watching him work, I found myself nodding at almost every decision. Here’s how to apply what he’s doing.
Step 1: Read the Light Before You Touch the Camera
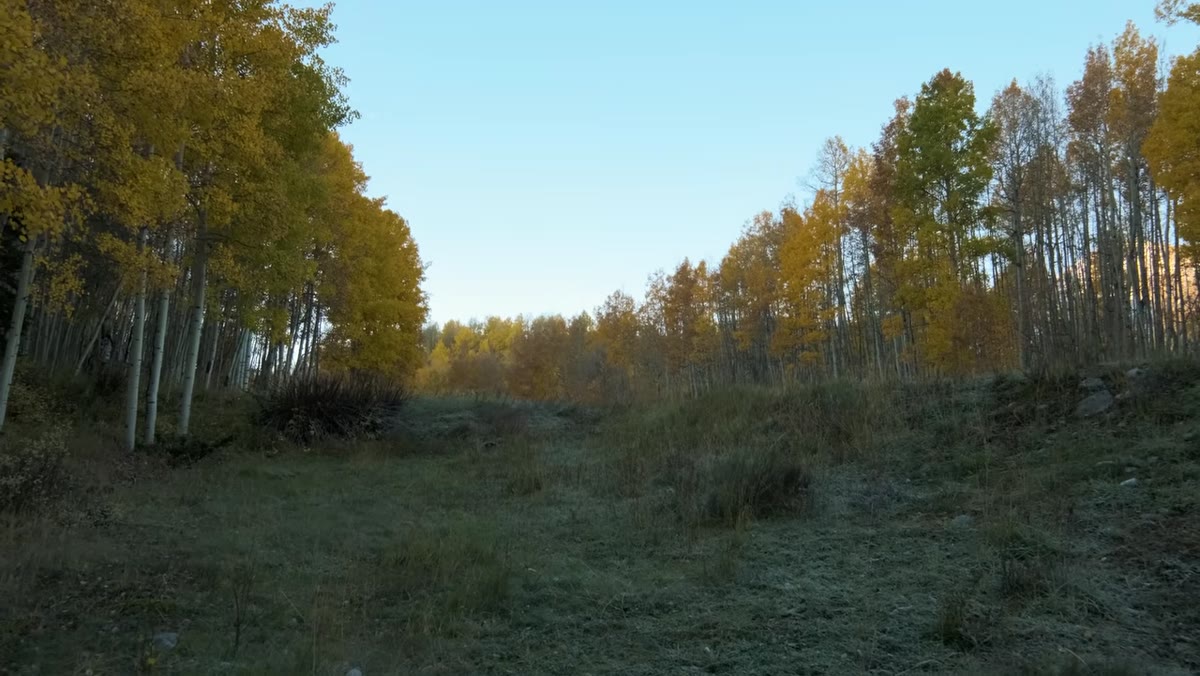 Cloudless sky over Colorado aspens in soft morning light
The first thing Mark identifies isn’t a composition. It’s the problem: a cloudless sky. In direct sun, saturated fall colors go flat and harsh shadows cut up your subject. His solution is to work in the brief window of soft, diffused light that exists before the sun clears the ridge. He’s already on location and already knows what he’s racing against.
Before you fire a single frame, take sixty seconds to assess the quality of light hitting your subject. Is it direct or diffused? Where is the sun moving? How many minutes do you have before the character of the scene changes? This kind of quick audit shapes every decision that follows. If you’re setting up without asking these questions, you’re reacting instead of leading.
Step 2: Identify a Primary Subject and Eliminate the Sky
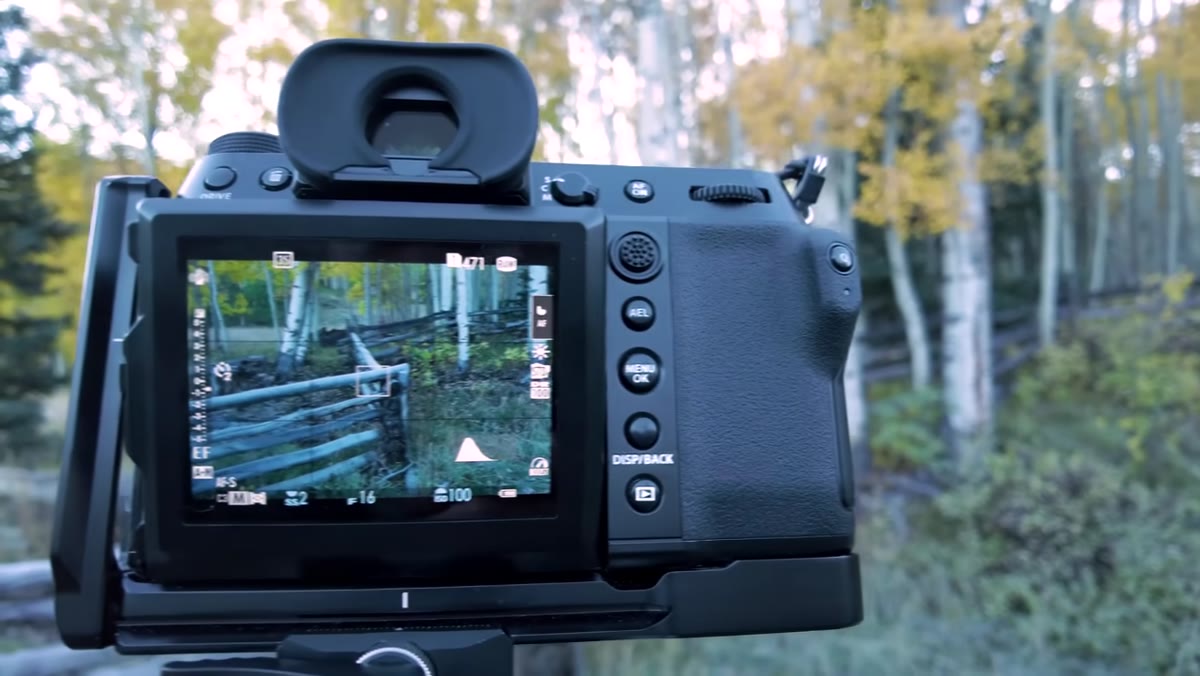 Camera framed low on zigzag fence, sky excluded from composition
Mark finds a zigzag fence flanked by white aspens and immediately starts composing with the sky cropped out. Because the sky is uninteresting and the light is already borderline, keeping it in the frame would pull attention away from the color and structure he’s actually after. Removing the sky forces the eye into the richness of the scene itself.
This is a discipline worth internalizing. A blank or blown-out sky isn’t neutral. It’s a distraction. When your subject is strong enough to fill the frame, let it fill the frame. Work your tripod height and angle until the sky disappears entirely, and you’ll often find the composition tightens up immediately.
Step 3: Shoot Both Orientations Deliberately
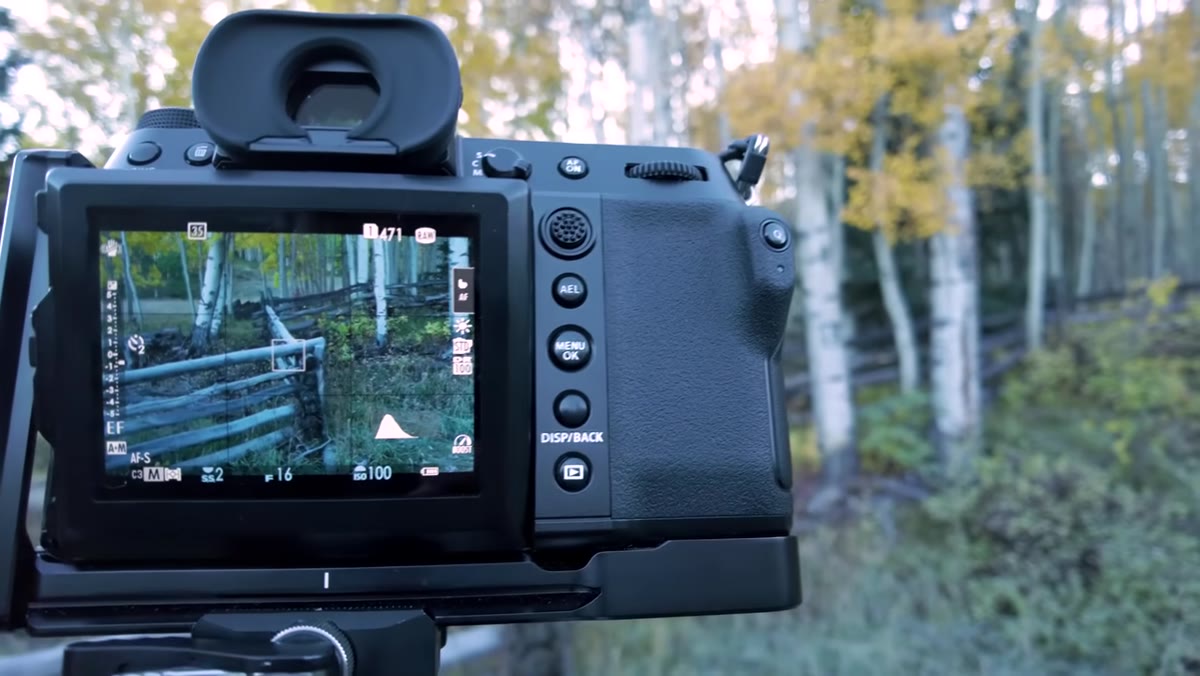 Switching camera from landscape to portrait orientation on tripod
Rather than committing to one orientation based on instinct, Mark works through both landscape and portrait orientations on every composition. He’s explicit about why: portrait pulls more of the vertical zigzag structure into frame and allows the aspens to extend further into the image, while landscape gives a wider sense of the setting. Neither is automatically correct.
On my own shoots, especially in tight timing windows, I used to skip this step and default to landscape. I’ve missed strong verticals because of it. The habit now is to get my landscape frames first, then rotate and shoot the same composition in portrait before moving on. It costs maybe ninety seconds and has saved entire shoots. When you’re back at the computer with both options, you have a real choice instead of a regret.
Step 4: Notice Secondary Compositions While You Work
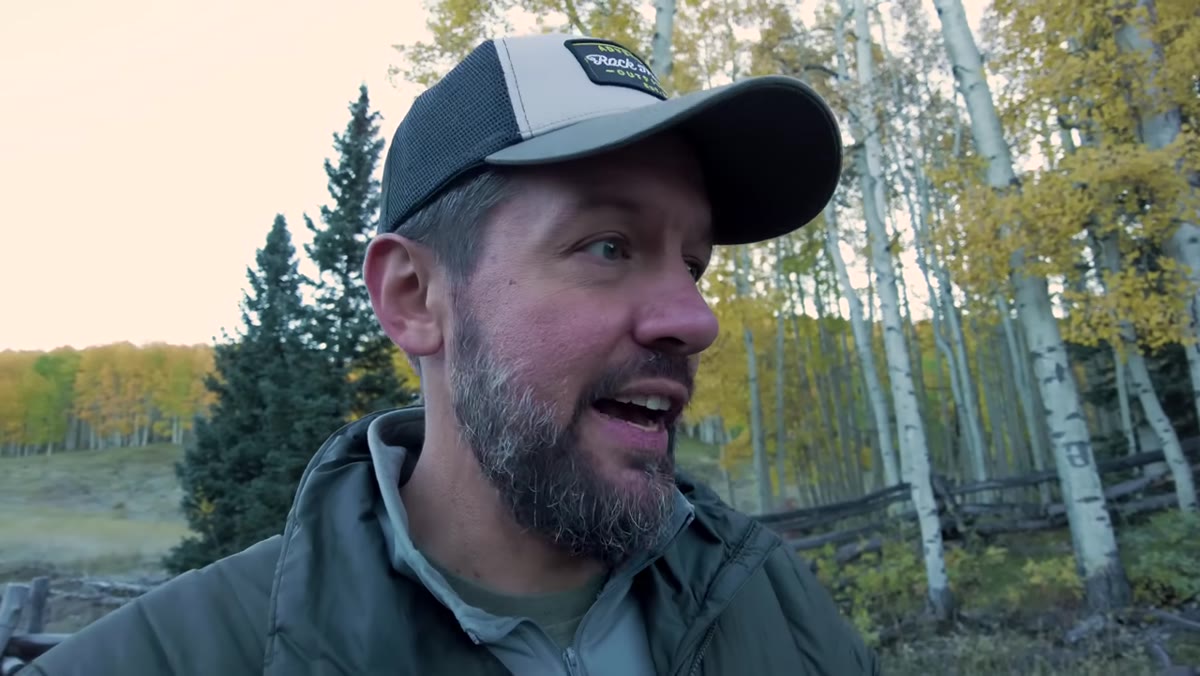 Mark gesturing toward a secondary composition just ten feet away
While working his main subject, Mark notices a secondary composition about ten feet from where he’s standing. He flags it mentally and plans to return to it. This is an underrated skill. When you’re locked into a single frame, you can develop tunnel vision and walk right past something worth shooting.
The practical habit here is simple: once you’ve captured your primary composition in both orientations, physically step back and look around at a wider radius before you pack up. Turn around. Look down. The scene that caught your eye is often surrounded by supporting images you didn’t come there to find. Some of my most useful shots from a location are the ones I found while already walking away.
Step 5: Shoot for Framing, Not the Final Crop
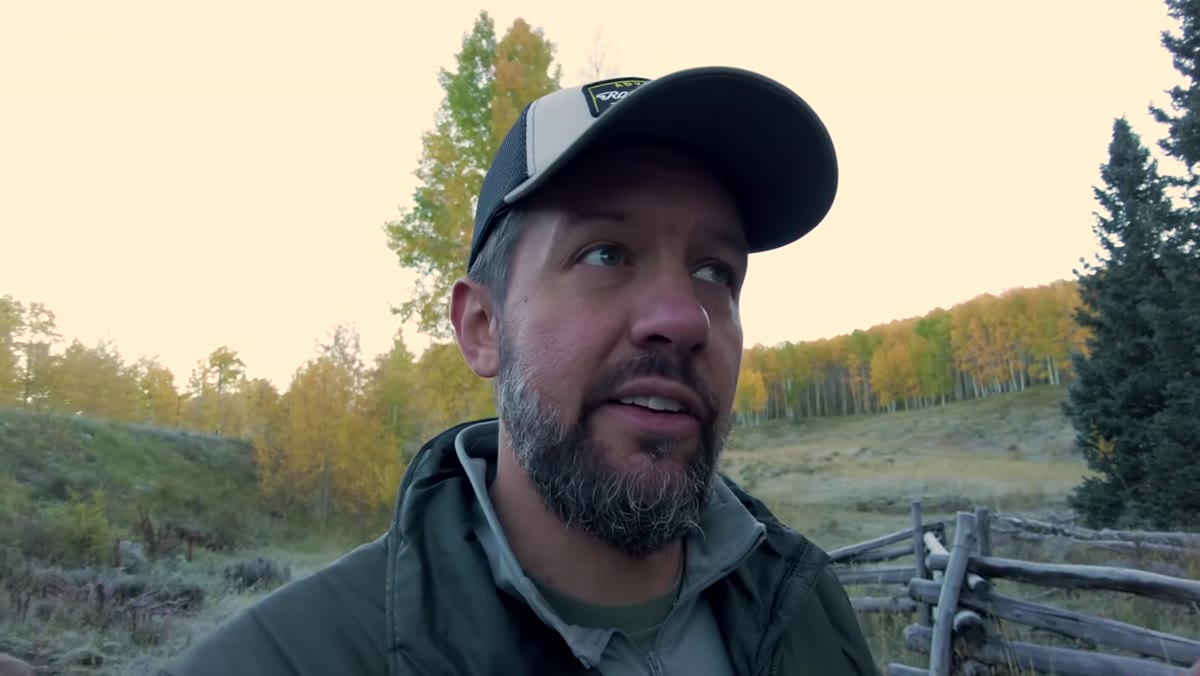 Wide capture of full scene showing extra foreground, trees, and edges
This is the technique I found most valuable in the entire tutorial. Mark deliberately shoots wider than his intended final composition. He pulls back to include edges he isn’t sure about, extra foreground he may or may not need, and tree canopy that might get cropped. His reasoning is direct: if you crop too tight in camera and you’re wrong, you can’t get those pixels back.
This isn’t a license to be sloppy. You still need to know what your intended composition is. But by giving yourself a margin of extra information around the edges, you preserve flexibility for the edit. I think of it like writing a draft with room to cut. The structure is intentional, but the edges stay loose until I’m at the desk. Set your composition deliberately, then back up a few steps and capture a wider frame before committing.
A Note From Two Decades in the Field
The light-window problem Mark describes in Colorado is universal. I face the same thing in central Oregon, where on clear mornings the quality of light I want can last twenty minutes, sometimes less. What these habits have in common is that they compress decision-making time by building the decisions into the process before you ever leave the trailhead. You don’t have to decide whether to test portrait orientation on location if testing portrait orientation is just what you do.
My one addition to Mark’s workflow is to give yourself a written or mental note at the end of each scene. Not a critique. Just three words about what you found: subject, light quality, what you’d change. That two-second habit has shaped how I approach similar scenes months later and saved me from repeating the same compositional mistakes in similar conditions.
The single most transferable idea in this tutorial is that productive field photography is a system, not a spontaneous reaction. Soft light is your signal to move fast and work methodically: read the light, eliminate distractions, test your orientations, stay alert for secondary compositions, and always give yourself room to crop. The camera captures what you give it. Give it options.
Watch the full tutorial on YouTube to see Mark’s complete field session and hear him talk through each of these decisions in real time.
Comments
Leave a Comment